
- Choose three base cities for a 14-day trip to stop hotel-hopping.
- Avoid the national Japan Rail Pass unless you travel every day.
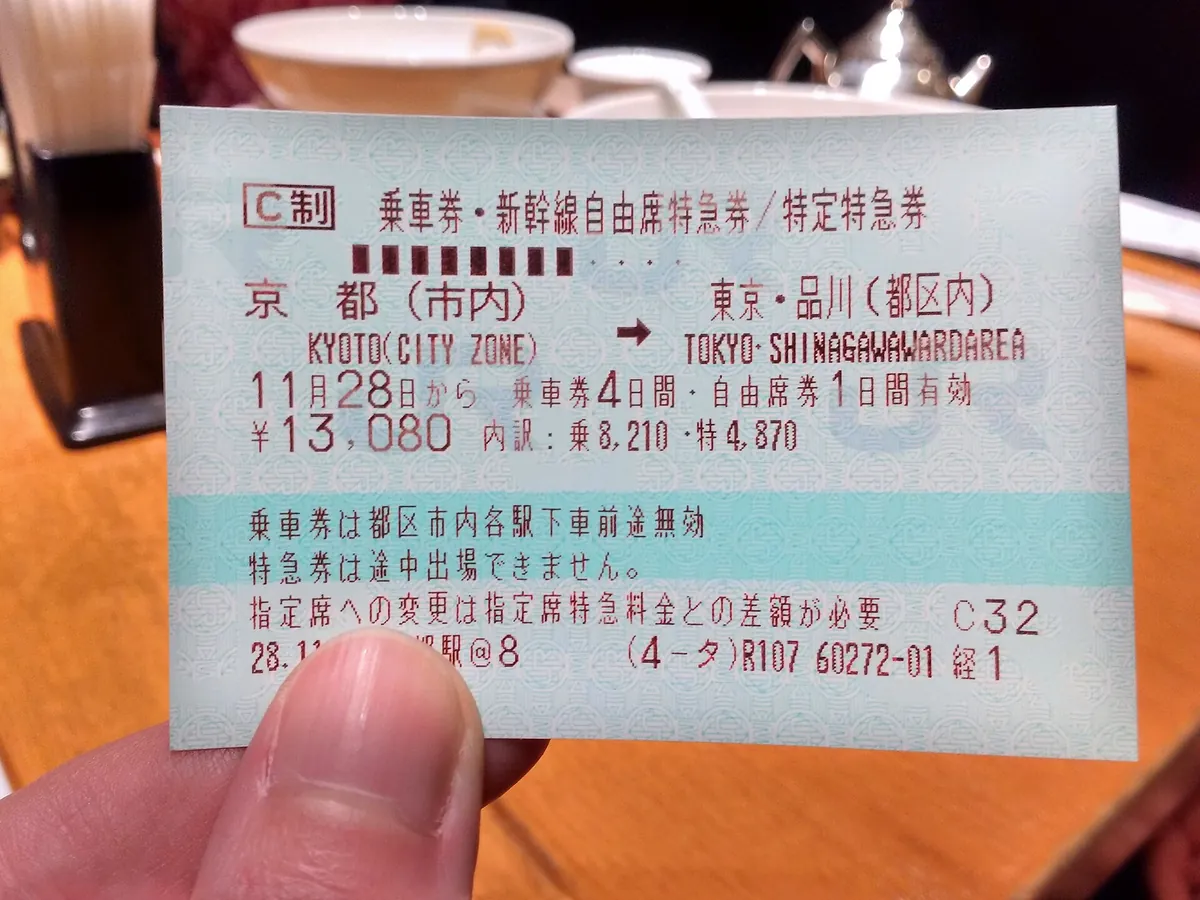
- Use local IC cards on your phone for all trains and buses.
- Ship your large suitcase between cities to save your sanity.
- Focus on one neighbourhood per day to avoid “station stress.”
- Trip Duration
- 14 days recommended
- Daily Budget
- ¥10,000–¥20,000
- Transport
- Digital IC card
Some links are affiliate links (marked “Partner link”). Prices are ranges checked in 2026; confirm on the official site before you book.
You do not need a JR Pass, you should not visit more than three cities in two weeks, and you must start using your phone’s digital wallet for trains today. If you are only doing Tokyo, close this and read the Tokyo-only plan.
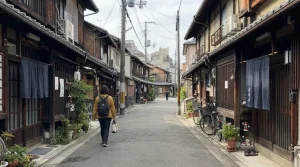
Most travelers burn out by day four because they try to “collect” landmarks like postcards. In my experience living in Osaka, the best moments are not the famous gates or towers, but the thirty minutes you spend walking from the station to your hotel through local streets.
This guide helps you navigate the system so you can focus on the sensory details instead of the stress of missing a connection.
- Terrified of getting lost in Shinjuku Station
- Worried you will buy the wrong transport pass
- Overwhelmed by too many “must-see” lists
- Stressed about luggage on crowded commuter trains
- Confused by conflicting advice on payment methods
- Wanting a balanced trip instead of a scavenger hunt
The 3-hotel rule for your 14-day itinerary
1. Anchoring your trip to minimize transitions
Moving your hotel every two nights is the fastest way to ruin a vacation. You spend your mornings checking out, finding lockers for your bags, and trying to navigate a new neighbourhood while tired.
Instead, pick three “anchor” cities. For a 14-day trip, spend five days in Tokyo, five in Kyoto or Osaka, and four in a smaller location like Kanazawa or Hakone. This allows you to unpack your bag once and get familiar with a local convenience store or a coffee shop near your base on Booking.com.
2. Choosing the right neighborhood as your base
Stay within walking distance of a major train station, but never inside the station building itself. Prices near the tracks are often higher, and the noise can be intense.
Look for accommodation about one or two stops away from the main hub. In Tokyo, staying near Ueno or Asakusa is often more peaceful than being in the middle of Shinjuku. For a hotel, look for business chains like APA or Dormy Inn, which are reliable and cost roughly ¥10,000–18,000 per night as of 2026.
Stop buying the JR Pass: A post-price-hike reality check
3. Why the national rail pass is rarely worth it
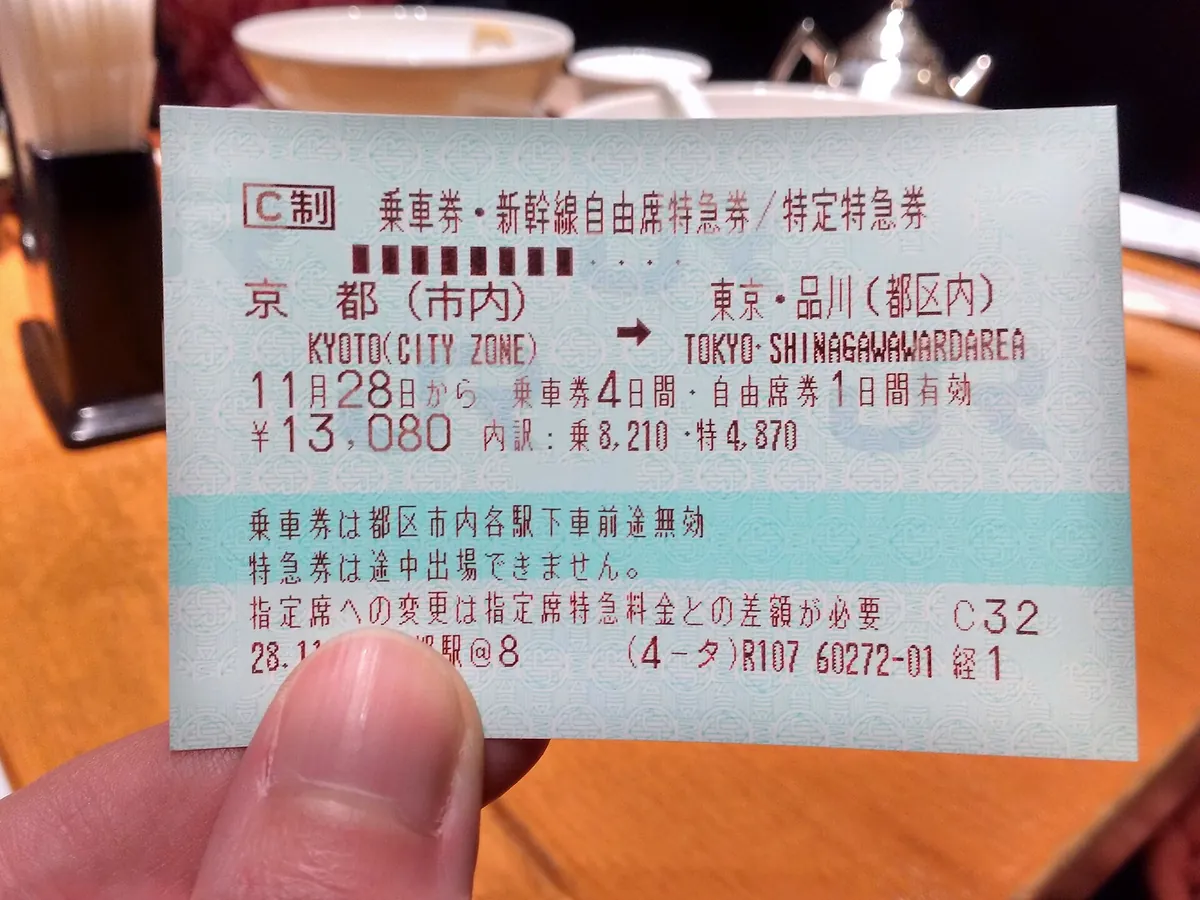
The national Japan Rail Pass was once the default choice for visitors, but the 2023 price hikes changed the math entirely. Now, it only saves you money if you are taking the bullet train (Shinkansen) almost every single day.
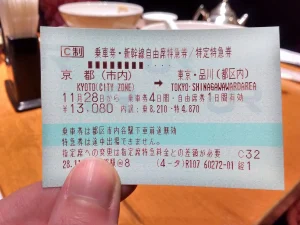
Calculate your route costs on a tool like Google Maps or the official Japan Rail Pass site before you buy. If you are just doing a round trip between Tokyo and Kyoto, buying individual tickets on Klook or at the station is significantly cheaper than the flat-rate pass.
4. Using regional passes for specific loops
If you plan to stay in the Kansai region, look at regional options like the Kansai Wide Area Pass. These are much cheaper and cover the local trains you will actually use to get around Osaka, Nara, and Kobe.
Do your research on specific regional routes rather than assuming the national pass is the “all-in-one” solution. In my experience, most first-timers save ¥20,000–30,000 by skipping the national pass and paying as they go.
How to master local train navigation without losing your mind
5. Digital IC cards: Your single most important tool
Download Suica, Pasmo, or Icoca to your smartphone’s digital wallet before you land. This is the only “pass” you truly need.
You can tap your phone at almost every ticket gate, convenience store, and vending machine in the country. It removes the need to fumble for coins or stand in line at a ticket machine when you are already exhausted.
6. Dealing with the Tokyo station maze
Do not be afraid of the size of the major stations. They are designed to be navigated by following colour-coded lines on the floor and large yellow signs hanging from the ceiling.
If you get lost, stop and look for the “Information” sign, not the platform numbers. If you take a wrong train, do not panic; get off at the next stop and ask the staff at the gate. Most staff are helpful and understand simple English directions.
What most first-timers do
What actually works
The luggage forwarding secret: Why you should travel with less
7. Use the takuhaibin service
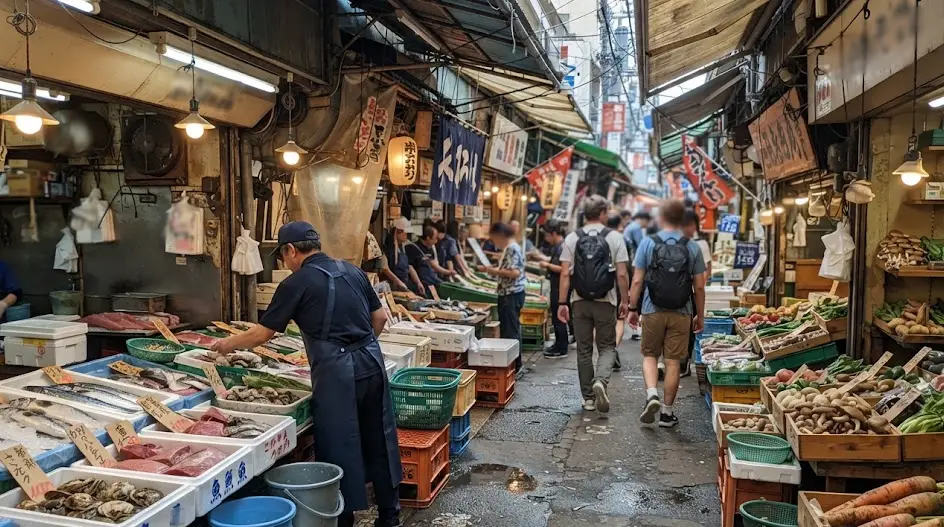
Japan has a brilliant system called “takuhaibin” that allows you to ship your suitcase from one hotel to the next. It usually arrives the following morning, leaving you free to travel on the trains with just a small backpack.
Ask your hotel front desk about this service. It costs roughly ¥2,000–3,000 per bag and is worth every yen to save you from hauling gear through crowded subway stations.
8. The benefit of traveling light
If you can fit everything into a carry-on, you will find life much easier. Many Japanese business hotels have coin-operated laundry machines in the building, so you can pack for five days and wash your clothes midway through.
I once tried to navigate a rainy Tokyo street with a giant suitcase and a broken umbrella. I have never made that mistake again. Ship your bag and enjoy the freedom of walking to your hotel with just your camera and a jacket.
Planning your visit?
Digital etiquette: Navigating convenience store culture and cashless payments
9. Cash is still king in smaller spots
While digital payments are growing, many small ramen shops, temples, and rural shops remain cash-only. Always carry at least ¥10,000 in your wallet.
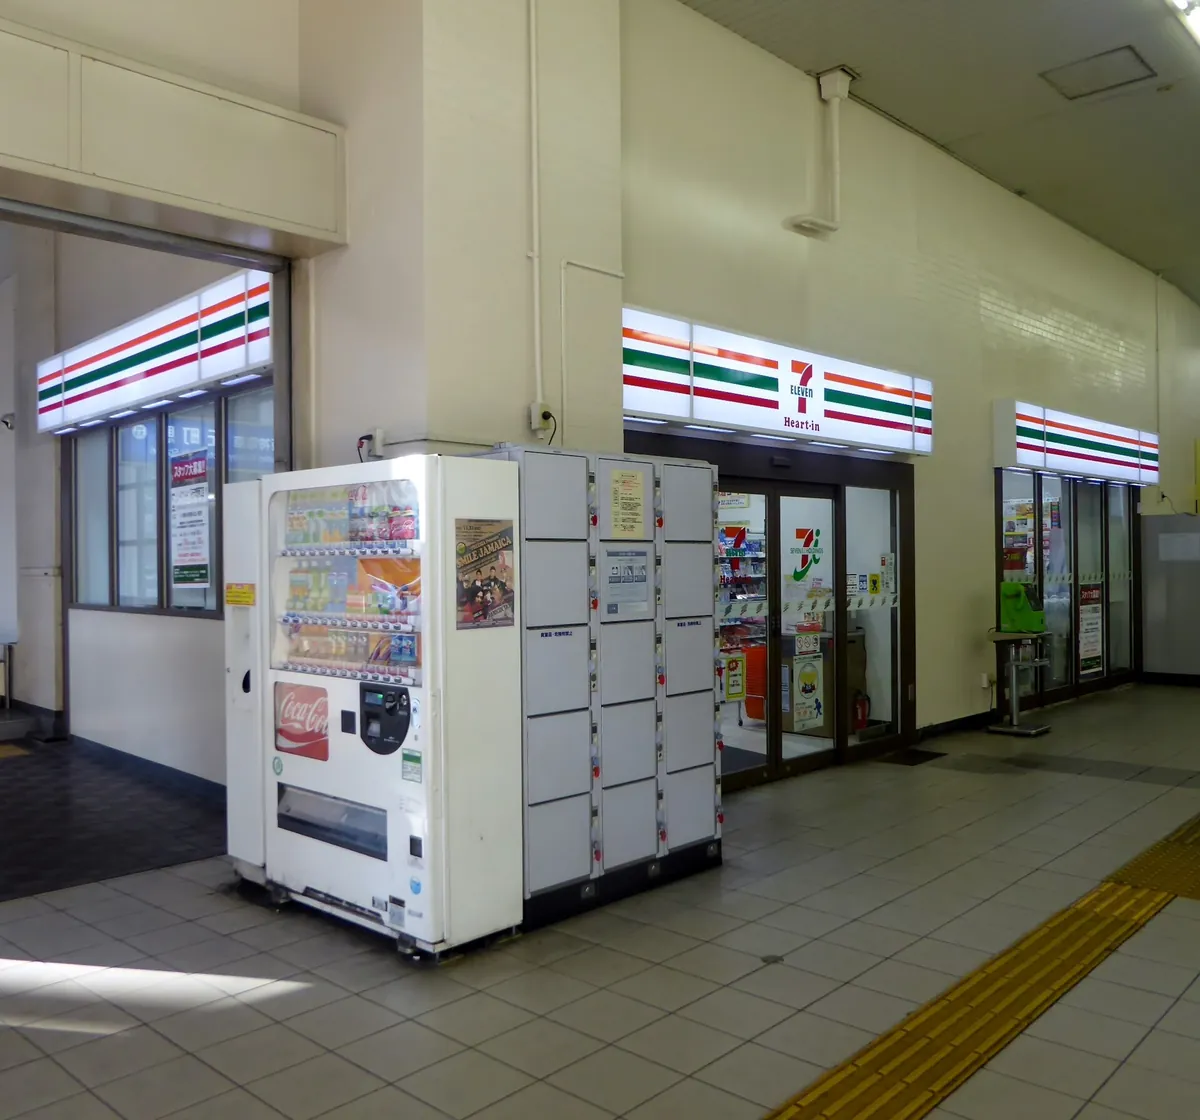
You can withdraw yen at any 7-Eleven ATM. These machines are incredibly reliable and usually accept international cards without issue. Do not wait until your wallet is empty to head to the ATM.
10. Convenience store (konbini) culture
Konbini are not just for snacks. You can print documents, pay for museum tickets, and buy hot food at places like Lawson, FamilyMart, or 7-Eleven.
If you are struggling with a booking on a site like Klook or Rakuten Travel, the staff can often help you print your voucher at the convenience store. Treat these shops as the base of your logistical operations.
Dining at the counter: Why you shouldn’t fear small shops
11. Eating alone is normal
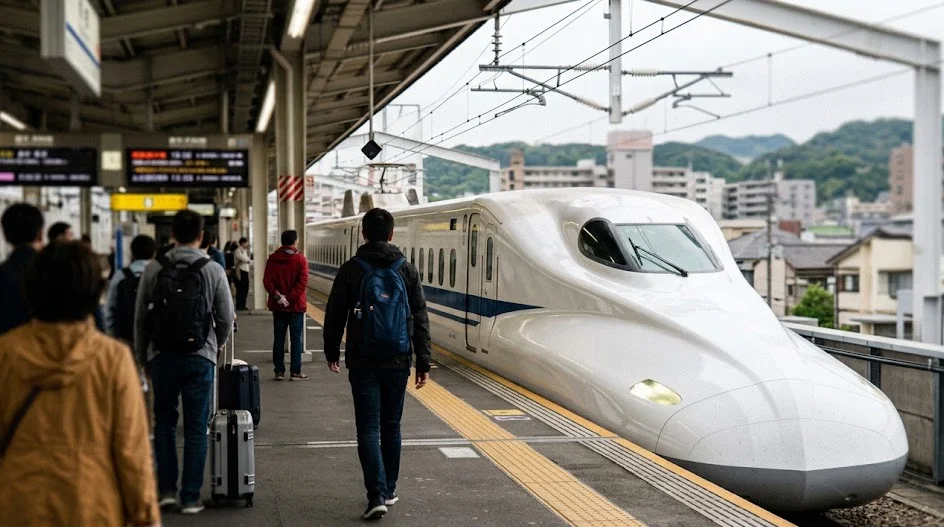
Counter seating is the standard in Japan. You will see many locals eating solo, and it is a fantastic way to enjoy a meal without feeling self-conscious.
If you see a small, narrow shop with a menu board outside, walk in. Order using the ticket machine if they have one; just buy the ticket that looks like the dish you want and hand it to the chef.
12. Don’t fear the lack of English menus
Use your phone’s camera to translate menus in real-time. If you are stuck, point at what someone else is eating and say “kore o kudasai” (this one, please).
Some of my best meals were at tiny shops near Osaka stations where I barely understood the ingredients. Just be polite, eat at a steady pace, and say “gochisosama-deshita” (thank you for the meal) when you leave.
The empty hands rule: Managing trash and personal space
13. Carry your trash with you
You will notice that public trash cans are rare. This is part of the “empty hands” culture where you take your rubbish back to your accommodation.
Keep a small plastic bag in your day pack for your wrappers and empty bottles. It is a simple habit, but it shows respect for the shared space of the city.
14. Keeping quiet on transit
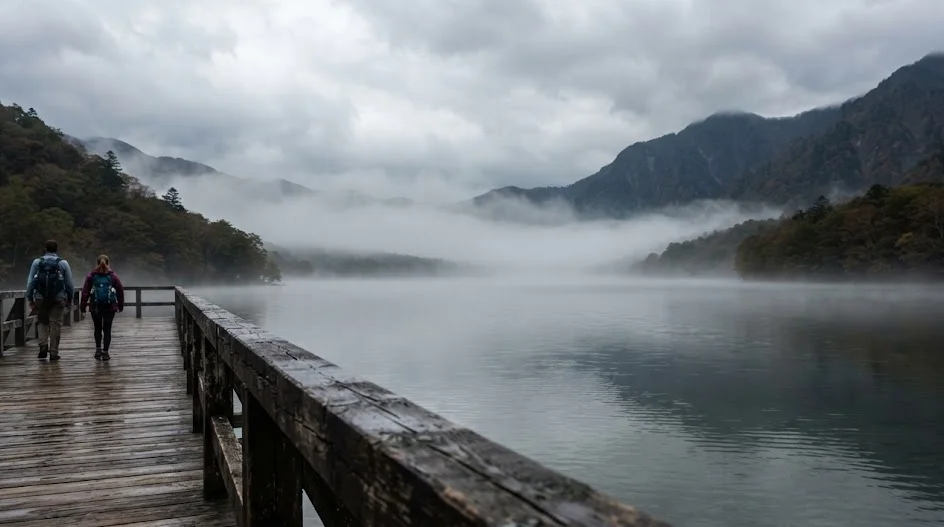
Silence is expected on trains and buses. Do not take phone calls, and keep your voice low when speaking to your travel partner.
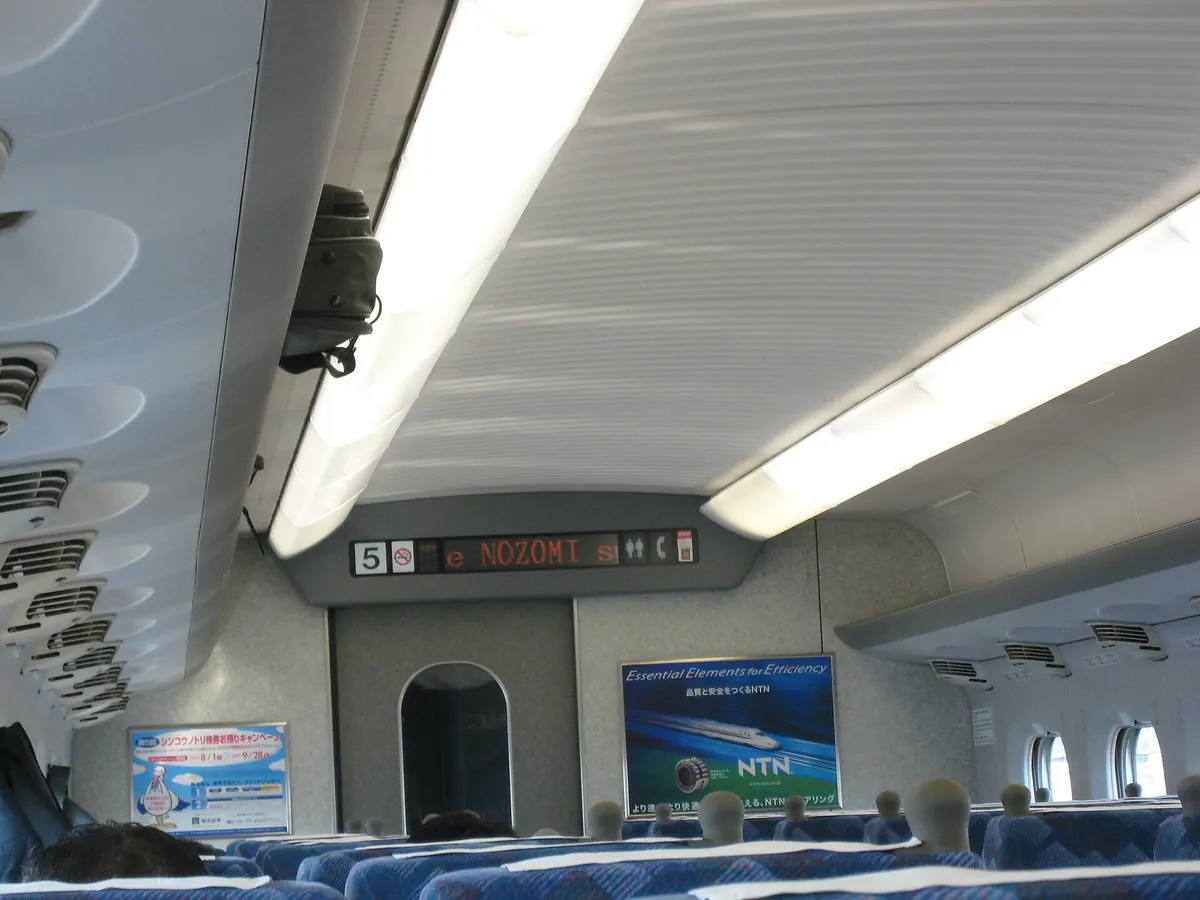
This is not about being unfriendly; it is about respecting the peace of those around you. On a long Shinkansen ride, it makes a significant difference to the comfort of everyone in the carriage.
My personal approach: How I build a buffer day into every trip
Step 1: Limit your active sights
Never book more than two activities per day. Leave the rest of the time open for wandering.
Step 2: Build in a buffer
I add a “do nothing” day every four days. It prevents the burnout that hits most first-timers.
Step 3: The 30-minute test
Spend 30 minutes walking around a new neighbourhood without a phone. It changes how you see the city.
My biggest regret in the past was a trip where I filled every hour with plans. I missed the local festival happening right outside my hotel in Kyoto because I was rushing to a pre-booked attraction across town.
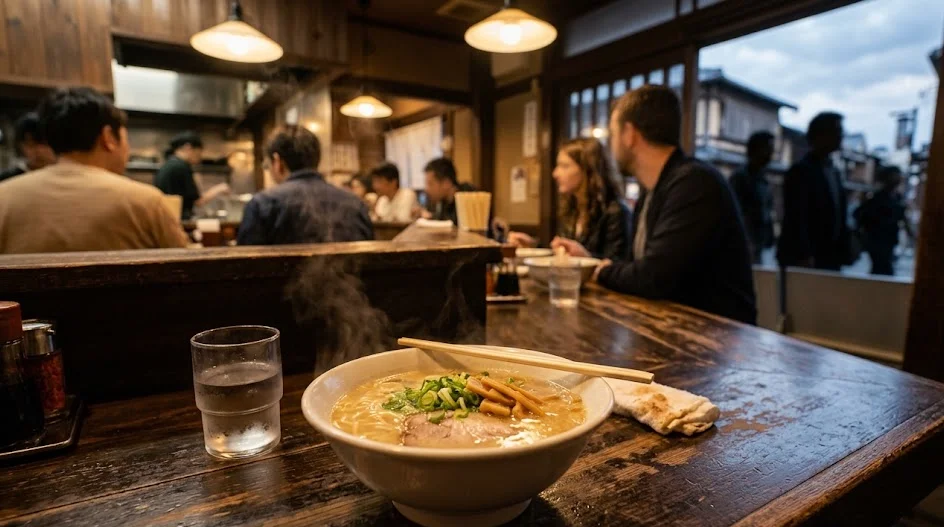
Now, I treat my schedule as a loose suggestion. If I find a quiet shrine or an interesting cafe, I stop. I have learned that the “real” Japan is what happens in the gaps between your landmarks.
The pre-departure digital setup: Tools to finish in one evening
You can solve 90% of your logistical anxiety before you even step inside the airport. Do not wait until you are standing at immigration to realize your data plan isn’t working or your digital wallet isn’t authenticated.
Download and verify your transit apps while sitting on your couch at home. You need to ensure your Suica or Pasmo is correctly added to your iPhone or Android digital wallet.
If you are using an iPhone, you can add these directly through the Wallet app. For Android, you may need the Osaifu-Keitai app, though many international devices struggle with this; if you are unsure, buy a physical Welcome Suica at the airport instead.
Secure your connectivity with an eSIM like Airalo or Ubigi. Do not attempt to rely on hotel Wi-Fi or roaming plans from your home carrier, which are often prohibitively expensive.
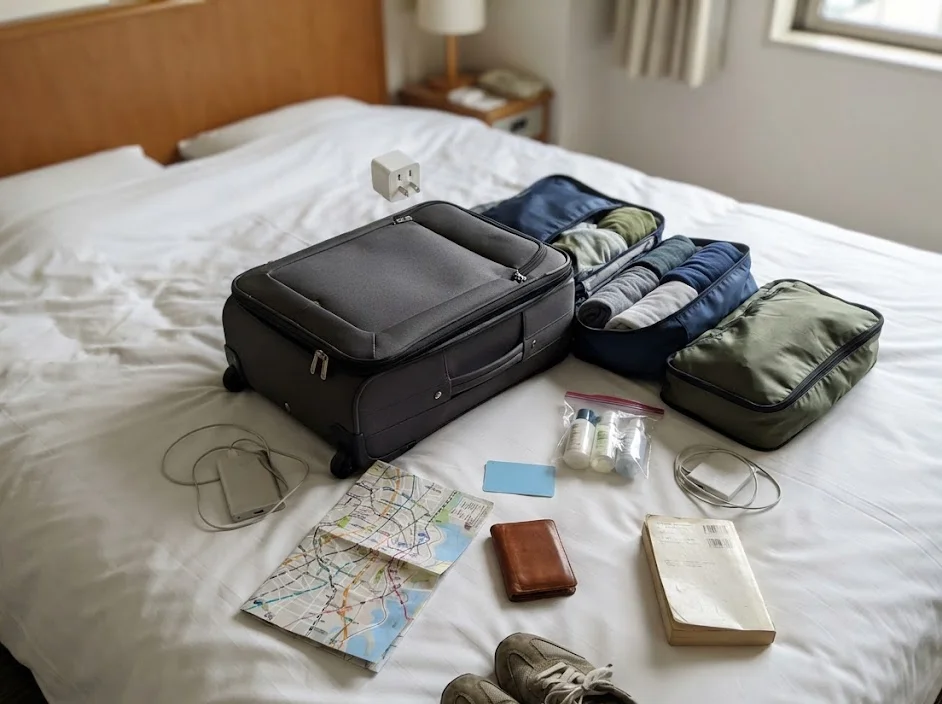
You can purchase and install these digital SIMs from home, and they activate automatically the moment you land on Japanese soil. This gives you instant access to Google Maps, which is the only way to navigate train transfers without losing your mind.
- Set up Google Maps with offline areas for your destination cities.
- Save your hotel addresses as pinned “Stars” in your map app for quick access.
- Install a translator app like Google Translate and download the Japanese language pack for offline use.
- Ensure your credit card issuer knows you are traveling to avoid having your card locked for suspicious activity.
If you prefer having a dedicated booking platform for your tickets, organize these accounts now. Set up your logins for Klook or GetYourGuide to manage your museum or attraction bookings in one place.
Having these confirmations saved in a dedicated email folder or app prevents you from frantically searching for QR codes when you arrive at a busy entrance.
Preparation is the difference between starting your trip with a migraine and starting it with a walk through the park.
Beyond the myths: Etiquette that actually keeps you out of trouble
Many online guides focus on bizarre, niche social rules that rarely impact a tourist. Forget the complex etiquette about bowing angles or how to hold your chopsticks; focus on the handful of behaviors that directly impact your relationship with locals and staff.
The most critical rule is avoiding “noise pollution.” While Western travel blogs often mention this, they rarely explain the stakes. Japanese commuters use train rides to rest or read.
Raising your voice, even if you are just laughing with a friend, is treated as a major disruption. If you must talk, keep it to a whisper. If you have a phone call, step off the train at the next stop and wait on the platform.
Respecting queuing culture is equally vital. Whether you are waiting for a bus, a train, or a popular ramen shop, lines are sacrosanct. You will often see painted marks on the ground at train platforms; these indicate exactly where the doors will open.
Stand in the line behind those marks, not to the side or in the middle. Cutting in line is one of the few social transgressions that will draw immediate, vocal irritation from locals.
Simple steps to avoid social friction:
- Never eat or drink while walking on the street. Find a park bench or stay at the shop where you bought the item.
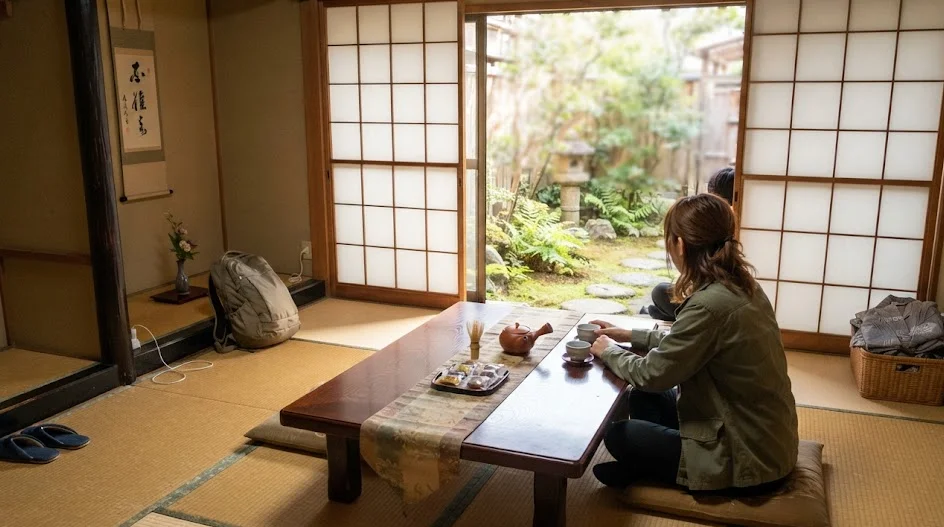
- Always look for a “shoe rack” or designated area at entrances. If you see slippers, you are expected to take your shoes off.
- When paying at a counter, never hand your money directly to the staff. Place your bills or coins into the small plastic tray provided at the register.
- Keep your voice low in public spaces like department stores and lobbies, as these are often treated as semi-quiet zones.
One final point: do not touch merchandise in shops more than necessary. In many small boutiques, the staff prefer to pick up the item for you or watch as you inspect it. If you are unsure, a simple smile and a gesture toward the item is usually enough to signal your interest without committing a faux pas.
Being a respectful guest is not about mimicking Japanese behavior perfectly, but about reducing the noise and clutter you add to the environment.
 ReaderYuki
FAQ
Q15. Should I get an eSIM for my phone?
Yes, absolutely. Using an eSIM like Airalo or Ubigi is much easier than renting a pocket Wi-Fi device. It is active the moment you land, it does not require you to carry an extra battery, and you will not have to worry about returning a physical device before you fly home.
Q16. How much cash should I keep on me?
Aim to have at least ¥10,000–20,000 in your wallet at all times. Even if you use your phone for trains, smaller shops and temple entry fees often require exact change in coins or small notes.
Q17. Is it okay to use English in smaller towns?
Yes, but keep your sentences short and polite. Learning a few basic phrases like “sumimasen” (excuse me) and “arigato” (thank you) goes a long way. Most people are patient if you show that you are trying to be respectful.
Q18. Do I need an adapter for my electronics?
Japan uses two-pronged flat plugs similar to the US. If you are bringing devices with three-prong plugs, you will need a travel adapter to fit them into the wall sockets.
Q19. Are there lockers at train stations?
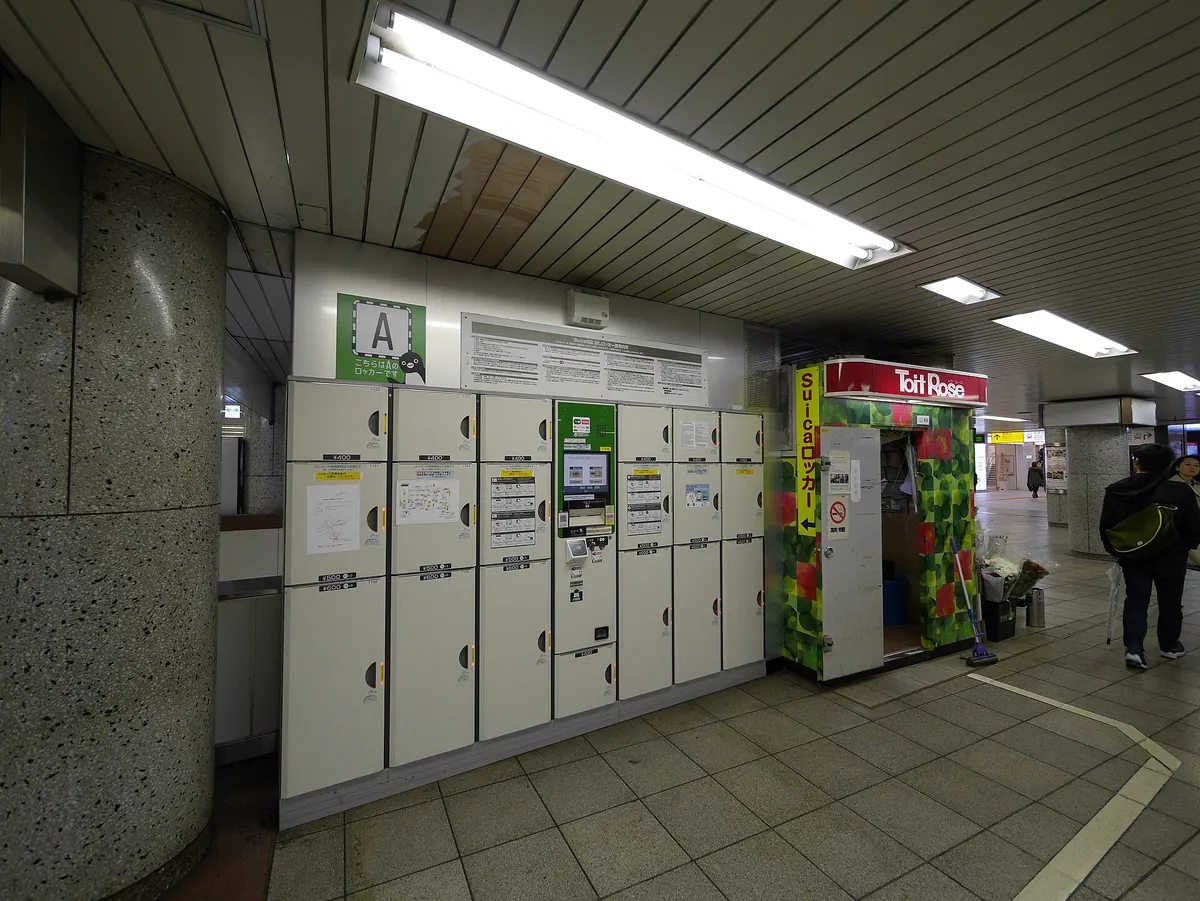
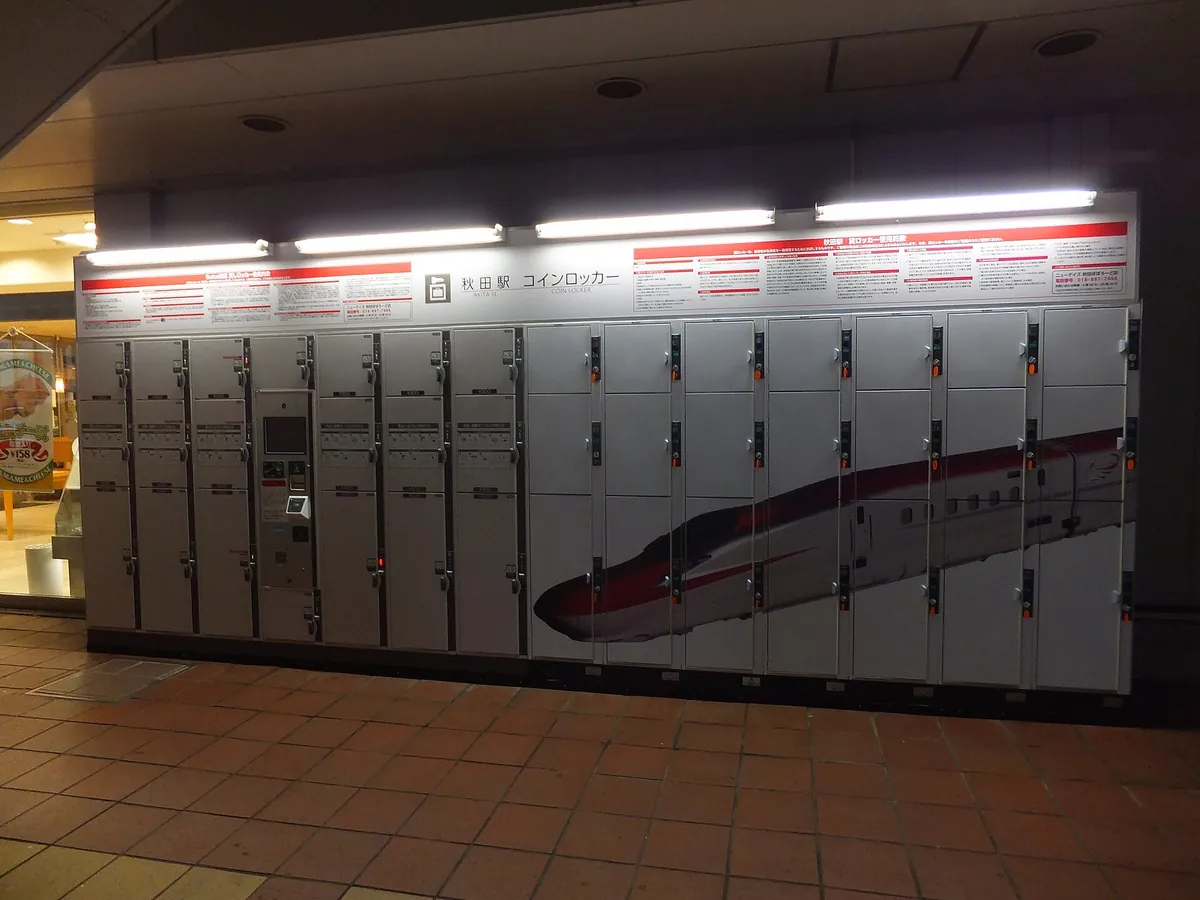
Yes, most major stations have coin-operated lockers. They are perfect for storing day bags, but make sure to memorize your locker number or take a photo of the location so you can find it again.
Planning your first trip to Japan likely feels like a mountain of confusing logistics that you are terrified to mess up.
Stop worrying about every train connection, lock in your three anchor cities, and trust that you can figure out the rest of the details once you are actually on the ground.
Keep planning
- ① Install and test your eSIM before take-offAiralo and Ubigi eSIMs activate on arrival, but the install itself needs Wi-Fi. Do it at home and confirm the profile shows up in your phone settings.
- ② Save your first hotel’s address in JapaneseTaxi drivers and station staff read Japanese addresses far faster than romanised ones. Copy it from the booking confirmation into your notes app.
- ③ Set aside cash for day oneMany small restaurants, temples and rural buses are still cash-only. Airport ATMs at 7-Eleven and the post office accept most foreign cards.
Skip these and your first hour in Japan goes on finding Wi-Fi at the station instead of getting to your hotel.
🔍 How to sanity-check any price you read online
Blogs (including this one) go out of date. The official page always wins over a screenshot from two years ago.
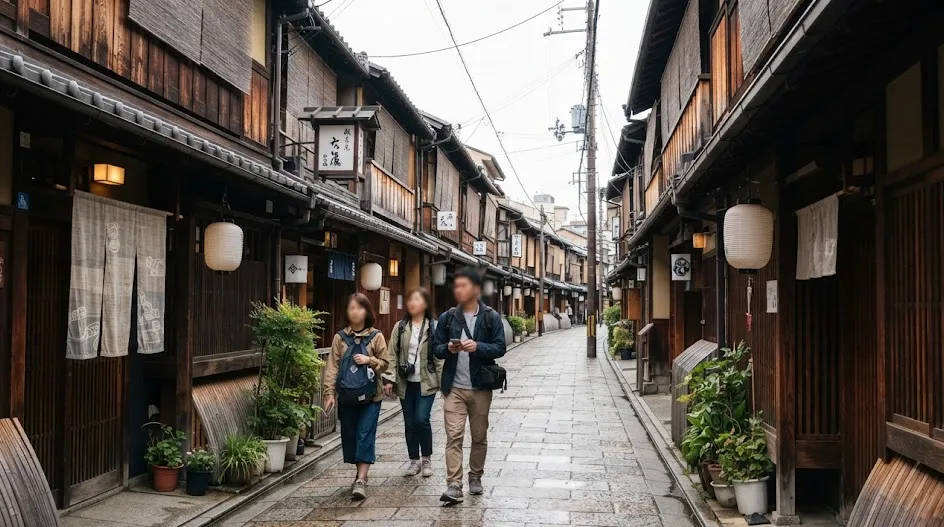
Cover Photo: Marek Ślusarczyk (Tupungato) Photo portfolio, CC BY 3.0, via Wikimedia Commons