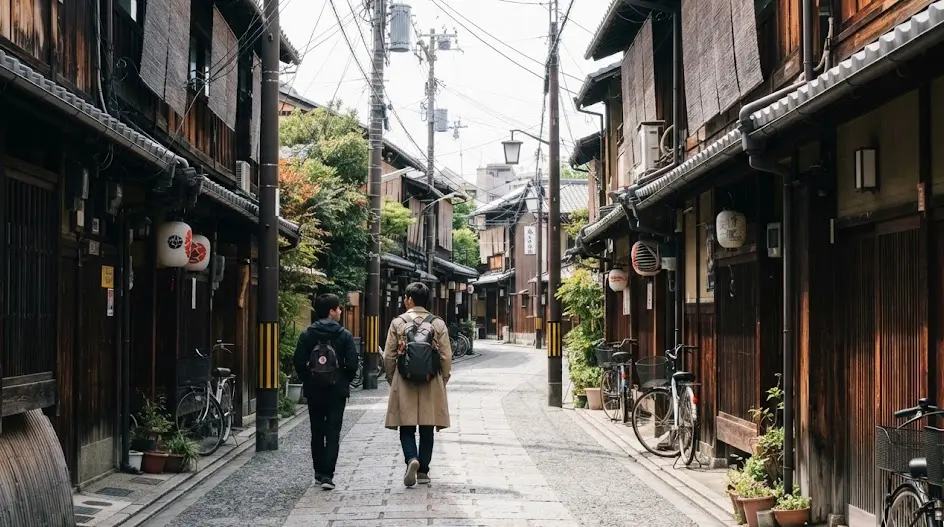

- Best overall: Airalo or Ubigi eSIM for instant, app-based setup.
- Best for groups: Rental Pocket WiFi for sharing data on multiple devices.
- Best for long stays: Local prepaid data SIMs if your phone is unlocked.
- Trip length
- 10–14 days
- Typical cost
- ¥1,500–¥5,000 per person
- Key base
- Osaka
- Best practice
- Activate before leaving home
- Tech required
- Unlocked phone
Top picks
Where we would book this
Airalo
Widely known eSIM marketplace with a simple app
- Best for
- Data-only eSIM for Japan (multi-day and regional plans)…
- Checked
- September 2026
Official site. Same price for you.
Where we would book this
Ubigi
Runs on NTT Docomo, the network with the widest rural coverage in Japan
- Best for
- Data eSIM for Japan on the NTT Docomo network
- Checked
- September 2026
Official site. Same price for you.
Some links are affiliate links (marked “Partner link”). Prices are ranges checked in 2026; confirm on the official site before you book.
One unlocked smartphone and two minutes of setup are all that separate you from reliable navigation across Tokyo, Osaka, and beyond. If your current device supports eSIM technology, you can skip the airport kiosks and have a data plan ready to activate before you even touch down at Kansai International Airport.
Three variables that define your connection needs

Choosing the right method for your trip depends on how many people are in your travel party and the specific hardware you carry. Most solo travelers and couples find that digital solutions eliminate the weight and maintenance of extra equipment.
If you prefer a physical connection, ensure your home provider has officially unlocked your handset before you leave. Japan’s networks rely on specific bands, so checking for compatibility prevents you from being stranded without a map.
- Is my phone SIM-lock free?
- Do I have an eSIM-compatible device?
- Are there 3+ people sharing my connection?
- Am I carrying a reliable power bank?
- Do I need a local Japanese phone number?
- Will I be moving between remote rural areas?
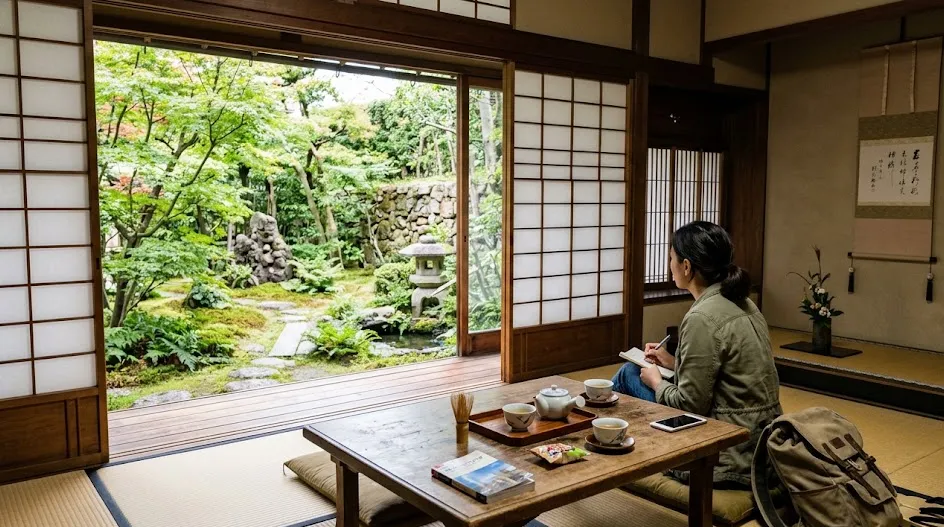
The case for digital eSIM convenience
The modern standard for solo visitors is the eSIM. It removes the risk of losing a tiny piece of plastic or dealing with fragile rental equipment.
Airalo for quick activation
Airalo is often the go-to for travelers who want to set up their data from a hotel room or while waiting in the departure lounge. It operates via an app, which makes tracking your remaining gigabytes simple.
Expect to pay in the range of ¥1,500–¥3,500 depending on the data package you choose. As of 2026, check the official site for regional-specific limitations.
Ubigi for heavy data users
I frequently use Ubigi when I know I will be tethering my laptop or using video calls during my commutes. It tends to handle high traffic volume effectively when moving through busy hubs like Shinkansen stations.
Prices usually fall within the ¥2,000–¥4,500 bracket. Always double-check your current data usage before topping up mid-trip.
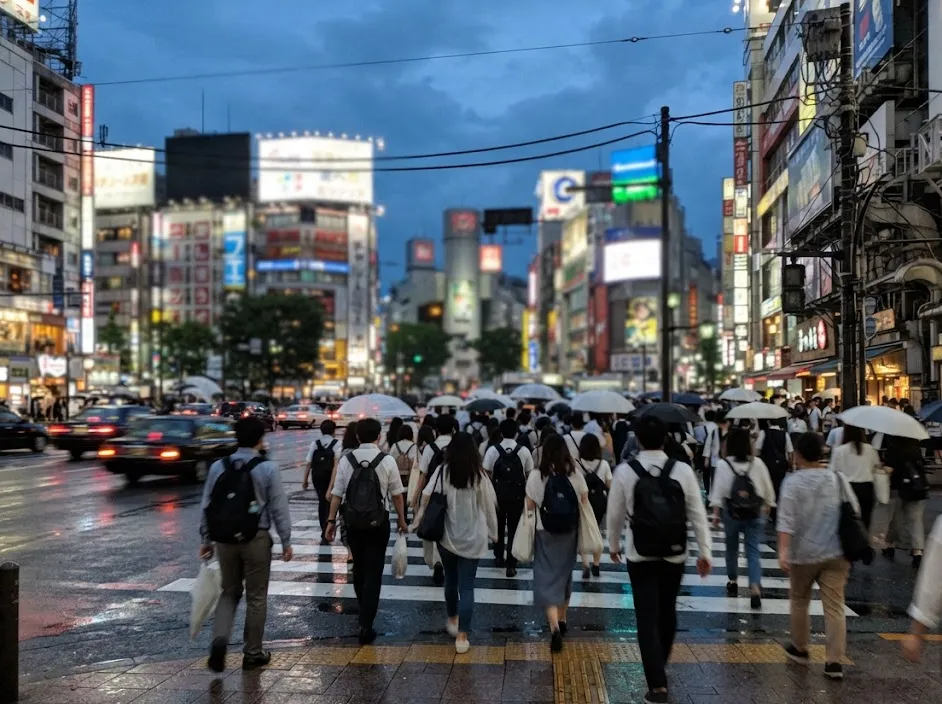
When a pocket WiFi is the smarter choice
While digital options are sleek, physical hardware still serves a purpose. If you travel with a family or a group, a single pocket WiFi rental allows you to consolidate your connectivity costs.
Sharing for groups of three or more
If you are traveling with four people, paying for four individual eSIM plans often costs more than renting one shared device from providers on Klook or similar platforms. You simply carry one unit and a dedicated charging cable.
Renting one of these devices for two weeks can range from ¥5,000–¥9,000. Do not forget to account for the weight in your daily bag.
The battery life management struggle
The biggest mistake I see involves forgetting to charge the unit overnight. If you run out of power in the middle of a day trip to Nara, you lose your maps and translation tools simultaneously.
Always carry a 10,000mAh power bank, which you can purchase on Amazon before your flight. Never rely on the unit to last 12 hours of constant GPS usage.
Why physical SIM cards are a relic
Buying a local SIM card at an airport counter was once the only way to get online, but the process is inefficient. You waste valuable time standing in long queues after a exhausting international flight.
Digital alternatives are now faster and often offer better support. If you arrive at an odd hour, physical shops may be closed, whereas an eSIM works the moment you turn off airplane mode.
Side by side: Comparing your connectivity
← Swipe to see the full table →
| Option | Best For | Est. Cost |
|---|---|---|
| eSIM | Solo/Couple | ¥1,500–¥4,000 |
| Pocket WiFi | Groups | ¥5,000–¥10,000 |
| Physical SIM | Long Stays | ¥3,000–¥6,000 |
Plan your trip: the tools we use
Our pick: Airalo eSIM for the vast majority of visitors who want to avoid extra hardware.
Partner link.
Common mistakes to avoid during setup

Tech fear often stems from skipping the preliminary checks. Follow these steps to ensure you remain connected throughout your journey.
Step 1: Check your phone lock
Contact your home carrier to confirm your phone is unlocked for international use.
Step 2: Install before you leave
Set up the eSIM profile while you have reliable home WiFi to avoid connection errors.
Step 3: Test your APN settings
If the data does not kick in, verify that your Access Point Name settings match the provided instructions.
If you are struggling to get online, turn your phone completely off and back on again after landing. This forces the device to re-scan for the local Japanese towers.
One time, I forgot to disable my home data roaming entirely. My phone pulled a large system update, draining my travel balance instantly. Always toggle your home SIM to “Off” in your cellular settings before landing.
How we chose these recommendations

We base these findings on our own recurring travel experiences across Japan. We look at ease of installation, network coverage in secondary cities like Kanazawa, and transparency in pricing.
We verified these general price ranges as of early 2026 by checking platforms like Klook and direct carrier websites. While we cannot test every single regional provider, the options listed are those that consistently provide stable access for foreign visitors.
Recommended connectivity options by travel style
- eSIM users: Those who prioritize speed, digital setup, and zero weight.
- Pocket WiFi users: Groups, families, or travelers who lack compatible hardware.
- Physical SIM users: Those staying for months who need a local phone number.
If you have an unlocked phone, skip the hardware and use an eSIM to save your battery and sanity.
Real-world data usage: Planning your digital footprint
Many travelers overestimate their data needs, leading to expensive “unlimited” plans they never fully utilize. In Japan, your data consumption is heavily skewed toward navigation, translation, and photo uploads, rather than high-definition video streaming.
If you stick to Google Maps for navigation and basic web searches, you will rarely exceed 500MB per day. Even with moderate social media usage, a 10GB package is more than enough for a standard two-week trip.
Keep in mind that hotel and cafe WiFi in Japan is widespread and reliable, further reducing your cellular data drain. You can use public networks for heavy updates or video uploads to save your mobile data balance.
Data consumption benchmarks
- Standard navigation (Google Maps): ~50MB per hour of constant use.
- Social media scrolling (Instagram/TikTok): ~200MB to 500MB per hour.
- Video calling (Zoom/FaceTime): ~500MB to 1GB per hour.
- Background system updates: Potentially unlimited (Disable these before landing).
For most visitors, I suggest purchasing a 10GB or 20GB plan rather than paying the premium for unlimited data. If you are a heavy user who plans to work while traveling, monitor your usage via the Airalo or Ubigi apps throughout the first three days.
You can always purchase a top-up if you hit your limit, but you cannot get a refund for unused gigabytes. Always prioritize flexibility over pre-purchasing massive, unnecessary data buckets.
Be aware that some “unlimited” plans in Japan implement a fair usage policy. This means that if you exceed a certain threshold, such as 2GB in a single day, your speed will be throttled to a crawl until the following morning.
Check the official site for specific carrier restrictions before finalizing your purchase to avoid a surprise slowdown.
 ReaderYuki
Avoid the habit of leaving your data roaming on while you are in your hotel room. Most modern smartphones are smart enough to prefer the local WiFi network, but disabling cellular data for non-essential apps in your settings menu ensures your data plan lasts the entire trip.
For a 10-day trip in 2026, you should expect to spend between ¥1,500 and ¥3,000 for a sufficient data-only plan. Check the official site for seasonal price fluctuations.
Managing connection failures and troubleshooting
Even with the most reliable provider, technical hiccups occur. Understanding how to manually reset your connection is a vital skill that prevents a small configuration error from ruining your day in Osaka or Kyoto.
The most common issue is a failure to connect after landing. Your phone may struggle to handshake with the local network immediately after you disable airplane mode. If this happens, perform a hard restart of your device. This is the single most effective way to force a fresh search for local signal towers.
Steps for manual network selection
- Navigate to your cellular settings and toggle “Automatic” carrier selection to off.
- Wait for the device to scan for available networks like Docomo, Softbank, or KDDI.
- Select the network that matches the instructions provided in your setup guide.
- If connection fails, toggle airplane mode on and off again to cycle the radio.
If you encounter a “No Service” error, your APN settings are likely the culprit. Many modern eSIMs configure this automatically, but some still require manual entry.
Refer back to the email sent by your provider; it will contain the specific APN name, username, and password required to authenticate your device on the Japanese network.
In the rare event that your primary connection fails entirely, have a backup plan. I recommend downloading offline maps for the Kansai region in Google Maps before you depart.
This ensures you can navigate to your hotel or a major train station even without a working data connection. It costs nothing and provides essential peace of mind.
If your device is physically damaged or the eSIM profile is corrupted, do not panic. Most major transit hubs, including Kansai International and Osaka Station, feature public tourist WiFi.
You can use these free spots to reach out to your provider’s customer service via email or WhatsApp. Reliable support is generally available 24/7 for the top-tier digital providers, so you will not be left stranded for long.
Why a Local Japanese Phone Number is Occasionally Essential
Most travelers survive on data-only plans, but there are specific scenarios where a voice-capable local number becomes a strategic asset. While apps like WhatsApp cover basic communication, many traditional Japanese businesses still operate on phone-based verification systems.
If you plan to rent a car or visit specialized, high-end restaurants that require a local contact point for reservations, a data-only eSIM will leave you stuck. Some booking platforms and local service providers explicitly ask for a +81 mobile number to send SMS confirmation codes.
You may also find that specific delivery services or luggage forwarding companies appreciate having a reachable number in case they cannot locate your hotel or need to clarify a drop-off time. Without one, you are essentially invisible to the local logistics network.
When to prioritize voice capabilities
- You are booking independent, non-chain restaurants that do not use web-based platforms.
- You have arranged for complex luggage forwarding and want to be reachable by the courier.
- You are renting a vehicle and the agency requires a Japanese emergency contact number.
- You are visiting remote guesthouses where the host prefers phone calls over email inquiries.
If you decide you need these features, you must look for specialized providers like Mobal or Sakura Mobile. Unlike standard eSIMs, these often require a physical SIM or a more rigorous registration process involving a passport scan.
Expect to pay a premium for these services, ranging from ¥4,000 to ¥8,000 for a short-term plan; always check the official site for the latest documentation requirements. These plans often act as a bridge between a standard tourist traveler and an expat-level connection.
Do not go out of your way to secure a voice number unless your itinerary is filled with off-the-beaten-path bookings. For the average visitor staying in hotels and using major transit hubs, the convenience of a data-only eSIM remains the superior choice.
Strategic Backup Plans for Connectivity Emergencies
Relying on a single digital solution for your entire trip is efficient, but it carries a single point of failure: if your device breaks or the eSIM configuration fails, you are suddenly offline in a foreign country. A redundant backup strategy is the hallmark of an experienced traveler.
My golden rule is to keep a secondary, low-cost eSIM profile ready to activate on a different network provider. If your primary connection on Softbank struggles in a specific region, having a backup profile on Docomo or KDDI that you can activate via your hotel WiFi provides an instant fix.
Another layer of protection is downloading offline resources before you leave home. This includes maps for your destination cities, translation dictionaries, and even screenshots of your hotel address in both English and Japanese.
You should never rely on the internet to load your hotel address when you are standing at the train station.
Essential offline tools for your trip
- Google Maps: Download offline maps for Osaka, Tokyo, and Kyoto specifically.
- Google Translate: Download the Japanese language pack for real-time text translation without data.
- Navitime or Jorudan: Keep screen captures of your major train routes and platform numbers.
- Cloud Storage: Keep your digital tickets, hotel vouchers, and passport copies in an offline-accessible folder.
If your digital setup completely fails and you have no backup, visit a major electronics store like Yodobashi Camera or Bic Camera. They often carry physical prepaid SIM cards that you can install immediately.
Prices can be high, usually ranging from ¥3,000 to ¥6,000; check the official site for store-specific availability. Always maintain a physical folder in your day pack containing the address of your accommodation.
Even in a hyper-connected city like Osaka, knowing exactly where you need to go without needing a map is the best security measure you can have. By preparing for the possibility of a failure, you remove the anxiety that often accompanies travel tech.
Most of the time, you will never need your backup, but having it available allows you to navigate the country with total confidence.
FAQ
QDo I need a local Japanese phone number?
Most travelers do not. You can book restaurants, message hotels, and call taxis through apps like Google Maps or WhatsApp. If you strictly require one for business, look for specialized long-term SIM providers.
QWhat if my phone is locked?
You have no choice but to rent a pocket WiFi. If you cannot unlock your phone, check if your home provider offers a global roaming plan, though this is usually the most expensive option.
QCan I use a Japanese eSIM with a JR Pass?
They are unrelated. You use your digital connection to find your train platform, while the JR Pass or a digital ticket on a platform like Klook manages your actual seat reservation.
QIs 5G available everywhere in Japan?
In major cities like Osaka and Tokyo, yes. However, do not expect blazing 5G speeds in the rural mountains of Shikoku. 4G coverage is still the bedrock of rural Japanese connectivity.
QHow do I know how much data I need?
For a 10-day trip using maps and social media, 10GB is usually plenty. If you stream video during your long Shinkansen rides, aim for an unlimited plan.
The technical stress of staying connected is a common hurdle, but it is entirely manageable with a little preparation.
Stop hunting for the perfect plan on forums and lock in an eSIM today so you can focus on your itinerary.
Keep planning
- ① Install and test your eSIM before take-offAiralo and Ubigi eSIMs activate on arrival, but the install itself needs Wi-Fi. Do it at home and confirm the profile shows up in your phone settings.
- ② Save your first hotel’s address in JapaneseTaxi drivers and station staff read Japanese addresses far faster than romanised ones. Copy it from the booking confirmation into your notes app.
- ③ Set aside cash for day oneMany small restaurants, temples and rural buses are still cash-only. Airport ATMs at 7-Eleven and the post office accept most foreign cards.
Skip these and your first hour in Japan goes on finding Wi-Fi at the station instead of getting to your hotel.
🔍 How to sanity-check any price you read online
Blogs (including this one) go out of date. The official page always wins over a screenshot from two years ago.