
- Connectivity type
- Data-only eSIM
- Budget range
- ¥1,200 – ¥3,000
- Key requirements
- Carrier-unlocked device
Top picks
Where we would book this
Airalo
Widely known eSIM marketplace with a simple app
- Best for
- Data-only eSIM for Japan (multi-day and regional plans)…
- Checked
- September 2026
Official site. Same price for you.
Where we would book this
Ubigi
Runs on NTT Docomo, the network with the widest rural coverage in Japan
- Best for
- Data eSIM for Japan on the NTT Docomo network
- Checked
- September 2026
Official site. Same price for you.
The myth that you cannot navigate Japan without a local mobile number is as persistent as it is outdated.
We have spent months riding regional lines and staying in independent ryokans, and we have found that for the vast majority of visitors, a data-only eSIM is more than enough to handle everything from Google Maps to late-night check-ins.
If you are a solo traveler or a couple planning a 10-to-14-day trip, you can skip the expensive “voice-enabled” plans.
Most modern booking platforms handle reservations digitally, and when you truly need to call a shop, VoIP apps are cheaper and far more reliable than tourist SIM cards that often lack reliable SMS authentication.
Some links are affiliate links (marked “Partner link”). Prices are ranges checked in 2026; confirm on the official site before you book.
Criteria that matter for your mobile connectivity
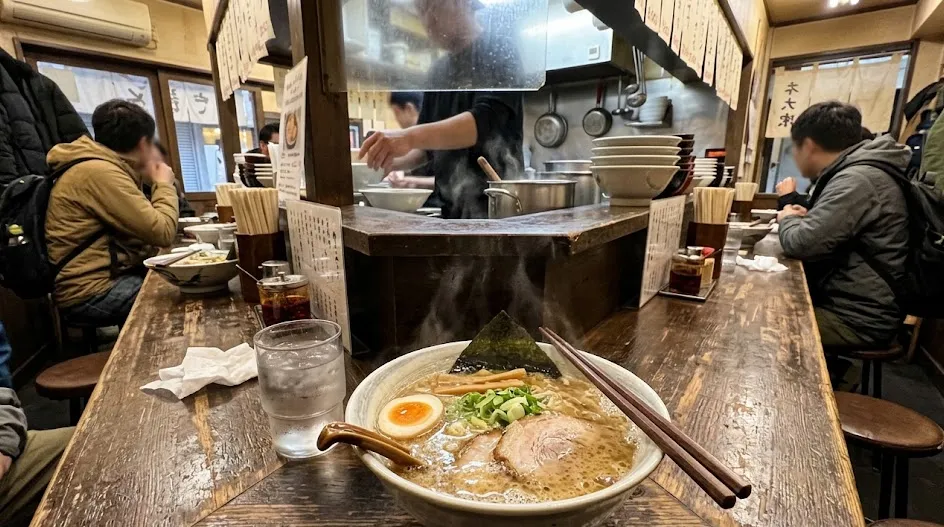
Choosing a Japanese eSIM requires balancing convenience against the reality of your actual needs.
You should prioritize data stability and network compatibility over the ability to make traditional phone calls.
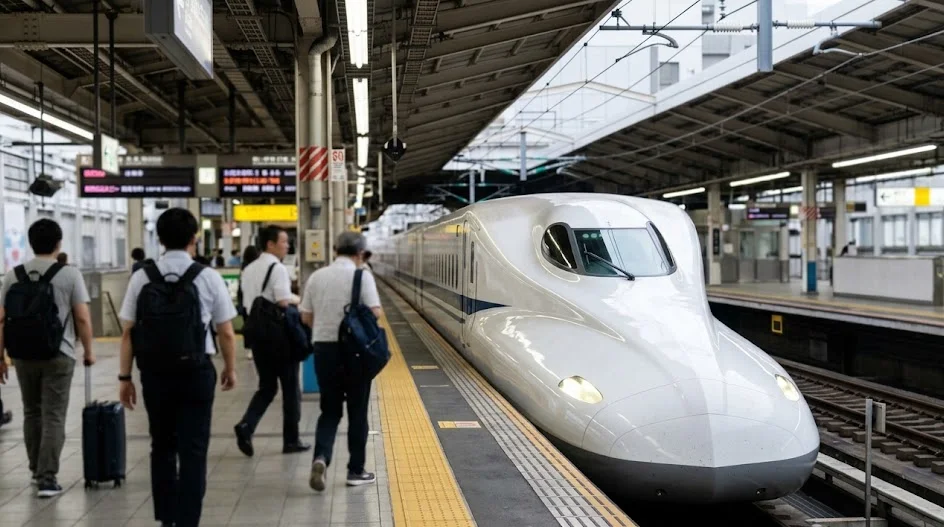
Reliability in tunnels, especially on the Shinkansen, is the most important factor for a smooth trip.
We look for providers that access major domestic networks like NTT Docomo or SoftBank.
- Does it support high-speed 5G or stable 4G?
- Is the installation process just a QR code scan?
- Does it offer a fair-use policy for data?
- Can I top up the data remotely if I run out?
- Does it require a Japanese identity check?
- Do I need a number for government verification?
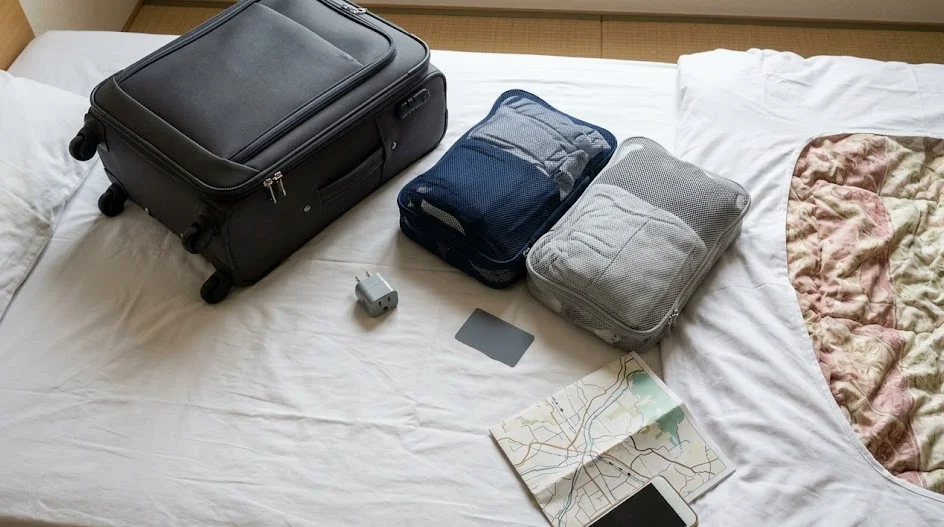
Best data-only eSIMs for the average visitor
The Airalo experience for Japan
Airalo provides a straightforward way to get online the moment you land. Their plans are usually volume-based, allowing you to choose exactly how much data you need for your trip duration.
We have used these to navigate the maze-like corridors of Shinjuku Station without issue. The main drawback is that you cannot use this for any verification that requires a Japanese text message.
Expect to pay roughly ¥1,500–¥3,000 for a 10GB package, depending on the current promotion.
Why Ubigi is a solid backup
Ubigi is another consistent option that we find works well in both rural areas and city centers. Their interface is clean, and the installation rarely glitches.
If you are starting your trip at Kansai International Airport, you can usually activate this while waiting for your luggage. Like most data-only options, it is strictly for internet traffic, not for placing voice calls.

Prices generally track between ¥1,200 and ¥2,800 for two weeks of moderate use.
Comparison of top eSIM providers
← Swipe to see the full table →
| Provider | Best For | Rough Cost |
|---|---|---|
| Airalo | Short-term travelers | ¥1,500–¥3,000 |
| Ubigi | Stable, fast data | ¥1,200–¥2,800 |
| Local SIM | Long-term residents | ¥3,000+ |
Plan your trip: the tools we use
Our pick: Airalo, because most travelers will never actually use the voice features they pay extra for.
Partner link.
The reality of the VoIP workaround for services

Booking restaurants without a local number
You rarely need to call a restaurant yourself these days. Most high-end and mid-range spots use reservation platforms where you can input an international number.
If a place specifically asks for a Japanese phone number during the booking flow, use the contact number provided by your hotel or the booking platform you used via Booking.com. If you must call, using Skype is significantly cheaper than buying a voice-enabled eSIM.
Taxis and transport apps
For taxis, Japan has embraced app-based services like GO or Uber, which work perfectly with international numbers.
We once had to change our pickup location in Osaka, and the driver simply used the app’s internal chat function. Never worry about being unable to call a taxi; if you are at a hotel or a station, there is almost always a line of cabs or a staff member who can help you.
Alternatives: Pocket Wi-Fi and physical SIM cards
Is a pocket Wi-Fi device still relevant?
A pocket Wi-Fi unit is a bulky, old-school solution that most people should avoid. You have to charge it every night, carry an extra battery pack, and worry about losing the device.

However, if you are a group of four or more people, it might be slightly cheaper than buying four separate eSIMs. You can pick these up at airports using services like Klook.
The physical SIM card trap
Physical SIMs are becoming harder to manage with modern locked phones. You risk losing your home SIM card while fiddling with the tiny tray in a cramped train seat.
Unless your phone is incompatible with eSIM technology, we recommend staying digital. If you do go this route, check that your device is carrier-unlocked before you leave home.
Setup and troubleshooting your new connection
Step 1: Buy before you land
Purchase your eSIM online a few days before your flight to avoid airport stress.
Step 2: Install via QR code
Scan the code while you have a stable Wi-Fi connection at the hotel or airport.
Step 3: Enable data roaming
You must toggle the data roaming switch to “on” in your phone settings for the eSIM to talk to the Japanese network.
Step 4: Test at the station
Try to load a map or a train schedule the moment you clear customs.
If your internet drops, toggle your “Airplane Mode” on and off; this forces the phone to re-search for the nearest local tower.
How we chose these mobile solutions
We reviewed current market offerings for Japan-bound travelers based on our own experiences navigating the country. Our criteria included ease of activation, network speed, and transparency in pricing.
We cross-referenced our findings with the official sites of major providers and checked current market rates as of 2026. We could not independently verify every single regional tower speed, but we prioritized major national networks.
Which eSIM solution is right for your trip
If you want the simplest experience, choose a data-only eSIM from a major provider like Airalo.
If you are worried about the “voice” issue, remember that you already have a phone that handles video calls, messaging apps, and email. You have the tools you need to stay connected. Keep it simple and focus your budget on better food and experiences.
Calculating your realistic data consumption
Many visitors overspend on massive, expensive data packages because they assume navigating Japanese rail maps or uploading photos will drain their balance.
The reality is that Japan is a heavily Wi-Fi-enabled country, and you will likely find yourself hopping between stable connections at cafes, stations, and your accommodation throughout the day.

For the average traveler using Google Maps for navigation and occasional social media updates, you should budget for roughly 1GB to 1.5GB of data per week.
If you plan to stream high-definition video during your train rides or rely exclusively on mobile data for all your photos, you might need to bump that up to 3GB per week.
Breakdown of typical daily data usage
- Google Maps and Transit: 100MB – 200MB (This is your primary tool for navigating Tokyo or Osaka).
- Social media and messaging: 200MB – 300MB (Text updates and occasional photo uploads).
- Web browsing and restaurant reviews: 100MB – 150MB (Searching for spots on Tabelog or Google).
- Emergency tethering or incidental use: 100MB (For when the hotel Wi-Fi is spotty).
Most travelers overestimate their usage by nearly double. Providers like Airalo and Ubigi allow for remote top-ups, so there is no financial benefit to buying a large, expensive “unlimited” plan before you arrive.
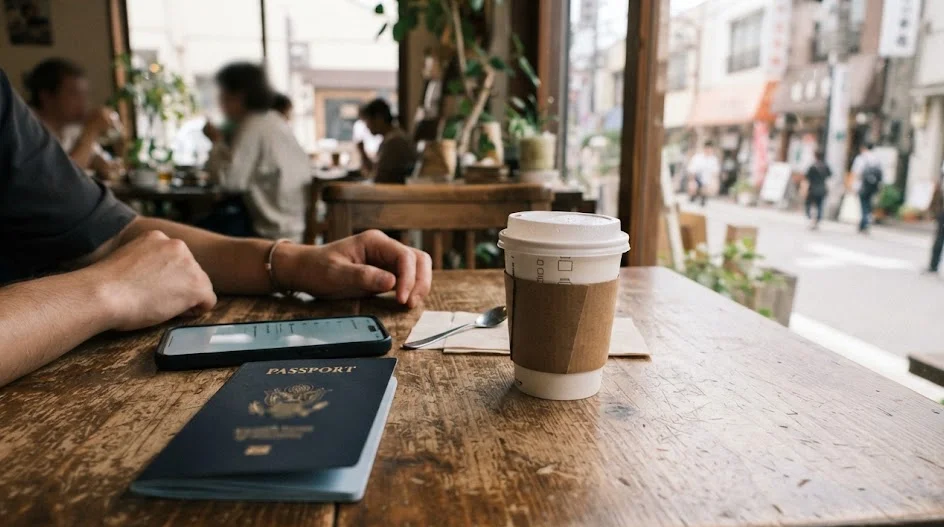
If you find yourself burning through data, simply add a small booster package via their mobile app while sitting in a coffee shop with free Wi-Fi.
Prices for data-only top-ups generally fluctuate between ¥800 and ¥1,500 depending on the volume, but you must check the official site for real-time rates. Avoid purchasing the maximum capacity upfront, as leftover data is almost never refunded or carried over.
By starting with a conservative 5GB plan for a two-week trip, you keep your costs low while maintaining the flexibility to scale up if your habits change. It is far more efficient to manage your data as you go rather than over-committing your travel budget to a mobile plan you might never fully utilize.
When a local number is actually a business necessity
The demand for a Japanese phone number usually stems from specific logistical hurdles that cannot be solved by data alone.
If your trip involves complex bookings such as specialized hobby-class reservations, private transport services, or direct-to-room luggage delivery follow-ups, a local number can occasionally save you time.
However, this is rarely about making a voice call and almost always about receiving a confirmation code or a status update.
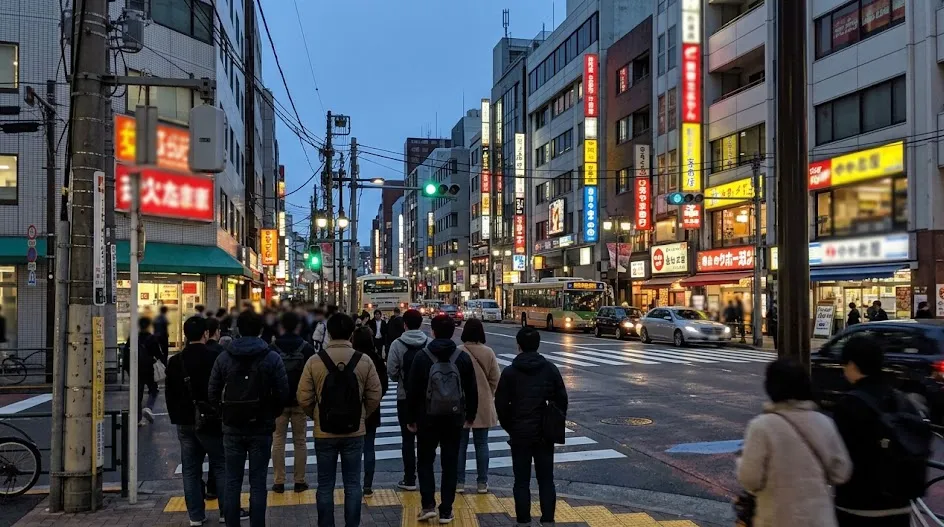
If you are dealing with a business that refuses to communicate via email or third-party platforms like Klook or Booking.com, you have a few specific workarounds.
First, see if the establishment has a dedicated WhatsApp or Line account; many modern shops in cities like Fukuoka or Sapporo now prefer these apps over traditional phone lines.
When you might miss a local number
- Courier luggage delivery: Sometimes drivers will call if they cannot find your specific locker or entrance.
- Small local clinics: Some medical offices require a local number for initial appointment intake.
- Direct-booking boutique ryokans: Smaller, family-run inns may send a text message for pre-check-in arrival details.
If you anticipate a need for these interactions, consider keeping your home SIM card in your phone alongside your eSIM, provided your home carrier does not charge exorbitant “day pass” fees.
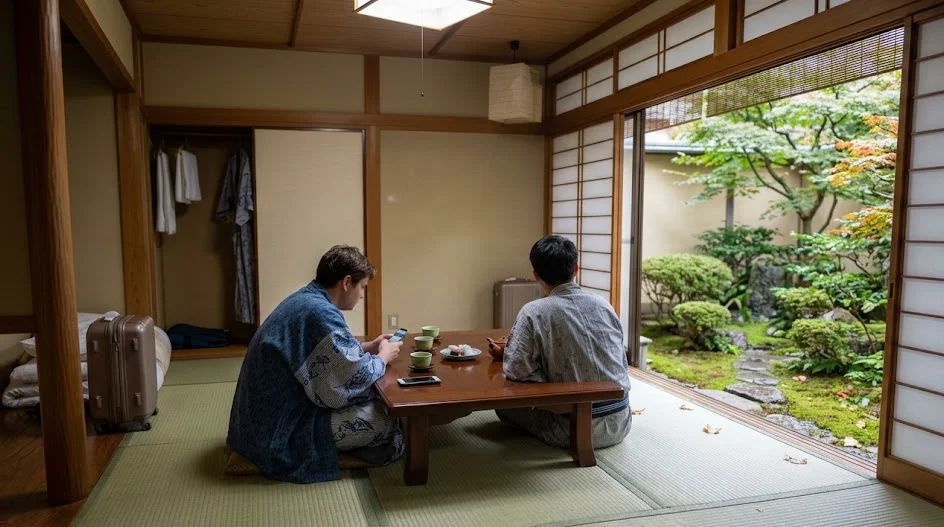
By keeping your home number active for calls/SMS only and using the eSIM for all data, you get the best of both worlds without the hassle of a tourist SIM.
If you are stuck, do not panic. Japanese convenience stores often act as hubs for logistics and parcel services; staff there are accustomed to helping tourists navigate simple address or delivery issues.
Never pay for a high-priced, voice-enabled tourist SIM package until you have confirmed that your specific itinerary requires it. In 99 percent of cases, a polite request to your hotel concierge to make a single local call on your behalf will resolve the issue entirely for free.
Focus your connectivity budget on a stable data connection rather than an expensive phone line.
Proactive preparation to ensure instant activation
The biggest mistake travelers make is waiting until they are standing in the middle of Kansai International Airport to figure out their connection. You want your phone to hit the ground running the moment the plane doors open so you can order a taxi or check the train schedule immediately.
Start your setup at home at least 24 hours before your flight departs. Most providers allow you to purchase and download the eSIM profile to your digital wallet well in advance.
Pre-loading your eSIM prevents the panic of trying to connect to spotty airport Wi-Fi while managing luggage. You can install the eSIM profile in your settings and label it “Japan” before you even board your flight.
- Download the provider’s app once you have purchased your plan.
- Enable the eSIM settings on your device while you have a reliable home internet connection.
- Ensure your primary SIM is set to calls and texts, while the Japan eSIM is selected for mobile data.
Do not be tempted to toggle the Japan eSIM on while your plane is still at the departure gate. Most providers trigger the start of your service duration as soon as the eSIM connects to a foreign cell tower.
Wait until you have touched down and cleared customs to switch the “Data Roaming” to the on position. This ensures you get every single hour of the duration you paid for, rather than wasting your first day while cruising at 30,000 feet.
If you encounter a “no service” icon upon landing, do not rush to delete the profile. Simply restart your device completely. This forces the modem to perform a fresh scan of the available local networks like Docomo or SoftBank.
Some users find that turning “Airplane Mode” on and off for thirty seconds resolves most connection initialization issues. If you are still seeing no bars after three tries, check your APN settings within the cellular menu; occasionally, the phone needs to be told exactly which network path to take.
Verify your device’s carrier lock status weeks before you pack. If you bought your phone through a mobile provider, it might be locked to their specific network, meaning no amount of QR code scanning will ever activate an eSIM.
Check the official site of your home carrier to request an unlock code if you have not already done so.
Handling unexpected connection failures
Technology is rarely perfect, and occasionally a chosen eSIM will fail to handshake with a specific Japanese tower. If your connection drops in the middle of a trip, you do not need to hunt for a physical shop or buy an expensive roaming pass from your home carrier.
The best insurance against a dead eSIM is to have a backup plan ready. Keep a secondary provider’s app, such as Ubigi or Airalo, already installed on your device, even if you have not purchased a plan for it yet.
Secondary activation can be done in minutes if your primary line goes dark. Because you have the app already, you can buy a small, inexpensive data package using the public Wi-Fi found in most convenience stores or train stations.
If you find that your chosen network is consistently weak in your specific region, it is likely a coverage limitation rather than a device fault. Japan’s rural mountainous areas can block signals regardless of which carrier you choose.
- Check your phone’s cellular settings to see if it is defaulting to 5G; sometimes forcing it to 4G/LTE provides a more stable connection.
- Look for a free public Wi-Fi hotspot to refresh your eSIM settings or download a carrier update.
- Carry a portable power bank, as constant searching for a weak signal will drain your phone battery much faster than normal usage.
If you absolutely must have connectivity and your eSIM is completely unresponsive, consider buying a temporary travel SIM from an airport vending machine or a specialized shop like BIC Camera.
Expect to pay between ¥3,500 and ¥6,000 for these, though you should check the official site of the local provider for current inventory.
Always keep your digital receipt or confirmation email accessible. If you need to contact support, having your order number ready allows their team to reset your data profile remotely. Many providers have 24/7 chat support built directly into their apps specifically for these “stuck” scenarios.
Do not let a connectivity blip ruin your day. If the internet fails while you are navigating a city, step into a local cafe or convenience store. These are the lifeblood of Japanese logistics and they almost always offer reliable, free Wi-Fi where you can troubleshoot your connection in comfort.
FAQ
QDo I really need a number to check into a hotel?
No. Almost every hotel in Japan, from a business hotel near Kyoto Station to a high-end ryokan in Hakone, will accept your home number or just your booking reference code.
QCan I get a Japanese number if I absolutely require one?
You technically can, but it involves visiting a physical shop and signing a contract. It is not worth the time for a two-week trip.
QWill my iPhone work with these eSIMs?
Most modern smartphones released in the last five years support eSIM technology. Check your manufacturer’s settings menu to confirm if your device is “unlocked” for international use.
QIs the internet free at train stations?
Many stations have public Wi-Fi, but it is often slow and requires a clunky login process. Do not rely on it for navigation.
QWhat if I cannot receive an SMS verification code?
This is the one area where a data-only eSIM fails. If a service requires a Japanese number for security, use a friend’s number or ask the hotel concierge for assistance.
QAre data-only plans actually “unlimited”?
Most plans are not. They usually have a set amount of data, like 10GB or 20GB. Once you use it, the speed may be throttled to a crawl, so track your usage on the provider’s app.
Planning for connectivity often feels like you are trying to solve a problem that might not actually happen.
Focus on the core of your itinerary and realize that most digital issues resolve themselves once you are on the ground.
Keep planning
- ① Install and test your eSIM before take-offAiralo and Ubigi eSIMs activate on arrival, but the install itself needs Wi-Fi. Do it at home and confirm the profile shows up in your phone settings.
- ② Save your first hotel’s address in JapaneseTaxi drivers and station staff read Japanese addresses far faster than romanised ones. Copy it from the booking confirmation into your notes app.
- ③ Set aside cash for day oneMany small restaurants, temples and rural buses are still cash-only. Airport ATMs at 7-Eleven and the post office accept most foreign cards.
Skip these and your first hour in Japan goes on finding Wi-Fi at the station instead of getting to your hotel.
🔍 How to sanity-check any price you read online
Blogs (including this one) go out of date. The official page always wins over a screenshot from two years ago.