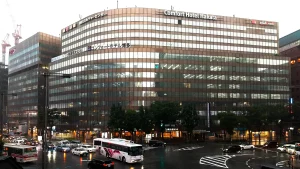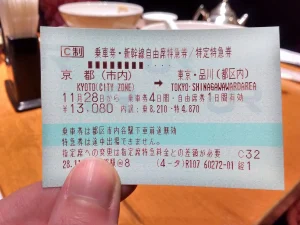

Kyoto Station at noon in August, standing in a puddle of my own sweat while dragging a suitcase that weighed as much as a small child: that was the moment I realized the “carry-on only” rule wasn’t just a suggestion, it was a survival requirement.
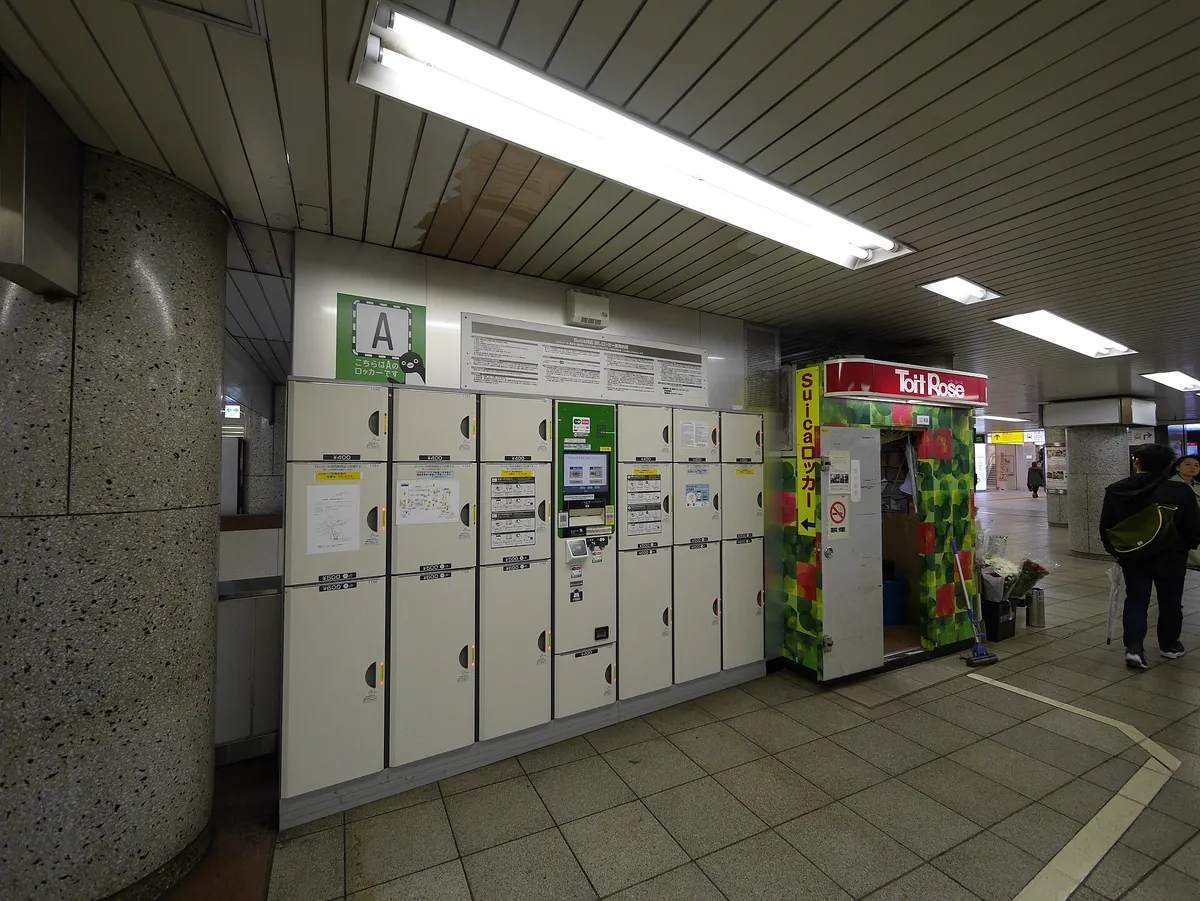
You will feel the heat the moment you exit any train station, and your luggage will determine whether you handle it with grace or collapse in the shade of a vending machine.
To stay mobile, prioritize tactical minimalism over everything else.
The goal is to keep your hands free and your back light, using Japan’s convenience stores to handle the daily replenishables so you don’t have to carry them from home.
- Carry-on bag (under 10kg)
- Moisture-wicking base layers
- Breathable, wide-brimmed hat
- Lightweight rain shell
- Travel-sized laundry soap
- Portable handheld fan
- Personal coin purse
- High-quality sneakers
Some links are affiliate links (marked “Partner link”). Prices are ranges checked in 2026; confirm on the official site before you book.
- Trip length
- 10–14 days
- Typical cost
- ¥10,000–20,000 for gear
- Base
- Osaka
- Booking
- Hotels only
| Category | Estimated Cost |
|---|---|
| Laundry per load | ¥300–600 |
| Vinyl Umbrella | ¥500–1,000 |
| Luggage Forwarding | ¥1,500–2,500 |
Plan your trip: the tools we use
Humidity is the real enemy of your summer itinerary
Japanese summer, particularly from late June through August, is defined by extreme humidity. Temperatures frequently climb into the 30s, but the damp, heavy air makes it feel significantly hotter.
You will reach your first temple by 10 AM, and if you are wearing cotton or denim, you will already be soaked.
Avoid heavy fabrics at all costs. The goal is to move between air-conditioned trains and outdoor sights without needing a shower every three hours.
If you land in Tokyo in July, prepare for the “blanket of heat” that hits you on the platform.
Understanding the temperature shifts
Temperatures often sit between 28°C and 35°C during the day. Nighttime provides little relief, rarely dipping below 24°C in urban areas like Osaka or Tokyo.
You need clothes that dry instantly after a midday downpour or a sudden sweat session.
Plan your outdoor activities for the early morning or late afternoon. Middle-of-the-day hours are best spent inside museums or galleries, where the air conditioning is usually set to a refreshing temperature.
The layering formula for humid weather
Your packing list must rely on synthetic, moisture-wicking materials. Natural fibers like heavy cotton hold moisture and take forever to dry, which leads to chafing and discomfort.
Use lightweight synthetics that breathe.
Tops and lightweight layers
Stick to performance fabrics you would normally wear for a hike. Bring three or four shirts and wash them in your hotel laundry.
Business hotels often provide coin-operated laundry machines for roughly ¥300–500 per cycle.
Always carry a super-lightweight outer layer. A thin, UV-protective cardigan or a technical windbreaker helps when the train air conditioning is turned up to a freezing level.
Bottoms and daily wear
Choose trousers that are loose-fitting and made of quick-dry material. Avoid heavy denim, as it is far too stifling for the Japanese summer.
Think of your clothing as a modular system that handles sweat and allows for quick movement.
It is simple. If you are comfortable in the heat, you can walk for hours. If your clothes feel heavy, you will want to head back to the hotel.
Footwear strategy for endless shrine steps
You will spend most of your trip on your feet. Walking 15,000 to 20,000 steps a day is standard for a Tokyo or Kyoto itinerary. Your choice of footwear will dictate whether you see every shrine or just the ones near your hotel.
Walking in the summer heat
Bring one pair of high-quality, broken-in sneakers. Do not bring brand-new shoes; you will end up with blisters by the second afternoon.
Look for pairs with breathable mesh uppers rather than leather.
Make sure they are easy to take off. You will be removing your shoes frequently at temples, traditional restaurants, and some museum entrances.
Managing rain and wet surfaces
Sudden afternoon thunderstorms are common in July and August. If your shoes get soaked, they need to dry quickly overnight.
Avoid thick, padded runners that take two days to shed moisture.
Pack a pair of light, supportive sandals for evening walks. They give your feet a break from the closed-in feeling of sneakers during dinner outings.
The complete packing list for your summer trip
You can source almost everything you forget in Japan. The key is to pack for the first 48 hours and rely on local resources for the rest of your trip.
Clothing and gear essentials
- 4–5 moisture-wicking shirts
- 2–3 pairs of lightweight trousers
- 1 light, foldable rain jacket (Partner link: Amazon)
- 5 sets of lightweight, quick-dry socks
- 1 hat with a wide brim
Electronics and technical tools
Bring a universal travel adapter. I prefer compact ones that include multiple USB ports for charging phones and portable batteries simultaneously (Partner link: Amazon).
For connectivity, skip the physical SIM card. Use an eSIM service like Airalo or Ubigi to get data the moment you land. You can set it up before you leave home.
Where we would book this
Amazon
Readers already have an account
- Best for
- Travel adapters (Type A plugs), luggage, packing cubes, travel…
- Checked
- September 2026
Official site. Same price for you.
What to leave at home to save space
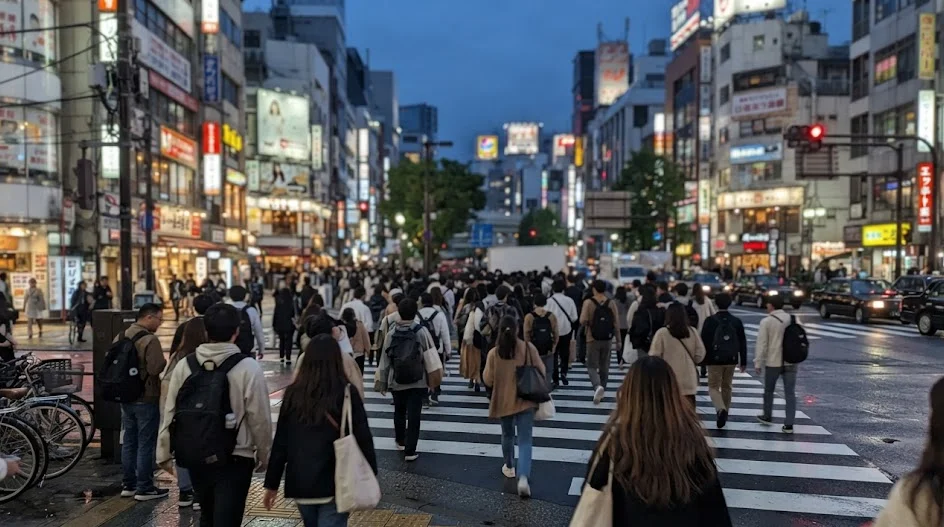
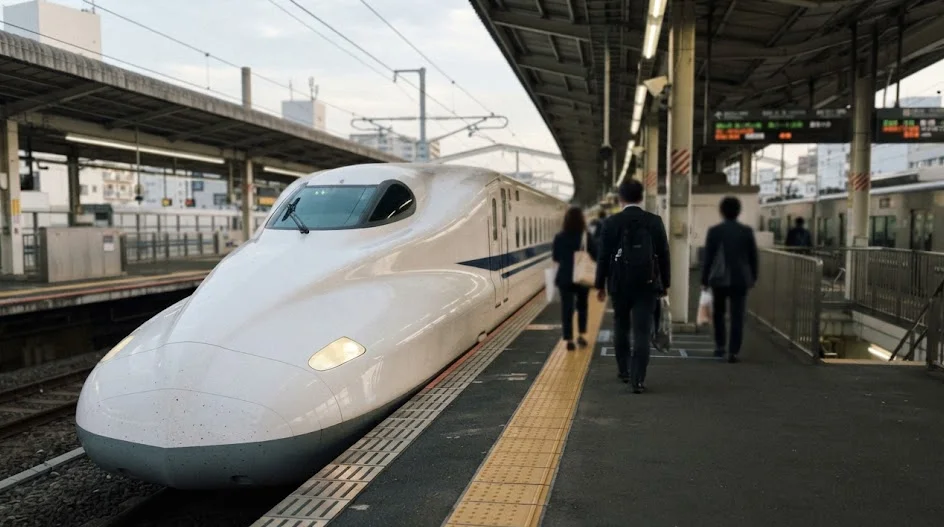
First-time visitors often pack for a worst-case scenario. This leads to heavy bags that make taking the Shinkansen a nightmare.
Do not bring large bottles of shampoo or heavy umbrellas.
Leave it at home
- Heavy, bulky denim jeans
- Full-size toiletries
- Multiple pairs of shoes
- Heavy cotton sweaters
Bring this instead
- Quick-dry synthetic pants
- Small travel-size bottles
- One versatile, broken-in pair
- One thin linen layer
Our pick: Buy sunscreen at a local konbini; the Japanese formulas are specifically designed for the local humidity.
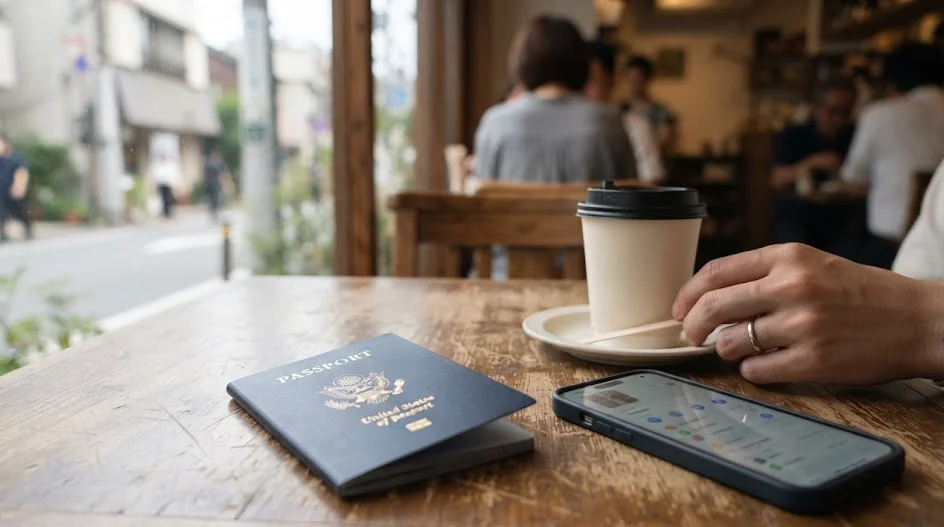
Luggage tactics: Carry-on is the way to go
Trains are crowded, and station stairs are steep. If your bag is heavy, you are going to regret it within ten minutes of arriving at your first transfer. A carry-on-sized suitcase is the limit for any sane person navigating the transit system.
Navigating the station logistics
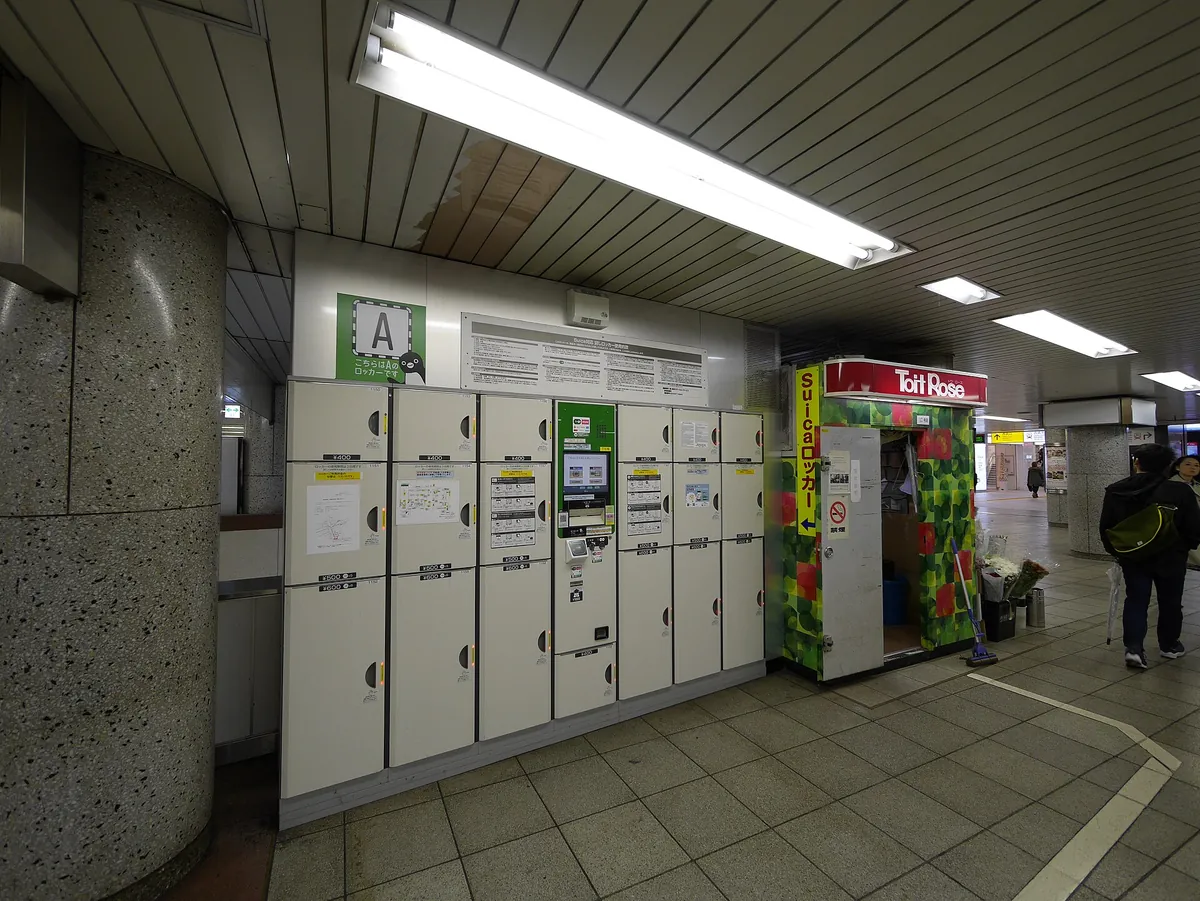
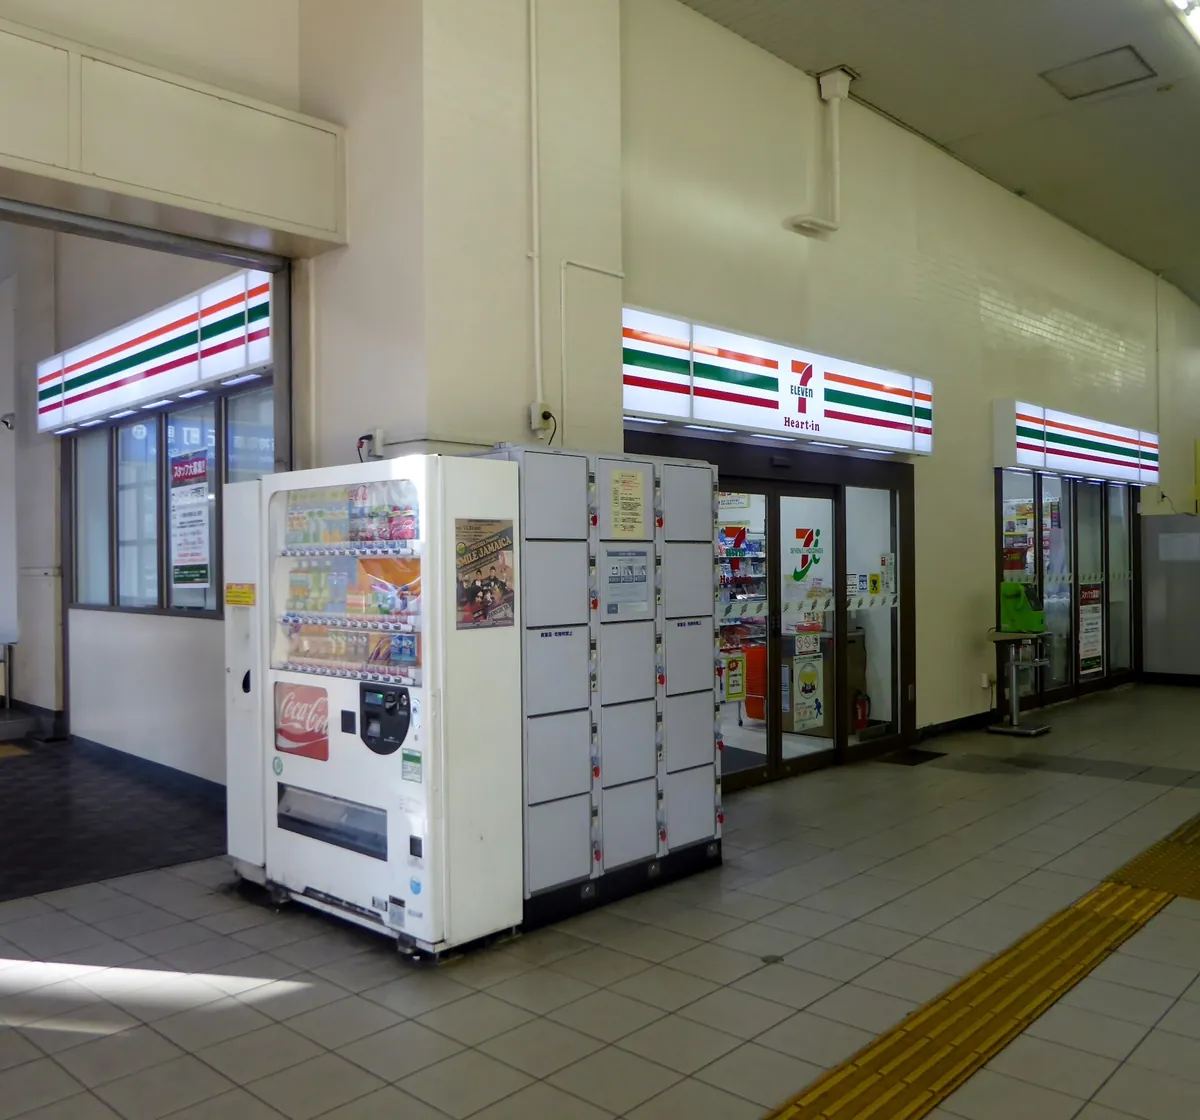
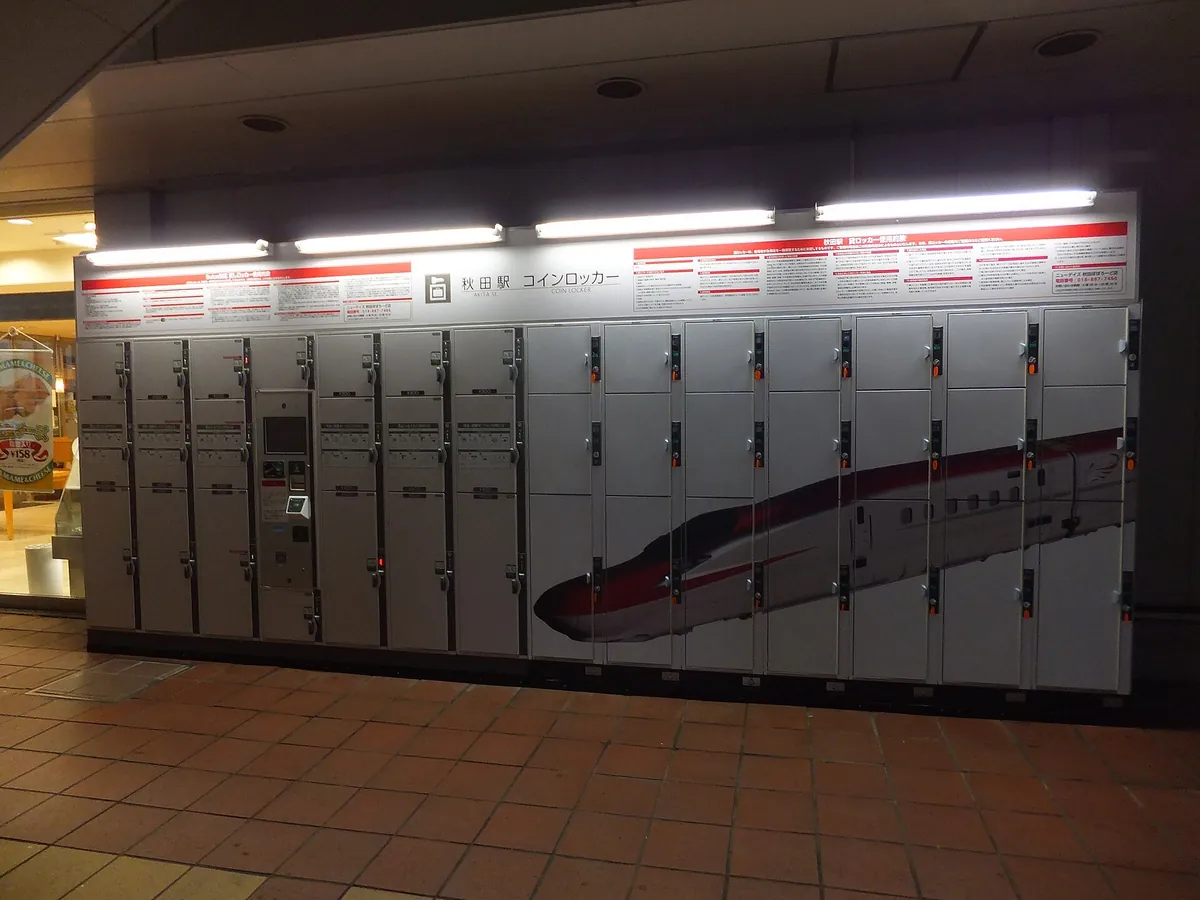
If you have a larger bag, use the luggage forwarding service. This is a life-saver for travelers moving between cities like Tokyo and Osaka. You can send your bag from your hotel front desk to your next destination.
Step 1: Ask the front desk
Check if your hotel offers Yamato luggage forwarding service.
Step 2: Fill out the slip
Write your hotel name and arrival date clearly on the form.
Step 3: Pay and go
Expect to pay roughly ¥1,500–2,500 per bag. Travel with just a backpack.
That is the whole trick.
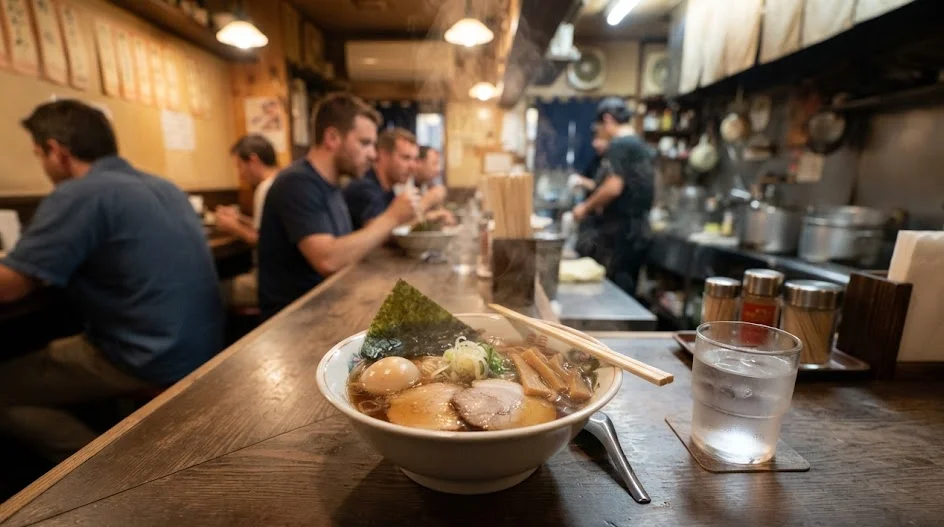
What to pack for specific daily routines
Your outfit depends on the day’s agenda. A city day in Tokyo looks different than a shrine-hopping day in Kyoto. Always aim for layers you can shed.
Temple and shrine days
Dress modestly but keep it breathable. Shoulders should be covered, and pants or skirts should be knee-length or longer to respect the local traditions.
Choose moisture-wicking fabrics that look clean and presentable. Carry a small towel. Many locals use these to wipe away sweat during the day; you can buy these at any convenience store for a few hundred yen.
Evening city exploration
You can usually dress more casually for dinner. Osaka in the evening is warm, so a simple linen shirt and light trousers are perfect for exploring the Dotonbori area.
Bring an extra portable battery for your phone, as you will use maps heavily. Planning a Japan trip during the summer months feels overwhelming because of the humidity warnings.
Lock in the decision to pack light and forward your heavy luggage, and you will have the freedom to enjoy your days instead of fighting your suitcase.
The art of the laundry-light wardrobe
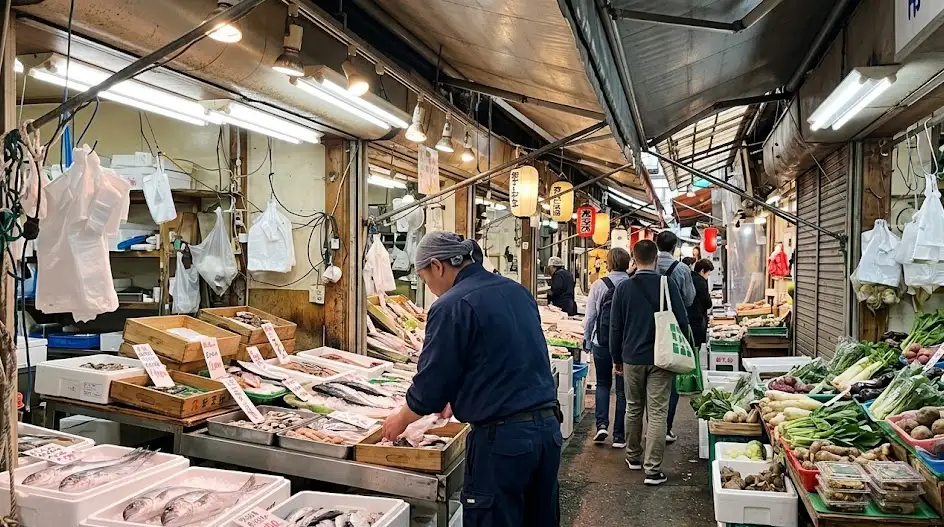
The biggest mistake travelers make is packing fourteen days of clothing for a fourteen-day trip. In the Japanese summer, you will sweat through your shirt by noon, making the concept of a clean outfit feel fleeting.
Instead of packing for the full duration, pack a seven-day capsule wardrobe and plan for two sessions of laundry.
Most business hotels in Japan, such as the APA or Dormy Inn chains, feature dedicated laundry rooms with integrated washer-dryer units. These machines are a marvel of efficiency, often allowing you to wash and dry a full load in under two hours.
The cost typically ranges from ¥300 to ¥600 depending on the cycle time, so keep a small stash of 100-yen coins handy.
To execute the capsule strategy, focus on color coordination. Choose shirts and bottoms that can be mixed and matched interchangeably.
If every shirt goes with every pair of trousers, you effectively double the number of outfits available to you without increasing the weight of your bag. Stick to neutral tones like navy, grey, or olive, which hide sweat stains and dust far better than bright whites or solid blacks.
Building your seven-day rotation
- Three lightweight, synthetic button-down shirts or breathable polos for smart-casual evenings.
- Two moisture-wicking tees for intense sightseeing days.
- Two pairs of quick-dry technical trousers that can pass for dressier wear if needed.
- Seven pairs of high-quality, blister-preventing liner socks.
- One lightweight, breathable base-layer tank top to wear under shirts to manage moisture.
If you prefer to stay in an Airbnb or a smaller boutique guesthouse that lacks laundry, search for a local “coin laundry” on Google Maps. These facilities are ubiquitous in every neighborhood in Osaka and Tokyo.
They are clean, safe, and often located next to a cafe or convenience store, turning your chore into an opportunity to people-watch while your gear cycles through the rinse.
The secret is to pack just enough to get you to your first hotel laundry day without feeling the need to overstuff your carry-on.
By rotating your gear, you save precious space for souvenirs that you will inevitably want to bring home. If you run out of something critical, local brands like Uniqlo offer high-performance summer wear that is far superior to anything you might have brought from a colder climate.
Defeating the afternoon monsoon: A rain-ready toolkit
Japan’s summer weather is notoriously fickle. You may step out of a subway station into blinding sunshine, only to find yourself in the middle of a sudden, torrential downpour twenty minutes later.
These afternoon squalls are often heavy but short-lived, and they will turn your leather shoes into sponges and your light clothing into heavy, clinging traps.
Preparation is not about staying perfectly dry, which is impossible in this heat, but about managing the dampness so it doesn’t ruin your day.
Never pack a heavy, traditional umbrella. They are bulky, prone to being left behind on trains, and entirely unnecessary given the availability of local options.
Instead, wait until your first rainy afternoon and head to any FamilyMart, Lawson, or 7-Eleven. They sell high-quality, durable clear vinyl umbrellas for roughly ¥500 to ¥1,000.
These are the gold standard for navigating narrow Kyoto streets or crowded Tokyo intersections. When you leave, you can simply donate your umbrella to your hotel or leave it at the train station rack, reclaiming that space in your bag for your journey home.
Essential rain-proof items to bring
- A water-resistant, ultra-packable shell that weighs under 200 grams.
- A waterproof sleeve or pouch for your smartphone and transit pass.
- One pair of high-traction, quick-dry travel shoes with non-slip soles for wet tile floors.
- A small, microfiber travel towel for drying off benches or wiping rain off your gear.
Beyond gear, focus on your footwear’s water-repellent properties. Many modern travel sneakers feature a DWR (durable water repellent) coating that beads up water.
If you are packing leather-soled shoes or heavy canvas sneakers, reconsider. They will absorb water quickly and take an eternity to dry in the humid air of your hotel room. If they do get soaked, stuff them with dry hotel tissues overnight to help wick out the moisture from within.
Finally, keep your documents and electronics in a separate, sealed internal pocket within your carry-on. Even a splash-proof bag can leak during a heavy Japanese rainstorm if you are not careful.
By keeping your high-tech items shielded in a dedicated space, you ensure that even a total soak of your clothing won’t result in a ruined camera or dead phone, keeping your navigation and transit tools safe until the sun returns.
 ReaderYuki
FAQ
QIs it worth bringing a power bank?
Yes, absolutely. Between using Google Maps for navigation and translation apps for menus, your phone battery will drain faster than usual. Bring a light, 10,000mAh capacity bank.
QCan I wear sandals in temples?
Generally, yes, but ensure they are secure to your feet. Avoid flip-flops, as you will be walking significant distances on gravel paths and uneven stone steps.
QDo I need to pack formal wear?
No. Business casual is the highest level of formality you will need for fine dining in Japan. A nice button-down shirt and clean trousers are perfectly acceptable everywhere.
QWhat is the best way to carry coins?
Bring a dedicated coin purse. Japan is still a cash-heavy society, and you will accumulate 1-yen and 5-yen coins daily. A small pouch keeps your pockets from weighing down.
QAre hotel toiletries provided?
Almost all business hotels provide shampoo, conditioner, body wash, razors, and toothbrushes. Save space by leaving your own full-sized bottles at home.
Want to master your Japan trip? Subscribe to our weekly newsletter for tips on navigating transit and finding the best spots in Osaka and beyond.
Keep planning
- ① Install and test your eSIM before take-offAiralo and Ubigi eSIMs activate on arrival, but the install itself needs Wi-Fi. Do it at home and confirm the profile shows up in your phone settings.
- ② Save your first hotel’s address in JapaneseTaxi drivers and station staff read Japanese addresses far faster than romanised ones. Copy it from the booking confirmation into your notes app.
- ③ Set aside cash for day oneMany small restaurants, temples and rural buses are still cash-only. Airport ATMs at 7-Eleven and the post office accept most foreign cards.
Skip these and your first hour in Japan goes on finding Wi-Fi at the station instead of getting to your hotel.
🔍 How to sanity-check any price you read online
Blogs (including this one) go out of date. The official page always wins over a screenshot from two years ago.