
- Bring one medium suitcase and one backpack only.
- Use the Yamato Transport luggage forwarding service.
- Buy basic toiletries and clothes at local convenience stores.
- Avoid bringing specialized “what-if” items for emergencies.
- Prioritize slip-on, supportive walking shoes.
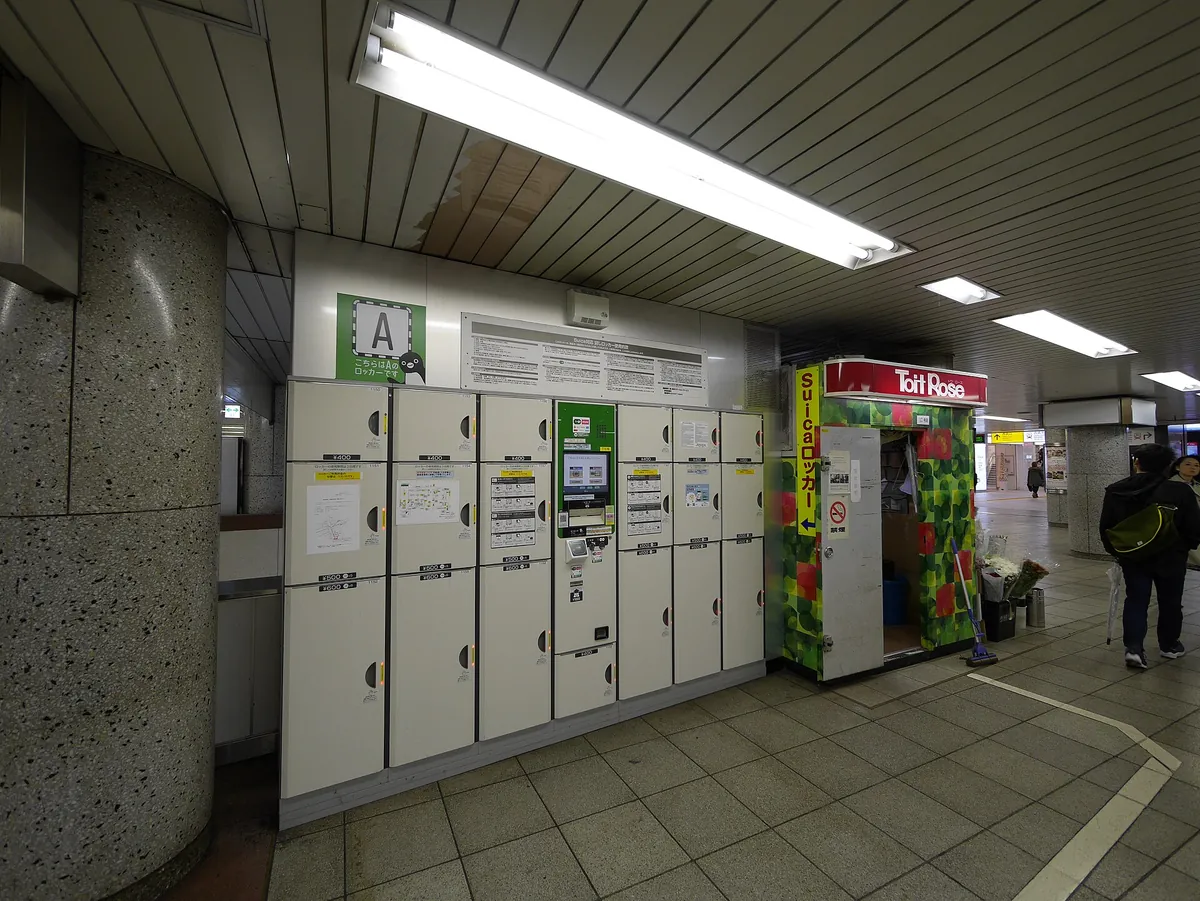
I expected to breeze through Shinjuku Station with two matching oversized suitcases. Instead, there was a thirty-minute period of struggling while trying to wedge heavy bags into a single, fully occupied coin locker that cost ¥800 just to keep them out of the way.
If you are only doing a short Tokyo city break, close this window and read our Tokyo-only packing guide instead. Dragging massive luggage across crowded platforms is the quickest way to ruin a vacation before you even check in to your first hotel.
- Time needed
- 10–14 days
- Typical cost
- ¥10,000 luggage shipping
- Base
- Osaka
- Booking
- Hotels only
- Checked
- January 2026
Some links are affiliate links (marked “Partner link”). Prices are ranges checked in 2026; confirm on the official site before you book.
1. The physical toll of the two-bag fallacy
Most travelers arrive with two large suitcases, convinced they need a week of outfits for every possible weather condition. This choice ignores the reality of Japanese transit infrastructure.
Train station stairs, crowded subway corridors, and narrow hotel rooms are not designed for bulky gear. By bringing one medium-sized suitcase, you regain the freedom to move through stations without becoming a human roadblock.
- Two large checked bags for two people
- A “just in case” raincoat you never wear
- Full-sized shampoo and styling products
- Shoes that are fashionable but stiff
- Too many paper guidebooks and maps
- Emergency medicine you can buy at any local shop
1. Space constraints in business hotels
Standard Japanese business hotels—often booked via Agoda—frequently have floor space barely wide enough for a single suitcase. When you open a large bag, it consumes the entire room.
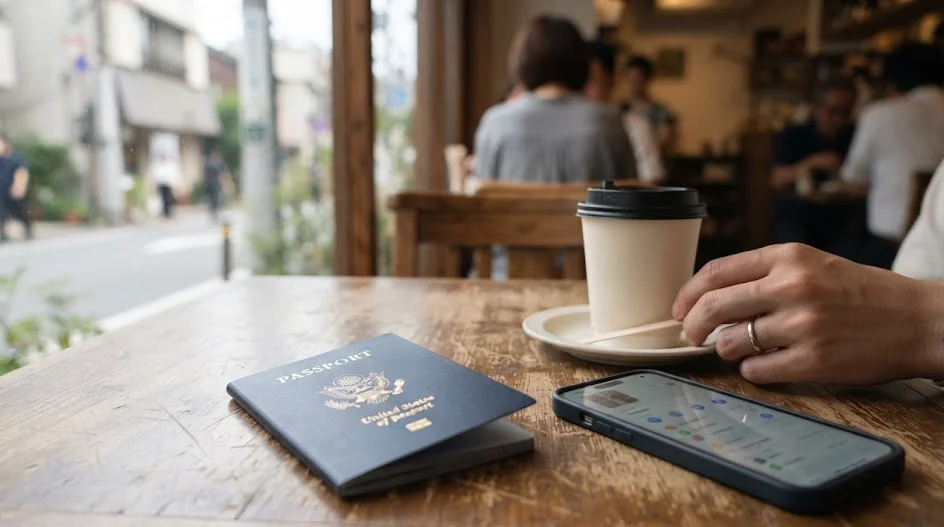
You end up climbing over your belongings just to reach the bathroom. Keeping your luggage to a medium size ensures you have a place to sit and relax after a long day of sightseeing.
2. The coin locker struggle
Searching for an empty locker at a major hub like Kyoto Station is stressful. Most large lockers are taken by mid-morning, leaving you with no place to store your items.
If your suitcase is small, you can fit it into a medium or small locker, which are far more plentiful. Avoid the frustration of giant lockers by packing lighter to utilize the more abundant smaller storage units.
2. Footwear mistakes and the reality of walking
Packing brand-new leather boots because they look stylish for dinner in Osaka often results in blisters. Travelers frequently end up wearing uncomfortable, replacement sneakers bought from a local store for the remainder of their trip.
3. Prioritizing style over support
You will walk significantly more in Japan than you do at home. Even if you plan to use taxis, you will navigate station halls, shrines with gravel paths, and stairs in every subway station.
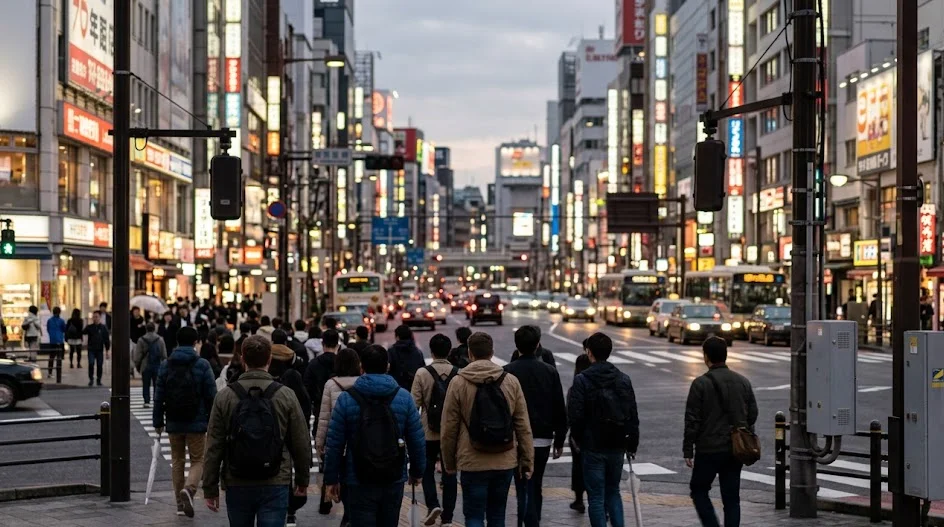
Bring one pair of reliable, broken-in walking shoes that you have worn for at least a month. You do not need formal shoes for most restaurants unless you are visiting high-end establishments.
4. The slip-on requirement
Many traditional sites, temples, and even some smaller cafes require you to remove your shoes. Dealing with intricate laces or complicated buckles ten times a day becomes incredibly tedious.
Look for high-quality walking shoes that slip on easily. If you must bring laces, ensure they are elastic or easily adjustable for rapid removal at temple entrances.
3. Why you should stop packing toiletries
Many visitors assume they need to bring a full kit of shower supplies, sunblock, and basic medications from home. This is a common packing mistake that adds unnecessary weight to your bag.
5. The convenience store advantage
You will find a FamilyMart, Lawson, or 7-Eleven on almost every corner in urban areas. These stores stock high-quality travel-sized toiletries, including cleansers, moisturizers, and even decent umbrellas.
Instead of packing a heavy toiletry bag, bring only your prescription medications. Everything else can be replaced for under ¥1,000 if you forget it.
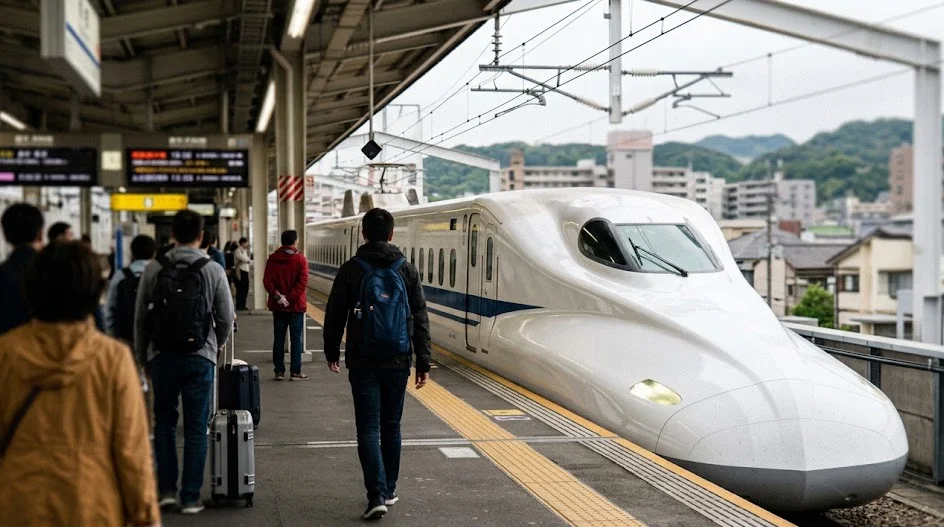
6. Hotel amenities
Japanese hotels are famous for their comprehensive amenities. You will almost always find pajamas, slippers, toothbrushes, and high-quality hair care provided in your room.
Check the listing on Booking.com before you leave to see what is included. You rarely need to bring your own shampoo, as even basic business hotels provide decent options.
4. Managing transit with luggage forwarding
The Yamato Transport service, often called Takkyubin, is the secret weapon for any seasoned traveler. It allows you to send your large suitcase from one hotel to the next for a reasonable fee.
7. How to use forwarding services
Ask the front desk staff at your hotel to help you arrange a luggage shipment. You fill out a simple form, pay the courier, and your bag arrives at your next hotel the following day.
This costs roughly ¥2,000–3,000 per bag. It is far cheaper than the mental energy lost dragging bags through train stations.
What most first-timers do
- Dragging massive suitcases on subways
- Trying to find large lockers at stations
- Sweating through stairs and crowds
What actually works
- Forwarding bags between hotels
- Using light carry-ons for daily travel
- Moving effortlessly through platforms
← Swipe to see the full table →
| Service Type | Estimated Range |
|---|---|
| Luggage Forwarding | ¥2,000 – ¥3,000 |
| Coin Locker | ¥300 – ¥800 |
| Uniqlo Thermal Layer | ¥1,000 – ¥2,000 |
Plan your trip: the tools we use
8. Timing your deliveries
If you are heading to a rural area or a mountain ryokan, check if they accept forwarded luggage. Most major chains like those found on Rakuten Travel accommodate these requests without issue.
Always keep a small daypack with your essentials for the day you are in transit. This ensures you are never without your medication or important travel documents.
Planning your visit?
5. Navigating clothing and seasonal shifts
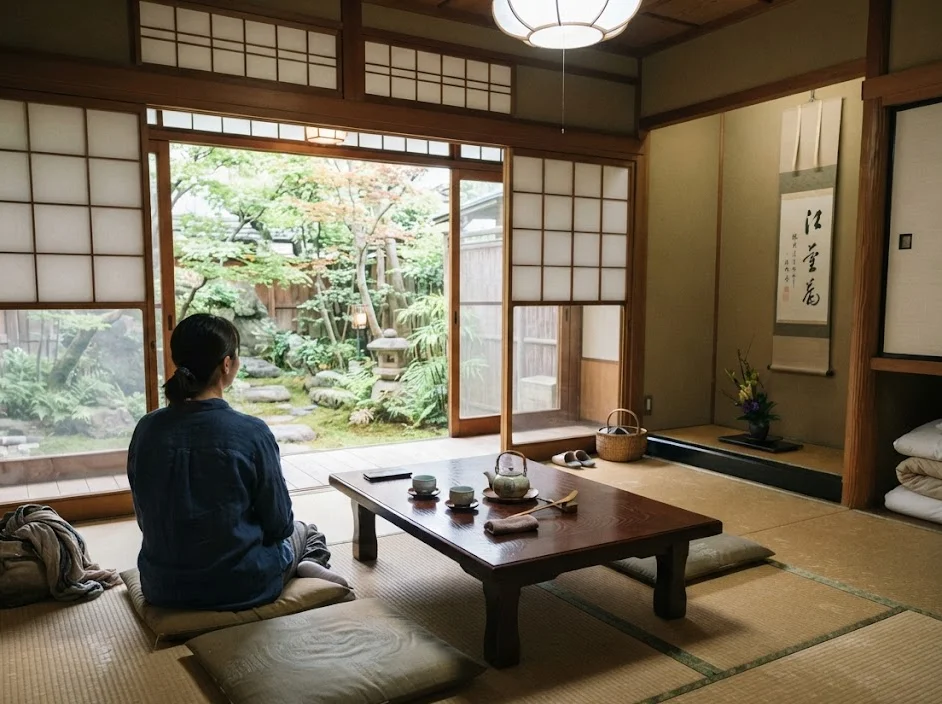
Japan experiences distinct temperature changes throughout the year. Packing too much heavy clothing can be a disaster if the weather turns warmer than expected.
9. The importance of layering
Instead of heavy coats, pack base layers that you can add or remove throughout the day. This is vital for surviving the transition between cold morning streets and overheated train carriages.
Check the weather report on your phone for each specific city before you pack. If you are traveling between Tokyo and Kyoto in winter, you will notice significant temperature differences.
10. Buying for the environment
Japanese clothing brands like Uniqlo offer excellent lightweight gear perfect for the local climate. If you find yourself too cold, you can pick up a high-quality thermal layer for under ¥2,000.
This approach saves your suitcase space for souvenirs rather than bulky sweaters. Local stores are ideal for replacing items that were too thin for a sudden cold snap.
6. Electronics and the adapter trap
Carrying a heavy power strip and three separate adapters is usually unnecessary. Most travelers find that a single charging solution suffices for the entire duration of a two-week trip.
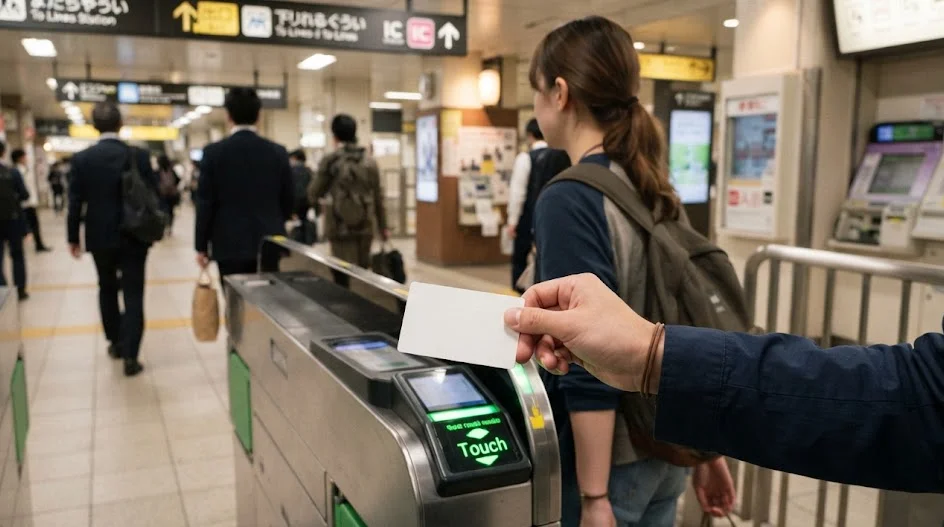
11. Using a universal adapter
Japan uses two-pin plugs similar to those in North America. If your home electronics use these, you might not even need an adapter.
If you need one, a single compact universal adapter is sufficient. You can find these on Amazon before your trip or at major electronics stores like Bic Camera.
12. Portable connectivity
Don’t forget to organize your mobile data before arrival. Using an eSIM from providers like Ubigi or Airalo keeps your phone connected without swapping physical cards.
This is much more reliable than relying on public Wi-Fi. Check your provider’s coverage before you land so you can navigate to your hotel without hunting for a signal.
8. Financial logistics: The truth about cash and cards
Many travelers arrive in Japan terrified they will need thousands of yen in cash, leading them to carry massive, heavy rolls of paper bills. While Japan is becoming more digital, the sheer volume of coins you will accumulate can weigh down your pockets and bags significantly.
The biggest mistake is exchanging all your currency at your home airport. Exchange rates at airports are notoriously poor, and you are better off waiting until you land in Japan to handle your initial cash needs.
The arrival cash strategy
Upon landing, head directly to a 7-Eleven or Japan Post bank ATM. These machines reliably accept international debit and credit cards with minimal friction. Withdraw approximately ¥20,000 to cover your first few days of local transit and small-shop purchases.
Do not feel pressured to carry more than this. If you run low, you are rarely more than five minutes away from another machine. Carrying an excessive amount of cash is a security risk and an unnecessary logistical burden to track.
Digital payment hierarchy
You should prioritize using contactless payments via Apple Pay or Google Wallet linked to your Suica or Pasmo cards. Most machines in stations and convenience stores are equipped to handle these transactions in seconds.
Avoid the habit of using physical credit cards for every small purchase. In many smaller, independent shops or traditional restaurants, cash remains the preferred or only payment method. Always keep your ¥20,000 stash accessible, but let your phone do the heavy lifting for your major daily transit expenses.
Monitor your spending patterns through your banking app to see if you are over-relying on cash. If you find your wallet overflowing with heavy one-yen and five-yen coins, spend them at a convenience store to clear the clutter. Keeping your wallet light is just as important as keeping your luggage manageable.
Always verify the current daily withdrawal limits and fees set by your home bank before departure. These can fluctuate based on your specific account type. Check the official site of your financial institution to confirm your international usage policy and avoid unexpected transaction blocks during your stay.
9. Essential pre-departure digital setup
The mistake I see most often is travelers attempting to set up their digital infrastructure while standing in the middle of a crowded airport arrival hall. This wastes precious time and introduces unnecessary stress to your first few hours in the country.
You should finalize your digital suite at least 48 hours before your flight. Trying to download massive apps or verify accounts over spotty airport Wi-Fi is a recipe for frustration and potential connectivity errors.
The core app stack
Start by installing a reliable translation tool like Google Translate and downloading the Japanese language pack for offline use. This ensures you can read menus or store signs even if your signal drops while traveling between cities.

Next, ensure your navigation tools are ready. Google Maps is essential for finding bus routes and precise platform numbers within complex stations. If you are using a transit pass, verify that your digital IC card is correctly loaded onto your device’s wallet before you reach the turnstiles.
- Google Maps: For real-time transit routing and platform navigation.
- Airalo or Ubigi: For instant eSIM activation without physical SIM swapping.
- Google Translate: Download the offline language database for immediate text translation.
- Booking.com or Agoda: Keep your hotel confirmation codes easily accessible in your local device storage.
Syncing your documents
Offline accessibility is the key to a smooth arrival. Save your hotel addresses, boarding passes, and rail reservation details into a dedicated folder on your phone that does not require an active internet connection to open.
I frequently see tourists fumbling for paper printouts in their bags at hotel check-in desks. Having these documents digitally accessible allows you to breeze through registration in seconds. If you prefer paper, limit it to one single page containing your essential addresses and phone numbers.
Always double-check that your phone’s battery optimization settings will not kill these essential apps in the background. A dead phone in a foreign city is a logistical nightmare that even the best-packed suitcase cannot solve.
Test your setup in a controlled environment before leaving home to ensure all authentication steps are finished. Verifying your login credentials early prevents you from being locked out of essential travel accounts while on the move.
7. The one habit that fixes your packing logistics
The single most helpful habit I adopted was the “night-before” audit. Every evening, I verify exactly what I need for the next city and leave the rest of my gear packed in the hotel room.
Step 1: Limit your carry-on
Only keep what you need for the next 24 hours in your backpack.
Step 2: Forward the heavy bag
Use Yamato Transport to move your main suitcase to your next base.
Step 3: Check the weather
Verify the forecast for your destination and pack one light layer.
Step 4: Pack your phone
Confirm your roaming is active and your power bank is charged.
 ReaderYuki
Leaving a hotel early in the morning is much easier when bags are forwarded the night before. Travelers can simply walk to the station with a small daypack and arrive at the platform in total calm.
FAQ
QCan I bring my luggage on the Shinkansen?
Yes, but you must reserve a seat with “oversized baggage” space if your bag exceeds certain dimensions. If you are unsure, check the official Japan Rail site.
QIs there a limit to how many bags I can forward?
There is no strict limit, but each bag costs money and adds to the hotel staff’s workload. Stick to one or two bags at most for your sanity.
QWhere do I find a Takkyubin desk?
Almost every hotel lobby has a designated area for luggage services. If your hotel is small, look for a local convenience store with the Yamato “black cat” logo.
QAre coin lockers available at all stations?
Most major JR and subway stations have them, but they fill up fast. Always have a backup plan or use luggage forwarding services if you are traveling during a holiday.
QDo I need an international driving permit?
Only if you plan to rent a car. If you are sticking to trains and buses as suggested, you do not need one.
QWhat if I cannot use a smartphone?
While digital is easier, you can print essential maps and address cards in advance. Keep a paper folder of your hotel confirmations and use public telephones in emergencies.
QShould I bring my own umbrella?
No, leave it at home. High-quality, inexpensive umbrellas are available at every convenience store if it rains during your trip.
Planning your luggage strategy might feel like a chore while you are still deciding on your itinerary.
Lock in your plan to use the luggage forwarding service early, then focus on enjoying the actual travel experience without the weight of your possessions.
Keep planning
- ① Install and test your eSIM before take-offAiralo and Ubigi eSIMs activate on arrival, but the install itself needs Wi-Fi. Do it at home and confirm the profile shows up in your phone settings.
- ② Save your first hotel’s address in JapaneseTaxi drivers and station staff read Japanese addresses far faster than romanised ones. Copy it from the booking confirmation into your notes app.
- ③ Set aside cash for day oneMany small restaurants, temples and rural buses are still cash-only. Airport ATMs at 7-Eleven and the post office accept most foreign cards.
Skip these and your first hour in Japan goes on finding Wi-Fi at the station instead of getting to your hotel.
🔍 How to sanity-check any price you read online
Blogs (including this one) go out of date. The official page always wins over a screenshot from two years ago.