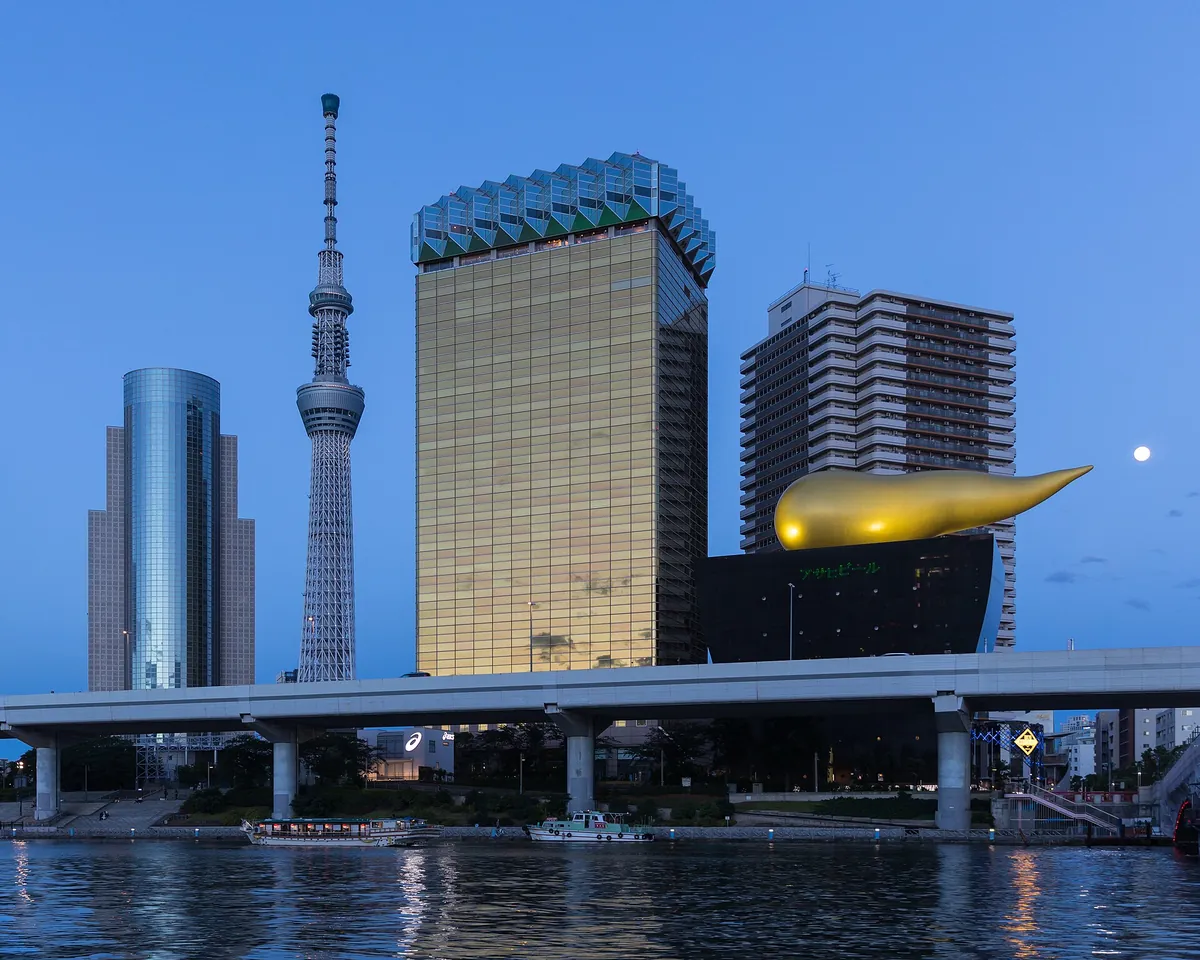

Twelve days of constant train shifts can turn a dream vacation into a blur of grey subway platforms and heavy suitcases. The secret to a successful first trip is reducing your movement by basing yourself in only three cities and treating the rest as morning-to-evening excursions.
By flying into Tokyo and departing from Osaka, you eliminate the costly and time-consuming “backtrack” flight. You save roughly half a day of travel by simply moving from East to West, rather than looping back to your arrival point just to catch a flight home.
- Time needed
- 12 days
- Typical cost
- ¥300,000 range
- Base
- Tokyo, Kyoto, Osaka
- Booking
- Hotels 3 months out
Some links are affiliate links (marked “Partner link”). Prices are ranges checked in 2026; confirm on the official site before you book.
The 12-day logistics: why this sequence saves your budget
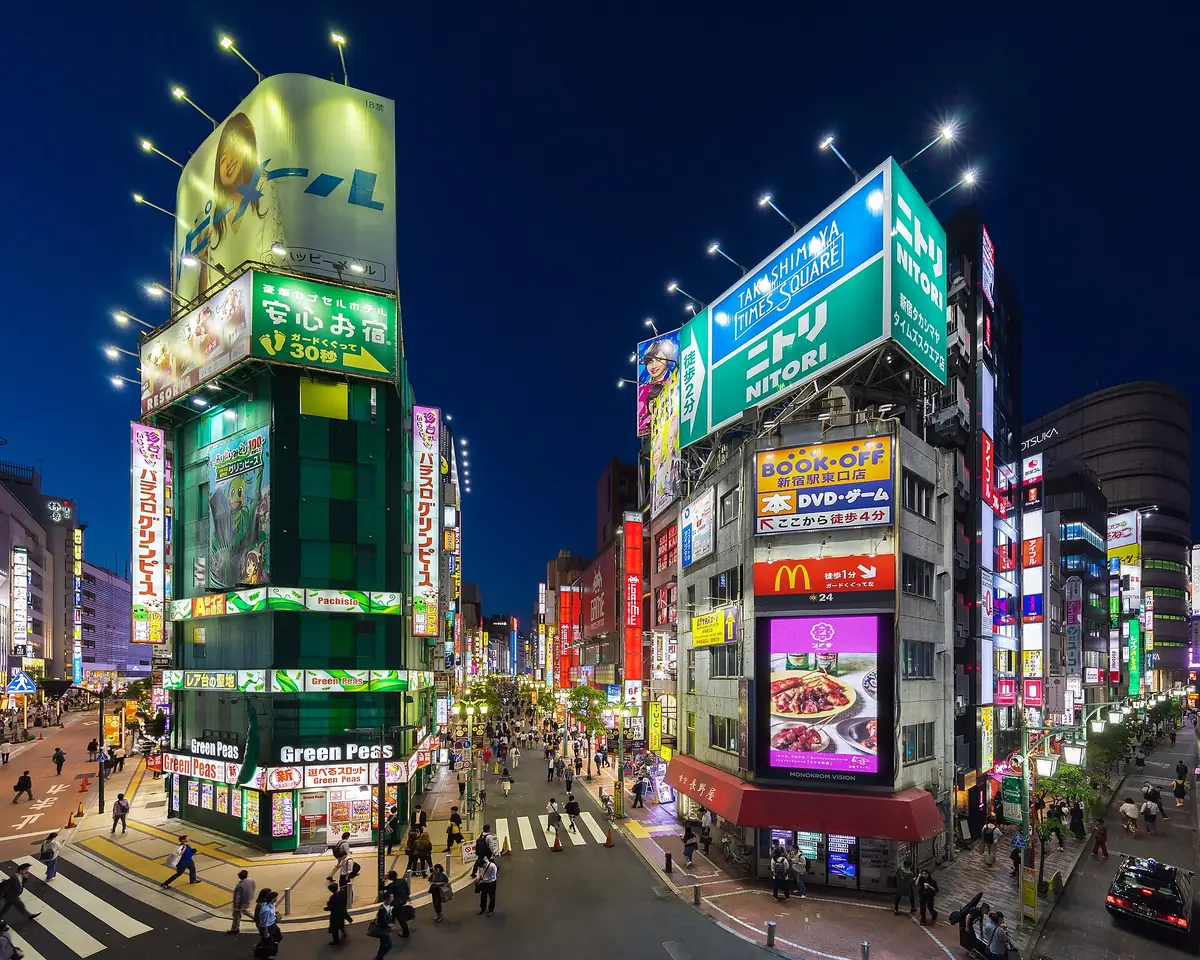
Most travelers burn their savings by booking hotels in random order, only to find the train between cities sold out or inconveniently timed. We treat the Tokaido Shinkansen schedule as the anchor of the trip.
If the fast morning train is booked, you move your hotel night by one day rather than forcing a 6:00 AM departure.
By keeping to three distinct hubs, you only need to navigate the transfer of large luggage three times. You can use the Yamato Transport luggage forwarding service to send your suitcases between hotels, allowing you to travel light on the local trains. It costs roughly ¥2,000–¥3,000 per bag.
- Narita or Haneda Airport
- NEX or Monorail · 30–60 min
- Tokyo Shinjuku or Ueno
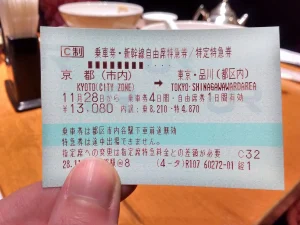
- Shinkansen · 2 h 15 min · reserved seat
- Kyoto Station
- JR Special Rapid · 30 min
- Osaka Namba or Umeda
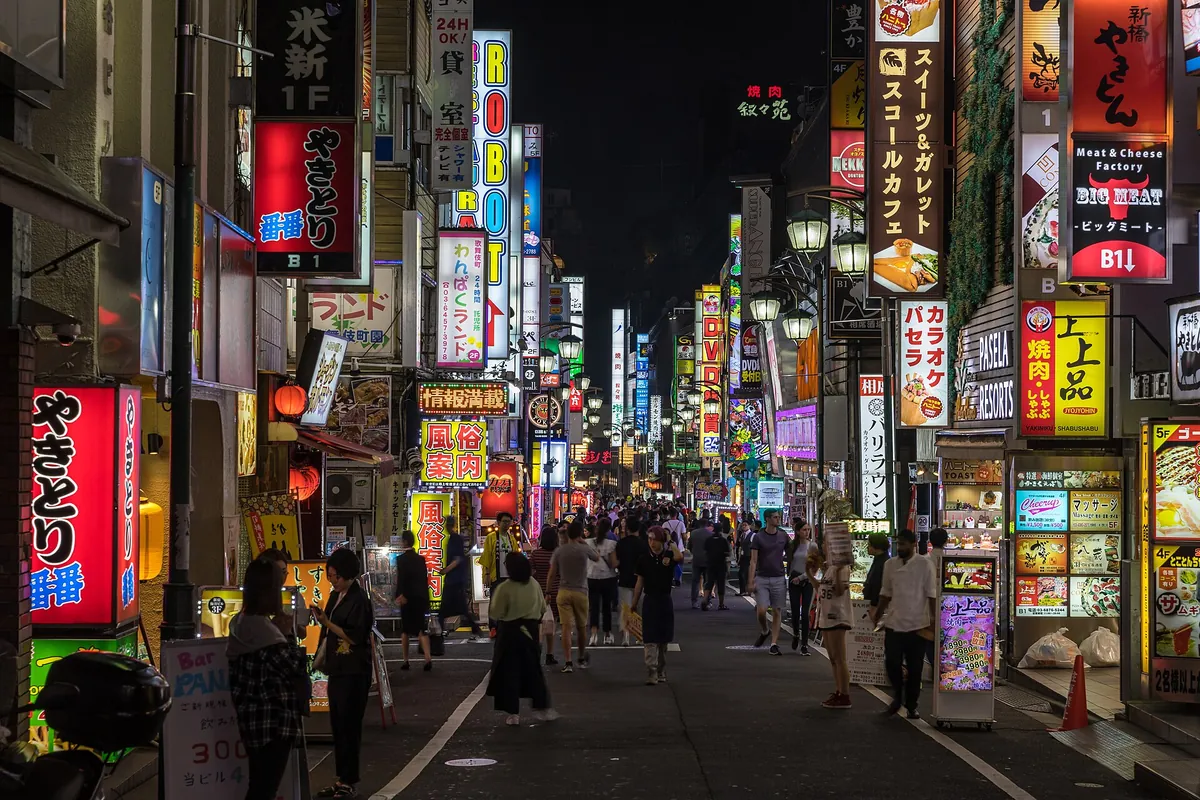
The mandatory booking order for your Japan itinerary
Do not touch a hotel site until you have your flight dates locked. We have learned the hard way that missing a single day in your reservation can force a mid-trip scramble for accommodation.
Once the flight is booked, follow this sequence to keep your sanity.
- Round-trip international flights
- The first night of hotel in Tokyo
- Shinkansen reservation (check on SmartEX)
- The final night of hotel in Osaka
- Mid-trip accommodation in Kyoto
- Timed-entry tickets for major landmarks
- eSIM setup (Airalo or Ubigi)
For hotels, check platforms like Booking.com or Agoda for availability in areas near main transit loops. If you want a traditional experience, book a ryokan in Kyoto at least four months in advance. These spots fill up rapidly because they have fewer rooms than standard business hotels.
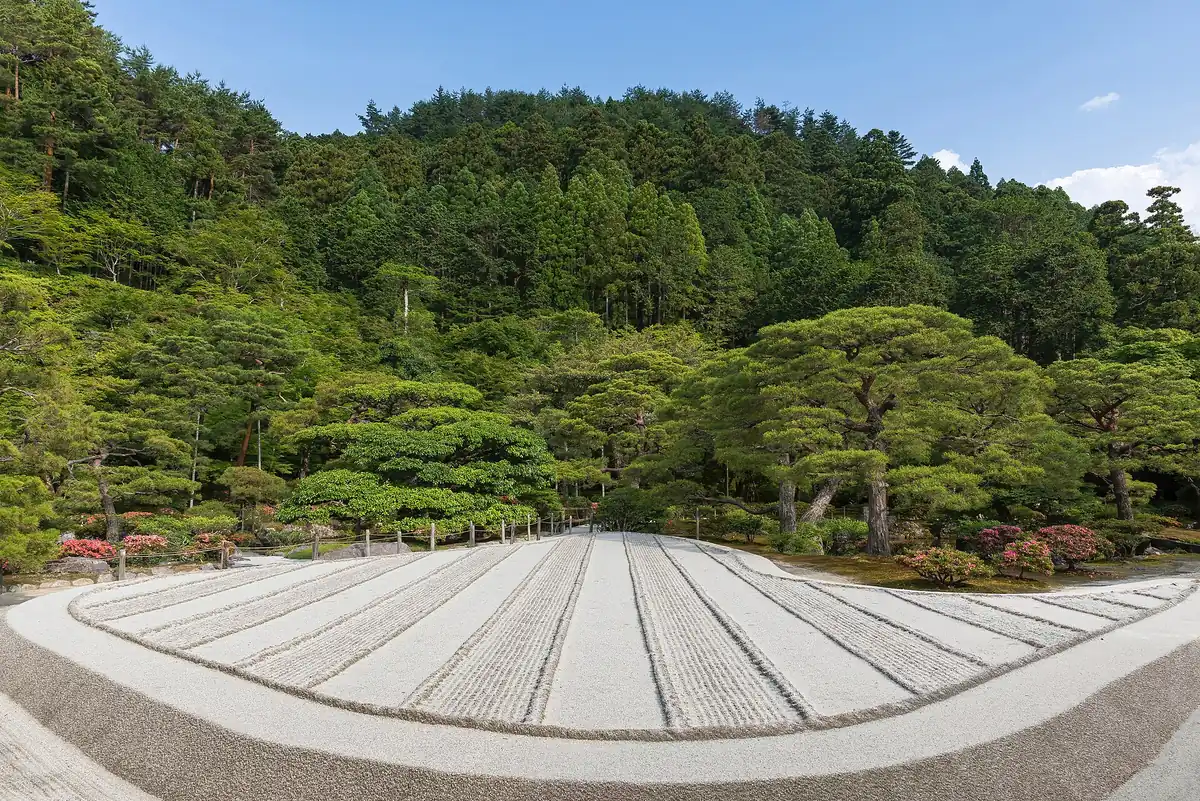
Tokyo (Days 1–4): your arrival and exploration hub
Day 1: Arrival and local orientation
Land at Haneda or Narita and take the train to your chosen district. We prefer staying near Shinjuku or Ueno for direct access to major transit lines.
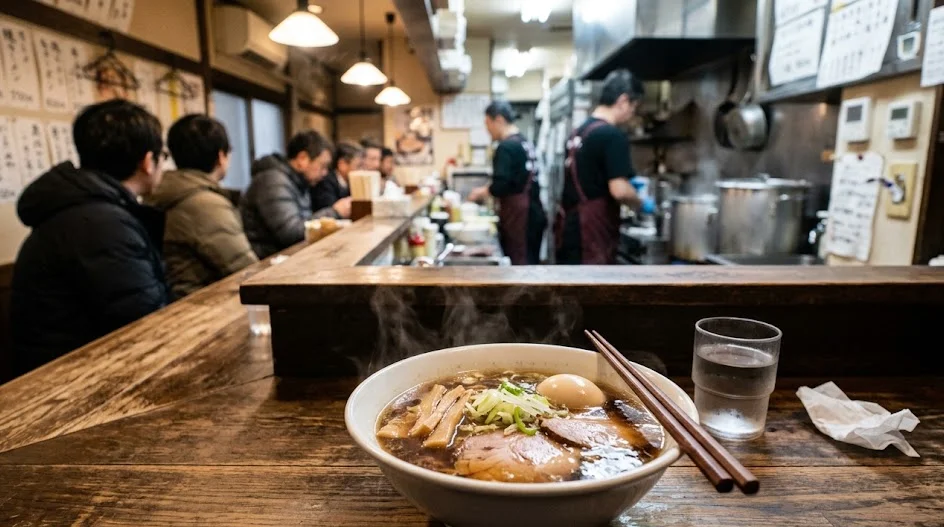
After checking into a mid-range business hotel (roughly ¥15,000–¥20,000 per night), walk the streets to calibrate your internal clock. Grab a bowl of ramen in an underground station shop for around ¥1,200.
Day 2: East Tokyo immersion
Start your morning at Senso-ji in Asakusa before the crowds peak at 10:00 AM. Take the Ginza line to Ueno Park to walk the museums and galleries.
For dinner, explore the small yakitori alleys near Ueno Station. You will likely spend ¥4,000–¥6,000 on a decent dinner including drinks.
Day 3: West Tokyo neon and vistas
Spend your morning in Meiji Jingu, a massive forest shrine in the middle of the city. Walk toward Shibuya to see the crossing, then head to the Shinjuku Metropolitan Government Building for a view of the skyline.
We find that the free observation deck saves you the cost of private towers. Skip the observation deck if it is cloudy or raining to save time.
Day 4: A slow start before the move
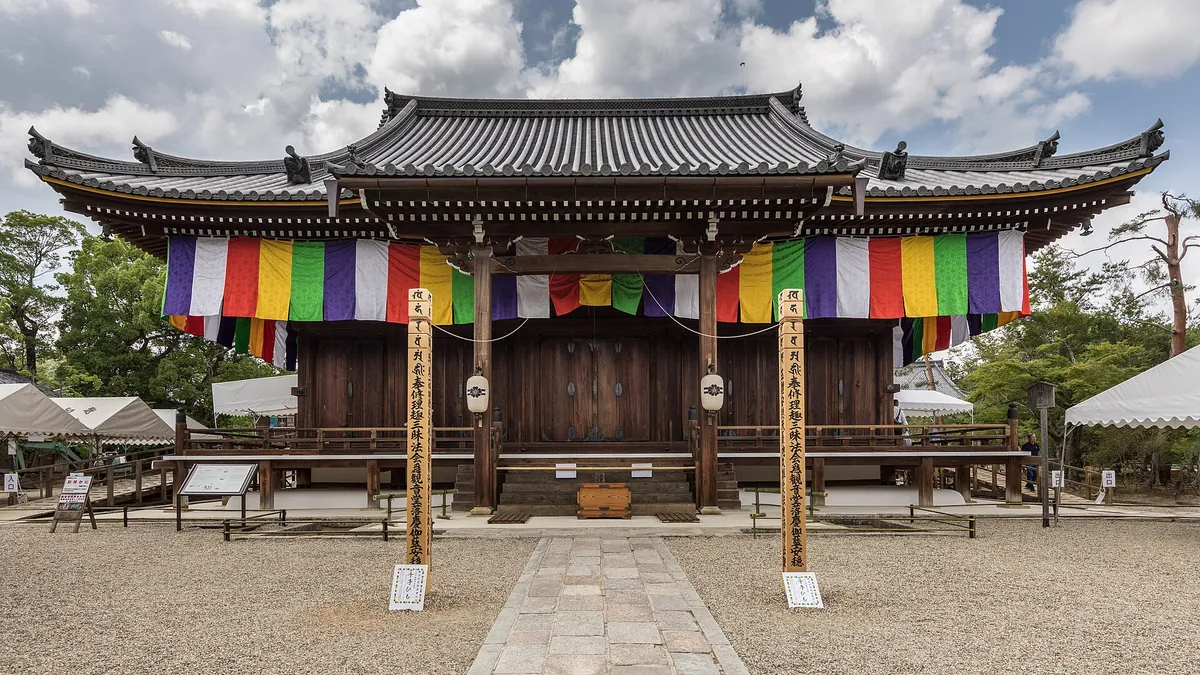
Use this day for whatever you missed. Pick a quiet neighbourhood like Yanaka Ginza to see an older side of the city. Prep your bags for forwarding the next morning. If you have not used a luggage forwarding service, ask your hotel front desk to help with the form.
Kyoto (Days 5–8): deep culture and nearby day trips
Day 5: Arrival in the old capital
Board the Shinkansen from Tokyo Station to Kyoto. You can book seats via the official Japan Rail site or at a station machine.
Once you arrive at Kyoto Station, navigate the bus network or subway to reach your hotel near Gion or the city centre. A business hotel here will cost roughly ¥18,000–¥25,000 nightly.
Day 6: Temples and the bamboo grove
Head to Arashiyama early to catch the bamboo forest before the tour buses arrive. Visit Tenryu-ji temple nearby.
If the crowd is too dense, walk toward the quieter segments of the river. Return to central Kyoto by late afternoon to grab a light dinner of udon, which usually costs around ¥1,000.
Day 7: Nara day trip
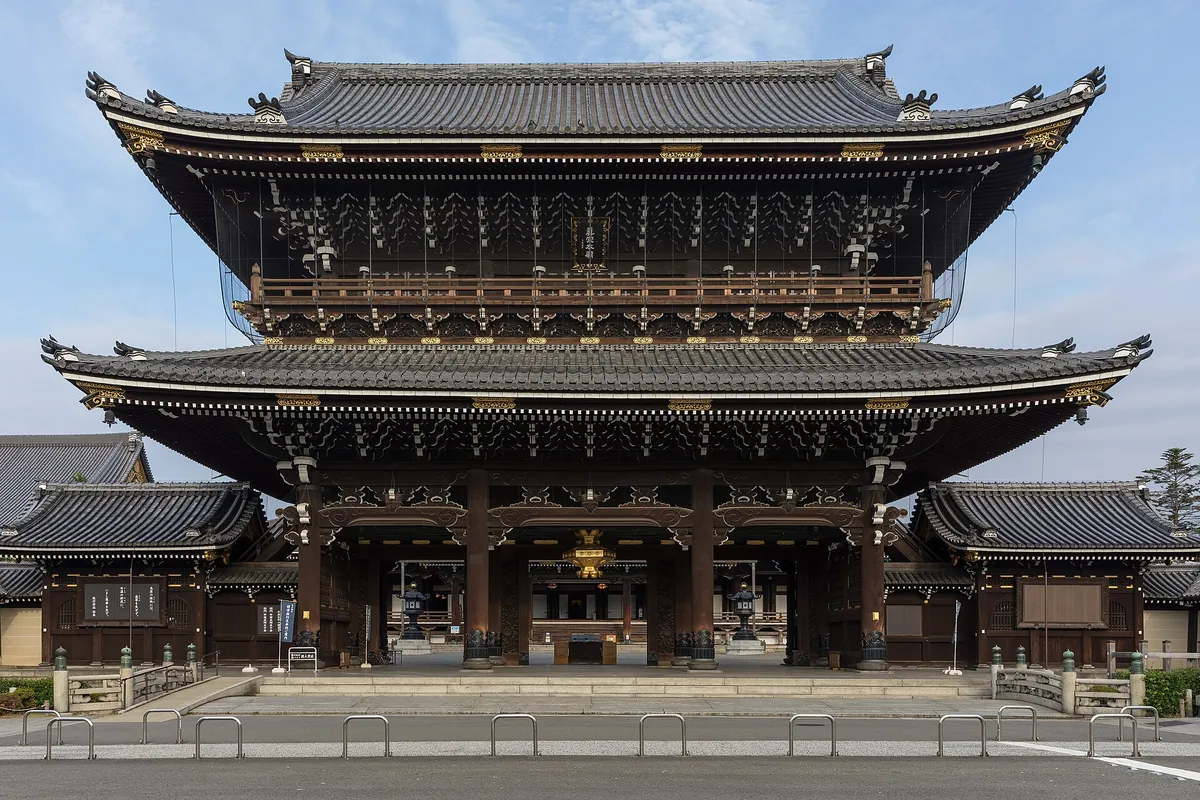
Take the JR Nara Line from Kyoto Station; it takes about 45 minutes. Feed the deer in Nara Park and visit Todai-ji to see the giant Buddha statue.
The entrance fee for the temple area is typically under ¥1,000. Return to Kyoto by 6:00 PM for a quiet evening meal.
Day 8: The Gion district and local craft
Walk through the Gion district to see the traditional architecture. Visit Kiyomizu-dera to get a high view of the city.
If you are feeling tired from the walking, skip the temple climbs and sit in a local cafe. Kyoto is best enjoyed by slowing down and picking one or two spots per day.
Osaka (Days 9–12): the kitchen of Japan
Day 9: Moving to the food capital
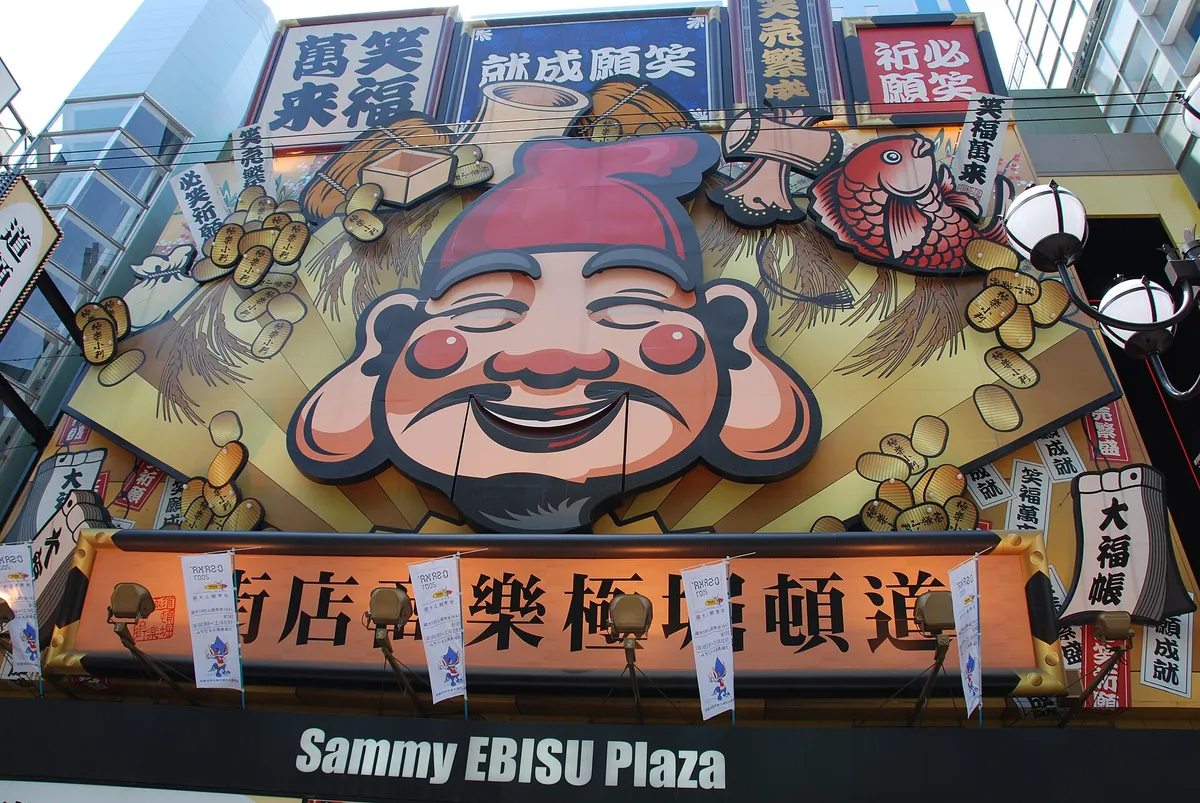
Take a 30-minute train from Kyoto to Osaka, arriving at Osaka Station or Namba. Check into a hotel near the Dotonbori area to be close to the food scene.
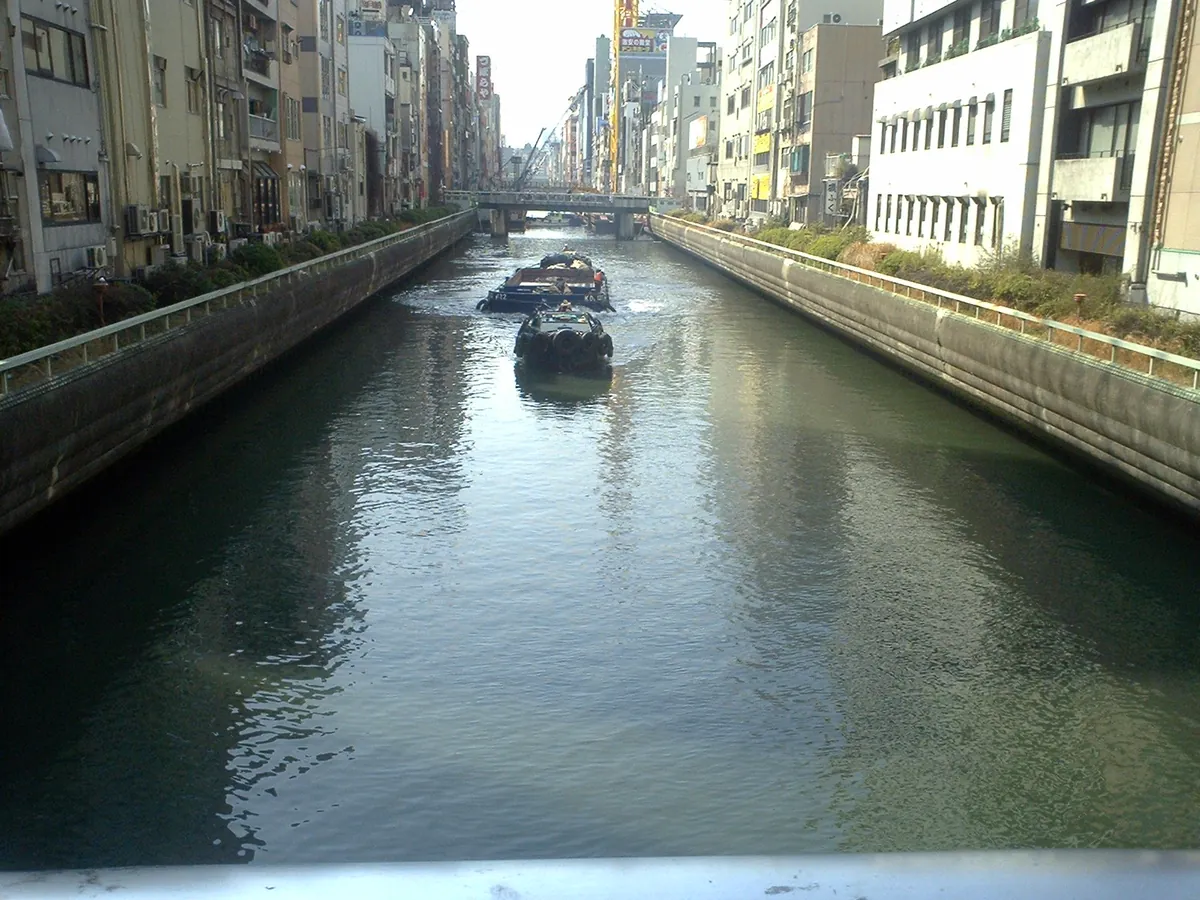
Spend your evening walking along the river and sampling takoyaki from street vendors, which is an affordable way to eat at roughly ¥600 for a pack.
Day 10: Osaka Castle and beyond
Visit the castle grounds early to avoid the peak sun. In the afternoon, explore the shopping arcades of Shinsaibashi. These covered streets are perfect if it is raining.
Dinner should be local okonomiyaki, which typically costs ¥1,500–¥2,500 at a neighbourhood grill shop.
Day 11: Free day for discovery
Head to the Shinsekai district for a retro feel and to see the Tsutenkaku Tower. If you prefer, take a day trip to Kobe, which is only 20 minutes away by rapid train.
Use your IC card for all these short legs; it saves the hassle of buying paper tickets for every individual ride.
Day 12: Departure from KIX
Take the Nankai Rapi:t train or the JR Haruka express to reach Kansai International Airport. Ensure you leave your hotel three hours before your flight to allow for check-in lines.
If you have extra time, grab a final bento box at the station for about ¥1,200 to eat while you wait for your plane.
Where we would book this
Booking.com
Largest inventory in Japan for English-speaking travellers
- Best for
- Hotels, business hotels, ryokan and apartments in every city
- Checked
- September 2026
Official site. Same price for you.
Where to stay to maximize your transit time
In Tokyo, base yourself in Shinjuku or Ueno. Shinjuku is the transit heart, while Ueno offers a calmer, more traditional feel with great park access.
Business hotels like APA or Dormy Inn provide reliable, clean rooms for ¥15,000–¥22,000 a night. We prefer these for their proximity to the train lines.
In Kyoto, try to find accommodation near the Shijo or Karasuma subway stations. Being on the subway line makes moving to the outlying shrines much easier than relying solely on the bus.
Expect to pay a premium here. Often, you will find rates in the ¥18,000–¥28,000 range for a mid-range hotel.
In Osaka, base yourself in Namba or Umeda. Namba puts you right in the middle of the best street food, while Umeda is better for rapid access to the train network heading to the airport. Look for properties on Booking.com that mention “station proximity” as a key feature.
Partner link.
Estimated costs for a 12-day trip
This budget assumes two people sharing rooms and eating a mix of street food and sit-down meals. Prices are estimates based on mid-range comfort. Whether the Japan Rail Pass pays off depends on your route; always add up individual Shinkansen tickets first to compare.
| Item | Budget Estimate |
|---|---|
| Hotels | ¥200,000–¥280,000 |
| Trains | ¥30,000–¥40,000 |
| Food | ¥80,000–¥100,000 |
Plan your trip: the tools we use
Tips to keep your transit stress-free
Luggage forwarding is the greatest luxury you can afford. Ask your hotel front desk to help you fill out the slips for your bags.
It takes roughly 24 hours for a bag to move from Tokyo to Kyoto, so pack a small overnight bag for the transition.
Always have an eSIM ready for your trip. We recommend Airalo or Ubigi for consistent data coverage. It allows you to use map apps to find train platforms without relying on unpredictable public Wi-Fi.
A 10GB plan is usually more than enough for a 12-day trip. Get a digital IC card on your phone. You can load it into your wallet app and tap it at every subway gate in the country.
It saves you from fumbling for coins at ticket machines during the morning rush. Avoid the mistake of trying to book every single local ticket in advance; only the long-distance Shinkansen trains require pre-planning.
Navigating the evening shift: how to wind down in the city
Once the sun sets, many travelers find themselves aimlessly walking, unsure of where to find a meal that does not require a reservation or a high-end budget.
In Tokyo, particularly around the Shinjuku or Ueno districts, the nightlife is defined by narrow alleys rather than grand plazas.
Seek out yokocho alleys, which are narrow passages packed with tiny bars and grills. These spots are perfect for solo travelers or pairs. You can expect to pay around ¥3,000–¥5,000 for a satisfying meal and a few drinks. Always look for shops with a menu posted outside so you can gauge the price before sitting down.
Kyoto’s evening pace is noticeably slower than Tokyo or Osaka. The Pontocho Alley is the most famous spot for riverside dining, but it can be expensive and crowded.
Instead, walk the side streets near the Kamo River where the ambient lighting is dimmer and the crowd is thinner. Most casual eateries here close by 10:00 PM, so plan your dinner window between 6:00 PM and 8:30 PM.
- Tokyo: Explore Omoide Yokocho in Shinjuku for grilled skewers.
- Kyoto: Look for smaller izakayas near the Kawaramachi crossing.
- Osaka: Wander the Dotonbori backstreets away from the main canal signs.
In Osaka, the evening is the primary reason to visit. Dotonbori transforms into a neon-lit festival atmosphere after dark.
If the main canal path feels too chaotic, head one block north or south into the smaller shopping arcades. You will find higher-quality food at more reasonable prices than the tourist-facing storefronts.
If you find yourself exhausted from a full day of temple hopping, do not feel pressured to seek out “nightlife.” Many of the best experiences in Japan involve buying a high-quality bento box or a selection of snacks from a local convenience store and enjoying them in the quiet comfort of your hotel room.
It is a common practice even among locals.
Strategic cuts: what to drop when the itinerary hits a wall
Even the best-planned trips encounter unexpected roadblocks, such as a delayed flight, a sudden downpour, or simple physical burnout. When you lose time, your priority must be to prune the “active” segments of your itinerary while keeping your base intact.
If you lose a full day due to a late flight or deep jet lag, immediately sacrifice the minor day trips rather than shortening your city exploration.
Cutting a day trip to Nara or Kobe is easy because you have not yet checked out of your hotel or moved your luggage. It is far less disruptive than trying to compress your remaining Tokyo or Kyoto sightseeing days.
For those struggling with the pace, here is the order of operations for scaling back:
- Morning temple visits: If you are too tired, skip the 7:00 AM alarm. A sleep-in is often more valuable than seeing one more shrine.
- Far-flung attractions: Remove spots that require more than 40 minutes of transit time from your hotel base.
- Shopping arcades: These are replaceable; you can usually find similar items in any major city district.
When weather threatens your plans, prioritize indoor infrastructure. Tokyo’s massive underground mall networks, such as those connected to Shinjuku or Tokyo Station, allow you to walk for kilometres without seeing rain.
In Kyoto, shift your focus from outdoor shrines to indoor museums or the grand Kyoto Station building itself, which houses vast dining levels and observation zones.
Do not force yourself to visit every landmark on a checklist. We have found that travelers who attempt to hit every “top-ten” location often return home feeling like they missed the actual experience of the country.
If you find a neighbourhood you enjoy, stay there for the afternoon rather than rushing to the next train. Flexibility is the ultimate travel budget, as it prevents the expensive stress of frantic, last-minute transit changes.
Navigating the rail network without a JR Pass
Many travelers arrive assuming the nationwide JR Pass is a mandatory purchase, but the pricing revisions of recent years have changed the math entirely.
For a 12-day route moving only between Tokyo, Kyoto, and Osaka, a full national pass is almost always a financial loss. You are better off buying individual Shinkansen tickets or utilizing regional passes if your plans expand.
To secure your seats, download the SmartEX app. It allows you to book specific Shinkansen departures weeks in advance using your credit card, and you can link it directly to your digital IC card.
This eliminates the need to stand in physical ticket queues at the station, which is a major time-saver during peak holiday seasons. For your local transit within these cities, the Suica, Pasmo, or ICOCA cards are your best friends.
You do not need to research different transit companies. Just add the card to your digital wallet and tap your phone at any gate. It covers subways, private railways, and even some buses. If you need to check fares, Google Maps provides an accurate breakdown of costs for every leg.
When a regional pass makes sense
- Kansai Area Pass: Useful if you plan multiple trips from Osaka to Himeji or Nara.
- Tokyo Wide Pass: Ideal if you take a day trip to the mountains or the coast near Tokyo.
- Individual tickets: The most cost-effective choice for our core three-city route.
If you prefer booking tickets with a human touch or need specific assistance, websites like Klook or GetYourGuide act as reliable intermediaries.
While they often charge a small service fee, their user interfaces are sometimes more intuitive than official railway sites. Always confirm your travel dates and check the official site of the railway company to see if a specific discount pass aligns with your schedule.
Avoid the temptation to over-calculate your train costs to the last yen. The difference between a few hundred yen is negligible compared to the stress of catching a train.
Prioritize a seat reservation for the Tokyo to Kyoto leg, as that journey is long and the morning trains fill up quickly. For the shorter local hops between Kyoto and Osaka, just walk to the platform and board the next available rapid train.
Advanced strategies for luggage logistics
Dragging large suitcases onto Japanese commuter trains is the quickest way to ruin your mood and irritate local commuters. The trains are designed for efficiency, not for oversized storage.
We strongly recommend using the takkyubin luggage forwarding service, known as Yamato Transport or Kuroneko Yamato, to move your bags between your hotel bases.
When you check out of your Tokyo hotel, ask the front desk to arrange a shipment to your next destination in Kyoto. It usually takes about 24 hours for the bag to arrive, so you should pack a small overnight bag or a backpack with your toiletries and a fresh change of clothes.
This allows you to board the Shinkansen with only your essentials, leaving your hands free to navigate the station terminals. The cost typically ranges between ¥2,000 and ¥3,000 per bag depending on the size and distance.
This is a small price to pay to avoid the chaos of finding luggage space on a high-speed train or trying to navigate narrow subway stairs with a heavy roller bag. Most hotels have the forms readily available at the concierge desk, and staff are usually happy to assist with the process.
Luggage tips for a smooth transfer
- Forwarding window: Always request the shipment at least one day before your planned city move.
- Identification: Keep your luggage claim slip safe until your bag reaches the next hotel.
- Weight limits: Check with the hotel front desk for specific size limits, though most standard large suitcases are fine.
- Hotel reception: Ensure your next hotel has been notified or has a check-in reservation so they can accept the delivery.
If you are traveling with a group or have multiple pieces of luggage, be aware that some hotels may have limits on how many bags they can store. It is wise to send an email to your upcoming hotel in advance to ask if they accept courier deliveries.
Most major business hotels do, but smaller boutique spots or traditional inns might have different procedures. If you prefer to move your own bags, try to travel during off-peak hours.
Avoid the 8:00 AM to 9:00 AM rush when business commuters flood the platforms. If you have to take a suitcase on a train, look for the train cars with specific areas for larger luggage, though these are limited and often require an advance reservation on the Shinkansen.
When in doubt, let the shipping service handle the weight while you enjoy a lighter, more agile travel experience.
FAQ
QIs 12 days enough to see Japan?
It is perfect for a first-timer. By sticking to three bases, you avoid spending your entire holiday on a train.
QCan I add Hiroshima to this route?
You can, but it will make the trip feel rushed. Only add it if you are comfortable losing half a day to travel.
QWhat is the best season for this route?
Late autumn and spring are beautiful but crowded. Winter offers crisp air and fewer tourists, though it is quite cold.
QDo I need to carry cash?
Yes, keep some yen on hand. While cards are widely accepted, small shrines and some local noodle shops prefer cash.
QHow do I reserve train seats?
Use the official SmartEX website or app. It links to your credit card and allows you to book before you arrive.
Planning this route often feels like trying to solve a complex puzzle with pieces that keep moving.
Stop worrying about the perfect schedule and lock in your primary transit and main hotel bases, then refine the daily sightseeing once you arrive.
Keep planning
- ① Install and test your eSIM before take-offAiralo and Ubigi eSIMs activate on arrival, but the install itself needs Wi-Fi. Do it at home and confirm the profile shows up in your phone settings.
- ② Save your first hotel’s address in JapaneseTaxi drivers and station staff read Japanese addresses far faster than romanised ones. Copy it from the booking confirmation into your notes app.
- ③ Set aside cash for day oneMany small restaurants, temples and rural buses are still cash-only. Airport ATMs at 7-Eleven and the post office accept most foreign cards.
Skip these and your first hour in Japan goes on finding Wi-Fi at the station instead of getting to your hotel.
🔍 How to sanity-check any price you read online
Blogs (including this one) go out of date. The official page always wins over a screenshot from two years ago.
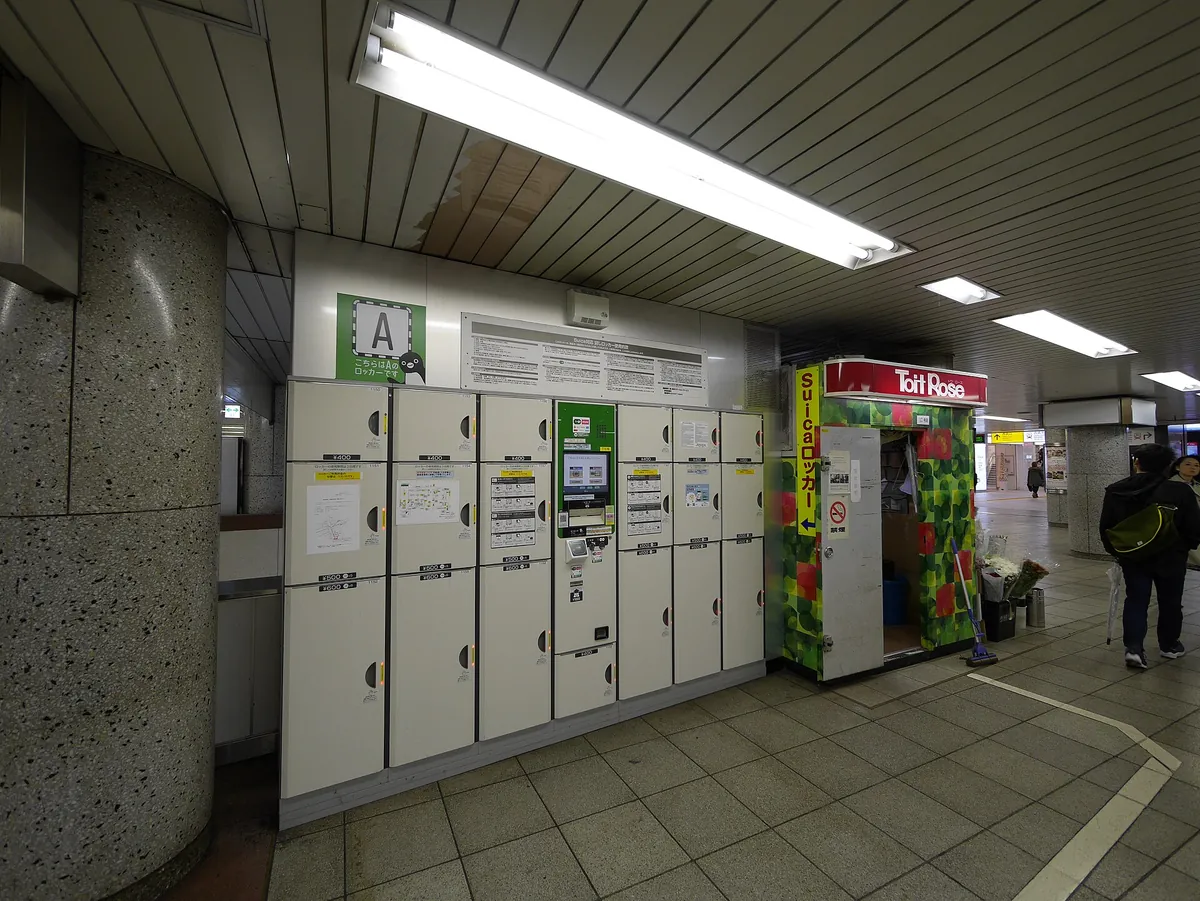
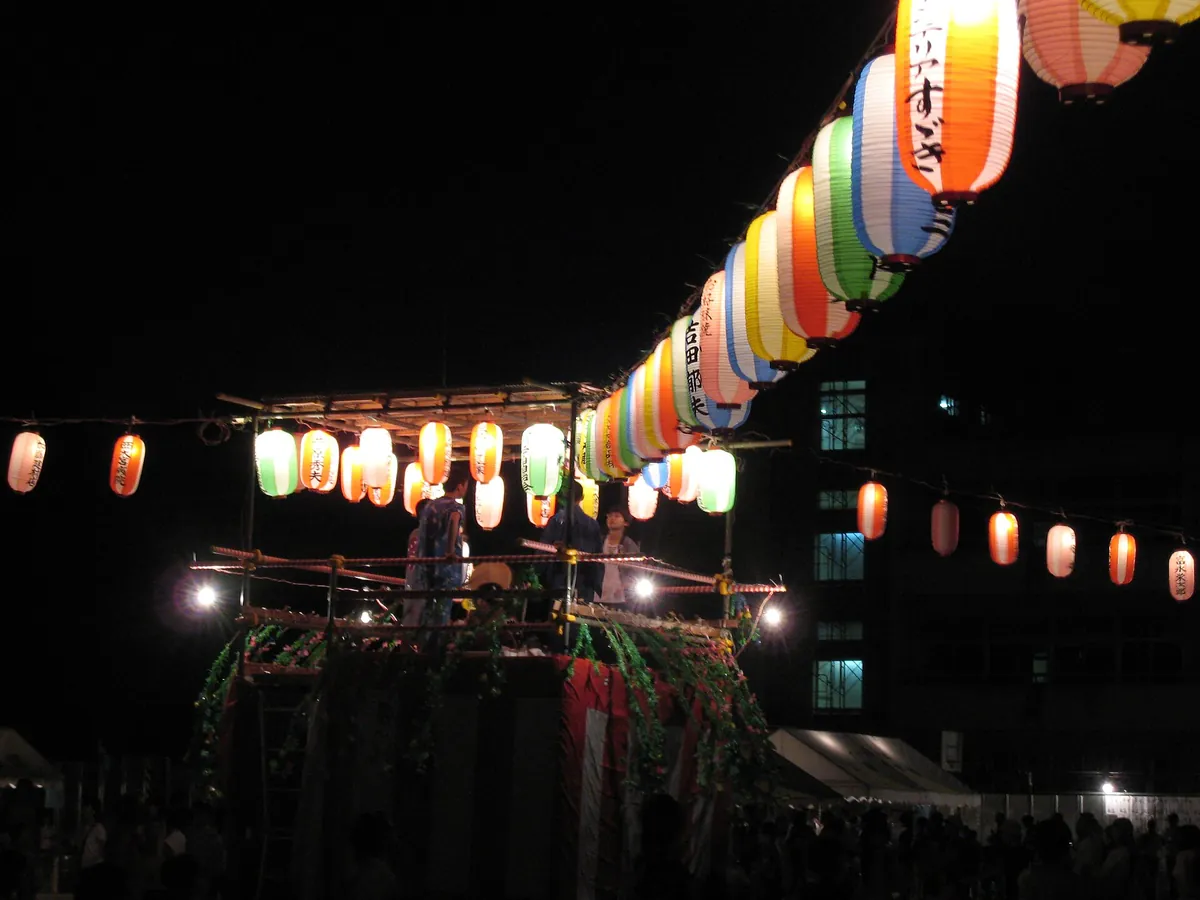
Cover Photo: Basile Morin, CC BY-SA 4.0, via Wikimedia Commons