
Every guidebook suggests you bring a massive suitcase filled with “just in case” outfits to handle Japan’s varying weather.
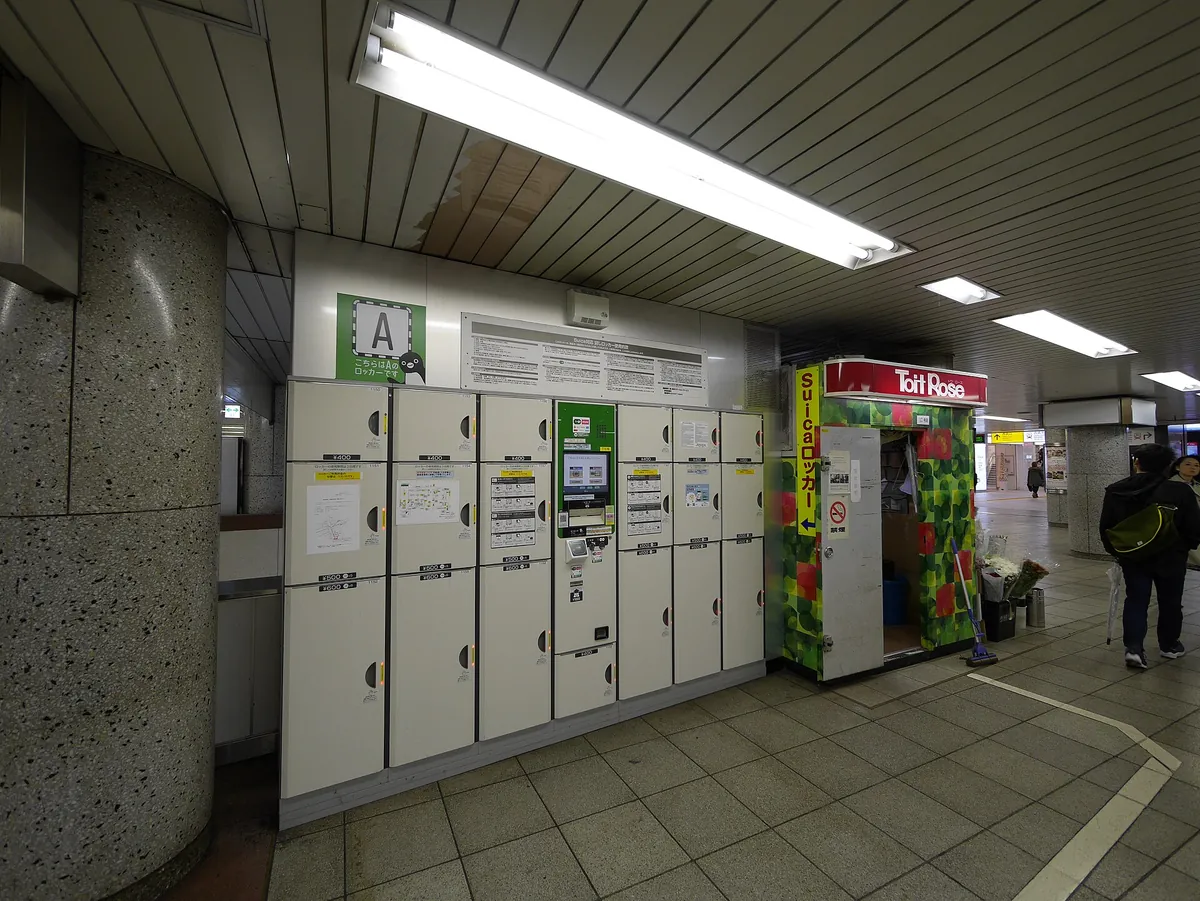
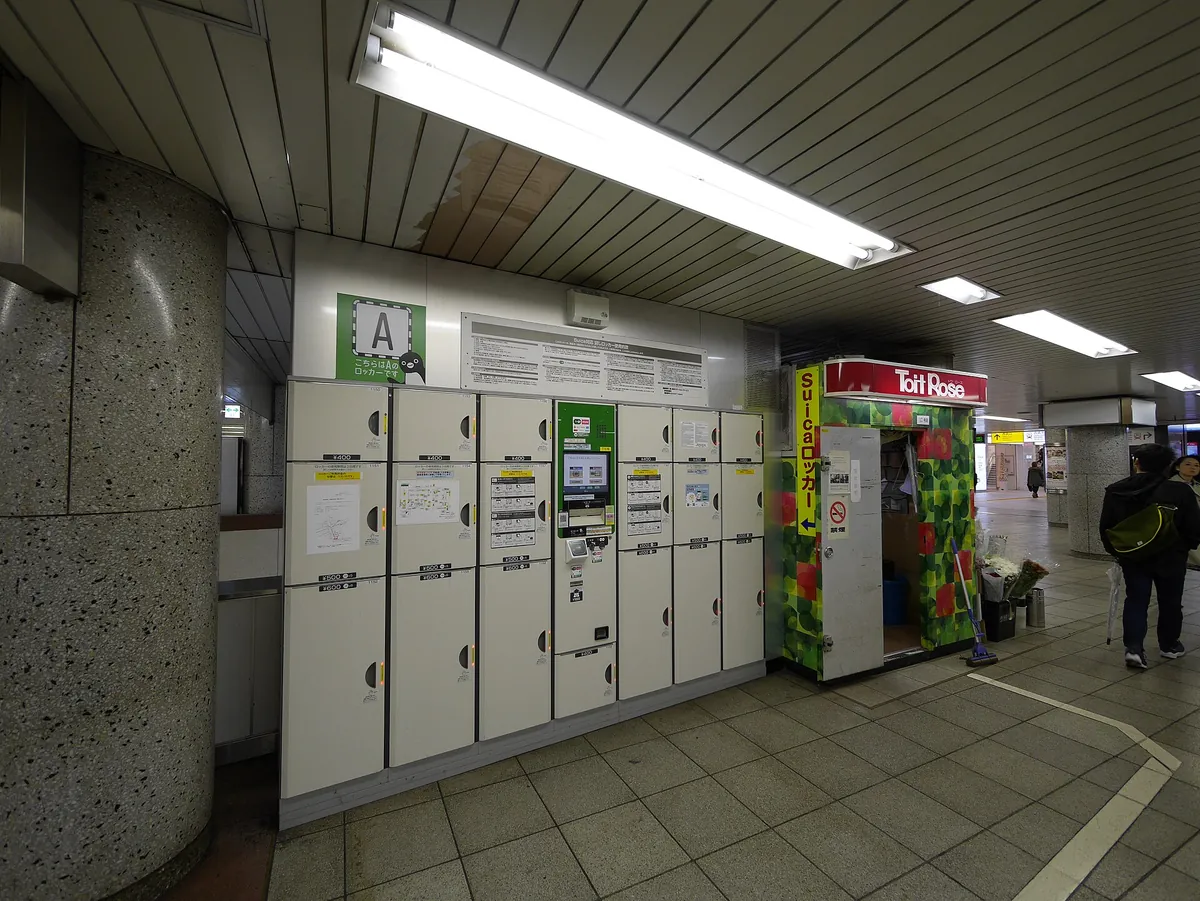
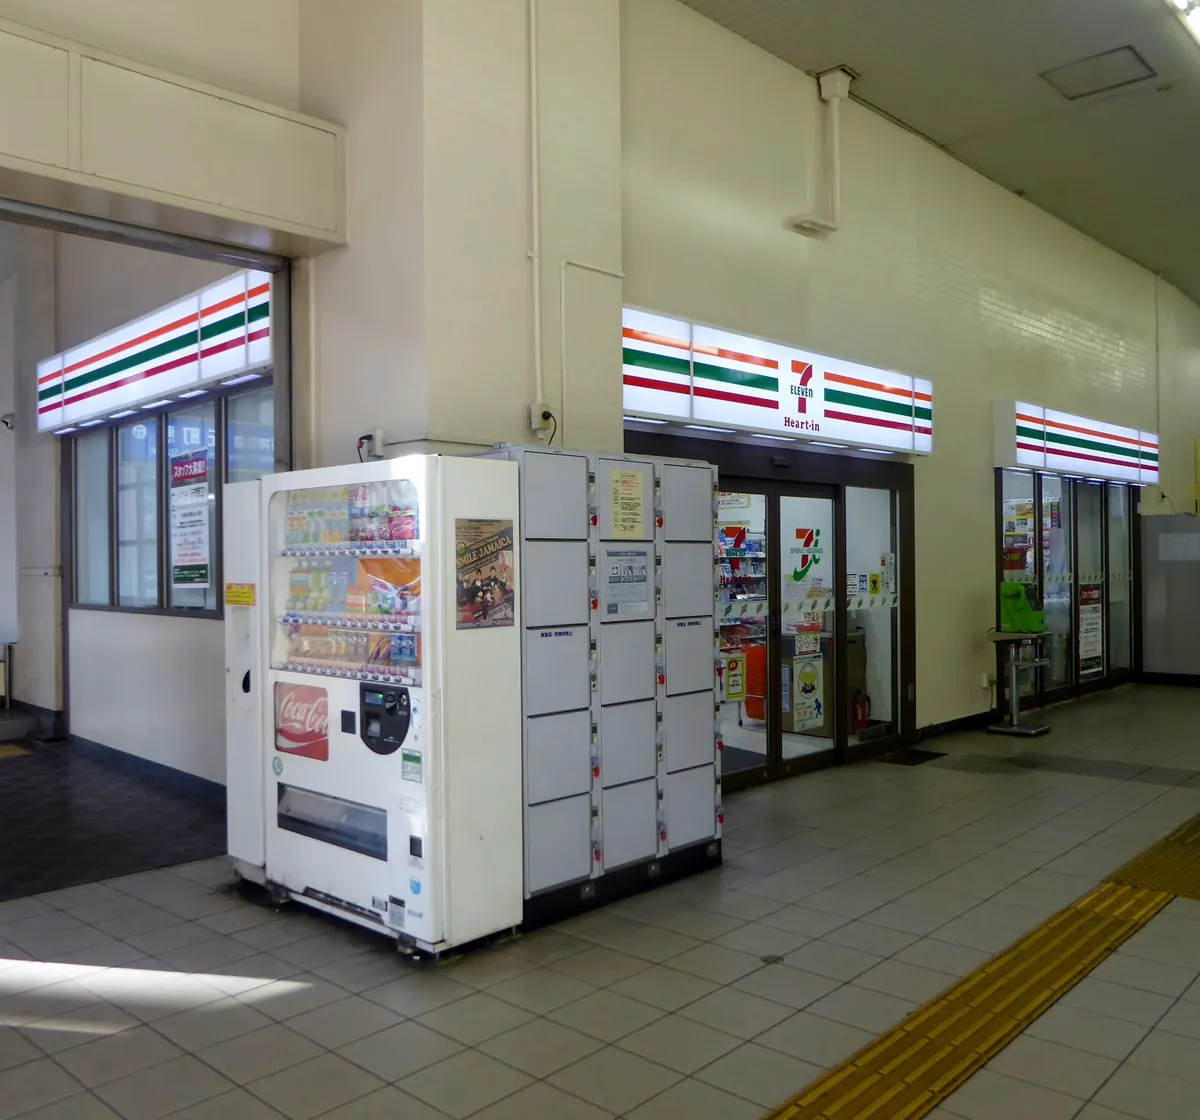
I eventually missed my connection because I could not find an empty locker large enough for my behemoth luggage. Learn from my mistake and keep your footprint small.
You need to pack for the station, not for the hotel. If your luggage exceeds the size of a standard Japanese coin locker—typically around 55cm by 40cm by 25cm—you will find yourself trapped at transit hubs with no place to store your gear.
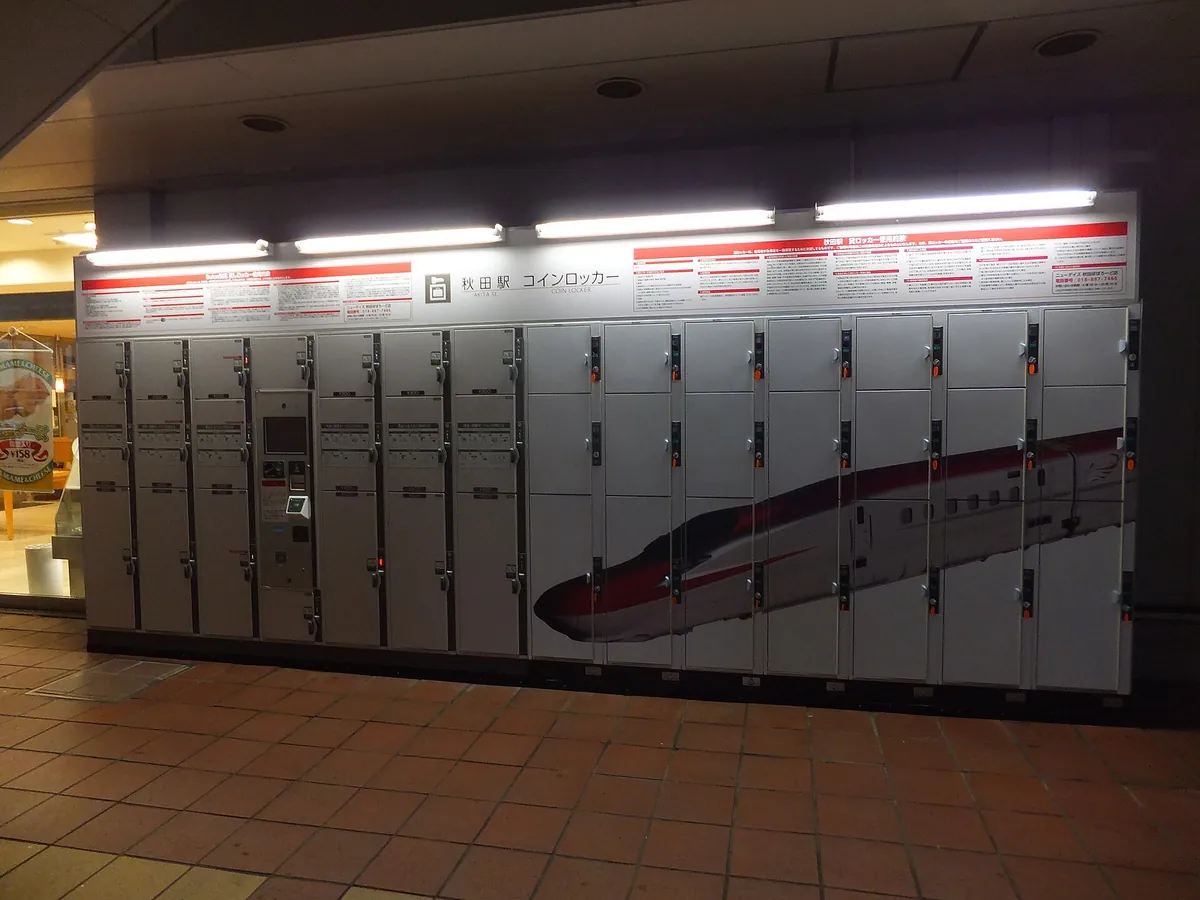
This reality often forces you to abandon your sightseeing plans or pay for expensive, last-minute luggage delivery services. Aim for a single carry-on-sized bag and a small personal backpack, as this will keep you mobile and free from the “luggage anxiety” that ruins most first-time trips.
- Trip length
- 14 days
- Base strategy
- Carry-on only
- Best asset
- Laundry access
- Luggage limit
- 55cm height
- Carry-on sized luggage (stiff or soft shell)
- One pair of high-quality, broken-in walking shoes
- Four days’ worth of base-layer clothing
- One lightweight, packable jacket for evenings
- Universal travel adapter for Type A plugs
- E-SIM profile loaded on your phone
- Small coin purse for daily cash transactions
- Portable power bank for long transit days
Some links are affiliate links (marked “Partner link”). Prices are ranges checked in 2026; confirm on the official site before you book.
← Swipe to see the full table →
| Service | Price Range (Yen) |
|---|---|
| Coin Laundry | 300–600 |
| Luggage Delivery | 1500–2500 |
| Store Umbrella | 500–800 |
Plan your trip: the tools we use
Understanding Japan’s climate by season
Packing correctly requires looking at the regional variations across Honshu. While Tokyo can be humid and hot in July, reaching highs of 32°C, the winter months from December to February often see temperatures dip near freezing, especially in Kyoto or mountainous regions.
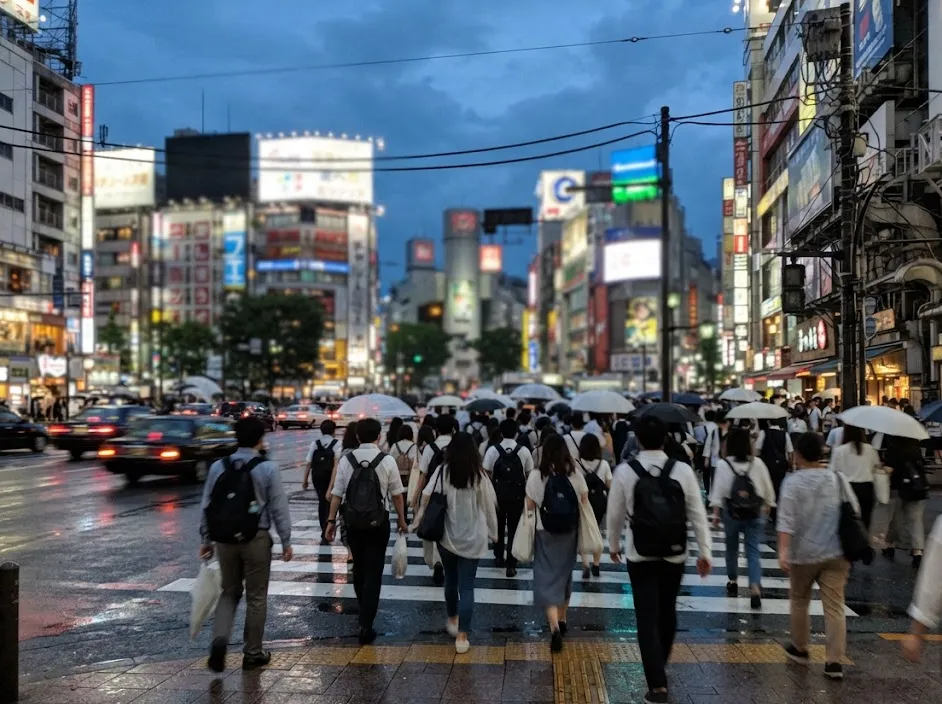
Rain is the one constant you must prepare for, regardless of when you visit. The rainy season, or tsuyu, typically hits in June, but sudden downpours are common year-round.
Carrying a heavy umbrella is a mistake. Most convenience stores like 7-Eleven or Lawson sell sturdy, transparent umbrellas for ¥500–¥800 that are perfect for a two-week trip.
Winter vs. summer packing adjustments
In winter, prioritize a lightweight down jacket that compresses into a small pouch. Hotels and shops in Japan are aggressively heated, so you will want to peel off layers the moment you step inside a subway station or a department store.
During the warmer months, stick to breathable fabrics like linen or moisture-wicking synthetics. Heavy denim will be your enemy in the humidity of an Osaka summer.
Stick to light trousers that dry quickly. You will likely find yourself doing a quick wash in your hotel’s laundry room at least twice during a 14-day stay.
The layering strategy for Honshu transit
The secret to staying comfortable while moving between climate-controlled trains and outdoor shrines is the “three-layer” rule. Start with a light base layer that you can wash in a sink if necessary, add a mid-layer for warmth, and top it off with a versatile outer shell.
You do not need a new outfit for every day. Most business hotels in cities like Osaka and Kyoto offer coin-operated laundry machines for roughly ¥300–¥600 per load, including detergent. I now bring clothes for four days and simply rotate them, which saves immense space in my suitcase.
Tops and essential base layers
Stick to neutral colors that allow you to mix and match items throughout your trip. A few high-quality T-shirts or light blouses will serve you better than a suitcase full of specialized travel clothing.
If you are visiting in spring or autumn, a cardigan or a light fleece serves as an ideal mid-layer. These items are compact enough to stuff into your daypack when the afternoon sun hits or when you are navigating a crowded train platform.
Walking shoe requirements for urban exploration
You will walk more in Japan than you ever have before. Between navigating massive stations like Umeda and exploring temple complexes, expect to hit 15,000 to 20,000 steps daily. Do not bring brand-new shoes; bring the most comfortable pair you own, even if they aren’t the most stylish.
Slip-on shoes are a massive advantage because you will be taking them off constantly. Whether you are entering a traditional ryokan, a temple hall, or a Japanese-style restaurant, you must be prepared to leave your shoes at the entrance.
If you wear shoes with complex laces, you will find yourself delayed at every single transition. Opt for loafers or slip-on sneakers to keep your pace up.
Managing the rain and temple floors
Make sure your walking shoes have a good grip on the sole. Many temple courtyards feature smooth stone or polished wood that becomes extremely slippery when wet, and you don’t want to lose your footing while sightseeing.
Keep a pair of clean, hole-free socks in your daypack. Since you will be taking your shoes off often, you want to be certain your socks look presentable to the public in these indoor spaces.
Where we would book this
Amazon
Readers already have an account
- Best for
- Travel adapters (Type A plugs), luggage, packing cubes, travel…
- Checked
- September 2026
Official site. Same price for you.
Essential gear for your transit and connectivity
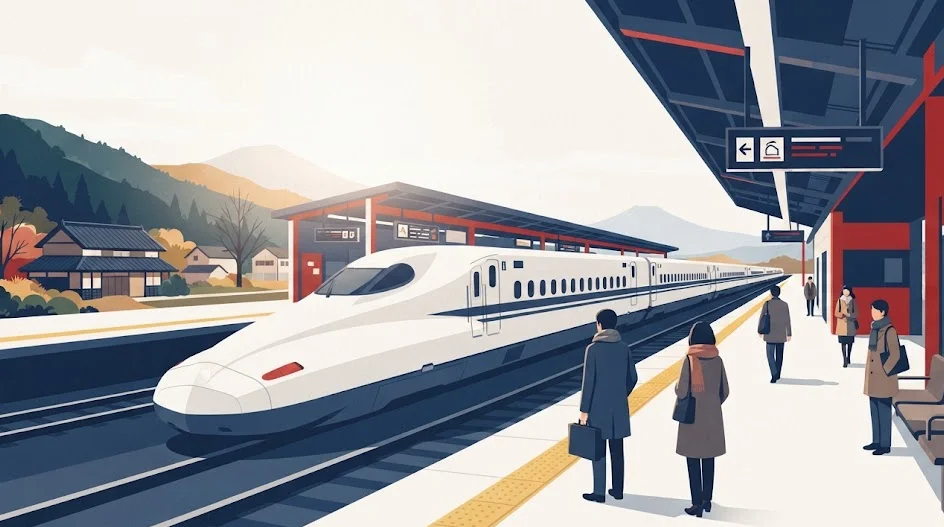
Connectivity is the backbone of a successful trip. I recommend setting up an E-SIM through providers like Airalo or Ubigi before you leave the airport. It saves you from fumbling with physical SIM cards while standing in the middle of a busy arrival hall.
Regarding power, Japan uses Type A plugs, identical to those in the United States but without the ground pin. If you are traveling from Europe or the UK, you definitely need a universal adapter. I usually buy a compact multi-port adapter on Amazon to charge my phone, watch, and portable battery at the same time.
Keeping your documents organized
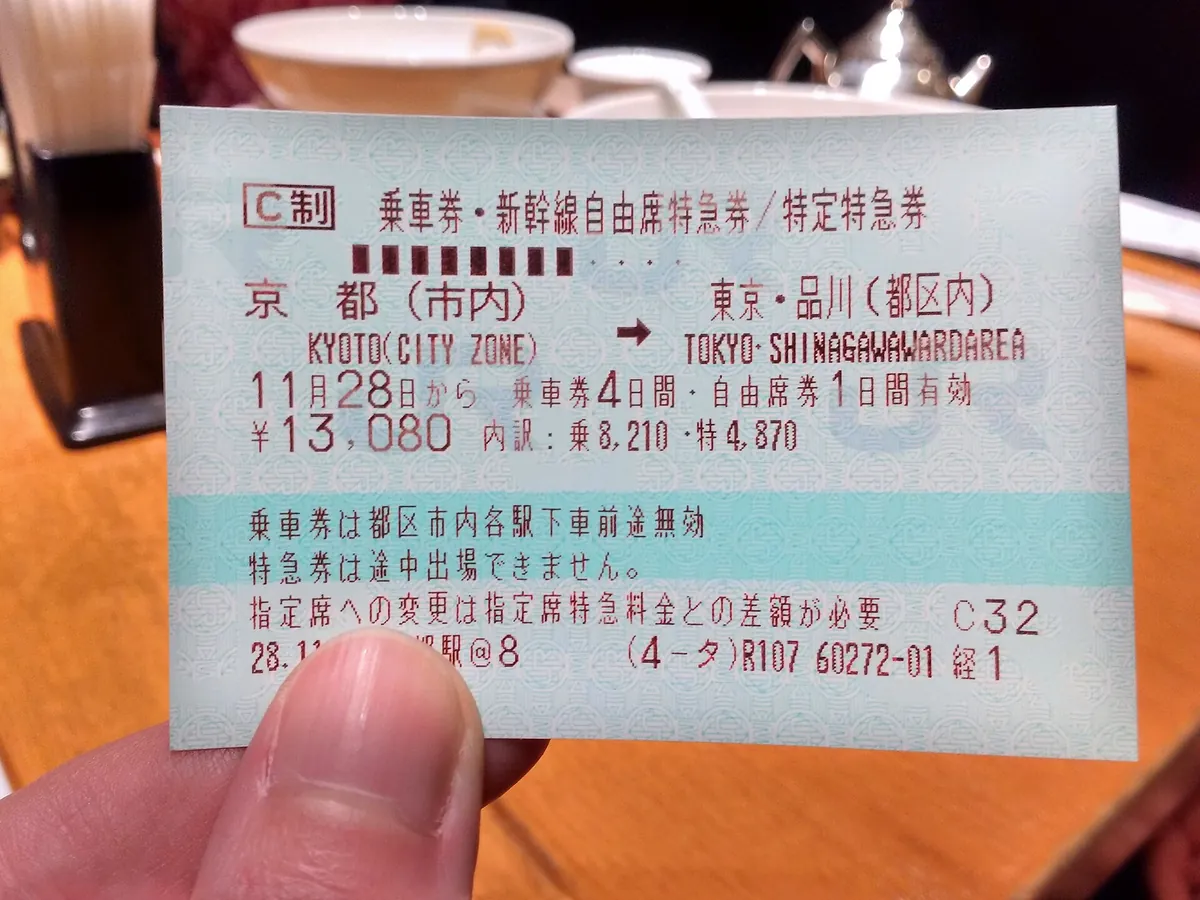
Carry a small, dedicated folder for your rail passes, hotel vouchers, and passport. Although many systems are digitizing, you will still need to show your passport physically when checking into hotels, so keep it in an accessible but secure pocket.
Do not forget a portable power bank. Between Google Maps navigation and translating signs with your camera, your phone battery will drain much faster than it does at home. A 10,000mAh battery is usually sufficient to get you through a full day of sightseeing.
Luggage forwarding and station navigation
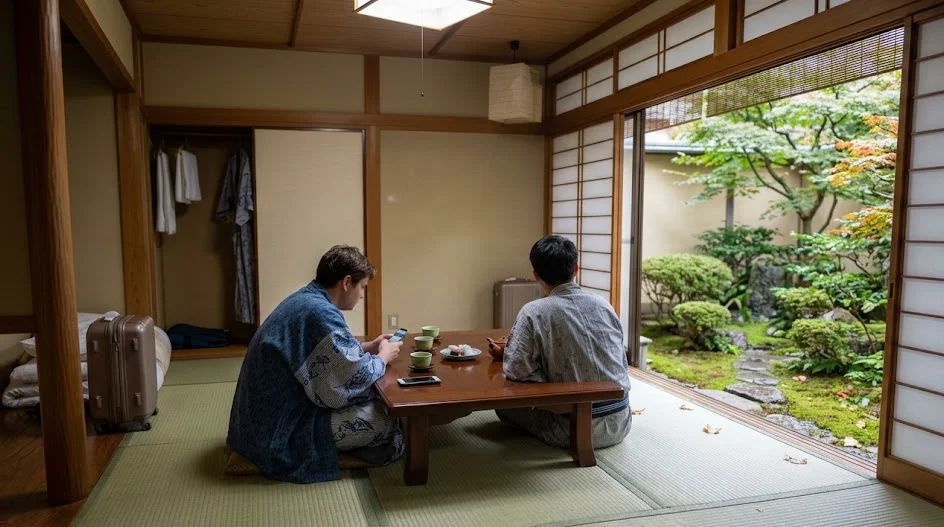
The most important service for a traveler in Japan is luggage forwarding, often called takkyubin. Instead of lugging your suitcase through the Shinkansen aisles, you can pay a service like Yamato Transport to ship it from your current hotel to your next destination for roughly ¥1,500–¥2,500 per bag.
When you must carry your own luggage, always check the station map before you arrive. Look for elevators rather than escalators, as escalators in older stations often lead to stairs that will force you to carry your heavy bag anyway. Prioritize stations with step-free access whenever possible.
Step 1: Ask the front desk
Ask your hotel staff to arrange luggage forwarding to your next destination.
Step 2: Fill the slip
Complete the delivery slip with your next hotel’s name and date of arrival.
Step 3: Pay and go
Pay the fee, keep your receipt, and travel with only a light daypack.
What not to pack for your trip
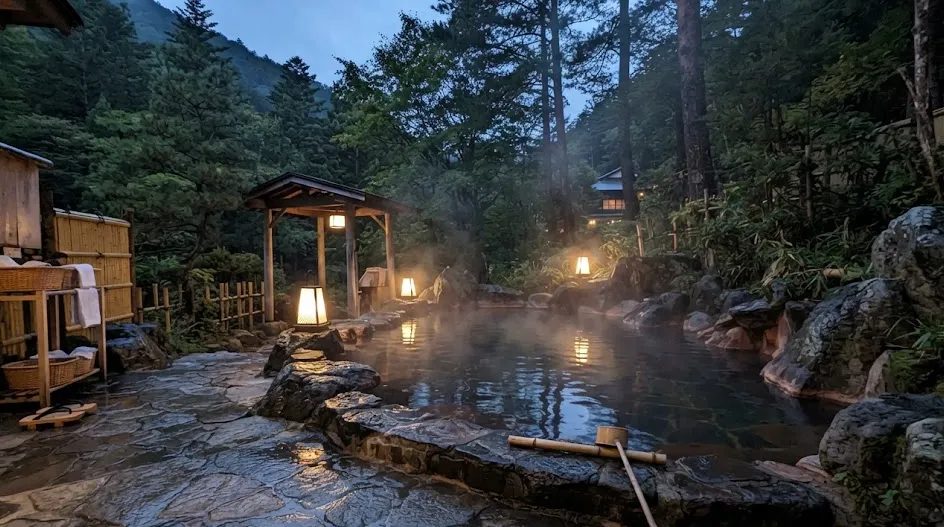
Many travelers bring items they think they will need but end up carrying as dead weight. Japan’s convenience stores, or konbini, stock everything from travel-sized toiletries to high-quality rain gear, often for less than you would pay at an airport store.
Leave this at home
- Full-sized shampoo and soap bottles
- Heavy guidebooks
- Three pairs of shoes
- Multiple formal outfits
Bring this instead
- Solid shampoo bars
- Digital maps and notes
- One pair of broken-in sneakers
- One versatile smart-casual outfit
Most business hotels also provide “amenity kits” that include toothbrushes, razors, and even pajamas. You truly do not need to pack your entire bathroom cabinet. Use these items, save the space, and buy local supplies if you run out.
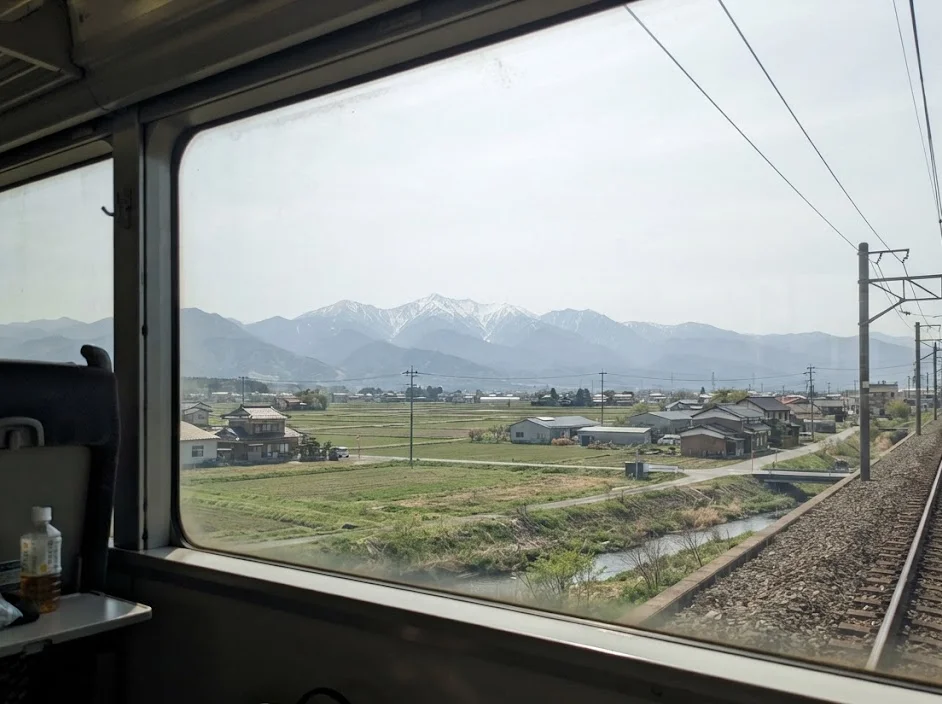
Mastering the coin laundry culture
You do not need to pack two weeks of fresh clothing to survive a trip to Japan. The country has a deeply ingrained culture of public and hotel-based laundry, making it easy to travel with a very small wardrobe while keeping everything fresh.
Most business hotels across the country, such as APA, Dormy Inn, or Comfort Hotel, provide on-site laundry rooms. These facilities usually feature stacked washer-dryer units that operate on a coin-basis.
Costs are typically between 300 to 600 yen per cycle depending on the wash time and drying capacity. Always verify the rates on the hotel website before arriving.
If your hotel lacks machines, you will likely find a 24-hour coin laundry, or coin laundry, within a few blocks. These shops are clean, well-lit, and often contain large-capacity machines that can handle your entire load in one go.
Laundry strategy for the minimalist:
- Bring two to three days of undergarments and one extra outfit for rotation.
- Pack a small, flat bag for dirty clothes to keep them compressed.
- Check the hotel listing on Booking.com or Agoda for the laundry symbol to confirm availability before you finalize your stay.
- Bring a small stash of detergent if you have sensitive skin, as local machines often dispense a standard powder automatically.
Using these facilities allows you to pack light and prioritize space for souvenirs. Many of the newer, more upscale properties provide apps that allow you to check the status of your laundry cycle remotely, so you do not have to sit in the laundry room waiting for your dry cycle to finish.
Remember that Japanese dryers can be less aggressive than those in Western countries. If you are washing heavy cotton, you may need to run the drying cycle twice or hang your clothes in the bathroom using the ventilation fan, which often acts as a highly effective dehumidifier that can dry damp items overnight.
Managing your cash and card ecosystem
Japan is moving toward a cashless society, but cash remains a necessity for small shops, temple entrance fees, and neighborhood eateries. Relying solely on a single credit card will cause stress when you find yourself at a ticket machine that only accepts coins or a rural shrine that requires an offering.
Carry a dedicated coin purse, as you will accumulate an enormous amount of loose change. Unlike Western currencies where coins are often dismissed as pocket clutter, Japanese 100 and 500 yen coins hold significant value, and you will use them frequently for vending machines or public transit top-ups.
Your essential cash-and-carry kit:
- A coin purse with a wide opening for easy access to 500 yen pieces.
- A travel-friendly credit card with no foreign transaction fees.
- A backup debit card kept in a separate secure pouch in your luggage.
- A small supply of physical yen obtained from a local ATM upon arrival.
When you arrive, skip the airport money exchange kiosks where rates are often unfavorable. Instead, head straight to a 7-Eleven or Lawson ATM, which are reliable for international cards and typically offer some of the best conversion rates, though you should check your specific bank fees before leaving home.
Digital wallets like Apple Pay or Google Pay are increasingly accepted at major department stores and large train stations.
However, do not treat them as a complete replacement for a physical wallet. Always carry enough cash to cover at least one full day of food and transport, particularly when traveling to rural areas or smaller towns where digital terminals may not be fully integrated.
If you purchase a local transit card, such as Suica or Pasmo, you can load it onto your smartphone wallet via your phone settings. This allows you to tap and go at turnstiles and convenience stores without needing to carry a plastic card, saving you from the risk of losing it in a crowded station.
 ReaderYuki
FAQ
QDo I need an international driving permit?
Only if you plan to rent a car, which is not recommended for city travel. Most urban exploration is best handled by public transit and walking.
QAre credit cards widely accepted?
Most major shops and hotels accept them, but small restaurants and rural shrines still operate strictly on a cash-only basis.
QCan I drink tap water?
Yes, tap water throughout Japan is safe, clean, and delicious. Bring a reusable bottle to save money and reduce plastic waste.
QWhat if I lose my transit card?
If you use a digital transit card on your phone, you don’t have to worry about losing a plastic ticket. If you have a physical card, go to a station service window immediately.
QIs tipping expected?
Tipping is not part of Japanese culture and can sometimes be seen as confusing or rude. Simply pay the bill as presented.
QHow do I find coin lockers?
Most major stations have large, color-coded banks of lockers near the exits. Look for pictograms of suitcases on station signage.
Packing for Japan feels like a high-stakes puzzle when you are still sitting at home.
Stop worrying about every variable, pack the essentials that keep you mobile, and you will find your trip flows much better on the ground.
Keep planning
- ① Install and test your eSIM before take-offAiralo and Ubigi eSIMs activate on arrival, but the install itself needs Wi-Fi. Do it at home and confirm the profile shows up in your phone settings.
- ② Save your first hotel’s address in JapaneseTaxi drivers and station staff read Japanese addresses far faster than romanised ones. Copy it from the booking confirmation into your notes app.
- ③ Set aside cash for day oneMany small restaurants, temples and rural buses are still cash-only. Airport ATMs at 7-Eleven and the post office accept most foreign cards.
Skip these and your first hour in Japan goes on finding Wi-Fi at the station instead of getting to your hotel.
🔍 How to sanity-check any price you read online
Blogs (including this one) go out of date. The official page always wins over a screenshot from two years ago.