
- Time needed
- 10–14 days
- Typical cost
- ¥2,000–5,000 initial load
- Base
- Tokyo or Osaka
- Booking
- Not required
- Price checked
- 2026
Top picks
Where we would book this
Klook
One account for passes, tickets and transfers
- Best for
- JR Pass and regional rail passes, theme-park tickets, airport…
- Checked
- September 2026
Official site. Same price for you.
Where we would book this
Japan Rail Pass official site
The only source of the current pass price and rules
- Best for
- Official conditions, eligibility and the current price of the…
- Checked
- September 2026
Official site. Same price for you.
Some links are affiliate links (marked “Partner link”). Prices are ranges checked in 2026; confirm on the official site before you book.
Narita Airport, standing at the train gate with a cold sweat: just open your Apple Wallet and tap a digital Suica. You do not need to hunt for a physical plastic card because these digital versions are functionally identical and universal across Japan.
Whether you land in Tokyo or Osaka, any major IC card will get you through the gates. If you have a modern smartphone, you can avoid the ticket machine lines entirely by setting up a digital card in seconds.
What matters when choosing your IC card

You only need to look at three things: your phone’s compatibility, your current location, and whether you are prone to losing things. The brand name—Suica, Pasmo, or Icoca—simply does not matter for 99% of visitors.
Functionally, they are all prepaid electronic wallets. You tap them at turnstiles, vending machines, and convenience stores. The network is national; an Icoca card bought at Osaka Station works perfectly in downtown Tokyo, and a Suica works in Kyoto.
- Do you use an iPhone 8 or newer?
- Does your Android have Osaifu-Keitai support?
- Are you comfortable managing your balance via a phone app?
- Do you want to avoid physical card deposits?
- Will you visit Tokyo, Osaka, and Kyoto in one trip?
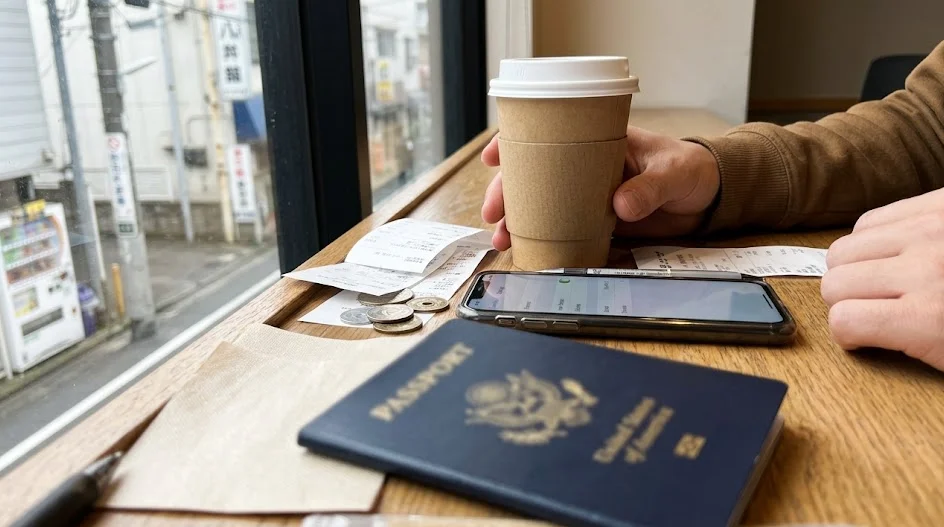
Digital-first setup for Tokyo and Osaka
Digital cards are the modern standard. They bypass the physical chip shortages that plagued travelers for years and save you from waiting at a kiosk.
The Apple Wallet advantage
If you have an iPhone, this is the most reliable method. You can add a Suica or Pasmo directly into your wallet without downloading an external app. It works immediately after adding a credit card to your account for top-ups.
Mobile Suica and Pasmo for Android
Android users face a hurdle: your phone must support Osaifu-Keitai technology. Most Western-purchased Android devices do not have this hardware. If your phone is incompatible, skip the app and grab a physical card instead.
The “Welcome Suica” temporary solution
If you lack a compatible phone, you can buy a tourist-specific card like a Welcome Suica at major airports. These cards are valid for 28 days and do not require a deposit, but they cannot be reloaded once the balance runs out or the expiry passes.
Comparing digital and physical cards
← Swipe to see the full table →
| Card Type | Best For | Setup |
|---|---|---|
| Apple Wallet | iPhone users | Instant |
| Mobile Suica | Osaifu-Keitai Android | 10 min |
| Physical Card | No compatible phone | Airport kiosk |
Plan your trip: the tools we use

Our pick: Apple Wallet, because you can set it up before you even leave home.
Physical card limitations and what to do
If you cannot use a digital card, you must find a physical one. Due to intermittent chip shortages, finding these can be a nuisance in Tokyo. Always check major JR stations upon arrival.
Where to find a physical card
Check the ticket office or a major kiosk at Haneda, Narita, or Kansai International Airport. If they are sold out, look for “PASMO Passport” options which are specifically allocated for tourists. These are often easier to secure during peak travel seasons.
What to do if you can’t find one
Do not panic. You can always purchase single-journey paper tickets for local trains. While it is slower, it works fine for a few days until you reach a station that has stock. Check your hotel location on Google Maps before you arrive to estimate the fare.
National compatibility across Japan
There is a persistent myth that you need a different card for each city. This was true decades ago, but the systems were unified years ago. You do not need to buy an Icoca just because you moved from Tokyo to Osaka.
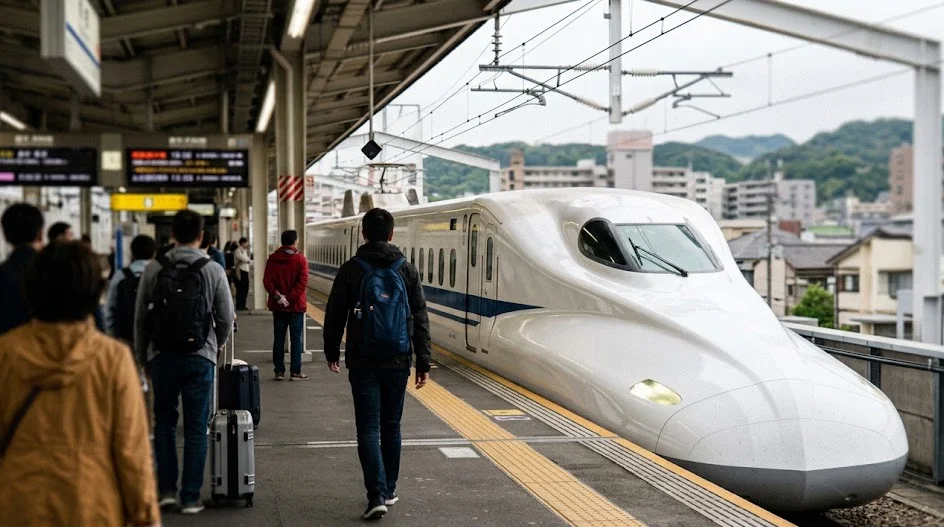
Tokyo to Osaka transit
If you have a Suica on your phone, use it for your local Osaka subway ride. The system does not care about the branding. You will never be turned away for having the “wrong” card, provided the card is an official IC card.
Exceptions to the rule
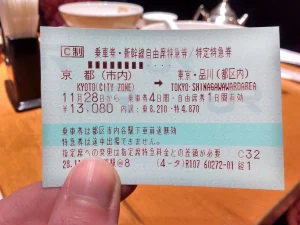
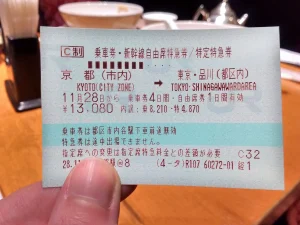
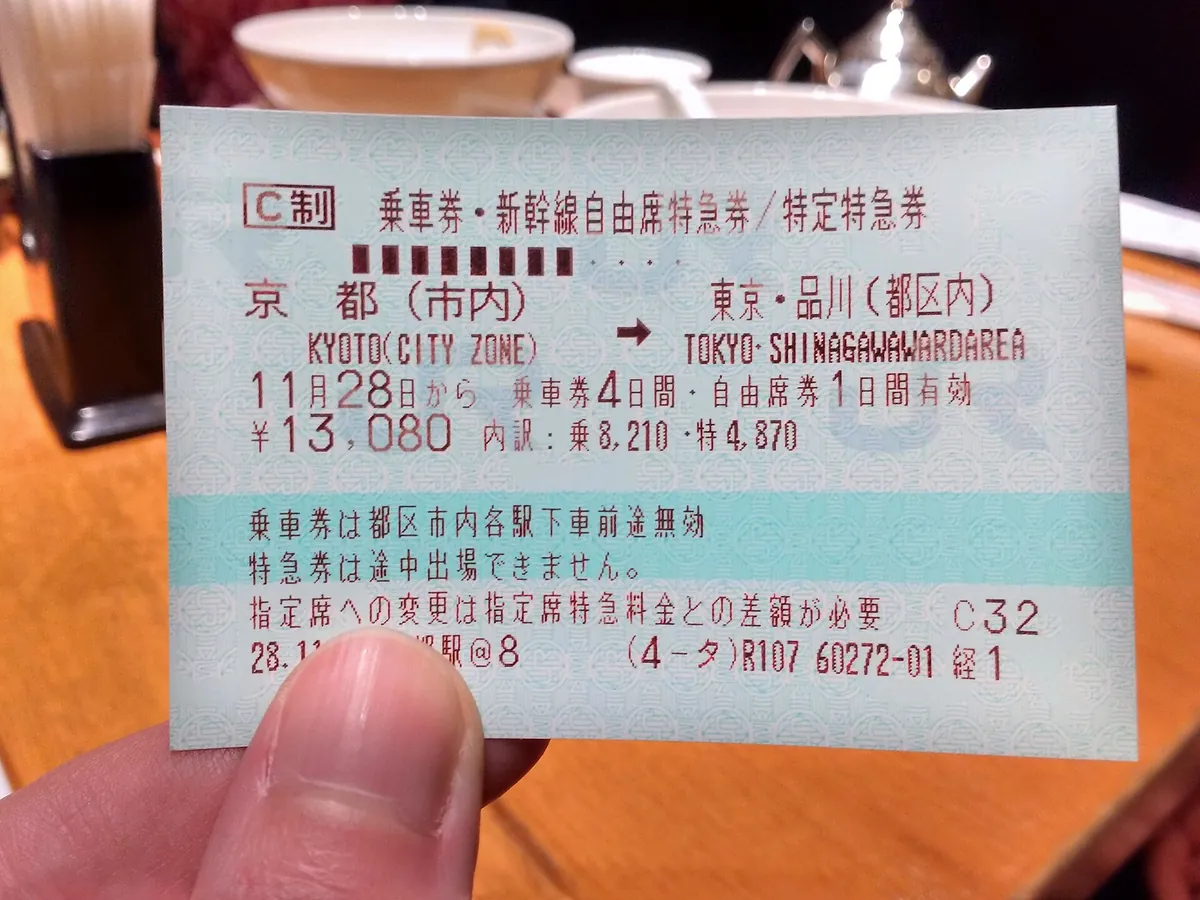
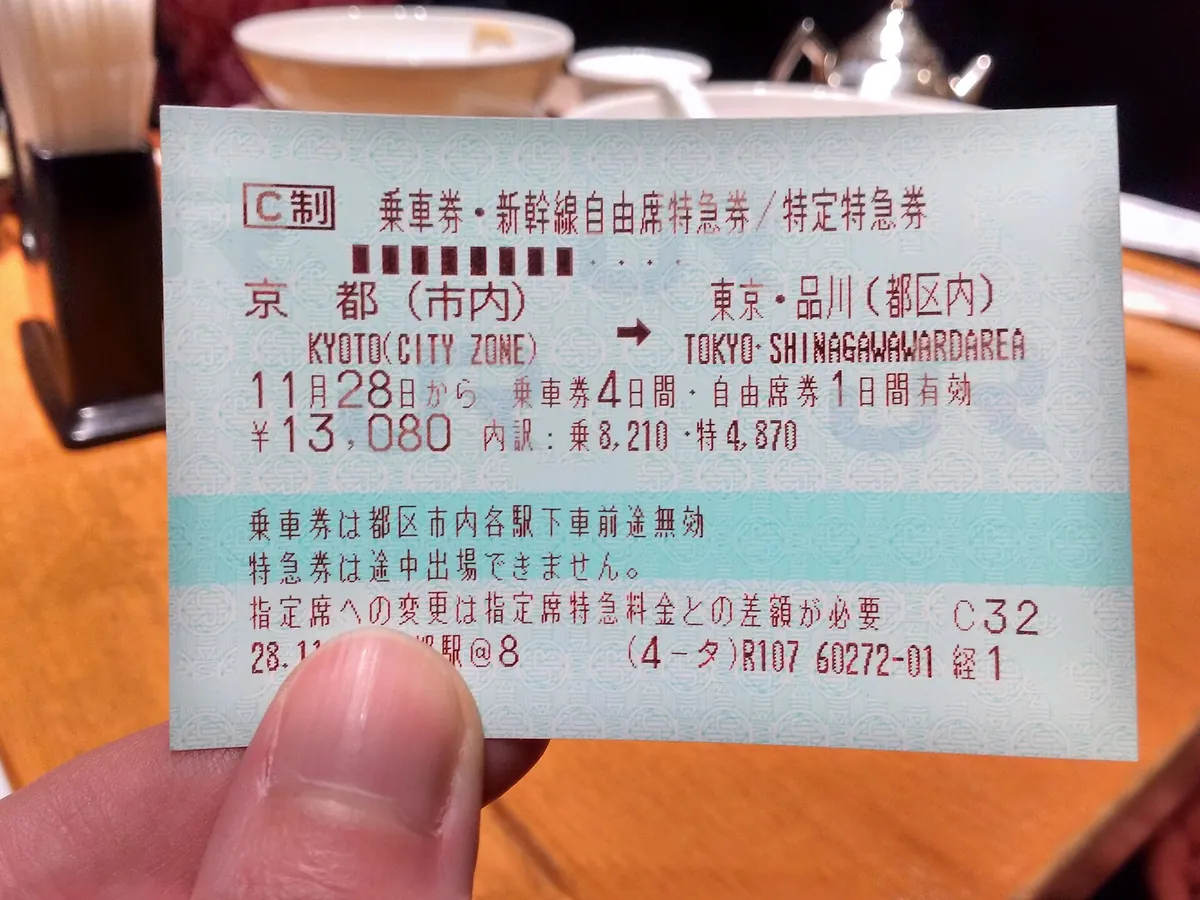
The only major exception is the Shinkansen, which requires a specific ticket reservation. You cannot use your IC card to simply tap onto a Shinkansen train unless you have registered it for the SmartEX service. Otherwise, book your Shinkansen tickets via Klook or the official JR site.
Steps to get your digital card working
If you have an iPhone, follow these steps to avoid the ticket machine stress. You should do this while connected to Wi-Fi at home or in your hotel.
Step 1: Open Apple Wallet
Tap the plus sign and select “Transit Card”.
Step 2: Select Suica or Pasmo
Choose the card and add your initial balance.
Step 3: Test at the gate
Tap your phone on the reader. No need to wake the screen.
Common mistakes at the gate
Even with the best card, you can still get stuck. Most errors happen because of how you approach the machine. Keep your movement fluid and don’t pause right on top of the sensor.
- Do not hold your phone too far away from the reader.
- Ensure your phone is not in low-power mode if possible.
- Avoid tapping twice in one go; it confuses the sensor.
- Make sure you have finished your previous trip’s tap-out.
How we chose these recommendations
These tips are based on my experience moving between Osaka and Tokyo in 2026. I have tracked card shortages across major transit hubs throughout the year. While we could not verify real-time inventory at every station, the guidance on digital availability is based on the current Apple and Google infrastructure.
Who should use which card
Choose the digital wallet option if you want to avoid all physical queues. It is the most reliable path for a two-week trip. Stick to physical cards only if your hardware restricts you, and do not waste energy trying to collect multiple card brands.
Strategic Preparation: Pre-Landing Setup for Seamless Travel
Setting up your transit payment before you even touch down at Narita or Kansai is the smartest way to bypass airport fatigue. Most travelers waste their first hour in Japan standing in a queue for a ticket machine or a tourist desk, but you can be tapping through the gates within seconds of arriving at the platform.
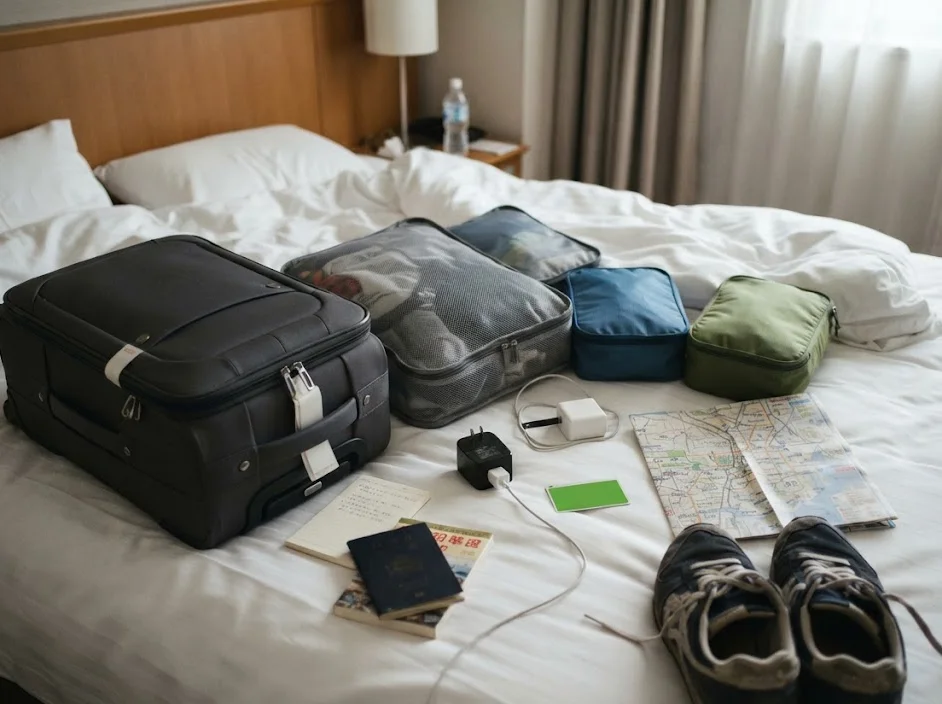
If you are an iPhone user, the digital integration is seamless. You can add a Suica or Pasmo to your Apple Wallet while still sitting at home.
Open your wallet app, tap the plus icon, select “Transit Card,” and choose your preferred card type. You will need a compatible credit card, preferably one that does not charge foreign transaction fees, to fund your initial balance.
Once the card is loaded into your wallet, you do not need to do anything else. When you land, simply walk to the train station, bring your phone near the reader, and walk through the gate. Your phone does not even need to be unlocked or connected to the internet for the tap to register.
For Android users who have a domestic Japanese phone or a model with the correct Osaifu-Keitai chip, the process involves downloading the official Suica or Pasmo app from the store. You will need to create an account and link your payment method.
Do this before your flight, as international networks can sometimes block the verification codes needed for the initial setup. You can do this in English for many versions of the app.
- Add your transit card to your digital wallet at least 24 hours before your flight.
- Ensure your primary credit card is stored in your wallet to allow for instant reloads.
- Download your eSIM from providers like Airalo or Ubigi in advance to ensure you have data upon landing.
- Check the official site for the latest compatibility list for international Android devices.
If your phone is not compatible, there is no sense in trying to force a digital setup. You are better off setting aside a small amount of cash, between 2,000 to 5,000 yen, to purchase a physical ticket or a Welcome Suica card at the airport once you land.
Trying to troubleshoot app settings while exhausted after a long flight will only lead to frustration and missed connections. Stick to a simple cash-based strategy if you encounter hardware issues.
Troubleshooting Common Transit Payment Failures
Even with the most advanced digital setup, you may occasionally run into a gate that refuses to open or a reader that throws an error message. Do not panic, as these issues are almost always minor and easily resolved at the service counter located near every major turnstile.
The most frequent issue is an incomplete transit cycle. If you previously tapped in but failed to tap out at your destination—or if the system believes you are still on a train—the gate will block your entry.
This often happens if you accidentally tapped the wrong machine or if a bus driver neglected to clear your card properly. When you are blocked at a gate, look for the station attendant office, usually a small glass booth situated right next to the ticket machines.
Present your phone or card to the attendant and say “error.” They are accustomed to this, and they will manually clear your card’s status on their computer, allowing you to pass through without paying extra fees.
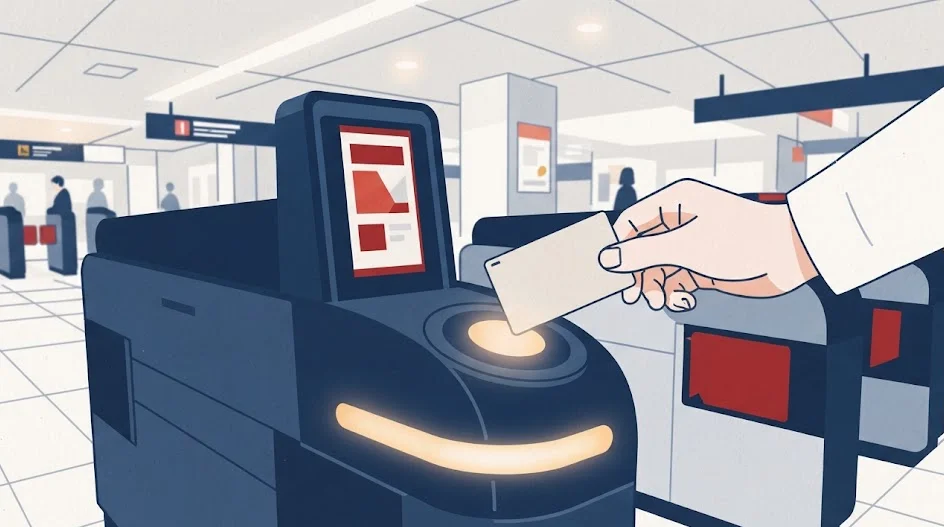
What to do if your balance runs low unexpectedly
If you find yourself at a gate with insufficient funds, you do not need to go back to a ticket machine. Almost every major station in Japan now has fare adjustment machines located inside the paid area.
You can top up your physical card there using yen notes. For digital users, you can simply top up via your phone’s wallet app while standing at the gate, which takes roughly 15 to 30 seconds.
- Always carry 5,000 to 10,000 yen in cash as a backup for when digital systems are down or not accepted.
- Keep your transit card in a dedicated pocket or your phone case to avoid fumbling with bags at the gate.
- If you use a service like Klook or GetYourGuide for attraction tickets, keep those confirmation codes separate from your transit apps.
- Monitor your balance in your digital wallet periodically, especially after long-distance rides between cities.
In the rare event that your digital card is flagged by your bank for “suspicious activity,” you will need to call your credit card provider. This is why it is vital to check the official site of your bank before traveling to Japan to ensure they know you will be making transit payments.
Keeping a backup physical card or having your partner load their own card is a great way to hedge against these technical interruptions during your trip. Having a secondary payment method ensures that one minor bank decline does not disrupt your travel schedule.
The reality of IC card costs and budgeting
Many travelers worry that they need to calculate exact fares before they arrive. In reality, you only need to load enough for your daily commutes and occasional convenience store snacks.
Most urban trips cost between 200 and 500 yen per ride, so a balance of 2,000 yen is usually enough to last a casual traveler for two days of city exploration.
If you plan to travel between cities, such as moving from Tokyo to a nearby suburb or taking a local train to a distant temple, your fare will increase significantly. You should aim to keep a balance of at least 3,000 yen if you have a long day of sightseeing planned.
While you can always top up at the gate, having a healthy cushion saves you from awkward moments when a long line forms behind you at the station entrance.
Monitoring your spending
- Check your balance on your phone screen every time you tap out to avoid surprise zeros.
- Load your card in increments of 1,000 or 2,000 yen to keep your spending predictable.
- If you find yourself with 500 yen left on your final day, use it at a station convenience store to avoid leaving money on the chip.
- Avoid loading large amounts like 10,000 yen unless you are staying for several weeks, as digital balances can be difficult to refund.
Always verify the current fare structures on the official transit websites or via Google Maps, as prices fluctuate based on seasonal adjustments and rail company policy. You will find that even with daily travel, a total budget of 15,000 to 20,000 yen for a full two-week trip is more than enough for most visitors.

Should you run out, the reload process is nearly instantaneous if your credit card is linked to your digital wallet, making it the most flexible way to manage your transit budget while on the move.
Navigating regional rail passes versus IC cards
A common question is whether you should buy an IC card or a rail pass for your entire trip. The confusion stems from the fact that both allow you to move through gates, but they serve entirely different purposes.
An IC card is a debit-style tool for short, local, and unpredictable journeys, while a rail pass is a pre-paid coupon for specific, long-distance routes.
If your itinerary consists of staying in one base like Osaka and taking the occasional day trip to Kyoto or Nara, an IC card is all you need. You pay as you go, and you never have to worry about whether you are getting your money’s worth.
Rail passes only become cost-effective if you are moving between distant regions like Tokyo, Osaka, and Fukuoka in a very short window of time.
When a pass might be redundant
- If you spend more than three days in one city, a regional pass often costs more than individual IC card taps.
- Local subway and private rail lines in Tokyo and Osaka are rarely covered by national rail passes.
- Using an IC card grants you total freedom to change your plans without worrying about pass restrictions.
- Digital IC cards can be set up in minutes, while physical rail passes often require physical pickup or specific booking windows on sites like Klook or GetYourGuide.
Before committing to a multi-day pass, map out your intended route and check the individual station-to-station costs. You will frequently find that the flexibility of a digital IC card outweighs the potential savings of a complex pass.
For the majority of Japan Travel Notes readers, keeping your transit liquid via an IC card is the best way to maintain a stress-free schedule.
If you find your trip involves only two or three major long-distance jumps, consider booking those specific Shinkansen tickets individually rather than bundling them into a pass that might not cover your local travel needs.
FAQ
QCan I get a refund on my physical card?
You can return it at major stations for a fee, but it is often better to keep it as a souvenir. The deposit is usually small, so you aren’t losing much.
QDo I need to tap in and out for every bus?
Yes, buses in Japan often require you to tap both when boarding and alighting. Check the screen at the front of the bus to see if the fare is calculated by distance.
QIs my credit card enough for trains?
Some smaller lines are starting to accept contactless credit cards, but do not rely on this. IC cards remain the universal standard for almost all local transport.
QWhat if my phone dies?
If your phone battery dies, the transit gate may not trigger. Carry a small portable battery or a few thousand yen in cash just in case.
QCan I use my digital card for vending machines?
Yes, any place with the IC card logo accepts digital versions. It is a very common way to buy water or coffee while walking around.
Planning the logistics of moving between cities can feel like a heavy burden when you have never navigated the Japanese rail system.
Pick the digital card setup that matches your phone today and move on to booking your accommodation or looking at your itinerary.
Keep planning
- ① Install and test your eSIM before take-offAiralo and Ubigi eSIMs activate on arrival, but the install itself needs Wi-Fi. Do it at home and confirm the profile shows up in your phone settings.
- ② Save your first hotel’s address in JapaneseTaxi drivers and station staff read Japanese addresses far faster than romanised ones. Copy it from the booking confirmation into your notes app.
- ③ Set aside cash for day oneMany small restaurants, temples and rural buses are still cash-only. Airport ATMs at 7-Eleven and the post office accept most foreign cards.
Skip these and your first hour in Japan goes on finding Wi-Fi at the station instead of getting to your hotel.
🔍 How to sanity-check any price you read online
Blogs (including this one) go out of date. The official page always wins over a screenshot from two years ago.
Cover Photo: Marek Ślusarczyk (Tupungato) Photo portfolio, CC BY 3.0, via Wikimedia Commons