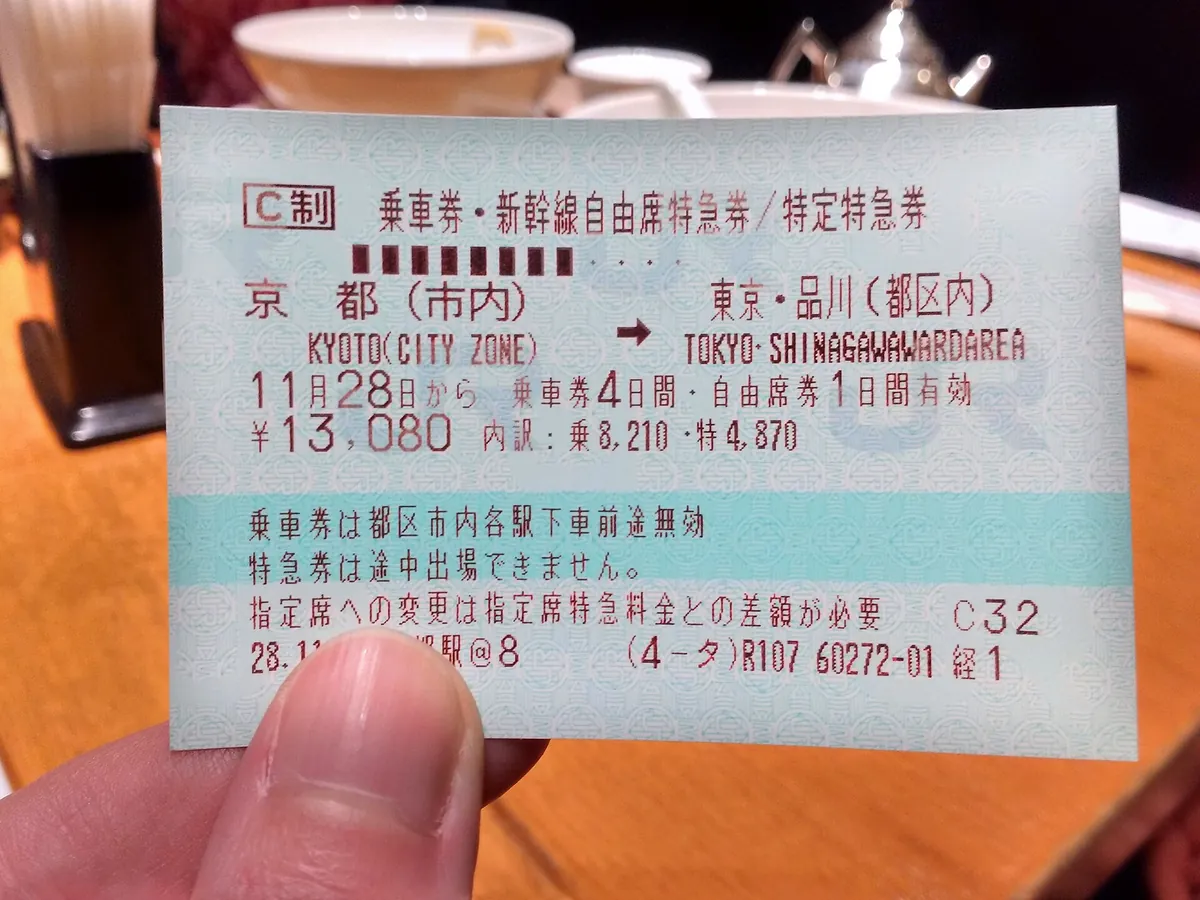

- The Japan Rail Pass does not work on local subways.
- You need an IC card like Suica for short city trips.
- JR lines often miss the main tourist city centers.
- Check individual ticket costs before buying any rail pass.
- Use local lines for your daily hotel-to-attraction travel.
← Swipe to see the full table →
| Service Type | Est. Cost Range (Yen) |
|---|---|
| Local Metro Ride | ¥200 – ¥500 |
| Airport Express | ¥1,000 – ¥3,000 |
| Daily Transit Budget | ¥1,500 – ¥3,000 |
Plan your trip: the tools we use
- Time needed
- 10–14 days
- Typical cost
- ¥1,500–3,000 per day
- Best base
- Near a JR station
- Booking
- IC card required
- Price check
- As of 2026
Some links are affiliate links (marked “Partner link”). Prices are ranges checked in 2026; confirm on the official site before you book.
Every major guide claims the Japan Rail Pass is an all-access ticket to the country’s transit network. During our first trips, we assumed this meant we could tap into any subway station in Tokyo or Osaka without opening our wallets.
That assumption was a costly mistake. The reality is that the pass is exclusively for JR lines; it does not cover the vast majority of local subway systems. You will still need to pay for local transit to reach your hotel or specific city sights.
Does the JR Pass cover subways and city trams?
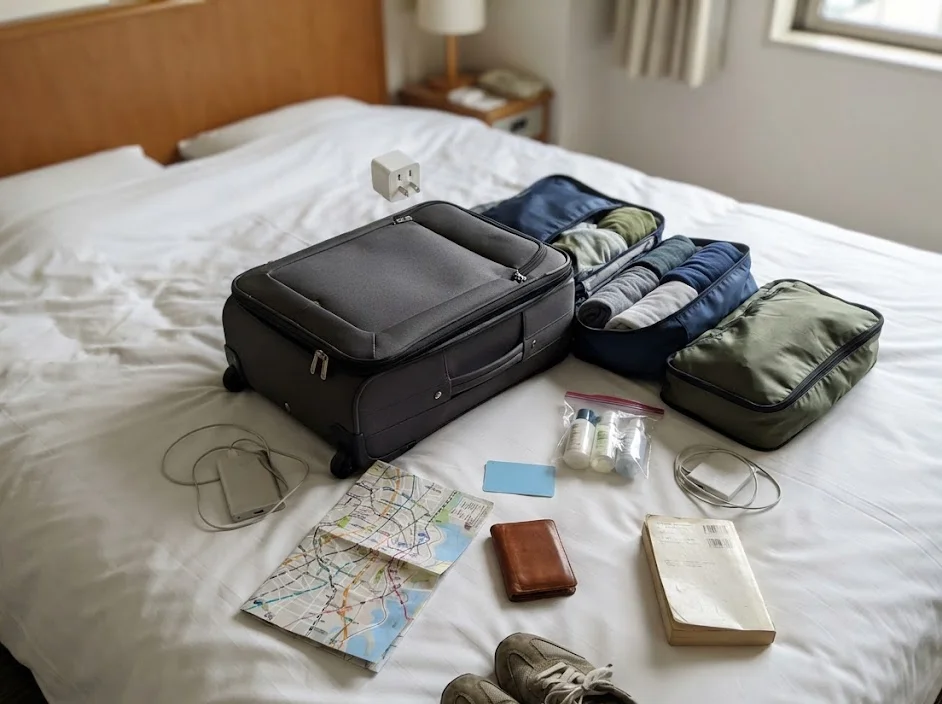
The short answer is no. When you travel locally, you are navigating entirely different private or municipal networks that the pass does not recognize.
1. The JR Pass is a regional and long-distance tool
Most travelers mistake the JR Pass for a universal transit card. Think of it instead as a specialized ticket for long-distance travel between cities on high-speed lines.
You cannot use it to ride the Tokyo Metro or the Osaka Municipal Subway. Attempting to pass through these gates with your rail pass will simply result in a locked barrier.
2. Why the last mile usually costs extra
The “last mile” refers to the distance between the major JR station and your hotel or specific neighbourhood destination. In dense cities, the station closest to your hotel is almost never a JR line.
Most travelers end up paying a separate fare of ¥200–500 per ride to connect. Expect to budget for these micro-costs every single day of your trip.
- You think the pass covers all city transit.
- Your hotel is nowhere near a JR station.
- You want to avoid carrying coins for tickets.
- You are confused by Tokyo’s complex map.
- You haven’t budgeted for daily subway fares.
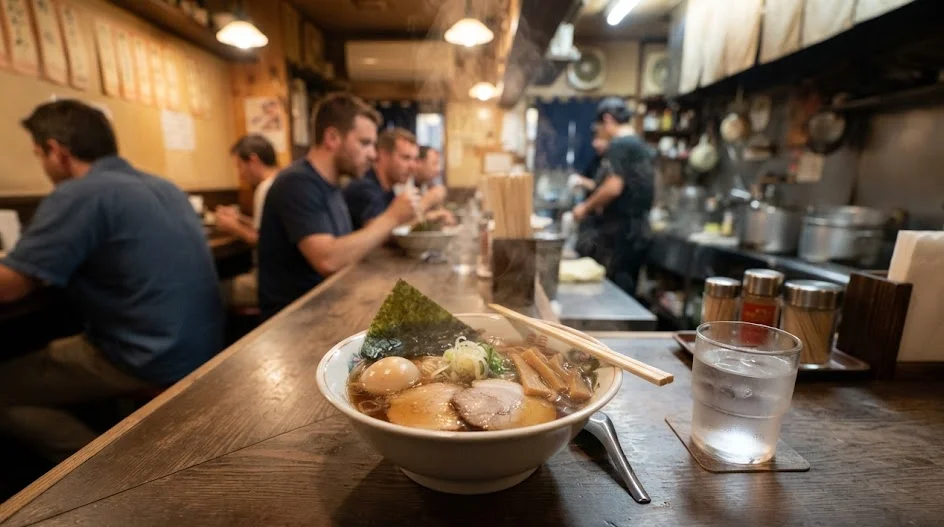
Spotting the difference between JR and private lines
Japan’s rail system is a patchwork of different companies. Understanding the signage is your best defense against wasting time at the wrong platform.
3. Recognizing the JR logo
Look for the white JR lettering against a green background on station signs. These identify lines operated by Japan Railways, which are the only ones covered by your pass.
If you see a sign that says “Tokyo Metro” or “Toei Subway,” you are in the wrong place for your pass. Always look for the JR icon before choosing a platform.
4. Avoiding the private line traps
Private lines often share stations with JR. You might see a gate marked “Keio” or “Odakyu” right next to a JR gate. Using your pass at the wrong gate will not work.
We once spent twenty minutes wandering a massive station trying to find the JR entrance. We eventually gave up and bought a simple ticket on the private line just to stop the stress.
The reality of transit in Tokyo and Osaka
City geography dictates your transit needs. In Tokyo, the JR Yamanote loop line is helpful, but it only circles the center of the city.
5. The Tokyo Metro limits
Tokyo relies on an immense subway network to reach places like Asakusa or Roppongi. The JR Pass does not cover these zones. You will find yourself using a Suica or Pasmo card daily.
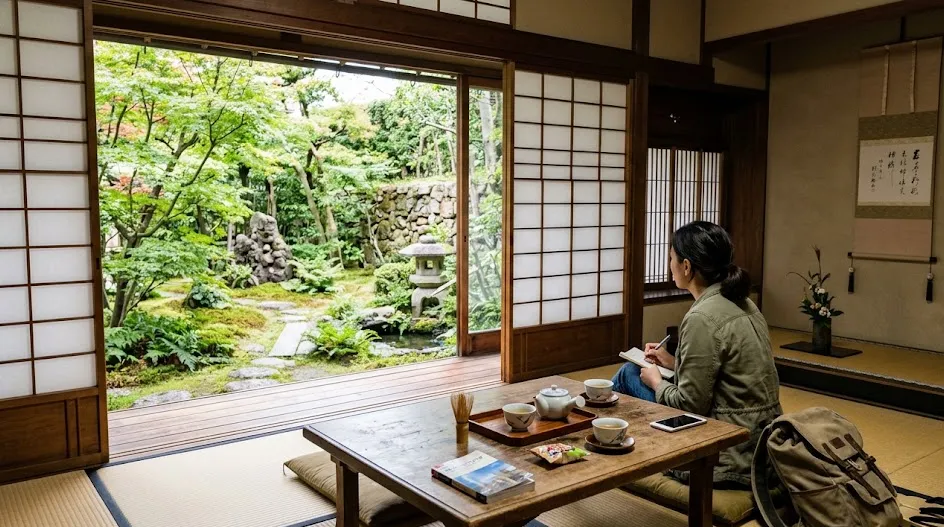
You can add these digital cards to your phone wallet via Apple Wallet or Google Pay. It makes navigating gates on sites like Klook much faster.
6. The Osaka Loop Line trap
The JR Osaka Loop Line is convenient, but it doesn’t go everywhere. Many popular areas like Dotonbori are much closer to the Midosuji subway line.
Relying solely on JR means you will likely spend more time walking. Sometimes, paying a small fare on a local subway is better than walking two kilometers from a JR station.
What most first-timers do
- Try to ride subways with the JR Pass
- Walk 30 minutes to save a local fare
- Panic at the ticket gate
What actually works
- Use a Suica or Pasmo for all local rides
- Accept the small daily transit cost
- Check the route in Google Maps
Where we would book this
Klook
One account for passes, tickets and transfers
- Best for
- JR Pass and regional rail passes, theme-park tickets, airport…
- Checked
- September 2026
Official site. Same price for you.
Kyoto: The city where the pass is rarely helpful
Kyoto is unique because the JR system is only one small part of its transit landscape. Most of the city’s iconic temples are reached by bus or local rail.
7. Why buses rule the city
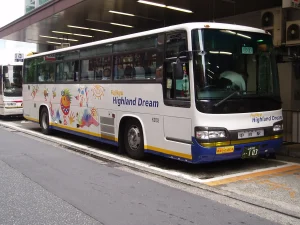
In Kyoto, you will likely spend more time on buses than on trains. Since the JR Pass does not cover local city buses, your pass remains in your bag for most of the day.
We find it best to just use an IC card for these trips. It saves you from fumbling for exact change when the bus is crowded.
8. Planning your Kyoto transit
If you plan to travel between Kyoto and Nara, the JR lines are great. However, for getting from Kyoto Station to the Gion district, the train is not the primary option.
Always have a secondary plan for local transport. You can check the official city transit site to see if a one-day bus pass makes sense for your specific route.
Using IC cards like Suica and Pasmo
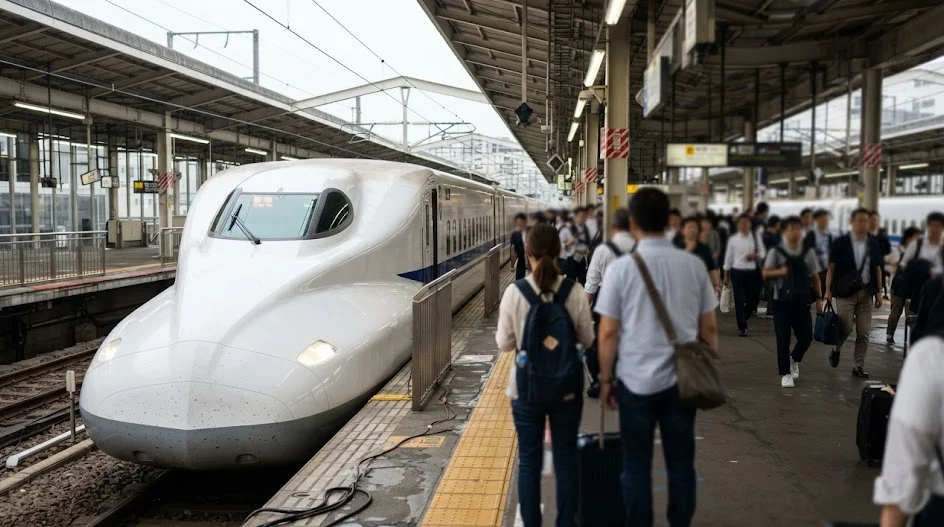
An IC card is essentially a rechargeable digital wallet. It works for almost all transit in Japan, including buses, private rails, and subways.
9. Why you need an IC card
Even if you hold a JR Pass for long-distance travel, you need an IC card for the rest. It is the only way to move through urban areas without buying paper tickets.
You can get these on your phone via Ubigi or other travel apps. It makes the “last mile” to your accommodation very simple.
10. Managing your digital wallet
Keep your phone charged. If your phone dies, you cannot tap out of the station. We always carry a portable power bank from Amazon just in case.
Loading your card with a small amount, like ¥2,000–3,000, is usually enough to start. You can top it up at any station if you run low.
Essential digital tools to set up before you land
You cannot rely on physical maps or intuition once you arrive at a massive transit hub like Shinjuku. The most common mistake travelers make is waiting until they are standing in a crowded station to figure out their navigation strategy.
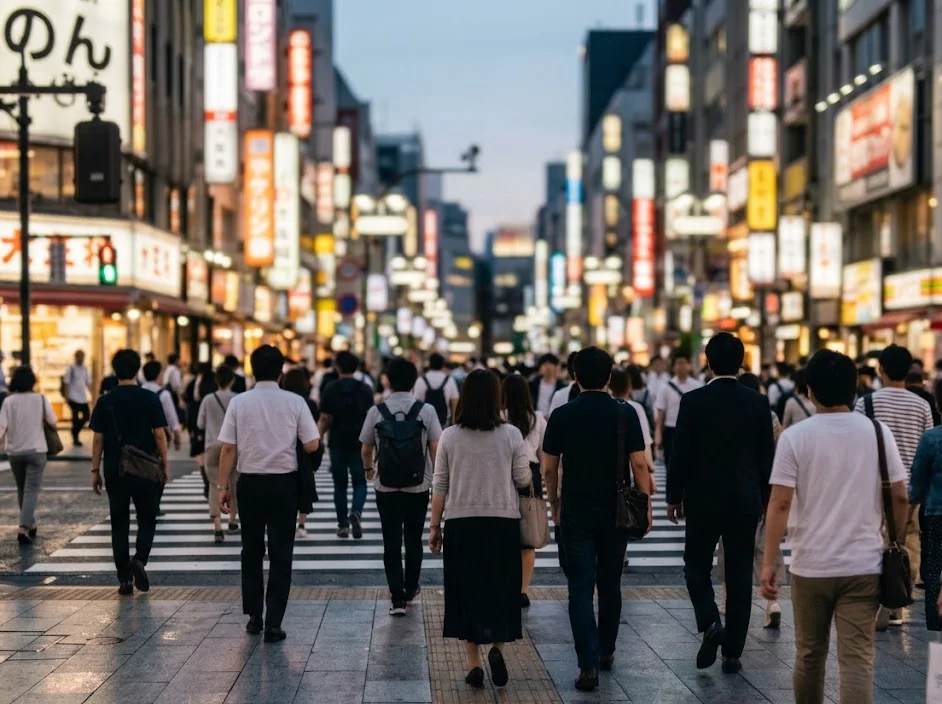
Set up your transit apps while you are still at home with a stable internet connection. Having the right tools ready prevents the frantic search for a signal when you are already running late for a train.
The core digital toolkit
- Google Maps: The undisputed gold standard for finding the exact platform, exit number, and fare cost between any two points in Japan.
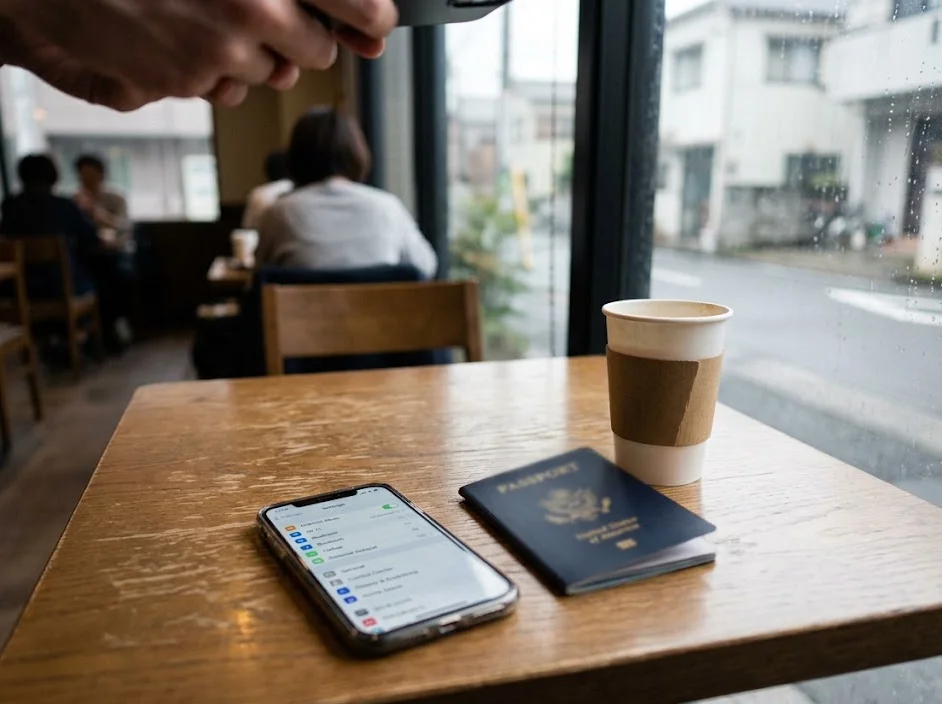
- Apple Wallet or Google Pay: Add your digital Suica or Pasmo card here immediately. This is the only way to avoid buying paper tickets at every single subway gate.
- Ubigi or Airalo: Purchase an eSim before your flight. You need constant data access to verify which train line belongs to JR and which is a private subway.
- Japan Transit by Jorudan: Use this if you need to calculate the exact cost of a trip to see if it is worth using a specific pass.
Download these apps and create your accounts on platforms like Klook or Booking.com for your attraction tickets in advance. Having your travel documents consolidated in your phone’s digital wallet saves you from the stress of searching through your bags for paper receipts.
Ensure your payment methods are already linked to your Apple Wallet or Google Pay. Most Japanese ticket machines are picky about which international credit cards they accept for manual top-ups, so having a pre-funded digital card is far more reliable.
If you prefer to carry a physical card, you can still visit a JR station counter upon arrival to pick one up, but stock is often limited. Digital is the way to go for the modern traveler.
Always keep a portable power bank from Amazon in your day bag. Frequent GPS usage in cities like Osaka will drain your battery by mid-afternoon.
Managing your arrival budget: Handling the first ¥20,000
Most travelers arrive at the airport and immediately head to the first currency exchange window they see. This is rarely the most cost-effective way to get the cash you need for your daily subway rides and incidental expenses.
Withdraw your initial cash at an airport ATM instead of using a currency exchange booth. The exchange rates at booths are often significantly worse than what your home bank will offer through a standard ATM withdrawal.
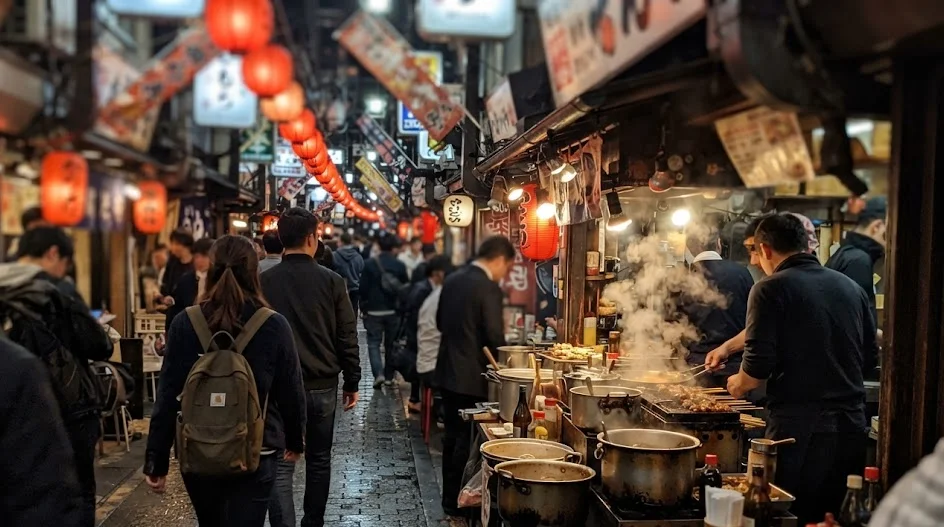
A strategy for your first day
- Withdraw between ¥20,000 and ¥30,000 at a 7-Eleven or Japan Post Bank ATM upon arrival.
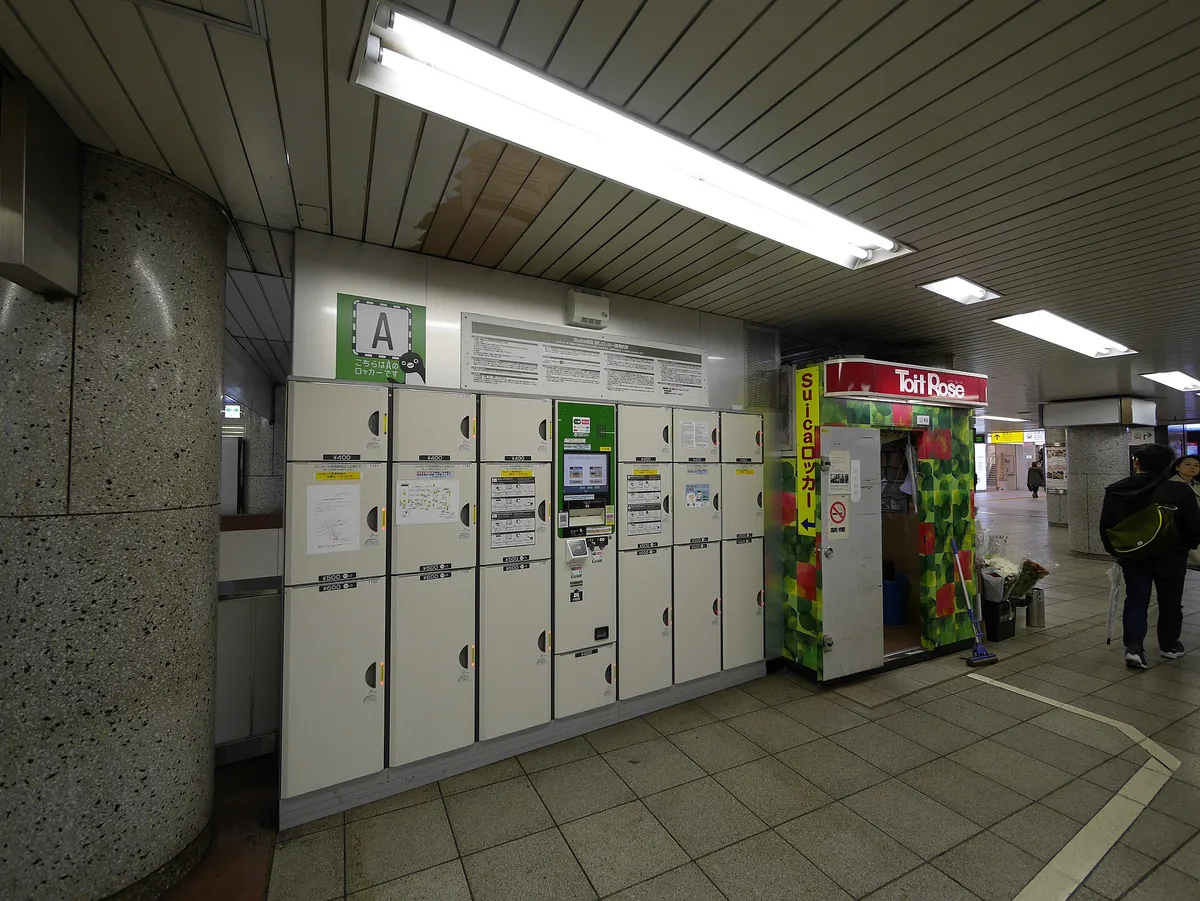
- Keep a mix of large bills and smaller denominations; coin lockers and ticket machines will often reject ¥10,000 notes.
- Load at least ¥5,000 onto your IC card as soon as you get your phone set up.
- Use your remaining cash for smaller eateries or temple entry fees that may not accept digital payments.
We typically find that carrying roughly ¥20,000 in cash is a safe buffer for your first few days. While Japan is becoming more digital, many local subway ticket machines and smaller shops still prefer cash, and you do not want to be stuck without it.
Check the official site of your specific bank to see if they charge foreign transaction fees. Many travelers find that using a debit card with no foreign fees makes the process much cheaper than carrying large amounts of cash from home.
Stick to ATMs located in convenience stores like 7-Eleven. They are ubiquitous and reliably accept most international cards.
Avoid exchanging your home currency for yen at your local bank before you leave. These rates are almost always poor. By waiting until you touch down, you ensure you are getting a mid-market rate.
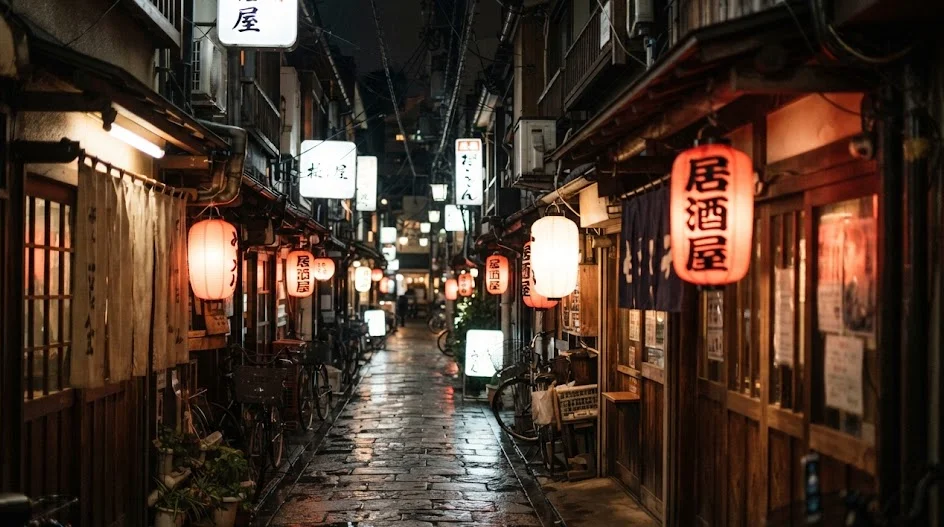
If you have extra cash left over at the end of your trip, use it to top up your IC card or pay off your hotel bill on Booking.com or Agoda if the option is available.
The one habit that fixes your planning
The best way to stop the stress of transit planning is to run a simple calculation. Look at your planned route and add up the individual costs of every long-distance train.
Step 1: Step 1: Map your route
List every city-to-city trip you plan to take.
Step 2: Step 2: Check costs
Use a fare calculator to see if the pass is cheaper than buying single tickets.
Step 3: Step 3: Budget for local
Assume an extra ¥1,000 per day for subways regardless of the pass.
If you don’t do this, you might buy a pass that actually costs more than individual tickets. We learned this the hard way on a trip where we only took two long train rides.
 ReaderYuki
FAQ
QIs the JR Pass worth it for short trips?
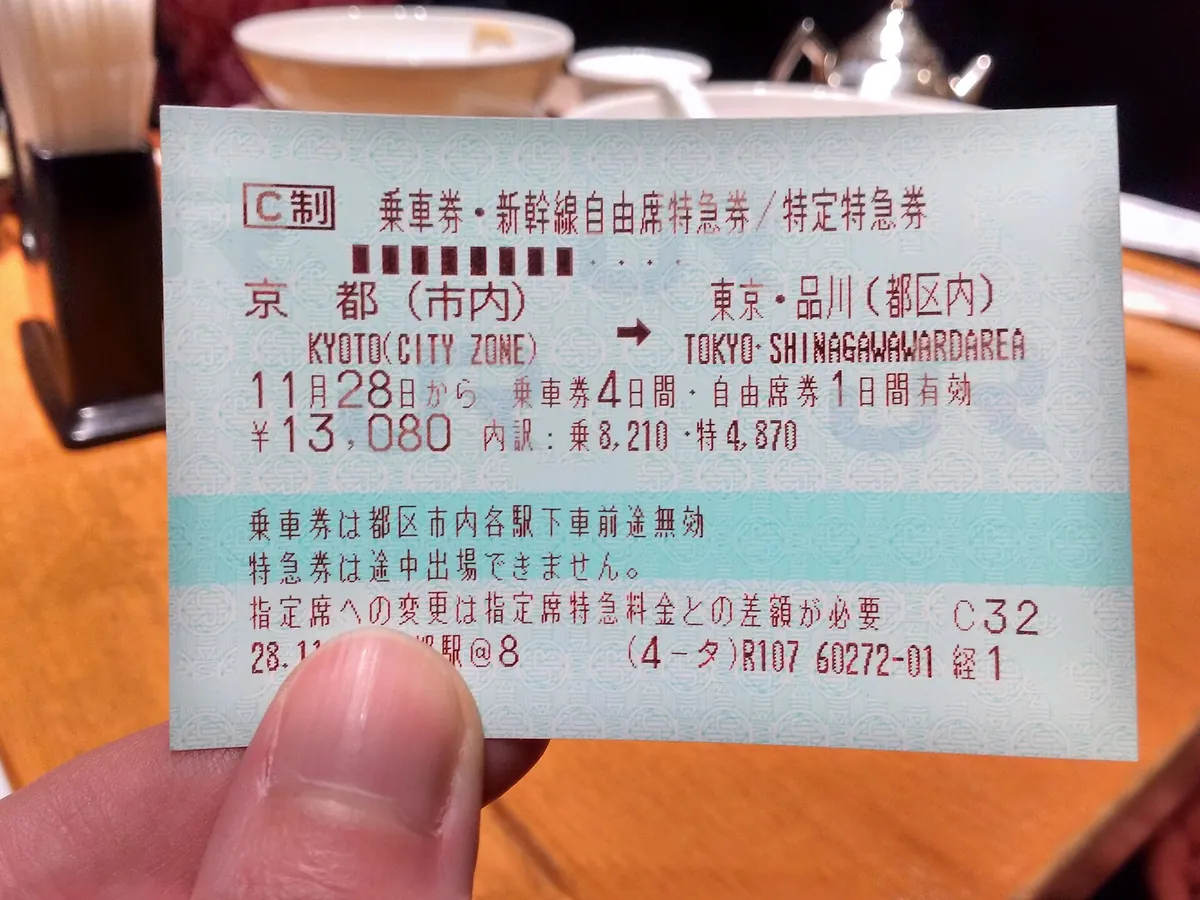
Usually not. If you are only traveling between Tokyo and Kyoto once, individual tickets are often cheaper than the full pass.
QCan I use the JR Pass on the Shinkansen?
Yes, the pass covers most Shinkansen lines, though you must pay a supplement for the fastest “Nozomi” and “Mizuho” trains.
QWhat is the best way to pay for subways?
A digital IC card like Suica or Pasmo is the gold standard. It allows you to tap through gates instantly without buying paper tickets.
QAre children’s fares available?
Yes, children aged 6 to 11 are eligible for half-price rail passes and half-price local fares.
QHow do I find out which line is JR?
Look for the green JR logo on station signs or check your route on Google Maps. It clearly labels the operator for every segment of your trip.
QWhat happens if I lose my IC card?
If it is a physical card, it is difficult to recover funds. If you use a digital card on your phone, your balance is linked to your account.
Planning the logistics of train travel in Japan can feel like solving a massive, confusing puzzle.
Stop worrying about finding the perfect pass for every single trip and just lock in the main Shinkansen tickets, then handle the local subways as you go.
Keep planning
- ① Install and test your eSIM before take-offAiralo and Ubigi eSIMs activate on arrival, but the install itself needs Wi-Fi. Do it at home and confirm the profile shows up in your phone settings.
- ② Save your first hotel’s address in JapaneseTaxi drivers and station staff read Japanese addresses far faster than romanised ones. Copy it from the booking confirmation into your notes app.
- ③ Set aside cash for day oneMany small restaurants, temples and rural buses are still cash-only. Airport ATMs at 7-Eleven and the post office accept most foreign cards.
Skip these and your first hour in Japan goes on finding Wi-Fi at the station instead of getting to your hotel.
🔍 How to sanity-check any price you read online
Blogs (including this one) go out of date. The official page always wins over a screenshot from two years ago.
Cover Photo: Marek Ślusarczyk (Tupungato) Photo portfolio, CC BY 3.0, via Wikimedia Commons