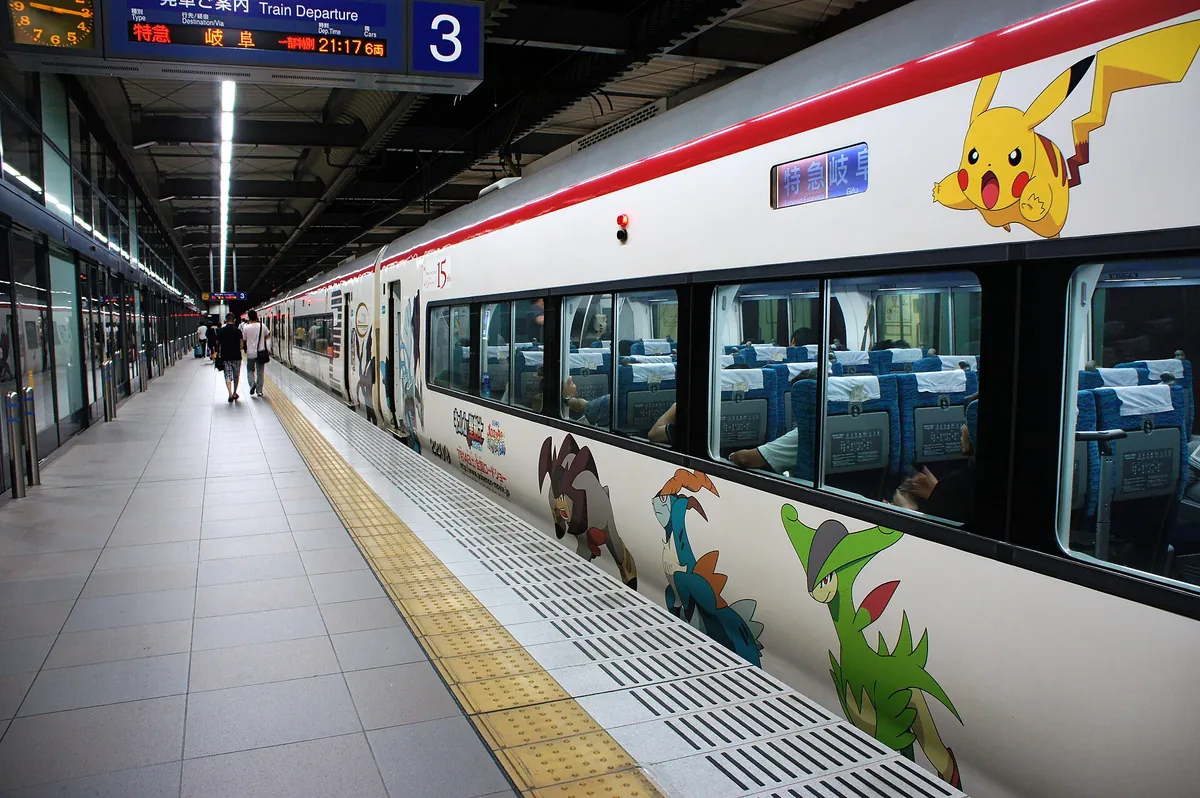

- Skip the tourist queue; get your IC card digitally or at a machine.
- The Airport Rapid is often less crowded than the Haruka Express.
- Use the Yamato luggage forwarding service to move bags to your hotel.
- Avoid switching trains in Osaka Station during weekday rush hours.
- A taxi from Namba to central Kyoto hotels can save your sanity.
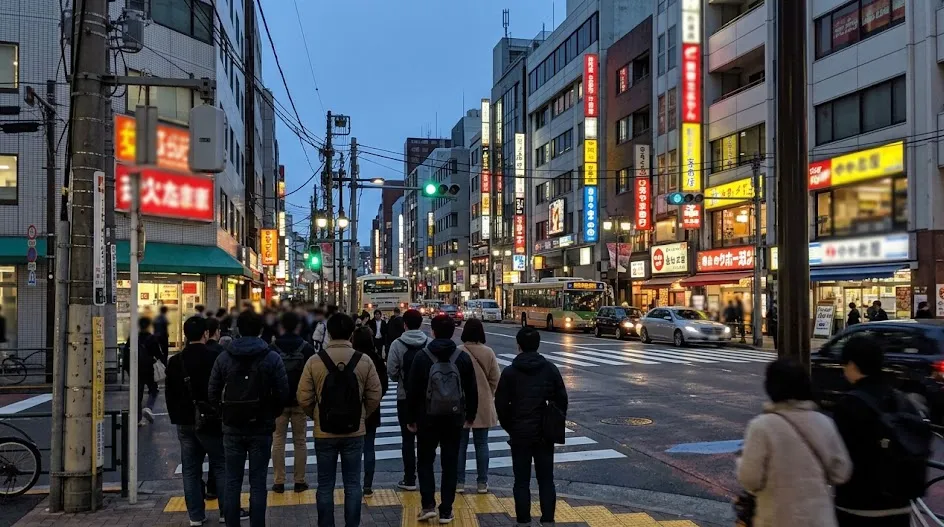
The electronic chime of the gate echoes across the platform at Kansai International Airport, the sound slightly dampened by the weight of your luggage and the hum of the departing airport express.
You are holding a printed reservation, a physical IC card, and a map of the Osaka subway system. You find yourself wondering if you should have just taken the bus instead.
Getting from the airport to your hotel doesn’t have to be a high-stakes puzzle. If you are staying in Osaka, the Airport Rapid train to Osaka Station is your most reliable choice; for Kyoto, the Haruka Express remains the standard, though using the Nankai line to Namba followed by a taxi is often more civilized.
If you are only doing Tokyo, close this and read the Tokyo-only plan.
- Time needed
- 75–90 minutes
- Typical cost
- ¥1,200–¥3,500
- Base
- Osaka or Kyoto
- Booking
- Optional
- Best season
- Year-round
Some links are affiliate links (marked “Partner link”). Prices are ranges checked in 2026; confirm on the official site before you book.
- You have more than one large suitcase.
- You are worried about missing a train connection.
- You have never used a Japanese ticket gate.
- You want to avoid stairs and escalators.
- You are arriving after 9:00 PM.
1. Why your first hour at KIX sets the tone for your trip
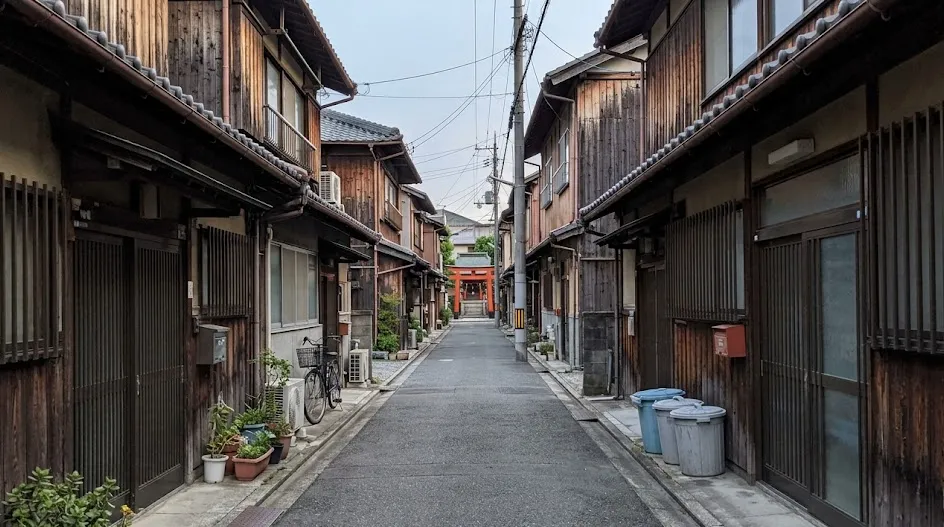
The moment you step out of the KIX arrival hall, the temptation to join the massive queue at the JR Ticket Office is overwhelming. Most travelers assume this is the only way to get a ticket or a pass, but it often consumes an hour of your precious arrival time.
Instead, look for the automated ticket machines or buy a digital IC card through Ubigi or similar apps if your device supports it. Using an IC card on your phone lets you tap through the gates without fumbling for paper tickets.
1. Avoid the tourist office trap
The information centers are helpful for questions, but they are inefficient for buying transit tickets. Use the self-service machines to purchase your fare to Osaka or Kyoto to save significant time.
2. Preparing your digital transit card
Add a digital Suica, Pasmo, or Icoca card to your phone wallet before you leave home. This allows you to tap in and out of the trains as if you were a local.
2. Understanding the KIX layout and train gates
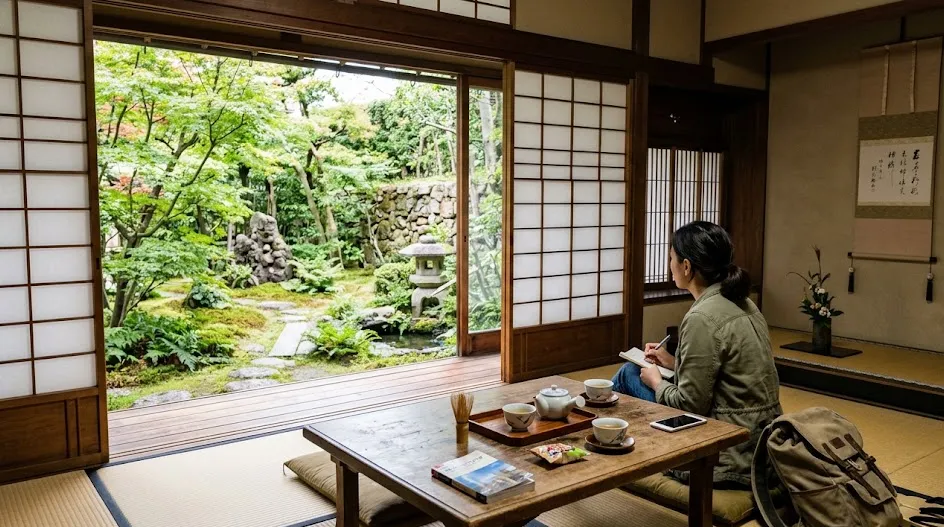
The airport train station is located directly across from Terminal 1. You will walk across a bridge, pass through the ticket gates, and find yourself looking at two different sets of turnstiles: the blue gates for JR and the orange gates for Nankai.
It is difficult to miss them, but the confusion usually happens when people hold a JR pass but accidentally step toward the Nankai line. Look for the large signs hanging above the platforms that clearly distinguish between the two rail companies.
3. Keeping your bearings
Take a photo of the route map at the station entrance. If you get turned around, you can show this photo to any staff member, and they will point you in the right direction immediately.
4. The platform signage
Platforms are color-coded and marked with electronic displays. Wait for the train by the markings on the floor that indicate where your car door will open.
3. The Haruka Express: When it is (and isn’t) worth the premium
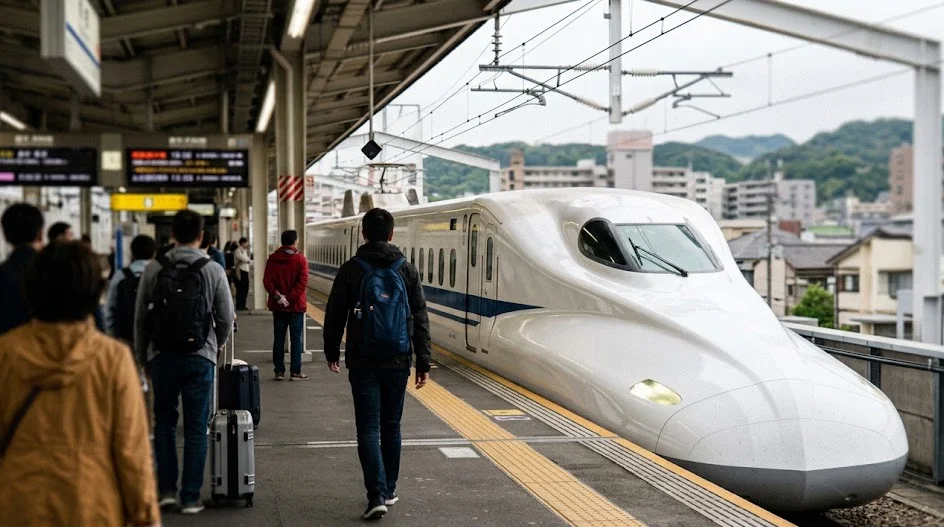
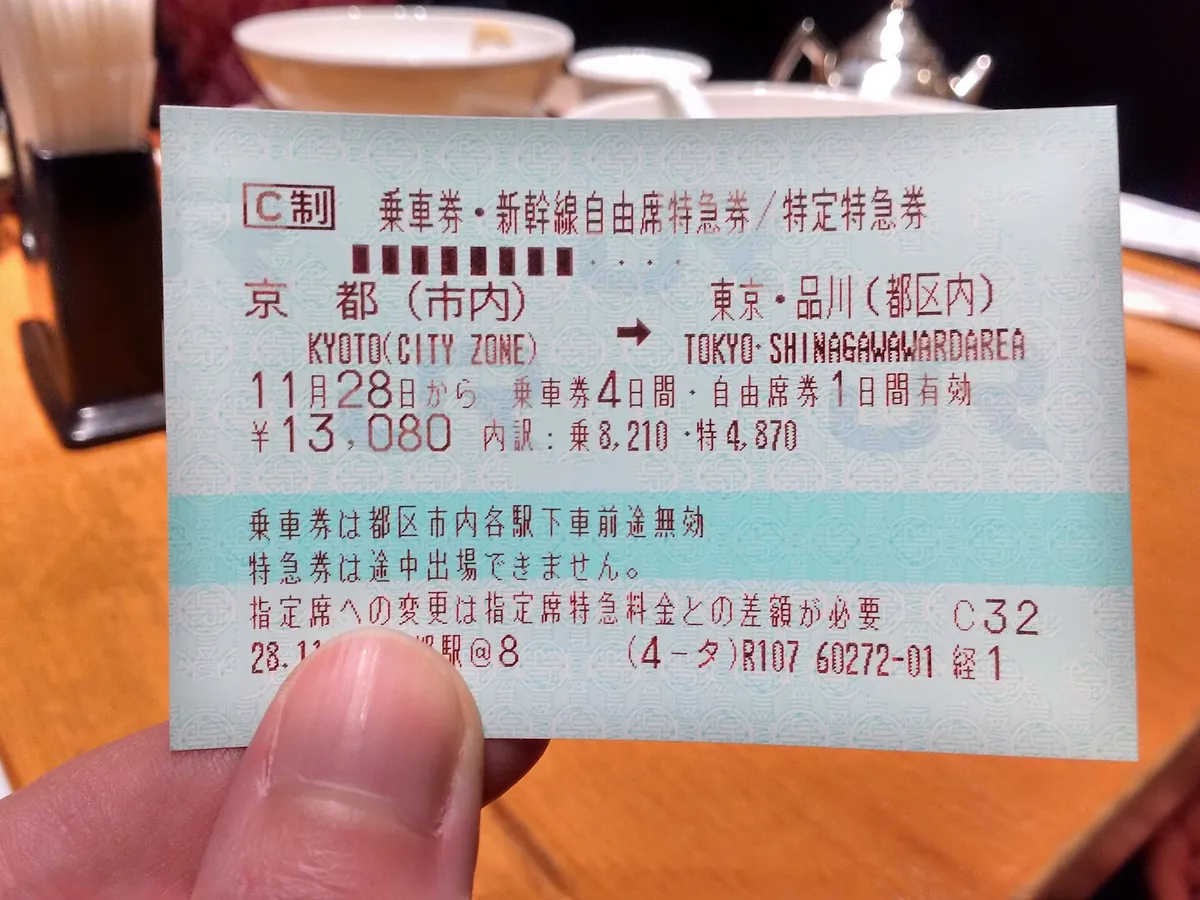
The Haruka Express is a limited express train, meaning it requires both a basic fare and an additional surcharge. It is marketed heavily to tourists as the fastest link to Kyoto, but it can be cramped during peak travel seasons.

If you have a massive amount of luggage, finding space in the overhead racks can be a struggle. We often find that paying the extra price for a reserved seat is worth it just to secure a designated spot for our bags.
5. Deciding on seat reservations
If you book through Klook or the official JR site, you can sometimes lock in your seat in advance. For a relaxed arrival, this is a small investment that prevents standing for the duration of the ride.
6. Luggage space limitations
There are designated racks at the end of each car, but they fill up fast. Always head to the train early to ensure you get a spot for your suitcase before the commuters arrive.
4. Navigating the JR Airport Rapid for budget travelers
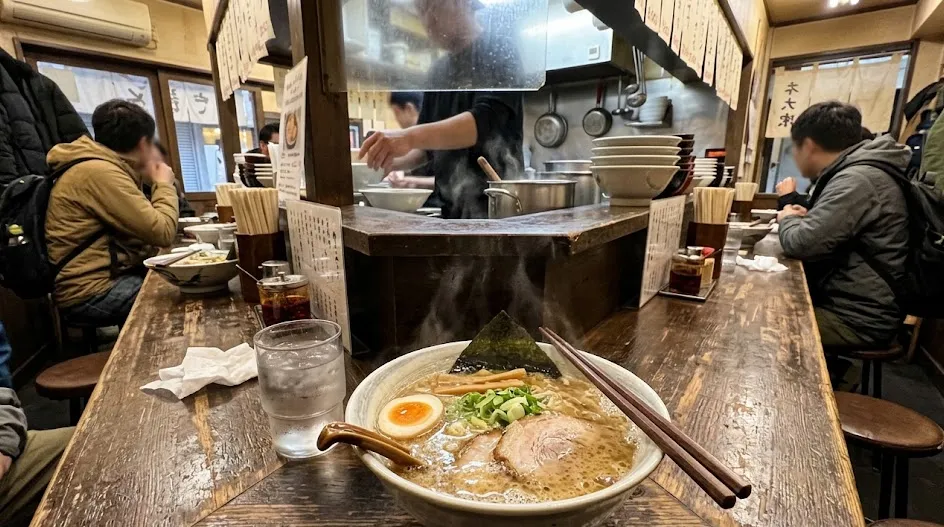
For those headed to central Osaka, the JR Airport Rapid is the secret weapon. It is significantly cheaper than the Haruka, and because it is a commuter train, it runs much more frequently throughout the day.
It does not have the “limited express” price tag. While you may have to stand during busy hours, the trip to Osaka Station is efficient and gets you right into the heart of the city’s transit hub.
7. The benefits of local commuter lines
Commuter trains are designed for ease of movement. There are no complicated seat reservations to worry about, and the frequency of the trains means you are never waiting long.
8. Avoiding Tennoji confusion
If you take the Haruka, you might transfer at Tennoji. If you take the Airport Rapid, you stay on until Osaka Station. In our experience, the latter is much easier to navigate with heavy bags.
Where we would book this
Klook
One account for passes, tickets and transfers
- Best for
- JR Pass and regional rail passes, theme-park tickets, airport…
- Checked
- September 2026
Official site. Same price for you.
5. How to handle luggage: Lockers and forwarding services
Dragging large suitcases through Japanese subway stations is a rite of passage, but it is one you can skip. Use the Yamato transport service, often found in the airport lobby, to send your bags directly to your hotel.
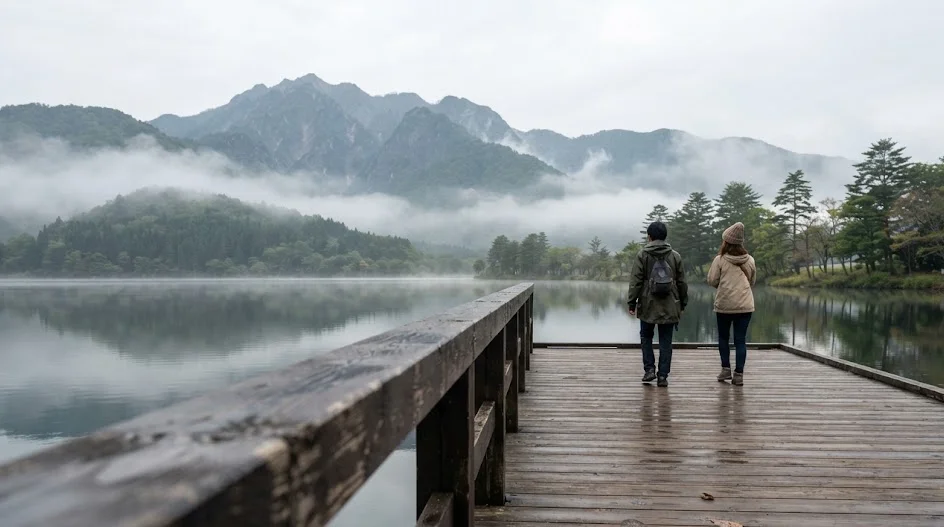
You can travel light with just a small daypack on the train. It makes a huge difference for your energy, and most hotels in Japan are used to receiving these forwarded bags.
9. Finding the luggage counters
Look for the green or yellow cat logo of Yamato transport near the arrivals hall. You can arrange for your bags to arrive by the following afternoon, depending on the distance.
10. Using station coin lockers
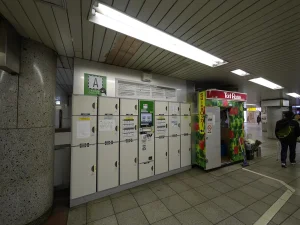
If you are not staying at a hotel yet, station lockers are everywhere. Use the digital-compatible ones that accept your IC card for payment to avoid hunting for 100-yen coins.
← Swipe to see the full table →
| Route | Service | Price Range |
|---|---|---|
| KIX to Osaka | JR Airport Rapid | ¥1,200–¥1,500 |
| KIX to Kyoto | Haruka Express | ¥2,000–¥3,500 |
| KIX to Namba | Nankai Rapit | ¥1,300–¥1,500 |
Plan your trip: the tools we use
6. Direct bus vs. train: The luxury of not changing platforms
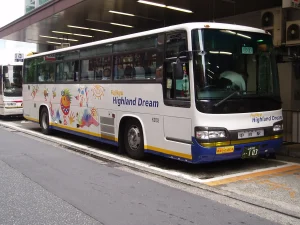
Sometimes the train is not the best answer. If your hotel is located near one of the major stops for the Airport Limousine Bus, take it. It drops you off at the door of many major hotels.
The bus is slightly more expensive, but it eliminates the need to change platforms or climb stairs. For travelers with elderly companions or young children, this is the most civilized way to start a trip.
11. Checking the bus schedules
Check the airport website for the bus stops near your accommodation. If the bus stop is within a five-minute walk, choose this over the train.
12. Avoiding road traffic
Note that during heavy rain or major holidays, buses can get caught in highway congestion. If your arrival time is critical, the train remains the more predictable option.
7. Transferring in Osaka: A guide to the station maze
Osaka Station is legendary for its complexity. It is effectively a collection of different rail lines that have grown together over decades, creating a labyrinth of passages and underground levels.
If you need to transfer, follow the signs for the specific line (like the Midosuji subway line) rather than just looking for the station exit. The floor markings are your best friend here, as they lead to the correct elevator banks.
13. The Midosuji line strategy
If you are headed to Namba or Umeda, the Midosuji line is the most direct path. It is often very crowded, so avoid the middle cars if you have luggage.
14. Using station staff
Do not be afraid to stop and ask an attendant. They are accustomed to lost tourists and will often escort you to the right elevator if you show them your destination.
8. My personal approach: How I handle the KIX arrival
 ReaderYuki
When I land at KIX, I walk directly to the train gate using my digital IC card. I have stopped trying to maximize every yen; instead, I prioritize speed and comfort, which means choosing the Nankai Rapit if I am staying in Namba.
I also pack my essentials, including my power bank and portable WiFi device, into a small bag I keep on my person. I check the status of the trains on a navigation app before I even leave the terminal gate.
15. The “No-Luggage” rule
I always try to forward my main suitcase. By the time I arrive at my business hotel in Kyoto or Osaka, I am refreshed and ready to explore rather than exhausted from lugging bags.
Step 1: 1. Prep your digital IC card
Load your phone wallet before you land to save time at the gates.
Step 2: 2. Check the luggage status
Use Yamato forwarding if you want to be free of bags on the ride.
Step 3: 3. Choose your line carefully
Nankai for Namba, JR Airport Rapid for Osaka station, or Haruka for Kyoto.
Step 4: 4. Walk, don’t rush
Look for the elevator signs; Japanese stations are vertical labyrinths.
9. The one-way trap: Why return trips need a different strategy
Your return trip to KIX is often more stressful than your arrival. You have souvenirs, extra luggage, and the pressure of a flight deadline hanging over your head.
I recommend leaving your hotel at least three hours before your flight boarding time, regardless of what the map apps suggest. Trains can be delayed, and the terminal walk from the train station is longer than you think.
16. The final train check
Book your return train seat the day before. Knowing exactly which carriage you are in helps you line up on the platform early, ensuring a spot for your heavier suitcases.
17. Managing the last-minute souvenirs
If your bags are suddenly overweight, head to the airport post office to ship items home. It is cheaper than paying excess baggage fees at the airline counter.
10. Money on arrival: Why you should avoid the airport exchange desk
Most travelers land at Kansai International Airport and immediately gravitate toward the brightly lit currency exchange booths in the arrivals hall. This is a classic rookie mistake that often costs you a significant percentage of your budget in unfavorable rates and service fees.
The smartest way to handle your finances is to bring a debit card that offers fee-free international withdrawals or, even better, a travel-friendly credit card with no foreign transaction fees. You should aim to withdraw about ¥20,000 to ¥30,000 upon arrival to cover your train fare and initial expenses.
The Seven-Eleven ATM is your best friend in Japan. These machines are tucked into almost every convenience store in the airport, and they consistently offer the most competitive exchange rates available to foreign travelers.
18. Where to find your first yen
- Look for the Seven-Eleven or Lawson convenience stores located within the terminal.
- Ensure your bank card has a Plus or Cirrus logo, as these are universally accepted.
- Avoid exchanging large amounts of cash; Japan is increasingly card-friendly, though cash remains king for street food and small ticket machines.
If you prefer to have cash in hand before landing, you can exchange a small amount at your home bank. However, the rates are rarely better than what you get at a Japanese ATM.
Keep in mind that some Japanese banks charge a small processing fee for international cards, typically ranging from ¥100 to ¥300 per withdrawal. Always confirm the official site of your home bank for specific fee structures.
If you absolutely must use an exchange counter, only trade the bare minimum required to get you to your hotel. You will find much better rates at banks inside the city centers of Osaka or Kyoto later in the day.
Always prioritize the convenience store ATM for the bulk of your cash needs to keep more of your travel budget intact.
11. Apps and connectivity: The digital toolkit for your transit
Trying to navigate the KIX rail network without a stable data connection is a recipe for unnecessary stress. You need reliable maps and translation tools working the moment your feet hit the terminal floor to avoid wandering aimlessly through the station concourses.
Start by downloading an eSIM provider like Airalo or Ubigi long before you depart. These digital SIM cards allow you to activate a Japanese data plan the moment you touch down, skipping the long lines at airport physical SIM kiosks or the need to carry a bulky pocket WiFi device.
Google Maps is essential for real-time train navigation, but it works best when you pair it with the JR West official app. This specific app provides live updates on delays, track changes, and train statuses, which is a life-saver during the unpredictable weather or rush hour delays common in the Kansai region.
19. Essential pre-arrival digital setup
- Set up your digital IC card in your Apple or Google wallet.
- Install Google Maps and download the Osaka and Kyoto regions for offline use.
- Use a translation app like DeepL or Google Translate for reading complex signage.
- Verify if your home provider offers a roaming package, though eSIMs are often cheaper.
For those who prefer a physical connection, pocket WiFi devices can be rented via platforms like Klook and picked up directly at the KIX arrival hall. While these provide robust speed, they require you to manage a charging cable and return the device at the end of your trip.
Check the official site of the rental company for return box locations to ensure you do not miss your flight while trying to drop it off.
Budget about ¥1,500 to ¥4,000 for a week of reliable data access, depending on your usage. This small investment prevents the “lost tourist” syndrome that plagues many first-timers.
Having a clear map and a live train schedule at your fingertips transforms a daunting airport transfer into a simple, follow-the-arrows exercise that keeps your travel day on track.
FAQ
QIs the Japan Rail Pass worth it for just the trip to Kyoto?
Almost never. The price of the pass is significant; you are better off buying individual tickets for a one-way trip to Kyoto and using an IC card for the rest.
QWhat if I arrive late at night?
The trains stop running around midnight. If your flight arrives after 10:00 PM, double-check the last train times for your specific destination on a site like HyperDia or Google Maps.
QShould I use a taxi from the airport?
Only if you have no other choice and a large budget. A taxi to central Osaka or Kyoto can cost upwards of ¥20,000–¥30,000, which is far more than the train.
QHow do I pay for the train with my phone?
Add a digital IC card (Suica, Pasmo, or Icoca) to your Apple or Google wallet. You can then simply tap your phone on the gate reader just like a plastic card.
QIs there free WiFi at the airport?
Yes, Kansai International Airport provides free public WiFi throughout the terminals, though having your own eSIM is much more reliable for navigation once you leave the building.
It is normal to feel nervous about navigating a new rail system with all your belongings.
Skip the temptation to keep re-reading blogs and lock in the one or two decisions that matter now, then adjust the rest of your itinerary once you are on the ground.
Keep planning
- ① Install and test your eSIM before take-offAiralo and Ubigi eSIMs activate on arrival, but the install itself needs Wi-Fi. Do it at home and confirm the profile shows up in your phone settings.
- ② Save your first hotel’s address in JapaneseTaxi drivers and station staff read Japanese addresses far faster than romanised ones. Copy it from the booking confirmation into your notes app.
- ③ Set aside cash for day oneMany small restaurants, temples and rural buses are still cash-only. Airport ATMs at 7-Eleven and the post office accept most foreign cards.
Skip these and your first hour in Japan goes on finding Wi-Fi at the station instead of getting to your hotel.
🔍 How to sanity-check any price you read online
Blogs (including this one) go out of date. The official page always wins over a screenshot from two years ago.
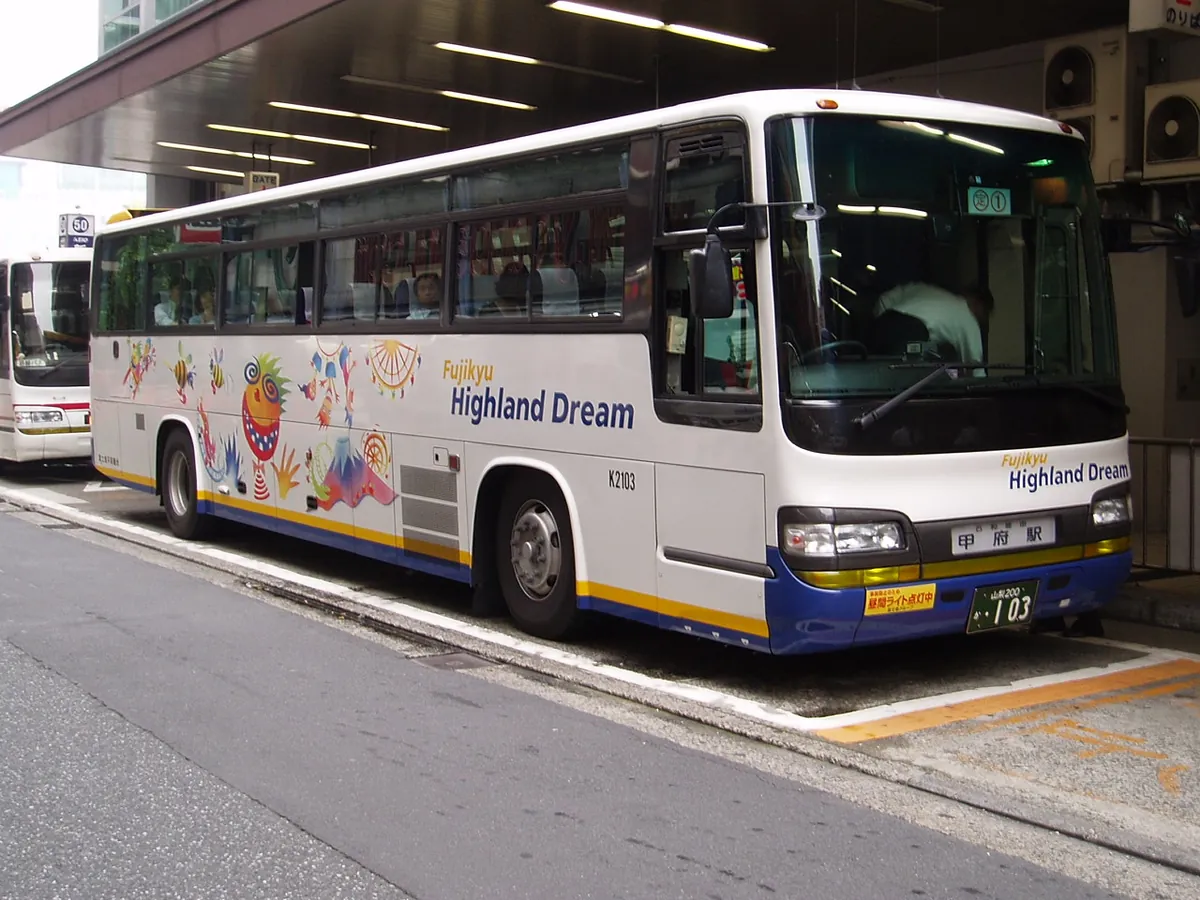
Cover Photo: 663highland, CC BY 2.5, via Wikimedia Commons