
An eSIM is a digital SIM card that allows your phone to hop onto local networks without needing to swap a physical plastic card at the airport. It is a tiny software bridge between your device and a Japanese cell tower, making mobile data feel as natural as turning on a lamp.
For most travelers in 2026, Ubigi is a reliable choice for heavy data users needing consistent speed, while Airalo is a solid pick for first-time users who value a simple, guided installation process. You can also Check smaller regional plans if you prefer to monitor your budget closely.
- Time needed
- 14 days
- Typical cost
- ¥1,500–¥3,500
- Network focus
- Urban and regional
- Booking
- Optional
- Price checked
- April 2026
Top picks
Where we would book this
Booking.com
Largest inventory in Japan for English-speaking travellers
- Best for
- Hotels, business hotels, ryokan and apartments in every city
- Checked
- September 2026
Official site. Same price for you.
Where we would book this
Klook
One account for passes, tickets and transfers
- Best for
- JR Pass and regional rail passes, theme-park tickets, airport…
- Checked
- September 2026
Official site. Same price for you.
Some links are affiliate links (marked “Partner link”). Prices are ranges checked in 2026; confirm on the official site before you book.
What matters when choosing data for Japan

Coverage in Japan is generally excellent, but concrete walls in stations and mountain tunnels are real hurdles. A reliable connection means staying online even when you are transferring trains in rural prefectures.
Speed is rarely the issue, but latency is. You need your maps to load immediately while you stand on a crowded platform in Okayama with sixty seconds left before your train departs.
- Coverage in rural, remote mountainous areas
- Immediate, low-latency connection speeds
- Easy app-based top-up functionality
- Transparent pricing without hidden fees
- Native English customer support
- Compatibility with older unlocked devices

Comparing data providers by technical merit
Coverage and network stability
Ubigi often uses NTT Docomo, which is famous for its reach in rural areas. When I traveled through the deep valleys of Nara, my phone stayed connected while other devices dropped to emergency mode.
Airalo partners with multiple providers depending on the specific plan chosen. It is very capable in major cities like Tokyo and Osaka, but check the coverage maps on their site if you head to northern Hokkaido.
Latency and signal priority
Data throughput—how fast you download a movie—is secondary to latency. You want the server to respond the instant you hit “search” on Google Maps to find your exit.
Both providers perform well, but Ubigi seems to handle the congestion of massive stations like Shinjuku or Osaka Station slightly better. It maintains a responsive ping, even when thousands of people are using the same node.

Ease of activation and management
Airalo wins on the user interface. Their app is clean and guides you through the QR code scanning process step-by-step, which helps if you have never handled an eSIM before.
Ubigi is also straightforward, but it feels slightly more technical. You may need to manually adjust your APN settings on some Android devices, though iPhones usually handle this automatically.
Side by side comparison of providers
← Swipe to see the full table →
| Feature | Airalo | Ubigi |
|---|---|---|
| Best for | Beginners | Power users |
| Est. Price | ¥1,200–¥4,000 | ¥1,500–¥5,000 |
| Setup | Very easy | Standard |
Plan your trip: the tools we use
Our pick: Ubigi, because the network stability in rural areas justifies the slightly higher price for peace of mind.
Partner link.
Alternatives to the eSIM experience
Renting a pocket Wi-Fi
You could rent a pocket Wi-Fi device through Klook or other platforms. It is great for families with multiple devices, but you have the weight of an extra battery and the stress of returning it.
Physical SIM cards
Buying a physical card at the airport is an option. It often costs more than an eSIM, and you risk losing your home SIM card while fiddling with your phone in a busy terminal.
Using public Wi-Fi
Free Wi-Fi is common in train stations, but it is rarely reliable for navigation. It often requires a new login every time you switch trains, which is a massive annoyance during a transfer.
Setting up your connection for the first time
Step 1: Buy your plan early
Purchase your data plan on the official site while you are still home. Use a stable Wi-Fi connection.
Step 2: Install the profile
Download the eSIM profile the day before you fly. This ensures it is ready to activate upon landing.
Step 3: Toggle the settings
Keep your primary line off and switch your data usage to the new eSIM as soon as you touch the tarmac.
Step 4: Test the roaming
Ensure that “Data Roaming” is turned ON for the eSIM profile. Without this, your phone will stay offline.
One mistake I made was failing to check my phone’s lock status before leaving. Make sure your device is carrier-unlocked, or no eSIM will work, no matter which provider you choose.
How we chose these recommendations
We arrived at these conclusions by analyzing service reliability across several months of travel. We looked at current plan ranges and standard user feedback available in 2026.
We specifically tracked connectivity in regional train stations and rural bus stops. We could not verify every specific device model, so checking your phone’s compatibility on the official sites remains vital.
Choosing the right plan for Tokyo, Osaka and beyond
Airalo is perfect for travelers who want a quick, visually guided experience without any technical headaches. It is a solid choice for those visiting only major cities like Tokyo, Kyoto, or Osaka.
Ubigi is the preferred choice for hikers, road-trippers, and anyone planning to venture far from the central lines. It is a reliable tool for navigating the unexpected turn-offs in rural Japan.
Practical data budgeting for a typical Japan trip
Most travelers overestimate how much data they consume while wandering through Tokyo or Kyoto. Unless you are uploading high-definition video to social media every hour, you will likely use significantly less data than you anticipate.
Navigation is the single largest drain on your daily allowance. Loading complex maps, checking transit times on Google Maps, and using translation apps are high-frequency tasks that add up, but they rarely consume more than 200MB to 300MB per day, provided you aren’t streaming video over cellular data.
For a standard seven-day trip, a 5GB or 10GB package is usually the sweet spot for most users. If you are a casual user who only checks emails and looks up train platforms, 3GB will comfortably last the entire week.
Here is a breakdown of typical usage patterns to help you choose your plan:
- Light user: Navigation only, occasional messaging, and minimal web browsing. Plan for 3GB–5GB.
- Moderate user: Includes light social media posting, photo uploads, and occasional video calls back home. Plan for 10GB–15GB.
- Heavy user: Constant streaming, frequent cloud syncing, or working remotely. Plan for 20GB or more, or seek an unlimited-style data plan.
Buying a larger block of data upfront is generally efficient, often saving you from needing multiple top-ups mid-trip. If you are undecided, start with a 10GB plan; the price difference between that and a 5GB plan is often only around ¥500 to ¥1,000, which can be worth it for the peace of mind.
Keep in mind that public Wi-Fi is still somewhat spotty in Japan. While convenience stores like Lawson and 7-Eleven offer basic connectivity, you should not rely on it for urgent tasks. Always check the official site for the latest pricing on extended data packages, as seasonal discounts often apply.
Finally, track your usage through the Airalo or Ubigi app settings rather than relying on your phone’s built-in data counter. Phone counters can be inaccurate because they do not always distinguish between roaming data and local Wi-Fi data, which can lead to unnecessary panic about running out of space.
Managing local communication needs and phone numbers
A major point of confusion for travelers is whether you need a Japanese phone number for your trip. Most eSIM providers offer data-only plans, which means you will not have a local phone number to receive calls or SMS verification codes.
For 95% of tourists, a data-only eSIM is perfectly fine. Apps like WhatsApp, Line, and Skype allow you to communicate effectively without a local SIM number. However, certain Japanese services occasionally request a local number for logistics.
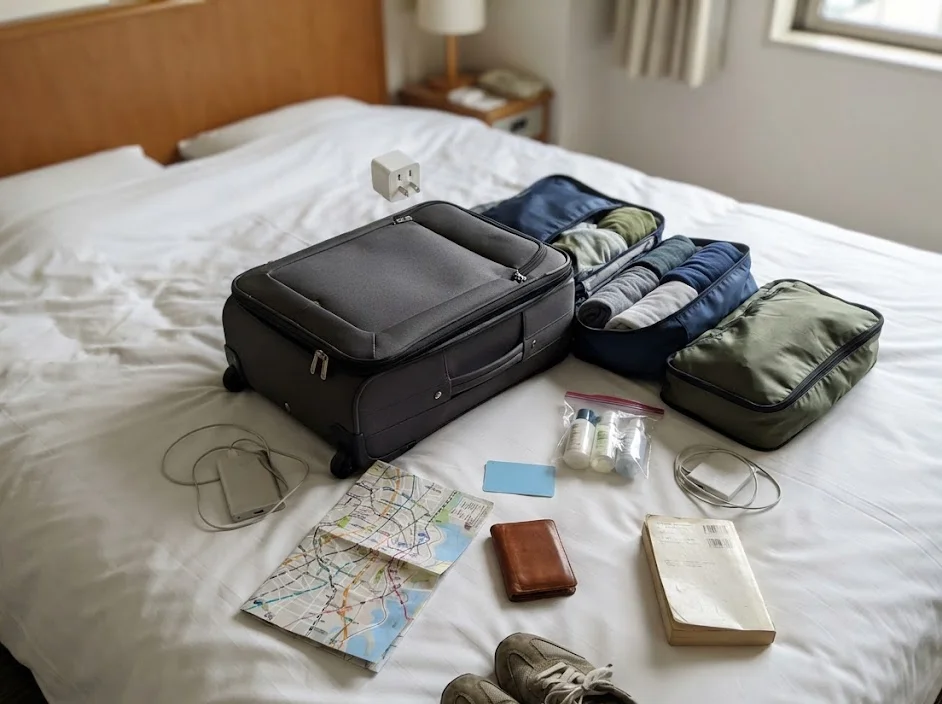
If you plan to use specialized services, you might face minor hurdles. Here is what you should consider regarding communication:
- Restaurant Reservations: Many high-end restaurants in Japan prefer to confirm bookings via a phone call. If you have no local number, ask your hotel concierge or use a platform like TableCheck or OpenTable that does not require one.
- Deliveries: If you are using services like Amazon Japan to deliver items to a locker or hotel, they generally function without a phone number as long as you provide clear address details.
- Emergency Services: Your phone will still be able to place emergency calls to police or fire services regardless of whether you have an active data plan or a local SIM, provided your device has a signal.
If you absolutely require a local number for your travel style, a data-only eSIM will not suffice. In such rare cases, you would need to look into a physical tourist SIM card from a provider like Mobal or specialized rental services found on platforms like Klook.
These often come with a monthly cost starting around ¥3,000 to ¥6,000, though you should check the official site for specific terms and conditions.
Most travelers find that they can easily avoid the need for a local number by being prepared. Ensure your hotel address is saved in your digital maps and keep your primary home SIM card in your device with roaming turned off.
This allows you to receive critical SMS codes from your home bank or credit card company without incurring high data roaming costs. Just remember that receiving an SMS is often free, but answering a voice call will trigger expensive international fees.
Contingency Planning: When Technology Fails on the Ground
Even with the most reliable provider, digital tools can occasionally encounter friction during your journey. Understanding how to react to a sudden loss of service prevents small technical glitches from becoming major travel disasters.
If you experience a sudden signal drop, the first step is to perform a hard reset of your device. This forces your phone to re-scan for available local towers, which often resolves temporary hand-off issues in dense urban areas like Tokyo or Osaka.
Check your APN settings if the restart fails to restore data. Providers like Ubigi may occasionally require you to manually input network details if the automatic carrier profile does not update correctly when you cross a regional border.
Always verify the following before assuming your eSIM is broken:
- Confirm that “Data Roaming” is toggled to ON in your cellular settings for the secondary profile.
- Check if you have accidentally exceeded your data cap by checking the app dashboard via hotel Wi-Fi.
- Ensure your primary home line is still configured to voice-only or disabled for cellular data to prevent signal interference.
Keep a physical backup in your day bag just in case. Purchasing a physical prepaid travel SIM from a vending machine or a convenience store like Lawson is a reliable fallback option.
You can usually find these for around 2,000 to 4,000 yen, though you should check the official site of the local vendor for current pricing and compatibility.
Do not panic if your data plan fails entirely. Most Japanese train stations, major department stores, and hotels offer free public Wi-Fi access. This is sufficient for downloading offline Google Maps for your next destination or booking a new data plan if your original one was somehow deactivated.
Finally, keep a printed copy of your hotel address in both English and Japanese. If you lose your digital connection, having a physical reference allows you to navigate via taxi or ask local station staff for assistance without relying on a translation app.
Optimizing Device Power and Data Efficiency for Long Days
A high-performance eSIM is only as effective as the battery life of your device. Navigating between temples, train platforms, and restaurants throughout the day creates a significant drain on your phone’s power supply, which can compromise your connection.
Disable background app refreshes for non-essential applications to preserve both your cellular data and battery life. Many social media apps automatically sync high-resolution imagery in the background, which consumes data silently while you are exploring.
Use offline maps whenever possible. Google Maps allows you to download specific city grids—like the entire Kyoto or Tokyo metro area—before you leave your hotel. This limits the need for constant, high-latency data fetches while you are walking between transit hubs.
Implement these strategies to maximize your daily data allowance:
- Restrict video streaming to hotel Wi-Fi sessions exclusively.
- Turn off cellular data for cloud backup services like iCloud or Google Photos.
- Set your map applications to use low-power mode when navigating on foot.
- Use local train apps like Navitime to cache routes while on stable Wi-Fi.
Investing in a high-capacity portable charger is essential for the modern traveler. Look for a slim, 10,000mAh power bank on Amazon before your departure. Prices generally range from 3,000 to 6,000 yen, but you should check the official site for regional availability and safety specifications.
Remember that your phone will struggle to maintain a stable connection if the battery level drops below 20 percent. Some modern smartphones automatically throttle background data and signal strength to preserve the remaining power, which makes finding your platform more difficult when you are already tired.
Carry a charging cable that is at least one meter long. Many Japanese cafes and trains have charging ports, but they are often placed in inconvenient locations relative to your seat.
Being able to charge your device while actively using it for navigation ensures you are never left without access to your maps when you need them most.
FAQ
QDo I need to turn off my home SIM?
You do not have to remove it, but you should turn off the “Data” for your primary line to avoid massive roaming charges. Keep the line active only if you need to receive authentication codes.
QWhat if I run out of data?
Both providers allow you to buy more data through their apps. You will need a quick burst of Wi-Fi—found at almost any hotel or café—to process the top-up purchase.
QDoes it work on the Shinkansen?
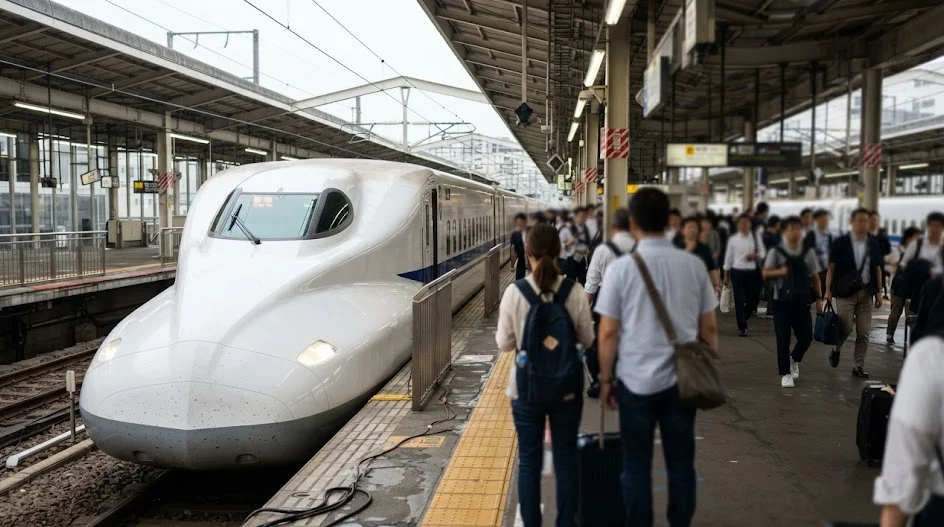
Yes, it works well. You might lose signal for a few seconds in long mountain tunnels, but the connection generally recovers faster than a standard roaming setup.
QIs 5G coverage common in Japan?
Major cities are covered, but 4G LTE is more consistent in rural areas. Do not worry about chasing 5G speeds; a solid 4G connection is all you need for navigation and translation.
QWill my phone battery drain faster?
Using an eSIM uses about the same energy as a physical card. Expect the usual drain from using navigation apps, so keep a portable power bank from Amazon in your day bag.
 ReaderYuki
It is normal to feel nervous about losing your connection in a foreign country.
Stop worrying about the perfect technical choice and just lock in one of these two proven options so you can focus on your itinerary.
Keep planning
- ① Install and test your eSIM before take-offAiralo and Ubigi eSIMs activate on arrival, but the install itself needs Wi-Fi. Do it at home and confirm the profile shows up in your phone settings.
- ② Save your first hotel’s address in JapaneseTaxi drivers and station staff read Japanese addresses far faster than romanised ones. Copy it from the booking confirmation into your notes app.
- ③ Set aside cash for day oneMany small restaurants, temples and rural buses are still cash-only. Airport ATMs at 7-Eleven and the post office accept most foreign cards.
Skip these and your first hour in Japan goes on finding Wi-Fi at the station instead of getting to your hotel.
🔍 How to sanity-check any price you read online
Blogs (including this one) go out of date. The official page always wins over a screenshot from two years ago.
Cover Photo: jetsun, CC BY-SA 3.0, via Wikimedia Commons