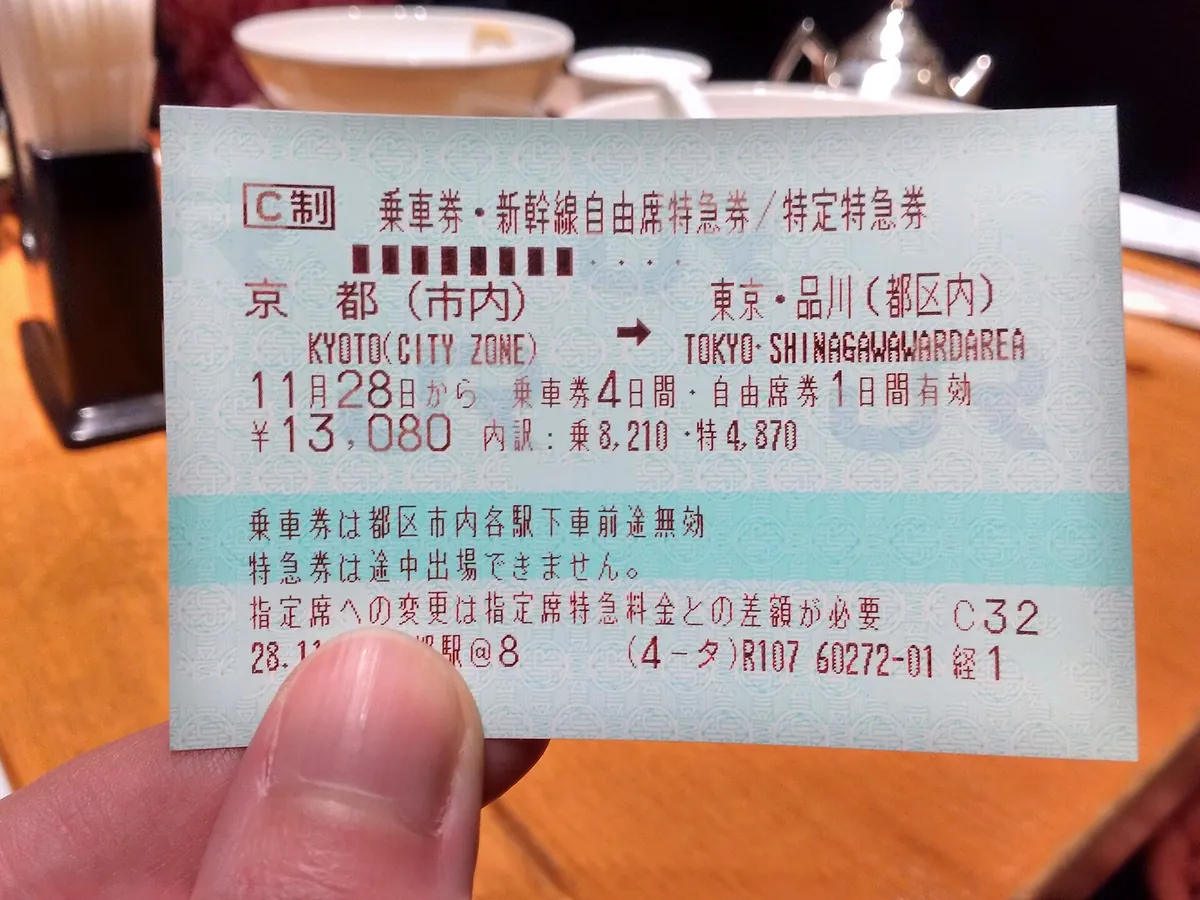
- The nationwide JR Pass is rarely a money-saver for 2026 itineraries.
- Individual SmartEX tickets offer better flexibility and lower total costs.
- Focus on regional rail passes if your travel stays within one or two areas.
- Most 10-14 day trips cost less by booking point-to-point via apps.
Is the JR Pass really the budget-saver you imagine it to be?
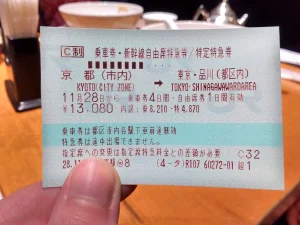
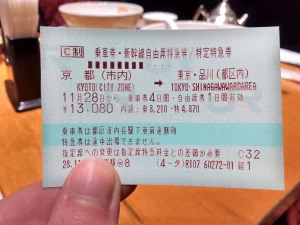
For most first-time visitors planning a 10-to-14-day trip, the answer is usually no. When you add up the specific shinkansen legs required for your route, the total cost for individual e-tickets almost always lands below the price of a 7-day or 14-day nationwide pass, especially after recent price revisions.
- Time needed
- 10–14 days
- Typical cost
- ¥35,000–85,000 (rail only)
- Base
- Tokyo or Osaka
- Booking
- SmartEX App / Klook
- Best season
- All year
- Price check
- 2026
Some links are affiliate links (marked “Partner link”). Prices are ranges checked in 2026; confirm on the official site before you book.
Why the JR Pass is no longer the default choice for 2026
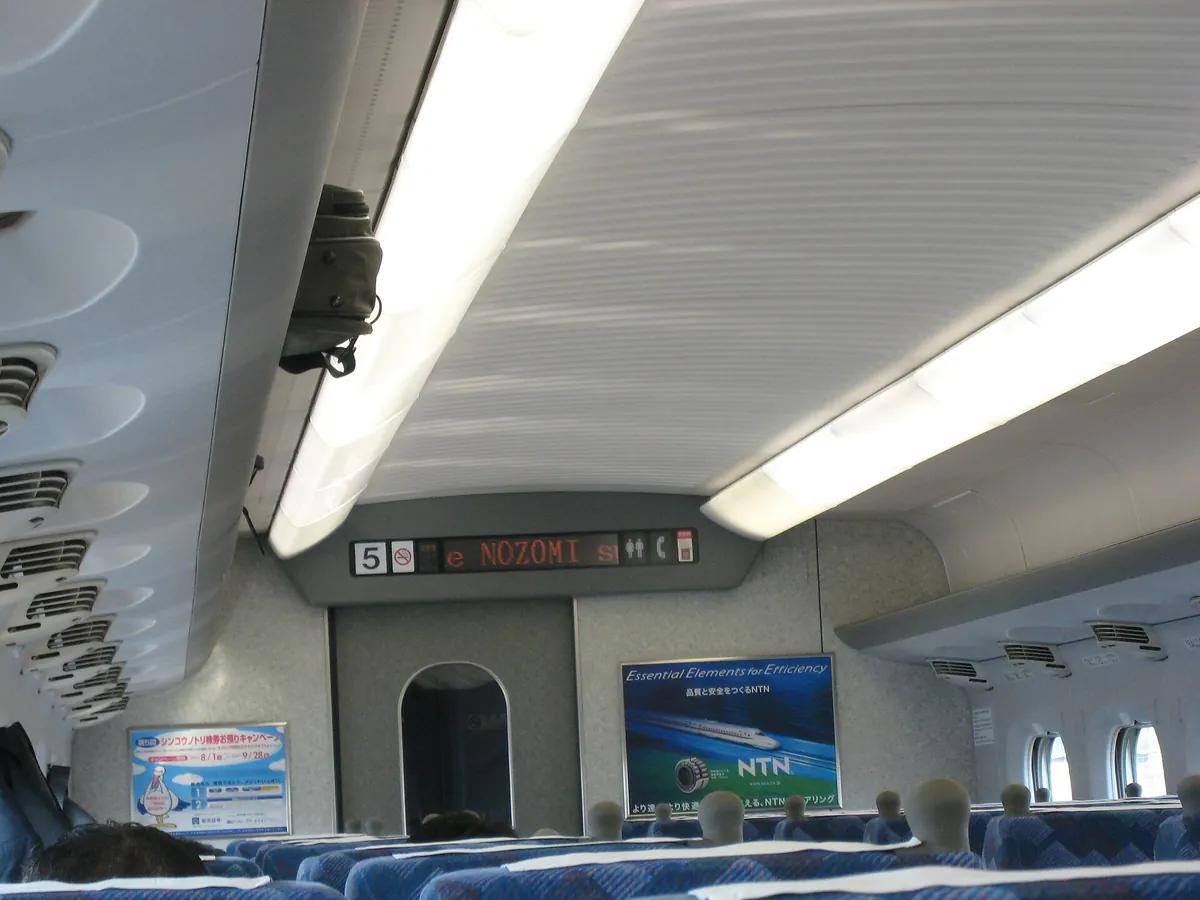
The days when buying a 7-day JR Pass was a reflexive decision for any traveler leaving Tokyo are gone. With the current pricing structure, you must travel significant distances almost every single day to break even.
This often results in a “forced” travel itinerary where you spend more time on trains than in the actual cities.
The biggest hidden cost is the loss of flexibility. Once you have a pass, you may feel compelled to visit far-flung regions simply to justify the upfront expense. This often ruins the quality of your trip by turning your vacation into a logistics-heavy marathon.
Instead of a pass, consider booking individual tickets via the official SmartEX app or third-party platforms like Klook. This allows you to change your schedule on the fly without worrying about “losing” money on a pass that sits unused in your pocket.
The flexibility factor
When you book individual tickets, you only pay for the travel you actually do. If you decide to stay an extra day in Kyoto to visit a neighborhood cafe, you aren’t “wasting” a day of a pre-paid rail pass. This peace of mind is often worth more than the theoretical savings of a pass.
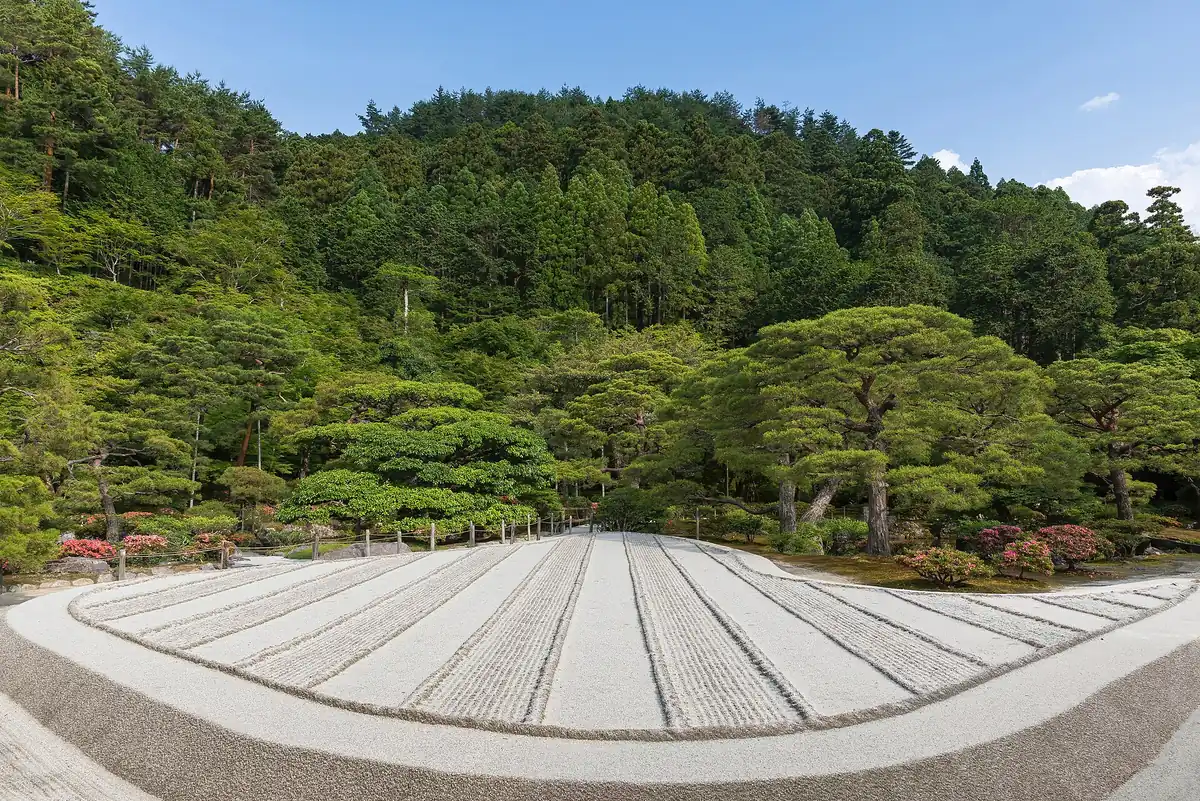
Route 1: The Golden Route (Tokyo-Kyoto-Osaka-Tokyo)
For a standard return trip between Tokyo, Kyoto, and Osaka, the math rarely favors a nationwide pass. You are essentially looking at a round-trip on the Tokaido Shinkansen with a few short local hops.
- Tokyo Station
- Tokaido Shinkansen · 2 h 15 min · reserved seat
- Kyoto Station
- JR Local line · 30 min
- Osaka Station
In our research for 2026, the total cost for these individual legs ranges from ¥30,000 to ¥35,000 per person.
Compare this to the current cost of a 7-day JR Pass, which is significantly higher. You would need to add several expensive side trips—like a long-distance excursion to Nagoya or beyond—to make the pass pay for itself.
Book your shinkansen seats using the SmartEX app at least a week before travel to ensure you get the specific train times you want.
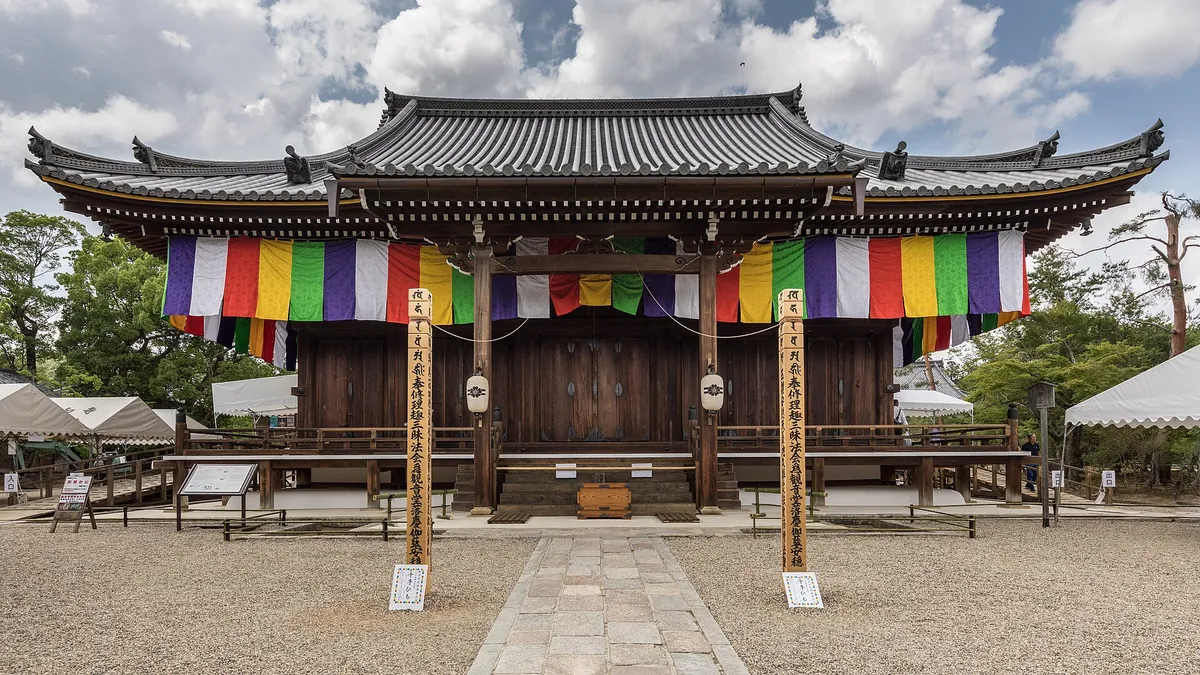
Route 2: The Extended Loop (Tokyo-Kanazawa-Kyoto-Hiroshima-Tokyo)
When you add the leg to Kanazawa and the extension down to Hiroshima, the costs rise quickly. This route covers a large portion of central and western Japan, making it one of the few itineraries where a nationwide pass might be worth investigating.
- Tokyo to Kanazawa: ¥14,000–16,000
- Kanazawa to Kyoto: ¥7,000–9,000
- Kyoto to Hiroshima: ¥11,000–13,000
- Hiroshima to Tokyo: ¥18,000–20,000
The estimated total for this route sits between ¥50,000 and ¥58,000. While this is higher than the Golden Route, it still often falls below the price of a 14-day nationwide pass. Calculate your exact route on the official site before committing to a pass.
Route 3: The Southern Kyushu Connection (Tokyo-Osaka-Fukuoka-Kumamoto)
If you plan to head as far south as Kumamoto, you are covering massive distances. This itinerary is intense and features multiple long-haul shinkansen segments. You will spend roughly 5 to 6 hours on a train for the final leg alone.
Total individual costs for this span usually run between ¥65,000 and ¥80,000. Because this is a very high-volume route, check if a regional pass from the JR West or JR Kyushu area covers your specific stops.
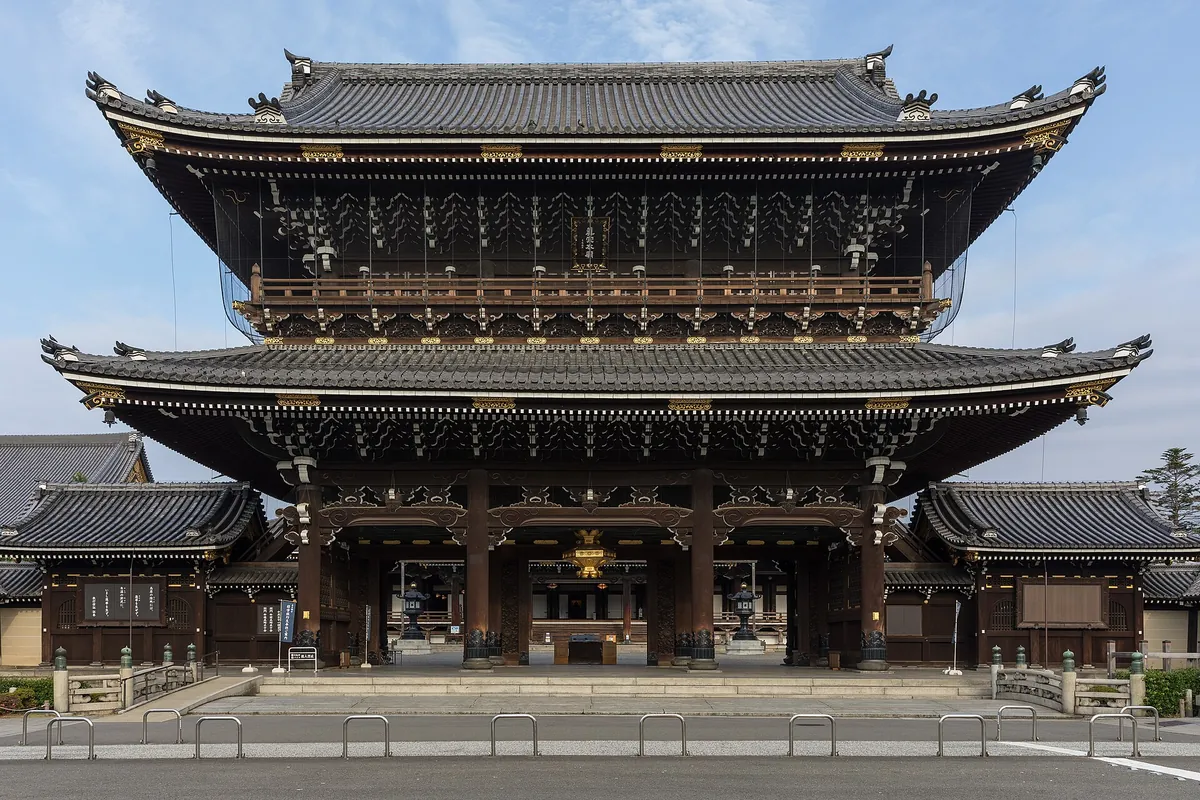
These regional options can be cheaper than the national version.
Regional passes have specific boundaries; always verify the map on the Klook or official rail site before finalizing your plan.
Where we would book this
Klook
One account for passes, tickets and transfers
- Best for
- JR Pass and regional rail passes, theme-park tickets, airport…
- Checked
- September 2026
Official site. Same price for you.
Route 4: The Winter Snow Route (Tokyo-Nagano-Niigata-Sendai-Tokyo)
Traveling the northern loop requires navigating JR East lines, which are often not as “shinkansen-heavy” as the Tokaido line. You might find yourself taking local limited express trains that aren’t always fully covered by some regional passes.
Pricing considerations for the north
Expect to pay ¥40,000–55,000 for this loop in individual fares. The scenery is beautiful, especially in winter, but the ticketing is more fragmented. Use the SmartEX app or station kiosks to manage these distinct segments individually.
Route 5: The Tohoku Explorer (Tokyo-Aomori-Sendai-Tokyo)
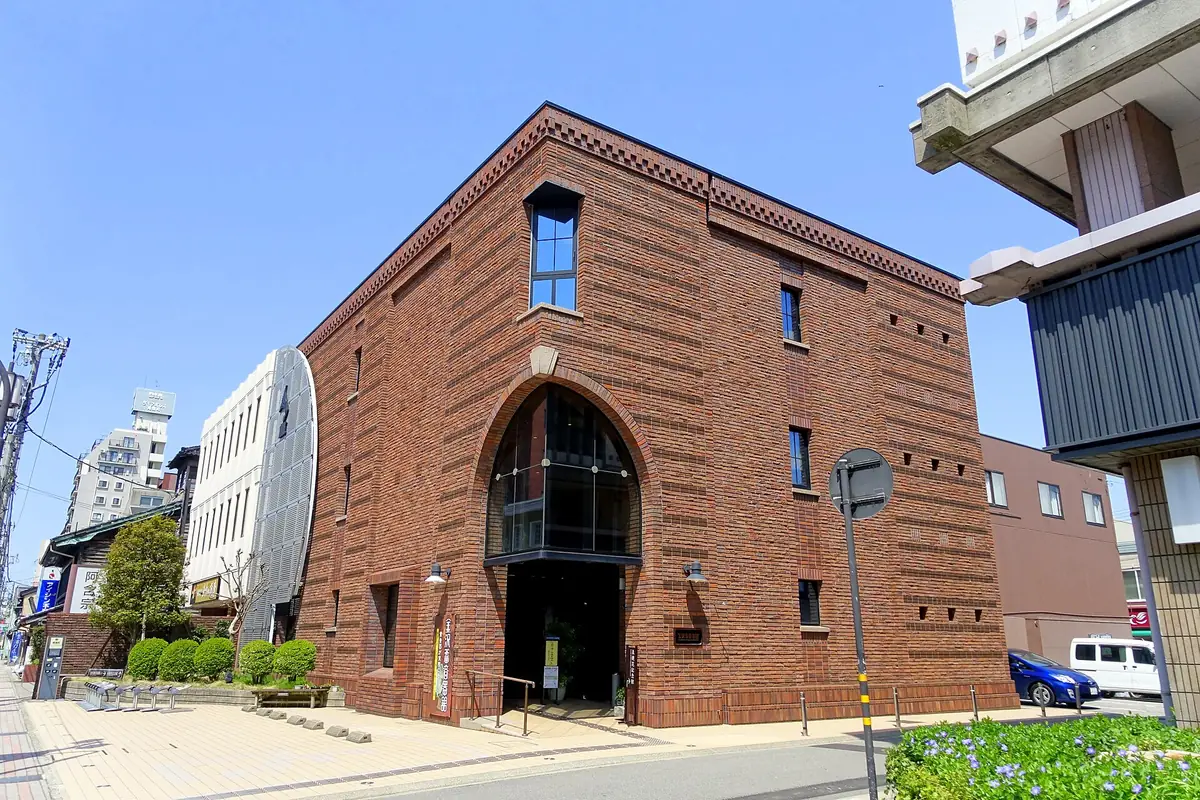
This route heads straight north toward the tip of Honshu. The Tohoku Shinkansen is fast and efficient, but the costs for Aomori are high due to the distance. A round trip from Tokyo to Aomori alone can cost roughly ¥30,000–35,000.
When you layer in stops in Sendai, the individual ticket total will reach ¥45,000–55,000. It is a direct, uncomplicated journey that works well with e-tickets. Booking individual legs ensures you aren’t paying for extra days of a pass you won’t use.
Comparing the costs: Your pass vs. individual e-tickets
← Swipe to see the full table →
| Route | Indiv. Estimate | Pass Estimate |
|---|---|---|
| Golden Route | ¥32,000 | Higher |
| Extended Loop | ¥55,000 | Borderline |
| Southern Loop | ¥75,000 | Competitive |
Plan your trip: the tools we use
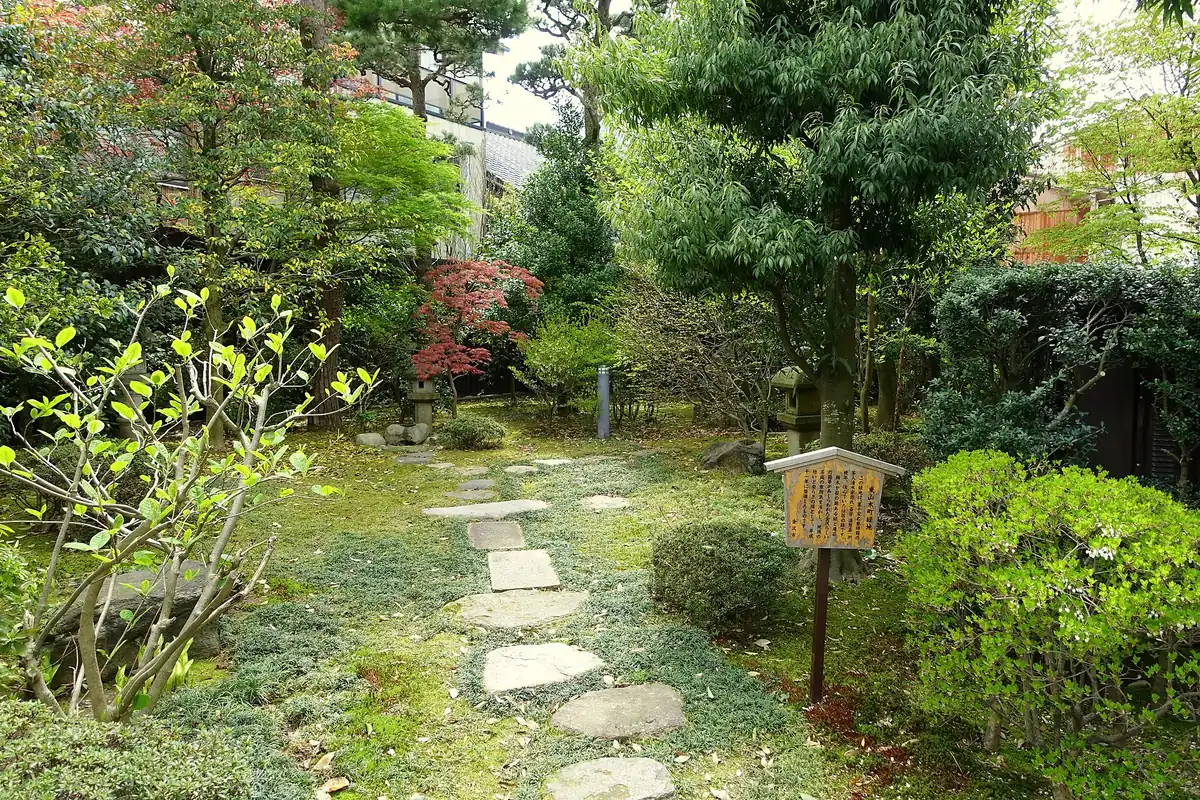
Our pick: Individual e-tickets for almost all travelers to keep your budget lean and your plans flexible.
Hidden transport costs: IC cards, local subways, and bus fares
Your rail pass only covers long-distance JR trains. It does not pay for the subways in Tokyo, the buses in Kyoto, or the private rail lines that often reach the best ryokan in mountain towns.
- Suica, Pasmo, or ICOCA card balance
- Kyoto bus one-day passes
- Private railway tickets to Nikko or Hakone
- Airport express train surcharges
- Luggage forwarding fees
Allocate at least ¥1,500–2,500 per day for these local connections. If you ignore these, your transportation budget will fail within the first three days.
When individual tickets actually win
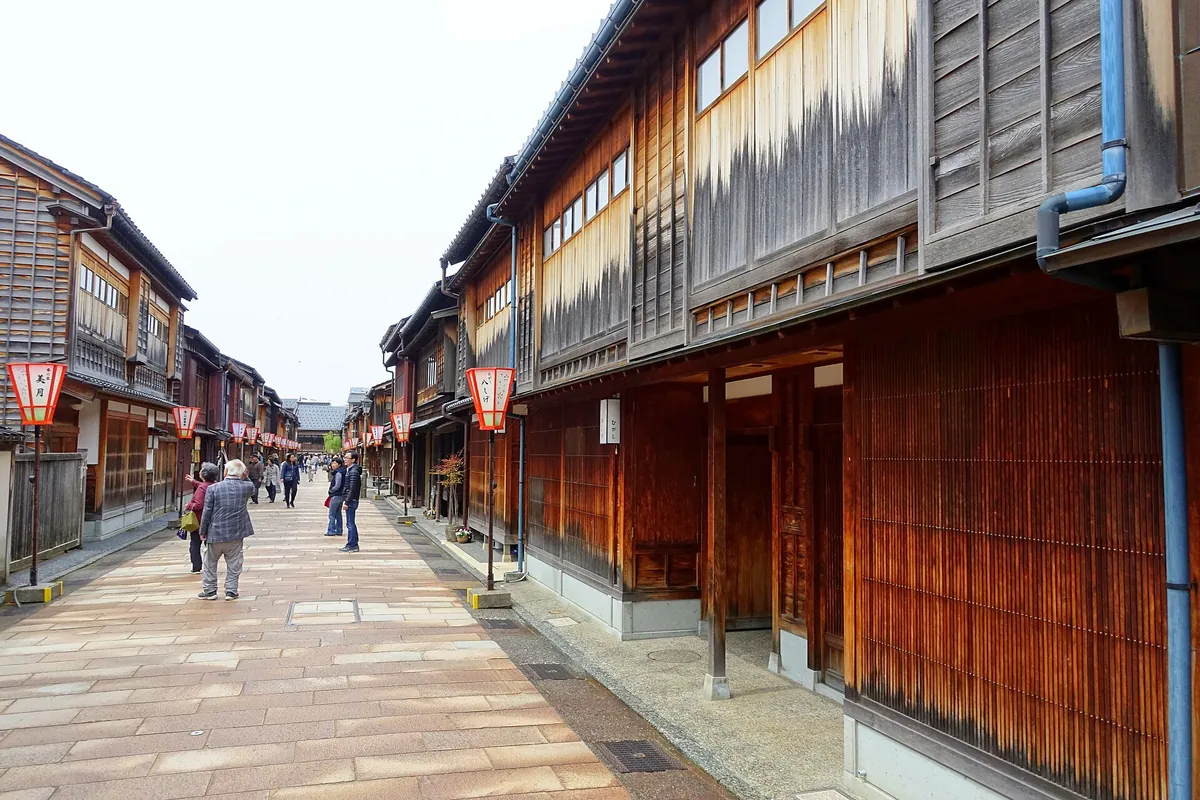
Individual tickets win when you want to linger in a city. If you find a ryokan you love in Hakone-Yumoto, you might want to extend your stay for an extra night. With a pass, that decision feels expensive. With individual tickets, you just book a new train for the following day.
What most first-timers do
- Buy a pass “just in case”
- Rush to hit 3 cities in 5 days
- Ignore the cost of subway tickets
What actually works
- Book point-to-point via SmartEX
- Stay longer in fewer locations
- Budget for daily IC card top-ups
Where your daily budget leaks: the hidden friction costs
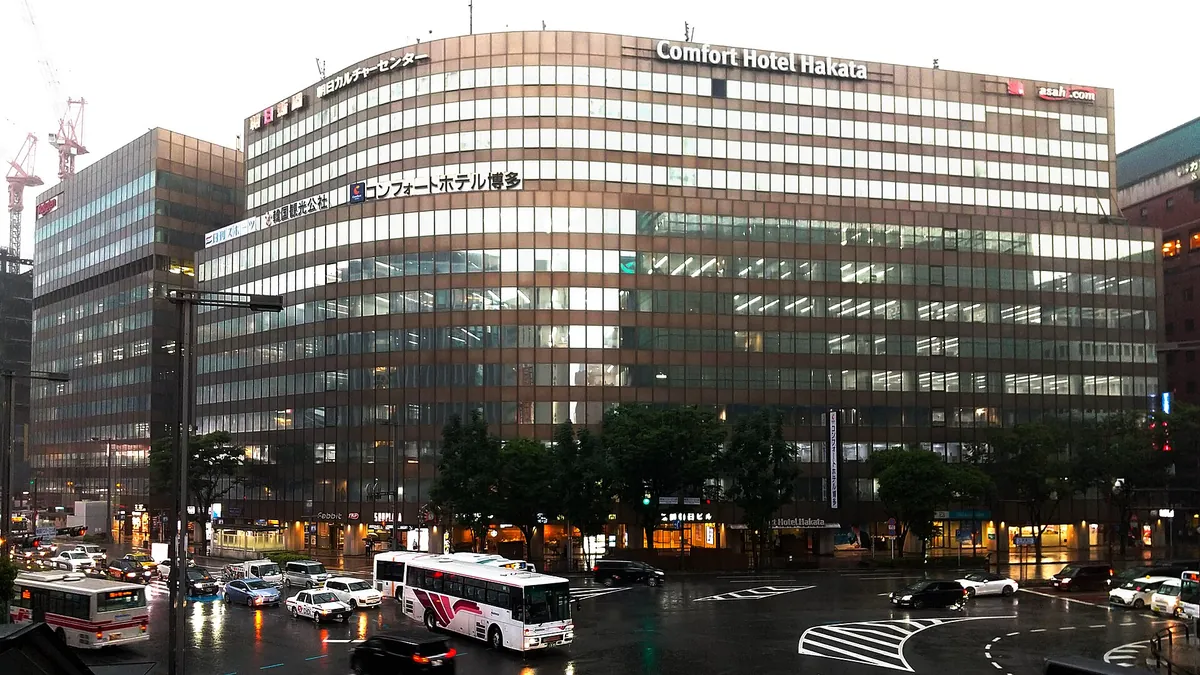
Many travelers fixate on the shinkansen fare and ignore the persistent, silent drainage of funds that occurs once they arrive in a city.
These costs are rarely highlighted in itinerary planning, but they accumulate into a significant portion of your total travel spend by the end of a two-week trip.
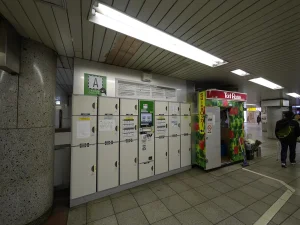
Coin lockers are the most frequent offender for travelers moving between cities without a return base.
When you arrive at a station three hours before your check-in time, you will inevitably pay to store your luggage. Depending on the size of your bag, a locker costs between 500 and 1,000 yen per use. Over a 14-day trip with multiple stops, this can easily add 5,000 yen to your transit budget.
Convenience stores—konbini—often act as the “silent budget killer” for tourists.
 Reader
 YukiYuki
Common “friction” expenses to track:
- Station locker fees: 500–1,000 yen per drop-off.
- Taxi surcharges: Late-night rides often include a 20–30% increase; basic city rides start at 600–800 yen.
- Convenience store snacks/coffee: 2,000–3,000 yen daily if not monitored.
- Luggage forwarding (Takkyubin): 2,000–3,000 yen per large suitcase between hotels.
Taxis also represent a significant jump in budget.

In cities like Osaka or Kyoto, relying on taxis instead of the subway turns a 300-yen ride into a 2,500-yen journey. While convenient, using them as a primary mode of transport can derail a carefully planned budget.
If you find yourself frequently reaching for a taxi, realize that you are effectively doubling your transportation cost for that day. Always map your route on Google Maps before choosing a cab to see if the subway or a local bus is a viable, and significantly cheaper, alternative.
Cash, cards, and connectivity: the reality of spending in 2026
While Japan has become significantly more card-friendly, the expectation that you can go completely cashless is a mistake that will leave you stranded.
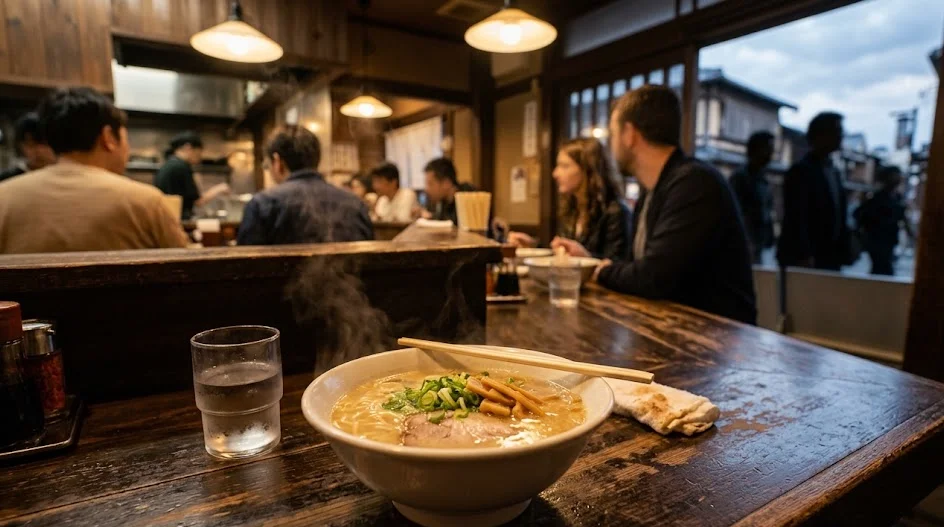
Even in 2026, many small shrines, regional vending machines, and local eateries operate strictly on a cash-only basis. You should always carry a minimum of 10,000 yen in local currency to avoid the panic of a declined card at a ticket machine or a small ramen shop.
ATMs at 7-Eleven stores remain the most reliable way to withdraw cash using international debit or credit cards.
The transaction fees vary by bank, but you should expect to pay a small flat fee of 110 to 220 yen plus any potential conversion fees from your home bank. Avoid airport currency exchange kiosks whenever possible, as they frequently offer the worst rates in the country.
Instead, withdraw what you need upon arrival at the 7-Eleven ATM located inside the arrivals terminal.
Essential digital and cash planning:
- Daily cash buffer: Keep 10,000 yen in your wallet at all times.
- Digital connectivity: Use e-SIM providers like Airalo or Ubigi to avoid roaming charges.
- IC card loading: Use your smartphone wallet to top up your Suica or Pasmo digitally.
- Card acceptance: Larger hotels and major chain retailers accept credit cards, but keep cash for local transit and temples.
Connectivity is another area where costs can spiral.
Roaming plans from home providers are often prohibitively expensive. Instead, use an e-SIM app to purchase a data plan before you land.
A 10GB to 20GB plan for two weeks usually costs between 2,000 and 4,000 yen. This is a fraction of the cost of daily international roaming fees.
This allowed budget enables you to use navigation apps to check train platforms and real-time transit costs without fear of a massive bill upon returning home. Always check the official site of your chosen e-SIM provider to ensure your device is compatible before purchasing.
FAQ
QDoes the JR Pass cover subways in Tokyo?
No. It only covers JR-operated lines. You will still need an IC card like a digital Suica or a physical ICOCA for Tokyo subways, buses, and private lines.
QCan I buy the JR Pass after I arrive in Japan?
Yes, but prices are often higher when purchased within the country. Regardless of where you buy, the core value proposition remains the same: add up your tickets first.
QIs the SmartEX app easy to use?
It has a learning curve, but it is the most reliable way to book seats. You can link your credit card and manage seat changes directly on your phone.
QShould I use a travel agent to book my trains?
Most travelers do not need an agent for trains. Booking via Klook or the official site is straightforward and allows you to manage changes yourself.
QWhat if I miss my reserved train?
If you have an individual ticket, you can usually take a non-reserved seat on a later train on the same day. Check the specific fare rules, as some discounted e-tickets have stricter conditions.
Calculating train costs can feel like an overwhelming math problem when you just want to get to the sushi.
Stop stressing over every yen, lock in your primary rail legs, and let the rest of your itinerary breathe.
Keep planning
- ① Install and test your eSIM before take-offAiralo and Ubigi eSIMs activate on arrival, but the install itself needs Wi-Fi. Do it at home and confirm the profile shows up in your phone settings.
- ② Save your first hotel’s address in JapaneseTaxi drivers and station staff read Japanese addresses far faster than romanised ones. Copy it from the booking confirmation into your notes app.
- ③ Set aside cash for day oneMany small restaurants, temples and rural buses are still cash-only. Airport ATMs at 7-Eleven and the post office accept most foreign cards.
Skip these and your first hour in Japan goes on finding Wi-Fi at the station instead of getting to your hotel.
🔍 How to sanity-check any price you read online
Blogs (including this one) go out of date. The official page always wins over a screenshot from two years ago.
Cover Photo: Marek Ślusarczyk (Tupungato) Photo portfolio, CC BY 3.0, via Wikimedia Commons