
Two days, three train transfers, and one single strategy are all you need to navigate the Hakone loop without spending your mountain getaway trapped in a boarding queue.
Most visitors head straight from Hakone-Yumoto to the center of the loop, but starting at the ropeway first allows you to experience the volcanic vents before the midday tour buses arrive. Only have two days? This is how you make them count.
This itinerary bypasses the standard congested circuit by utilizing a “reverse-loop” that prioritizes the high-altitude sights during the quiet morning hours.
By staying at a ryokan near the lake or deep in the valley, you position yourself to see the best views while others are still stuck in transit at the base of the mountain. Sound familiar? We have all been stuck in those lines.
- Duration
- 2 days, 1 night
- Route
- Tokyo – Hakone – Tokyo
- Budget
- ¥20,000–¥40,000 per person
- Best for
- Avoiding transit queues
- Route: Tokyo to Hakone, loop the mountains, stay one night, return to Tokyo
- Best for: Travelers who prioritize scenery over checking off every museum
- Estimated cost: ¥20,000–¥40,000 per person, excluding train tickets
- Strategy: Skip the Hakone Freepass if you only plan to ride the loop once
- Transit: Use IC cards like Suica or Pasmo for point-to-point flexibility
We may earn a commission if you book through the links in this article, at no extra cost to you. Prices are ranges as of 2026 — check the official sites before you book.
The reverse-loop strategy for Hakone in two days
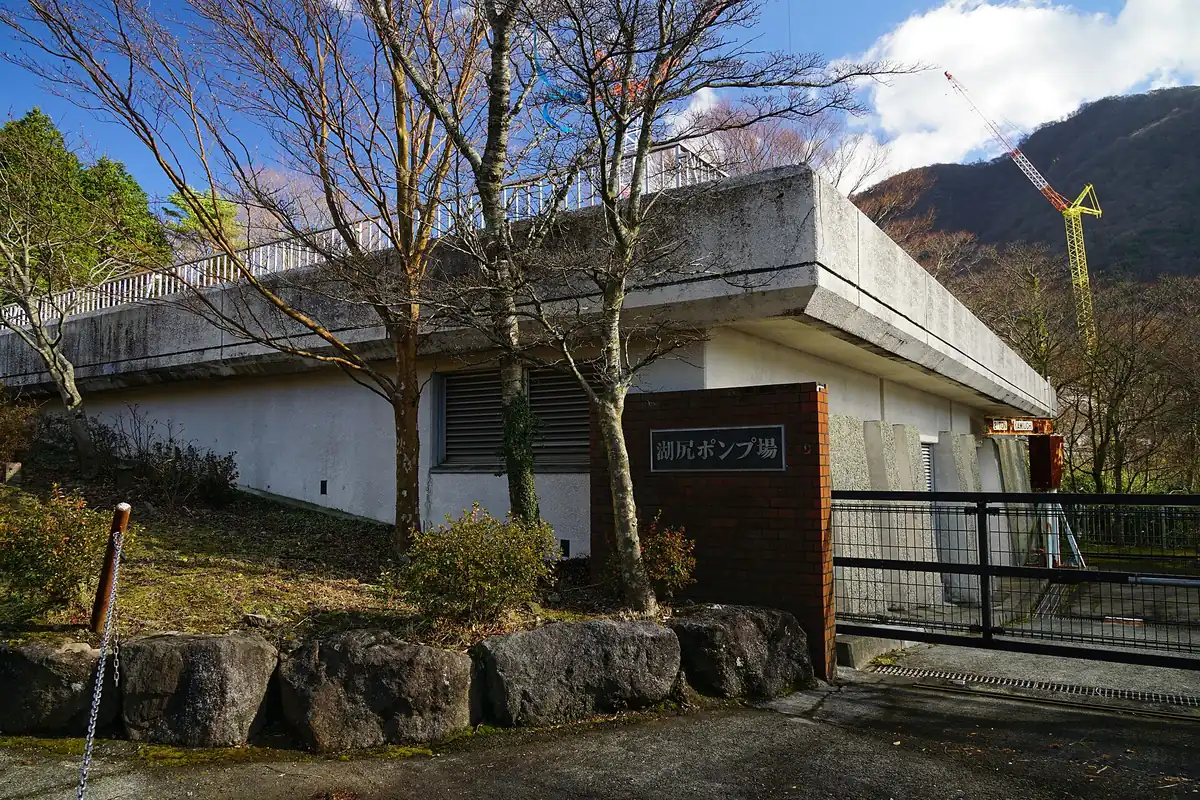
The standard way to see Hakone involves taking the train to Hakone-Yumoto, then joining a massive line for the mountain bus or train. By the time you reach the ropeway, the midday crush is already underway.
Our strategy involves heading deeper into the mountains immediately. You bypass the congestion by reaching the top of the loop as early as possible, then moving toward the lake when the crowds are moving toward you.
Step 1: Tokyo to Odawara
Take a limited express train from Shinjuku. Aim for the morning departures to secure a seat.
Step 2: Bus to the ropeway
Instead of the slow train, take a local bus directly to the upper ropeway station.
Step 3: Loop back to the lake
Ride the ropeway down toward Togendai after you have explored the volcanic activity.
Most travelers make the mistake of assuming the Hakone Freepass is essential. We found that for a simple 2-day trip, paying for individual tickets on your IC card is often cheaper and allows you more freedom to adjust your plans.
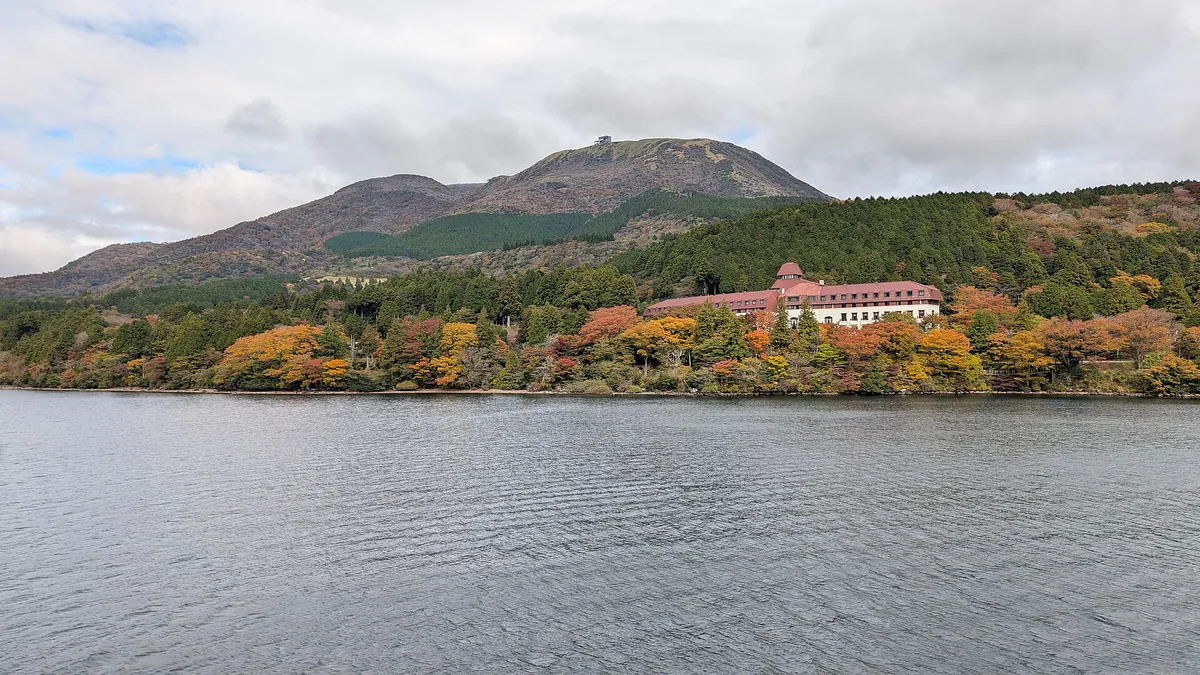
That was the mistake. Paying for what you use is often cheaper.
Booking your Hakone ryokan and train transport
Planning requires a few upfront steps to ensure you aren’t left standing on a platform at peak times. Booking your accommodation at least three months in advance is critical for mid-range options.
- Reserved seats on the Romancecar from Shinjuku
- Ryokan stay booked via Booking.com or Agoda
- eSIM for navigation (Airalo or Ubigi are reliable)
- Yamato luggage forwarding arranged from your Tokyo hotel
- IC card topped up with at least ¥5,000
- Comfortable walking shoes for the Old Tokaido Road
If you have large suitcases, use the Yamato Transport service to send them from your Tokyo hotel to your Hakone ryokan. Never drag heavy luggage onto the crowded mountain buses; it is a recipe for frustration.
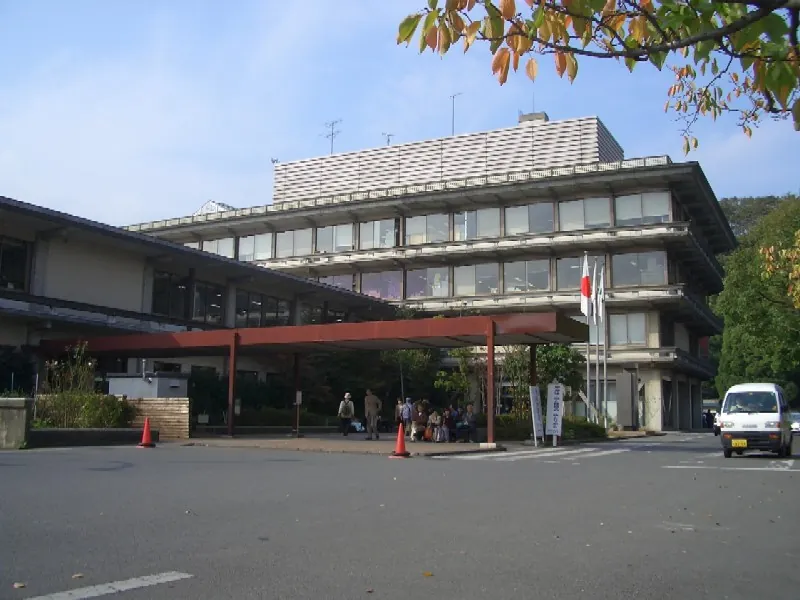
Day 1: The ropeway, volcanic vents, and Lake Ashi
Morning: Heading to the heights
Start your day at Shinjuku Station by boarding the Romancecar to Hakone-Yumoto. Once you arrive at the station, skip the tourist office queues and jump directly on a bus heading toward Togendai or Owakudani.
You will reach the upper mountain area before the buses arriving from Hakone-Yumoto. This gives you a clear window to see the sulfuric vents at Owakudani without fighting for space on the viewing deck.
Afternoon: Steam and black eggs
Try the famous “black egg,” which is boiled in the local hot springs. It is a fun gimmick, but the main reason to be here is the steam rising from the earth and the view of the surrounding peaks.
Afterward, take the ropeway down to Togendai. This descent offers a spectacular view of the mountainside. If the sky is clear, look for Mt. Fuji behind the ridge line.
Evening: A quiet lakeside dinner
Board the sightseeing ship across Lake Ashi toward Moto-Hakone. This is where you should find your ryokan or guesthouse.
Enjoy a traditional multi-course dinner at your accommodation, which usually features local mountain vegetables and fresh fish. Expect to pay ¥10,000–¥20,000 per night for a decent mid-range stay. Check Agoda for current availability.
Day 2: Open-air art and the Old Tokaido Road
Morning: The view from the pier
Before the tour groups arrive at the lakefront, head to the Moto-Hakone pier. This is where you get the most iconic view of the red torii gate sitting in the water with Mt. Fuji in the background.
Walk the nearby section of the Old Tokaido Road. This ancient path is lined with massive cedar trees that have stood for centuries; it is quiet, peaceful, and feels worlds away from the city.
Afternoon: Culture and sculpture
Take a local bus to the Hakone Open-Air Museum. It is spread across a large garden and features massive installations that are perfect for an afternoon stroll.
Grab lunch at one of the small soba noodle shops near the museum entrance. A simple meal will run you roughly ¥1,200–¥2,000. It is a great way to refuel before heading back to the train station.
Evening: Returning to Tokyo
Head to Hakone-Yumoto in the late afternoon. This is the busiest time at the station, so allow yourself extra time to browse the shops before your reserved train back to Shinjuku.
We once missed our train by waiting too long to buy souvenir manju cakes. Buy your snacks early, then find your seat on the Romancecar to relax for the journey back.
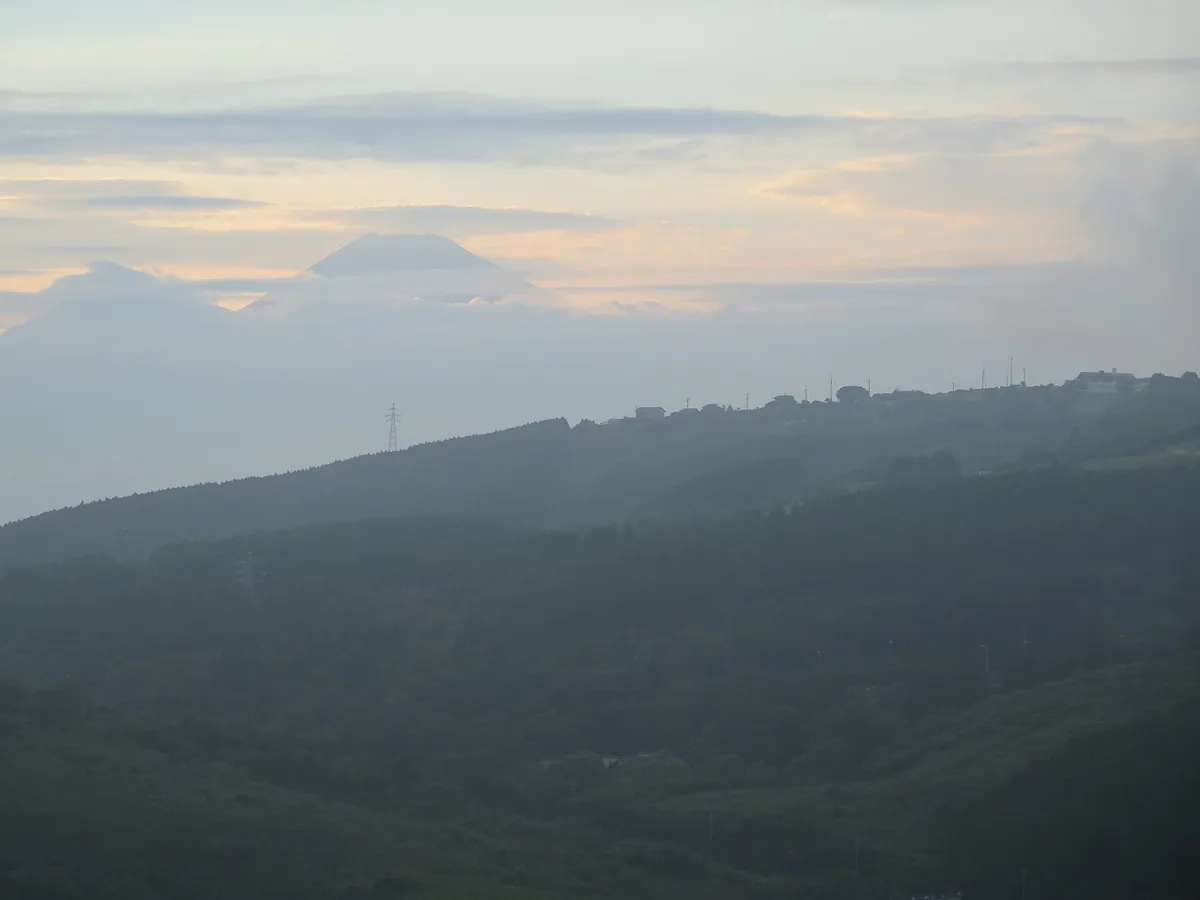
Recommended neighborhoods for your stay
Moto-Hakone for the views
Basing yourself near the lake provides easy access to the morning views of the torii gate. Look for ryokan that offer private or public onsen baths with a view of the water.
Prices in this area fluctuate based on the season. A mid-range ryokan can cost anywhere from ¥15,000 to ¥30,000 per night. Use Booking.com to filter by guest ratings and location.
Sengokuhara for the quiet
If you prefer a more secluded mountain experience, stay in the northern valley. It is closer to the ropeway and the open-air museum, and it is generally quieter than the lakefront.
There are many smaller guesthouses here that offer a more intimate experience. Check platforms like Rakuten Travel for unique local properties that do not always appear on major international sites.
Partner link.
Where we would book this
Booking.com
Largest inventory in Japan for English-speaking travellers
- Best for
- Hotels, business hotels, ryokan and apartments in every city
- Checked
- September 2026
Official site. Same price for you.
Estimated budget for a 2-day Hakone trip
The total cost depends heavily on your choice of accommodation. Below is a rough estimate for two people traveling for two days.
← Swipe to see the full table →
| Category | Budget Estimate |
|---|---|
| Trains (Shinjuku return) | ¥5,000–¥7,000 |
| Local buses and ropeway | ¥3,000–¥5,000 |
| Accommodation (1 night) | ¥20,000–¥40,000 |
| Food and drink | ¥8,000–¥12,000 |
| Total estimate | ¥36,000–¥64,000 |
Plan your trip: the tools we use
Remember that these numbers are estimates. Check the official Hakone transit sites for current fare structures, as prices change occasionally.
Logistics tips for a smooth 2-day Hakone trip
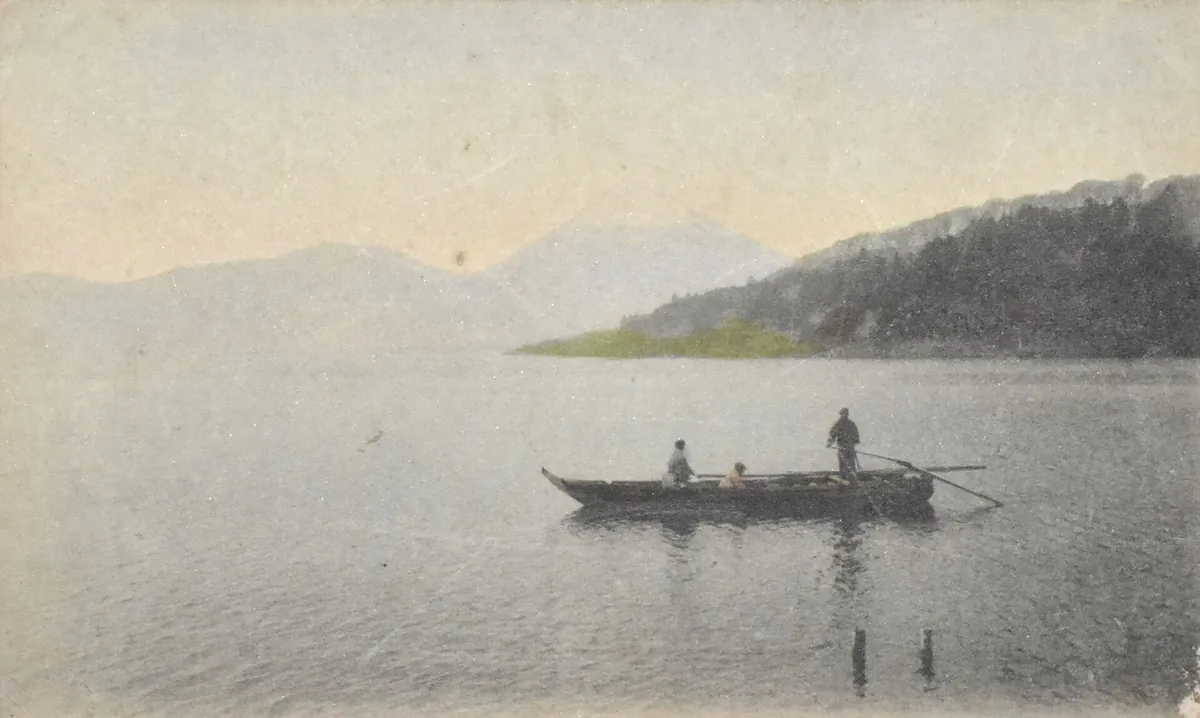
Luggage is your biggest enemy on these mountain roads. Use the Yamato service to send your suitcases directly from your Tokyo hotel to your destination; you will thank yourself when you are navigating the bus aisles.
Connectivity is essential for checking bus schedules in real-time. We use Airalo for a quick data boost, which prevents the need for hunting down physical SIM cards after a long flight.
What most first-timers do
- Buy the Freepass without doing the math
- Carry heavy suitcases onto the bus
- Wait for the train at the main station
What actually works
- Use an IC card for flexible payments
- Forward luggage to the hotel via Yamato
- Start at the ropeway first
Always have your next transit step written down or saved in your phone. It is very easy to get confused at the busy interchange stations if you are tired.
Adjusting for weather: when the clouds move in
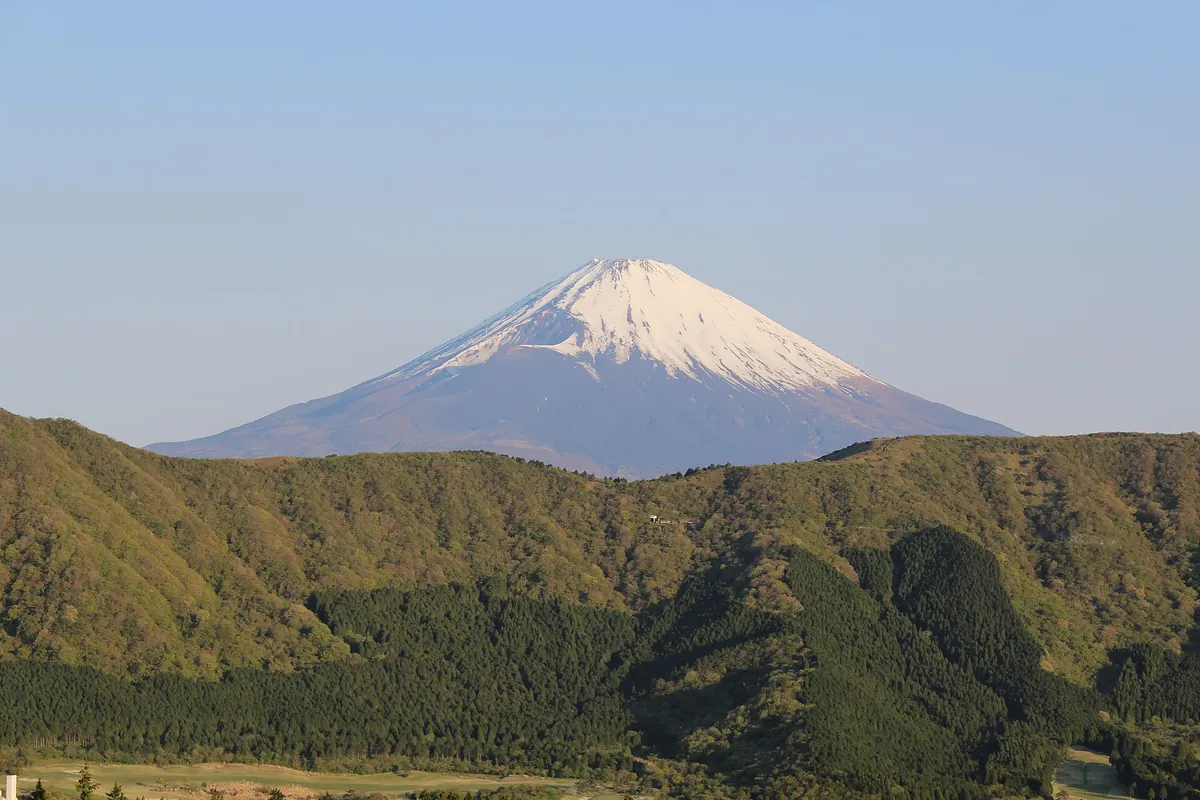
Hakone is a mountainous region where the weather can shift from clear skies to thick fog within an hour. If you wake up on Day 1 to heavy rain or low visibility, your initial plan to view Mt. Fuji from the ropeway will likely result in disappointment.
The volcanic vents at Owakudani are still accessible in light rain, but the viewing platforms offer almost zero visibility when the mist rolls over the ridge.
Flexibility is your best defense against a rainy Hakone forecast. If the weather looks grim, push your outdoor exploration to Day 2 and prioritize the indoor museums on Day 1.
The Hakone Open-Air Museum has several enclosed galleries, including the impressive Picasso Pavilion, which provides a dry and climate-controlled environment while you wait for the clouds to break.
Redesigning your rainy Day 1
- Spend your morning at the Hakone Open-Air Museum instead of the ropeway.
- Visit the Hakone Venetian Glass Museum for a dazzling indoor display of glassware that sparkles even on grey days.
- Seek out a day-use onsen (higaeri onsen) in Hakone-Yumoto to spend your afternoon soaking in hot water while watching the rain fall on the forest.
- Check the Hakone Ropeway official website for live status updates; they frequently pause service during high winds, which occur often during stormy weather.
If you find that the rain is constant, skip the ropeway and the lake cruise entirely. The transit hubs around the lake are essentially outdoor environments that offer very little cover.
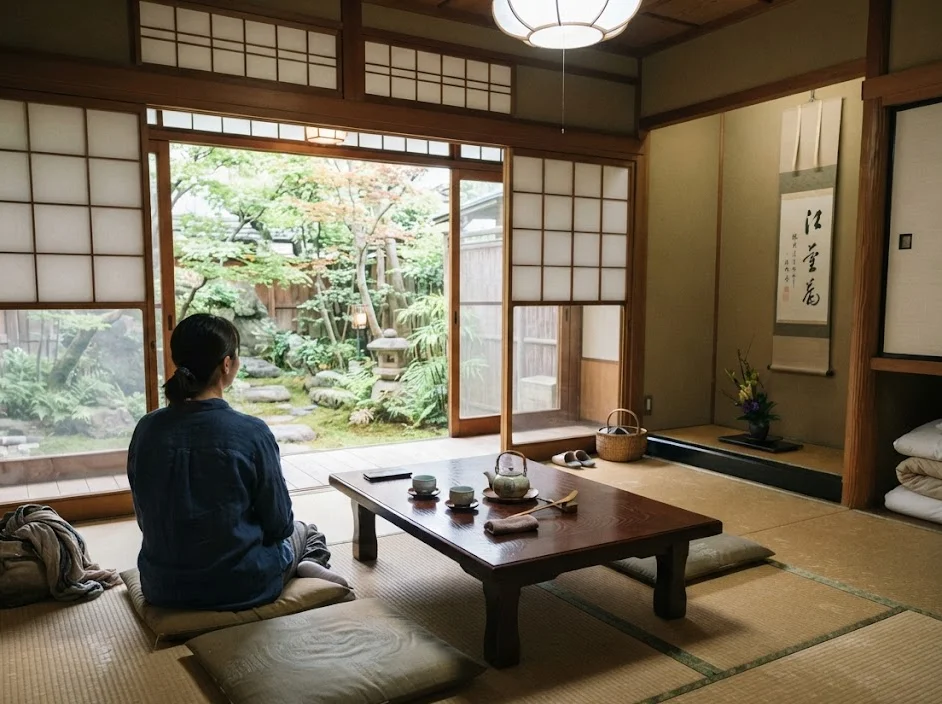
Instead, stay in the Hakone-Yumoto area and spend time in the town’s covered shopping arcades. Many ryokans allow you to book a private hot spring room for a few hours, which is the perfect way to turn a washout day into a luxury spa experience.
Prices for private day-use baths range from ¥3,000 to ¥8,000 per person depending on the prestige of the ryokan. Always verify if you need to book these in advance via platforms like Agoda or direct hotel websites.
The best rooms fill up quickly when the rain keeps visitors from climbing the mountains. If you must travel to the lake, use the local buses rather than the sightseeing ships, as the boats are frequently canceled when the lake swells or visibility drops below a safe threshold.
What to cut first: reclaiming your time
If you arrive in Japan battling severe jet lag or if your flight to Tokyo is delayed, you may find yourself struggling to maintain this two-day pace. The Hakone loop is physically demanding, involving multiple changes between trains, mountain buses, and cable cars.
When you are low on energy, trying to complete every stop on this itinerary will leave you exhausted rather than refreshed.
The first thing to cut is the Old Tokaido Road walk on Day 2. While the cedar trees are beautiful, they require significant walking on uneven, historic stone paths.
If your feet are tired or your schedule is tight, take the bus directly from Moto-Hakone to the Open-Air Museum instead. You still see the lake and the torii gate from the bus window, saving you two hours of strenuous hiking.
Prioritize your energy levels
- Cut the sightseeing ship if you have already seen the lake view from the bus or your hotel.
- Swap the Hakone Open-Air Museum for a quiet cafe in Hakone-Yumoto if you need a slower, seated experience.
- Drop the volcanic vent visit if you are feeling unwell, as the high sulfur content can be irritating to those with respiratory sensitivities or headaches.
- Simplify your return journey by taking the regular Odakyu line train if the Romancecar reserved seats are already sold out for your preferred time.
If you find yourself losing even more time, condense your trip into a high-impact morning and an early afternoon. Take the first available bus from Hakone-Yumoto to the ropeway, spend an hour at the vents, and then head directly to your afternoon destination.
You can easily see the highlights of the loop in four hours if you remove the time spent waiting for transfers and slow-moving lunch queues.
When you reduce your itinerary, you stop viewing the trip as a checklist and start viewing it as a destination. The cost of your trip will drop slightly if you skip the museum entry fees, which generally range from ¥1,500 to ¥2,000 per person.
Always check official site pricing to see if early-bird discounts apply. By removing the pressure to “do it all,” you allow yourself the space to enjoy a longer breakfast at your ryokan or a leisurely browse through the souvenir shops in the village.
A strategic detour to Kamakura on your return
If you prefer to break up the journey back to Tokyo, Kamakura offers a perfect cultural contrast to the natural landscapes of the Hakone mountains. By taking the train from Odawara toward the coast instead of returning directly to Shinjuku, you can explore the Great Buddha and ancient shrines without backtracking.
This detour is best managed by storing your main luggage in a locker at Odawara Station. Travel with only a light day bag containing your essentials, as the coastal train lines can get crowded during the afternoon peak.
You can reach the Kamakura area in roughly 45 to 60 minutes from the Odawara hub, making it an efficient secondary stop before heading back to the capital.
Coastal sights and transition points
- Visit the Kotoku-in temple to see the iconic bronze Great Buddha statue.
- Walk through the Komachi-dori street for local snacks and handmade crafts.
- Consider a stop at Enoshima Island for sunset views over the Sagami Bay.
- Use local train lines to connect between the major temple districts.
The cost for this additional leg is minimal, typically ranging from ¥800 to ¥1,500 depending on the specific train lines utilized. Check the official site for current transit maps, as the Enoden electric railway has unique ticketing structures that differ from standard JR lines.
Having an IC card like Suica or Pasmo is essential here, as it allows for frictionless entry and exit at the smaller coastal stations.
This side trip turns your transit day into a full cultural excursion. By the time you arrive back in Tokyo, you will have experienced both the volcanic peaks of Hakone and the historic coastal atmosphere of the Kamakura shogunate.
It is a rewarding way to maximize your time in the region without the stress of returning to the city prematurely. If you find the pace too frantic, simply skip the temple circuit and spend your final hours in a seaside cafe watching the waves.
The goal of this itinerary is to provide you with the freedom to choose your own ending to the trip.
Beyond the basics: culinary experiences in the valley
While the standard hotel dinner is often a highlight, Hakone features a diverse culinary scene that rewards those willing to venture out of their ryokan. From high-end kaiseki to quick, nourishing soba, the valley hides excellent dining options.
Researching these spots can pay off. When searching for lunch or dinner outside your accommodation, look for shops that focus on local ingredients like yama-imo (mountain yam) and freshwater trout from the nearby rivers.
These ingredients are staples of the region and offer a much more authentic taste of the mountains than the generic fare found near the major cable car stations.
Many of these smaller eateries do not have a strong presence on Western booking platforms like GetYourGuide or Klook, so browsing local maps or Google reviews is often the most reliable way to find a table.
Dining highlights and budget considerations
- Tofu and yuba (tofu skin) dishes are local specialties worth seeking out.
- Look for shops that serve katsudon using locally sourced pork and eggs.
- Check the closing times for small eateries, as many kitchens shut down by 7:00 PM.
- Expect to spend ¥1,500 to ¥4,000 per person for a quality, sit-down meal.
The price ranges listed are estimates; check the official site of each establishment before you arrive to ensure they accept your preferred payment method.
While most restaurants now accept credit cards, some smaller, family-run cafes in the valley still operate on a cash-only basis. Keeping a reserve of yen in your wallet is a standard practice for navigating rural Japan, even when major hotels and museums accept digital payments.
If you prefer a more refined culinary experience, check for seasonal menus on the websites of independent local restaurants. Some of the best establishments require a reservation a few days in advance, especially during the peak autumn foliage season.
Planning for one or two unique meals will not only provide better food than the standard canteen options but also give you a structured way to engage with the local culture. Treat your dining time as an event rather than a necessity.
The quiet side of Hakone: Exploring the Hatajuku trail
Most travelers focus entirely on the loop, but those with extra energy should consider hiking the lesser-known path toward the village of Hatajuku. This route offers a look at a slower, more traditional side of the mountains that remains untouched by the transit hubs.
The trail connects the base of the mountains to the upper village through dense cedar forests and quiet streams. It is a fantastic way to stretch your legs after the morning train ride from Tokyo.
Walking the Hatajuku path allows you to escape the crowds entirely for a few hours. The terrain is manageable for anyone with sturdy shoes, and the silence of the forest is a stark contrast to the busy ropeway stations.
What to expect on the trail
- Sections of original cobblestones that date back to the Edo period.
- Small, family-run craft shops that specialize in Yosegi-zaiku, a traditional Japanese wood mosaic.
- Clear, rushing streams that provide a natural soundtrack for your walk.
- Occasional views of the valley floor that you simply cannot see from the bus window.
If you choose to hike this section, start early in the morning before the temperature climbs. You can reach the starting point by taking a short bus ride from Hakone-Yumoto.
Keep a physical map or a screenshot of your route on your phone, as cellular signals can be spotty in the deep valleys. Always check the official site for trail closures or weather warnings before departing, especially if there has been recent rain.
The cost for this experience is essentially just your bus fare from the main station, which usually ranges from ¥300 to ¥600. Check the official site for current fare structures.
It is a cost-effective way to add a layer of depth to your trip that most tourists miss entirely. You will find that the quiet introspection of the forest provides a necessary mental break between the high-energy sightseeing of the lake and the cultural stops in the museum districts.
It turns your Hakone trip into a personal retreat rather than a transit exercise.
Mastering the art of mountain logistics
Navigating the Hakone loop with heavy baggage is the fastest way to drain your enthusiasm. You must treat your luggage as a separate entity from your travel plans to ensure your two days are spent enjoying the view rather than hunting for a locker.
Effective luggage management is the key to maintaining your mobility. Using a forwarding service allows you to step off the train in Odawara or Hakone-Yumoto with nothing but a light day bag and your camera.
Yamato Transport is the gold standard for this. You can arrange for your main suitcase to be sent from your Tokyo hotel to your Hakone ryokan, and often back to your next destination.
Expect to pay between ¥2,000 and ¥3,000 per bag depending on the size and weight. Check the official site for current pricing and drop-off deadlines.
Strategic storage options
- Use the coin lockers at Odawara Station if you decide to take the Kamakura detour on your way back.
- Check if your ryokan offers a luggage drop-off service so you can explore before official check-in.
- Carry a small backpack for your daily essentials like your power bank, water bottle, and rain gear.
- Always keep your passport and valuables on your person in a secure money belt or interior pocket.
When you are unburdened, the transit transfers between the bus, cable car, and ship become significantly less taxing. You can navigate the stairs and crowded platforms with ease, and you won’t need to compete for the limited storage space on the local buses.
It also makes it much easier to pivot your plans if you decide to jump off the bus early to explore a local shop or a scenic viewpoint that caught your eye. By investing a small amount in logistics, you gain hours of flexibility and comfort.
Relying on digital tools like Google Maps or local transport apps helps you time your connections so you are never left waiting on a platform for too long. If you encounter any transit issues, local information counters are staffed with helpful personnel.
FAQ
QIs two days enough to see Hakone properly?
Yes, two days is perfect for the main loop. You have enough time to see the volcanic vents, the lake, the art museum, and spend a relaxing night in an onsen.
QCan I add a third day to this trip?
You could add a third day to explore the deeper hiking trails or visit the small villages near the base of the mountains. Most people find two days sufficient for a standard introduction.
QWhat is the best season for this route?
Spring and autumn are best for mountain views. Winter is also great because the air is crisp, which provides the best chance of seeing Mt. Fuji without clouds.
Deciding how to tackle Hakone can feel overwhelming with all the competing transport passes and tour options.
Stop worrying about optimizing every single yen and just lock in your ryokan and train reservations, then let the rest of the schedule unfold naturally.
Keep planning
- ① Install and test your eSIM before take-offAiralo and Ubigi eSIMs activate on arrival, but the install itself needs Wi-Fi. Do it at home and confirm the profile shows up in your phone settings.
- ② Save your first hotel’s address in JapaneseTaxi drivers and station staff read Japanese addresses far faster than romanised ones. Copy it from the booking confirmation into your notes app.
- ③ Set aside cash for day oneMany small restaurants, temples and rural buses are still cash-only. Airport ATMs at 7-Eleven and the post office accept most foreign cards.
Skip these and your first hour in Japan goes on finding Wi-Fi at the station instead of getting to your hotel.
🔍 How to sanity-check any price you read online
Blogs (including this one) go out of date. The official page always wins over a screenshot from two years ago.