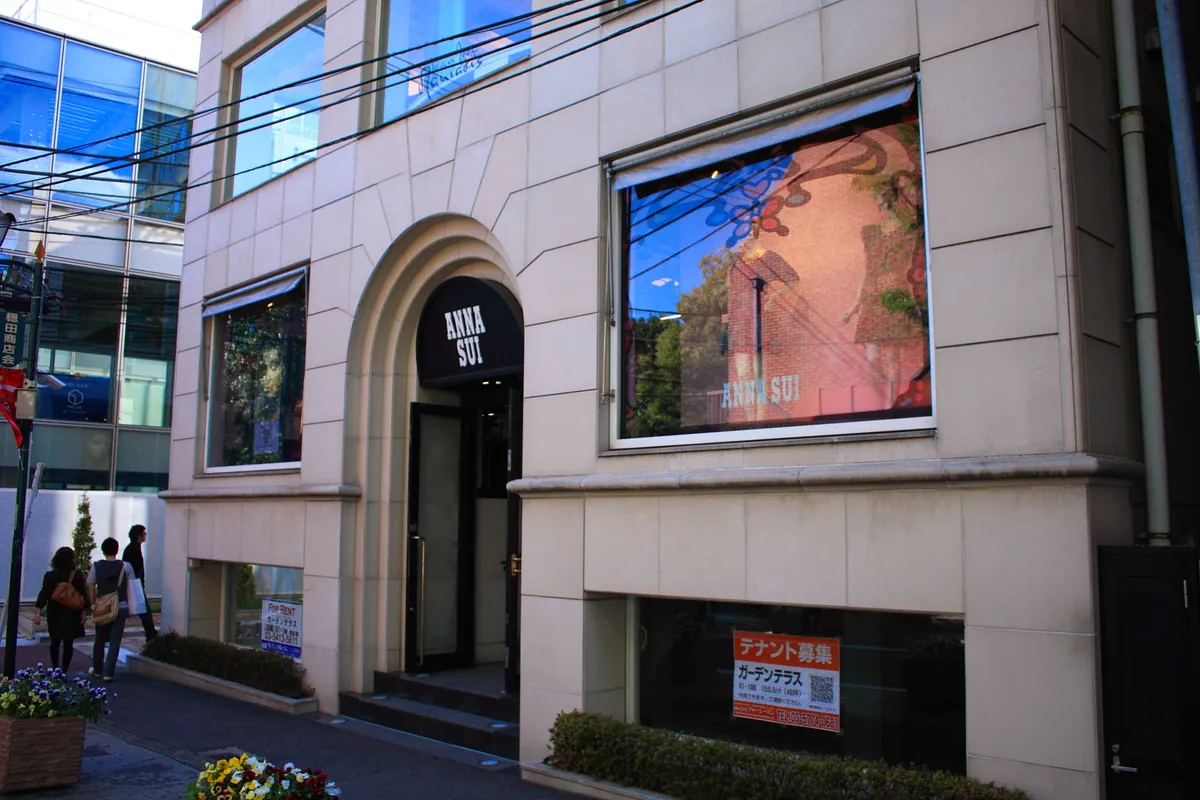

- Tokyo 3-day itinerary focusing on efficient neighborhood clusters.
- Best for first-time visitors seeking to avoid transit fatigue.
- Estimated cost range: ¥45,000–¥75,000 per person excluding flights.
- Use a digital Suica or Pasmo card on your phone for all local transit.
- Book accommodation near the Yamanote Line loop for maximum ease.
- Trip Duration
- 3 Days
- Estimated Budget
- ¥59,000–¥100,000
- Transit Hub
- JR Yamanote Line
Every guide says you must squeeze Shibuya, Shinjuku, and the fish market into a single day to maximize your time. Sound familiar? That approach did not hold up during our recent trip, as we spent four hours just fighting crowds and waiting for trains between distant stations.
By grouping your exploration into three distinct geographic clusters, you can experience the best of Tokyo without the burnout. This itinerary limits your time underground and prioritizes meaningful stops over rushing from one landmark to the next.
We may earn a commission if you book through the links in this article, at no extra cost to you. Prices are ranges as of 2026 — check the official sites before you book.
Why the 3-day Tokyo cluster route works
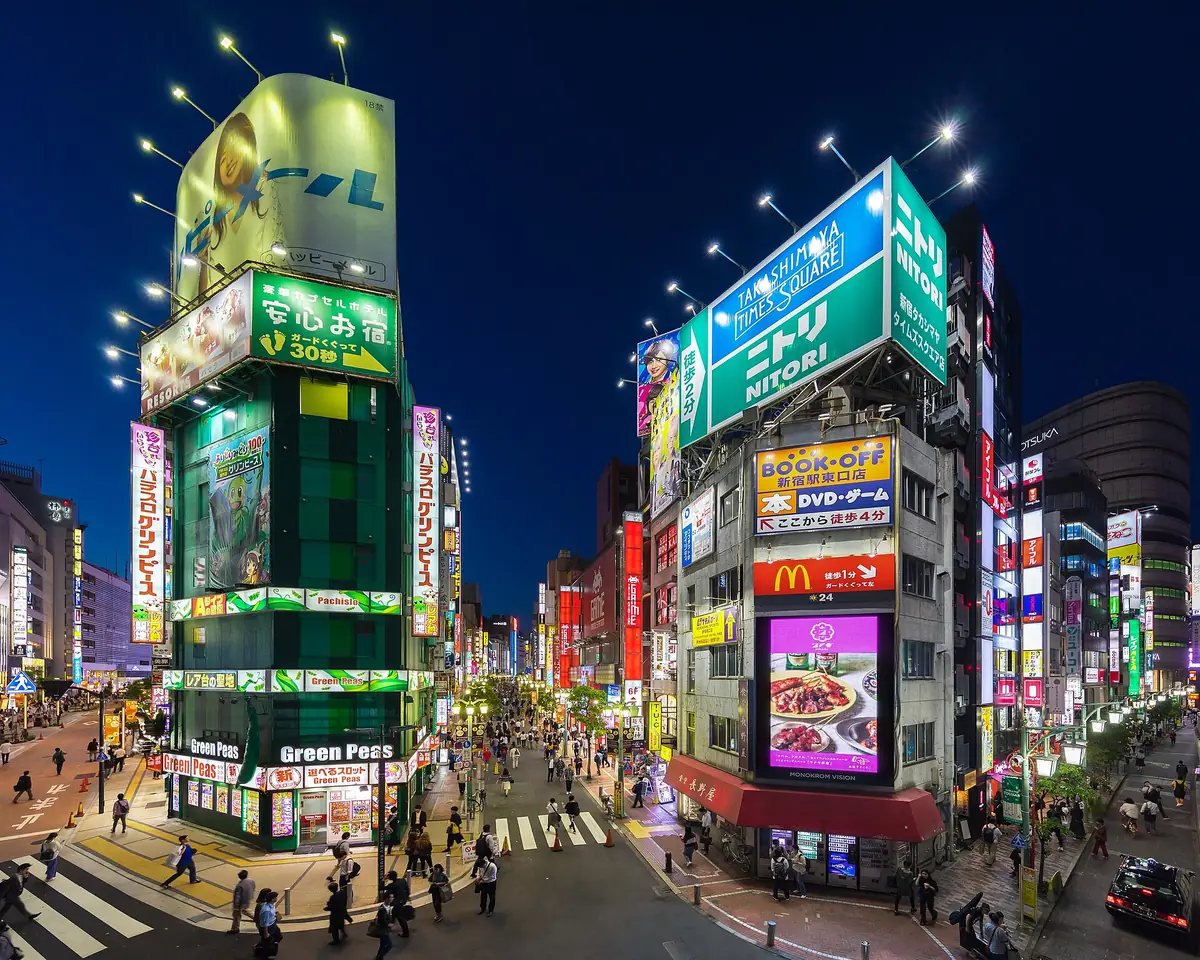
The most common mistake visitors make is crisscrossing the city based on a generic checklist. Tokyo is not a single city but a series of interconnected villages, each with its own transit rhythm and atmosphere.
When you group your days by proximity, you save roughly two hours of daily transit time. This is the difference between a relaxing evening at a local izakaya and a frantic search for a seat on a crowded train.
We designed this route to keep your movement predictable and minimal. You will stay in one zone for most of the day, allowing you to walk between sites instead of relying on the subway for every single transfer.
Step 1: Day 1: Eastside history
Explore Asakusa and Ueno to see the historical roots of the city.
Step 2: Day 2: The western culture
Experience the youth culture and shrines of the Shibuya and Harajuku area.
Step 3: Day 3: The center and neon
Visit the Imperial Palace gardens before ending in the electric energy of Shinjuku.
Essential Tokyo bookings and preparations
- Download a digital IC card (Suica or Pasmo) to your phone.
- Purchase an eSIM from Airalo or Ubigi for consistent data.
- Book your Tokyo hotel on Booking.com at least 6 weeks out.
- Reserve timed-entry tickets via Klook for popular observatories.
- Check the official Japan Rail Pass site if you plan further travel.
- Pre-book luggage forwarding from the airport via Yamato.
Do not leave these steps until you arrive. Having your data and transit access sorted before you land allows you to move through the station gates without fumbling for cash or paper tickets.
Day 1: Old Edo charm and the modern horizon
Morning: Asakusa temples
Start your morning at Asakusa Station. Skip the long lines at the main gate by walking the side streets toward Senso-ji Temple around 8:00 AM.
Grab a quick breakfast of melon pan or local rice crackers from the stalls nearby. Expect to spend roughly ¥800–¥1,200 for a satisfying morning snack run.
Afternoon: Ueno park and museums
Take the Ginza subway line to Ueno Station. It is a short five-minute ride that connects the old temple area to one of the city’s largest green spaces.
Spend your afternoon wandering through Ueno Park. If you are tired of walking, the Tokyo National Museum offers a quiet, air-conditioned refuge from the afternoon heat.
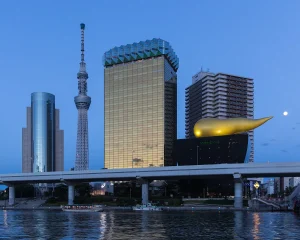
Evening: Sumida and Skytree
Walk across the Sumida River toward the Tokyo Skytree district for dinner. We found a variety of local noodle shops in this area that charge roughly ¥1,000–¥1,800 per meal.
Book your entry to the Skytree observatory via GetYourGuide to skip the ticket office wait. Watching the city lights turn on from above is the best way to grasp the scale of the capital.
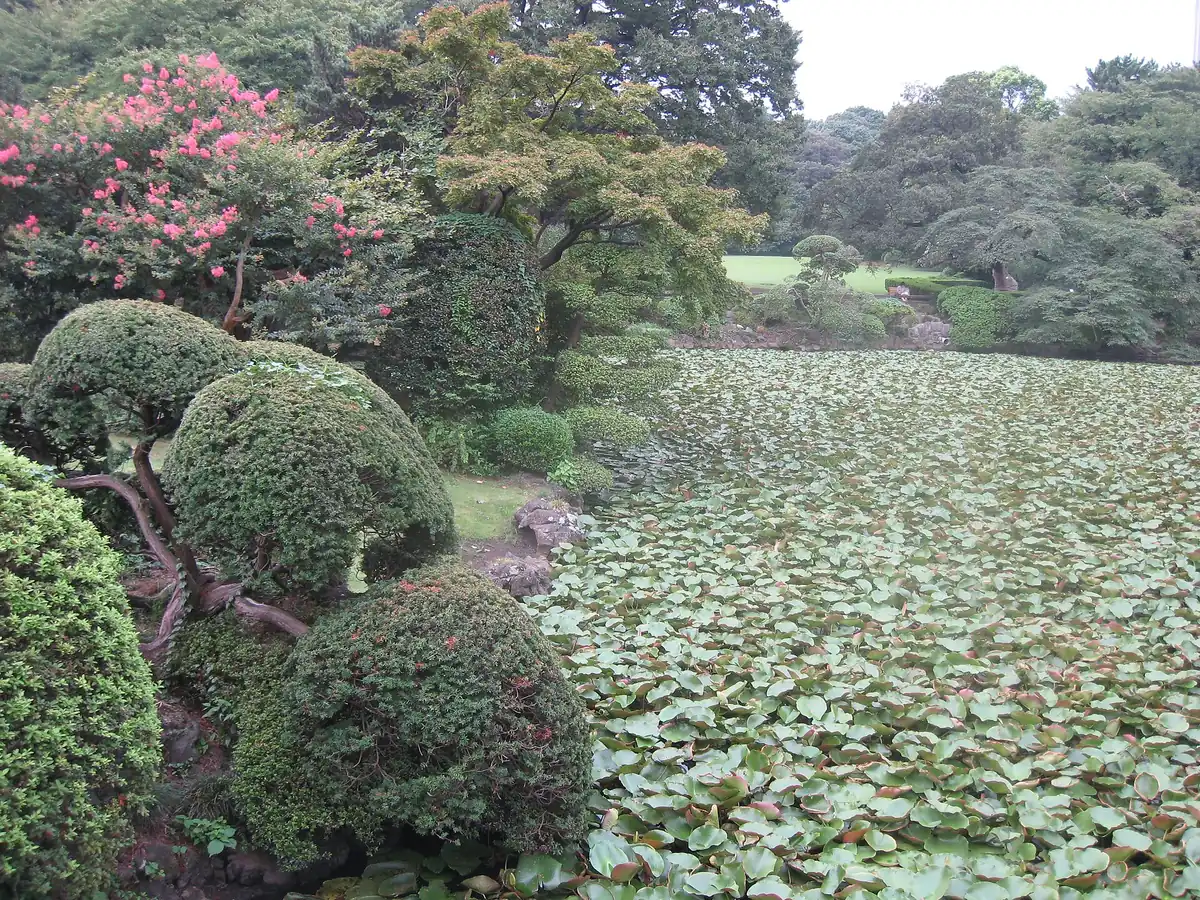
Day 2: The Shibuya and Harajuku culture deep dive
Morning: Meiji-jingu Shrine
Begin your second day at Meiji-jingu Shrine, located right next to Harajuku Station. Arriving early, around 9:00 AM, allows you to enjoy the forest path before the school groups arrive.
The shrine grounds are expansive and provide a quiet contrast to the intensity of the surrounding districts. Entry is free, though you may want to buy an omamori charm for roughly ¥500–¥1,000.
Afternoon: Harajuku and Omotesando
Walk from the shrine toward Takeshita-dori to see the epicenter of Tokyo youth fashion. If the crowds feel overwhelming, duck into the side streets of Omotesando for high-end architecture and calm cafes.
We suggest stopping for a coffee at a local roastery; expect to pay roughly ¥600–¥900. It is a perfect spot to people-watch and rest your feet after the morning’s walk.
Evening: Shibuya Crossing
Stay in the Shibuya district for dinner. Many visitors make the mistake of trying to visit Shinjuku on the same evening, but the transit fatigue is not worth it.
Navigate the crossing and look for an izakaya on the upper floors of a side-street building. A dinner here will typically cost between ¥3,000 and ¥6,000 depending on your drink choices.
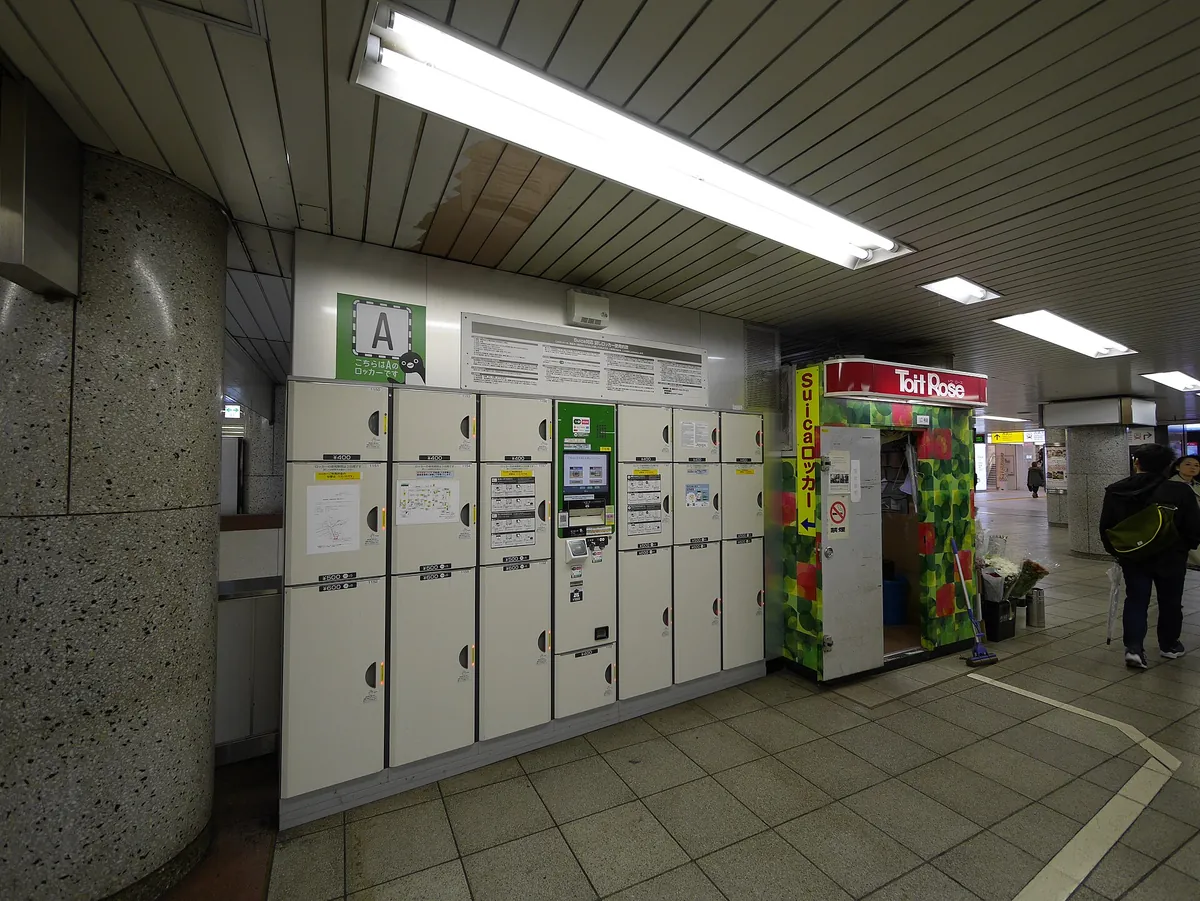
Day 3: Shinjuku’s neon nights and Imperial gardens
Morning: Imperial Palace East Garden
Start your day near Tokyo Station and walk to the Imperial Palace East Garden. The massive stone walls and moats are best viewed in the crisp morning light.
Admission is free, but you must collect an entrance token at the gate. Check the official site for current opening days, as it is often closed on Mondays and Fridays.
Afternoon: The walk to Shinjuku
Take the Marunouchi subway line to Shinjuku Station. It is one of the busiest hubs in the world, so follow the signs carefully to avoid getting turned around.
For lunch, visit the department store basements, known as depachika. You can assemble a high-quality picnic of sushi and side dishes for roughly ¥1,500–¥2,500.
Evening: Shinjuku neon
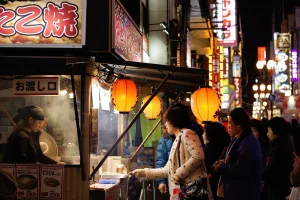
Finish your trip in the Shinjuku district by exploring the narrow alleys of Omoide Yokocho. It is famous for grilled yakitori skewers and a distinct, nostalgic atmosphere.
Do not be afraid to duck into a small bar that only seats six people. This is where you will have the most authentic interaction with locals and round off your Tokyo trip.
Where we would book this
Booking.com
Largest inventory in Japan for English-speaking travellers
- Best for
- Hotels, business hotels, ryokan and apartments in every city
- Checked
- September 2026
Official site. Same price for you.
Recommended Tokyo accommodation areas
For a 3-day trip, do not move hotels. Pick a home base near the JR Yamanote Line, as this loop connects almost everything mentioned in this itinerary.
Shinjuku and Shibuya
Staying here puts you in the center of the nightlife. You will find many business hotels on Booking.com that offer compact, clean rooms for roughly ¥12,000–¥20,000 a night.
Tokyo Station and Ginza
This area is more upscale and quiet in the evenings. Hotels here are excellent for accessing the shinkansen if you are heading to Kyoto afterward. Budget roughly ¥18,000–¥30,000 per night on Agoda for standard mid-range options.
Partner link.
Total 3-day trip budget
This estimate is for a solo traveler or couple over three days. Prices are ranges as of 2026; keep in mind that fluctuations in currency and seasonal demand affect these numbers.
| Category | Budget Range (Yen) |
|---|---|
| Transport | ¥3,000–¥5,000 |
| Lodging | ¥36,000–¥60,000 |
| Dining | ¥15,000–¥25,000 |
Plan your trip: the tools we use
The JR Pass may not pay off for a 3-day Tokyo stay. Add up your individual subway and train fares before committing to a pass, as pay-as-you-go is often cheaper for localized trips.
Tips for a smooth Tokyo plan
Luggage forwarding services like Yamato are a lifesaver. If you are arriving from the airport, have your heavy bags sent directly to your hotel so you can start exploring immediately.
Always keep your digital IC card topped up on your phone. Most station ticket machines allow you to add credit using a credit card, which saves you from carrying around handfuls of loose coins.
 ReaderYuki
One mistake I made on my first trip was trying to navigate the subway using only paper maps. Use a real-time transit app or Google Maps to track your route, but keep an eye on the platform numbers, as some stations have multiple lines that look identical.
Adapting to the Tokyo transit puzzle when plans fail
Even the most meticulously crafted itinerary can be derailed by a delayed international flight, severe jet lag, or the sheer sensory overload of the capital.
If you find your first morning lost to exhaustion, do not force yourself into the crowded halls of Ueno or the early temple lines. Instead, prioritize your physical recovery by staying in your home neighborhood and using a half-day reset strategy.
If you lose the morning of Day 1, sacrifice the Ueno museum block. The museums are intellectually demanding and require a fresh mind to appreciate fully.
By skipping them, you reclaim the afternoon for a slower walk through the Yanaka Ginza district, which offers a more relaxed, neighborhood-level exposure to old Tokyo than the high-traffic Senso-ji area.
If you find yourself behind schedule, follow this triage order to keep your trip balanced:
- Cut the observatory visits: Views from the Skytree or Tokyo Metropolitan Government Building are spectacular, but they are time-intensive due to elevator queues and mandatory booking slots. If you are tired, swap a high-altitude view for a sunset walk along the Kanda River.
- Prioritize dining over landmarks: Tokyo is defined by its food culture. If you must skip a site, ensure it is not a booked restaurant or a specific culinary experience. You can see a shrine on a different day, but you cannot easily recreate a reservation at a high-end sushi bar or a hard-to-get ramen shop.
- Streamline the transport: If you are overwhelmed by the subway, switch entirely to surface-level transit. Taxis in Tokyo are expensive, typically ranging from 2,000 to 5,000 yen for short cross-neighborhood trips, but they eliminate the stress of navigating underground mazes. Check the official site for ride-hailing apps like Uber or GO if you prefer not to flag cars down.
Jet lag often hits hardest on the second night. Rather than pushing through to see the nightlife in Shibuya, order a high-quality meal from a department store depachika—the basement food halls of buildings like Isetan or Takashimaya—and enjoy a quiet evening in your hotel room.
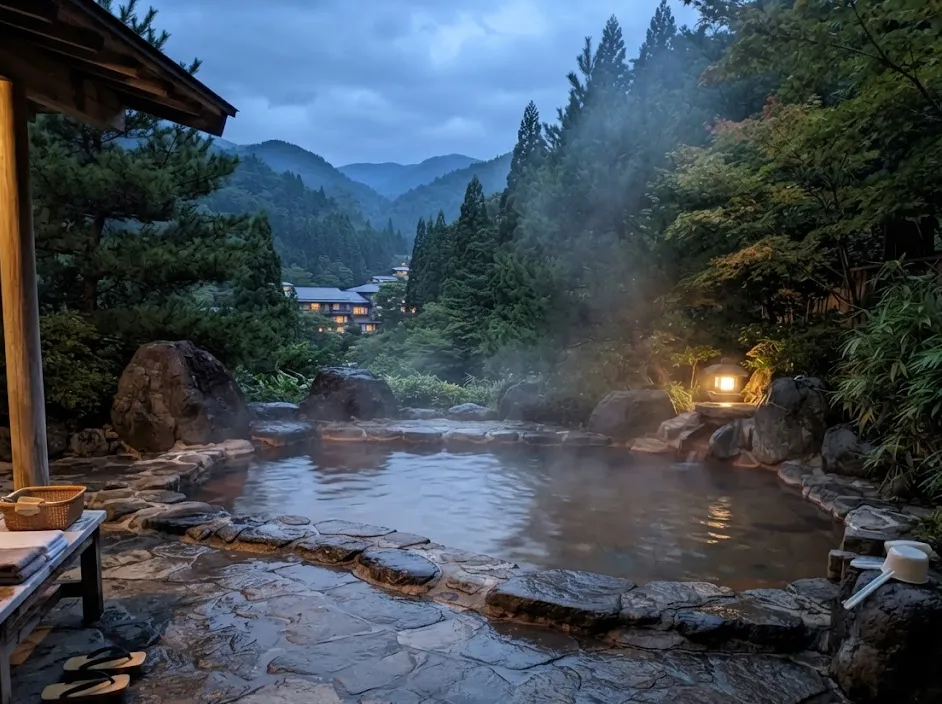
This allows you to wake up fully recharged for the third day.
You should focus on enjoying the atmosphere of the city rather than checking boxes. If you arrive at a site and find it packed with tour groups, walk away.
There is almost always a quieter temple or park just two blocks over. Flexibility is your most valuable asset when dealing with a city as large and fast-paced as Tokyo.
The strategic sequence for booking high-demand services
Many visitors fail to secure their spots because they book services in the wrong order. You should treat your Tokyo planning like a logistical operation where the hardest-to-get items are prioritized first.
Following this specific sequence minimizes the risk of sold-out attractions and maximizes your budget efficiency.
First, secure your accommodation on Booking.com or Agoda. Because the Yamanote Line is the backbone of this itinerary, rooms near major hubs like Shinjuku or Ueno vanish months in advance during peak spring and autumn seasons.
Once your base is locked, you can build your daily transit clusters around that specific location.
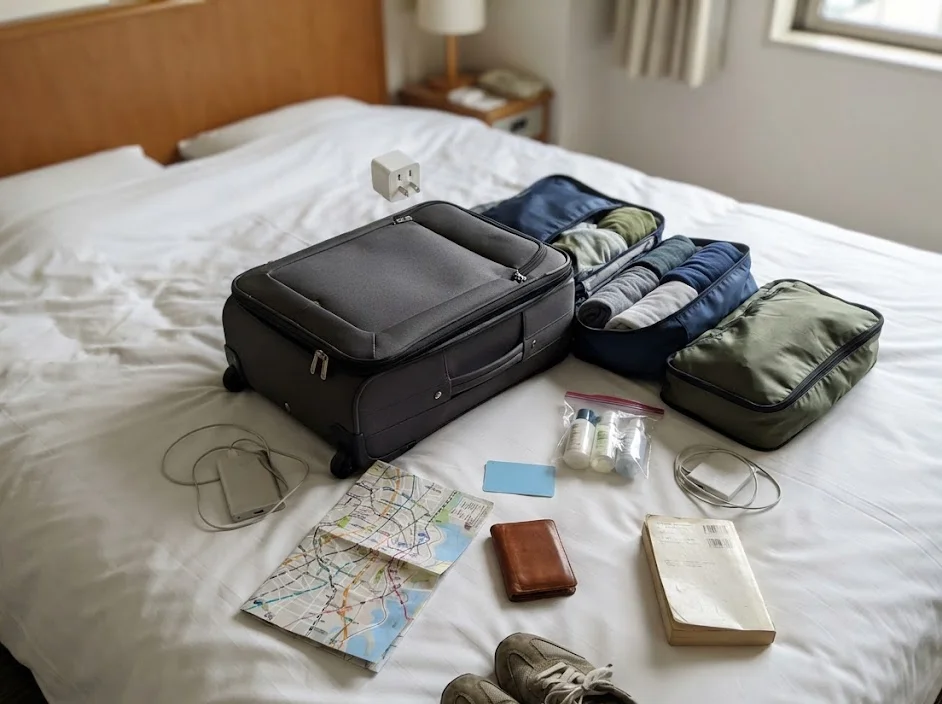
After your hotel is confirmed, move to these essential bookings in order:
- Digital connectivity: Buy your eSIM from Airalo or Ubigi immediately. Without reliable, instant data, you cannot adjust your route in real-time or pull up QR codes for ticket entries.
- Popular observatories and experiences: Platforms like Klook and GetYourGuide often sell out of sunset-time slots for locations like the Shibuya Sky or the Skytree weeks before the actual date. Secure these as soon as your travel dates are finalized.
- Fine dining reservations: If you intend to eat at a Michelin-starred spot or a specialized yakitori bar, use reservation platforms or have your hotel concierge reach out as soon as bookings open, which can be 30 to 90 days out.
- Transport infrastructure: Load your Suica or Pasmo onto your digital wallet. While you do not need to “book” local transit, ensuring your digital wallet is linked to a functional credit card via Amazon Pay or a direct card injection prevents errors at the gate.
One common mistake is booking a Japan Rail Pass before confirming it is cost-effective. Given that this itinerary is strictly limited to the Tokyo metropolitan area, a national JR Pass will likely be a financial burden rather than a saving.
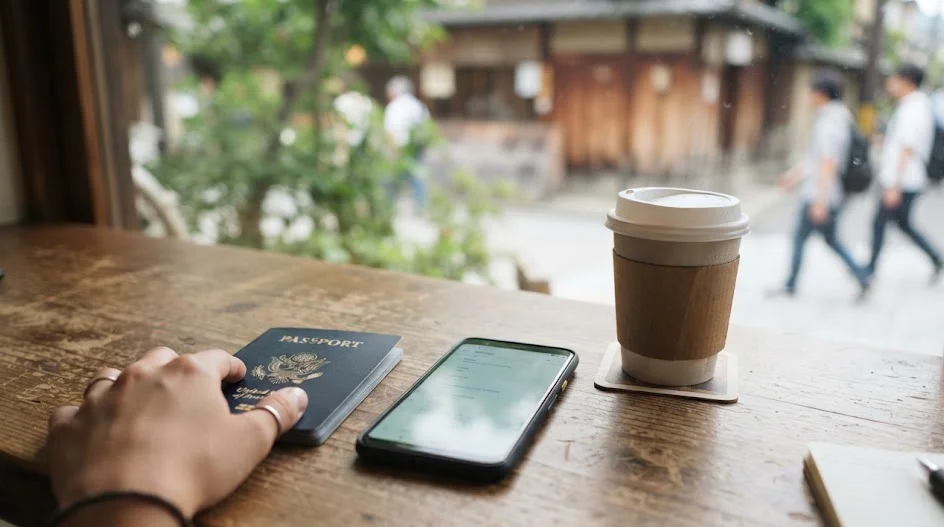
Prices for regional passes or single-ride tickets should be compared against the total cost of your planned travel. Check the official site for current pricing, as sudden increases can change the math of your budget significantly.
Finally, always confirm your luggage forwarding arrangements. If you are moving between Tokyo and other cities like Kyoto or Osaka, do not carry your bags on the Shinkansen.
Services like Yamato allow you to ship a suitcase for roughly 2,000 to 3,000 yen. Forwarding your bags between cities ensures that your three days in Tokyo remain agile, allowing you to move directly from the airport or station into your planned activities without the weight of your luggage.
The rainy-day contingency plan for Tokyo
Tokyo weather is notoriously fickle, and a sudden downpour can quickly turn your outdoor walking itinerary into a logistical struggle. Only have four days? Use this time well.
If your second day, which focuses on the Harajuku and Shibuya districts, happens to coincide with a heavy rainstorm, it is best to pivot your plan to favor the city’s vast underground networks.
Most of the major train hubs in Tokyo, particularly Shinjuku and Shibuya, are connected to immense underground commercial complexes. You can spend an entire day moving between department stores like Tokyu, Odakyu, and Keio without ever stepping foot on a sidewalk.
The basement levels, or depachika, are culinary paradises where you can sample high-end bento boxes and seasonal sweets for roughly 1,500 to 3,000 yen, depending on your appetite.
Instead of battling the elements at the Meiji-jingu Shrine, prioritize the covered shopping arcades or the nearby Shibuya Hikarie building. This tower is connected directly to the station and offers multiple floors of boutiques, art galleries, and restaurants.
It is an excellent way to maintain the geographic focus of your itinerary while avoiding the discomfort of soaked shoes and crowded umbrellas.
Indoor alternatives for your route
- Shibuya Scramble Square: Offers panoramic views through floor-to-ceiling windows, keeping you dry while you capture the iconic crossing from above.
- Sunshine City in Ikebukuro: A massive indoor complex with an aquarium, planetarium, and hundreds of shops, easily reached via a short ride on the Yamanote line.
- Museum hopping in Ueno: If Day 1 is rainy, the Tokyo National Museum and the National Museum of Western Art are within walking distance of each other and entirely indoors.
Always keep a lightweight, foldable umbrella in your day bag, which you can purchase at any convenience store like 7-Eleven or Lawson for roughly 600 to 1,200 yen, check the official site for store locations.
Avoid the temptation to take taxis for every short hop, as traffic in central Tokyo during rainstorms often slows to a crawl, and the fares can quickly exceed your daily transport budget of 3,000 to 5,000 yen.
If the weather forecast looks bleak, prioritize your indoor museum and shopping visits for the morning hours. By shifting your activity schedule, you avoid the evening peak where train stations become significantly more congested.
Remember that most department stores close around 8:00 PM, so adjust your dinner plans accordingly to ensure you are not left stranded in an empty commercial hall.
Strategic luggage management between cities
Attempting to navigate a massive terminal like Shinjuku Station or Tokyo Station with large suitcases is the fastest way to ruin a three-day itinerary. Tokyo’s rail network is designed for commuters, not for travelers dragging heavy bags through narrow turnstiles and up steep staircases.
Utilizing a professional luggage forwarding service is a non-negotiable step for any traveler moving between cities.
The system, locally known as takuhaibin, is remarkably reliable and affordable. You can arrange for your suitcase to be picked up from your hotel front desk or a local convenience store and delivered to your next destination, such as Kyoto or Osaka, within 24 to 48 hours.
Expect to pay roughly 2,000 to 3,500 yen per suitcase, check the official site for Yamato Transport or Sagawa service rates before you finalize your plans.
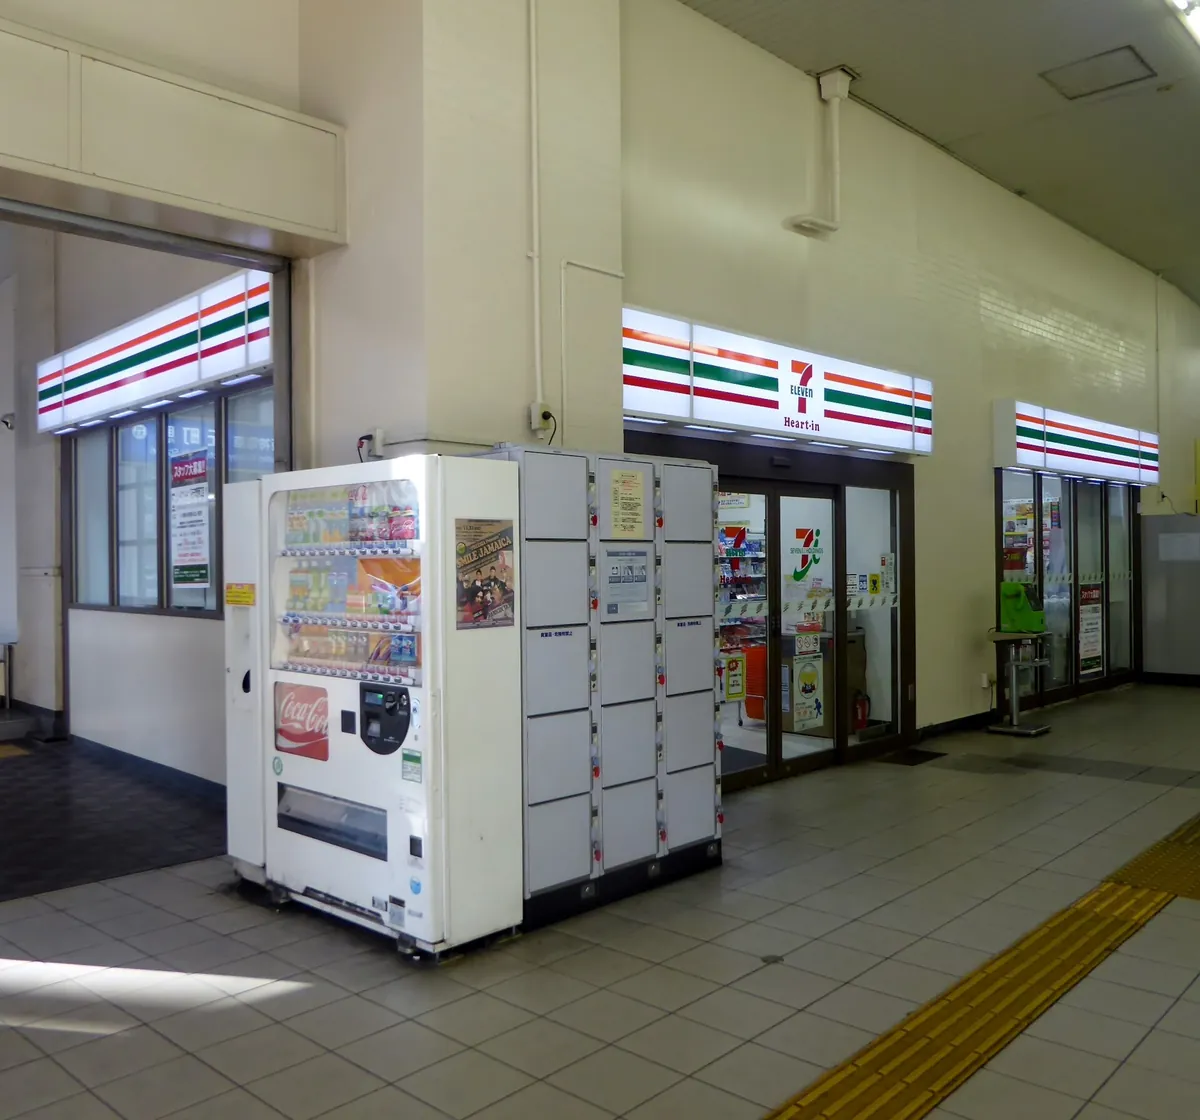
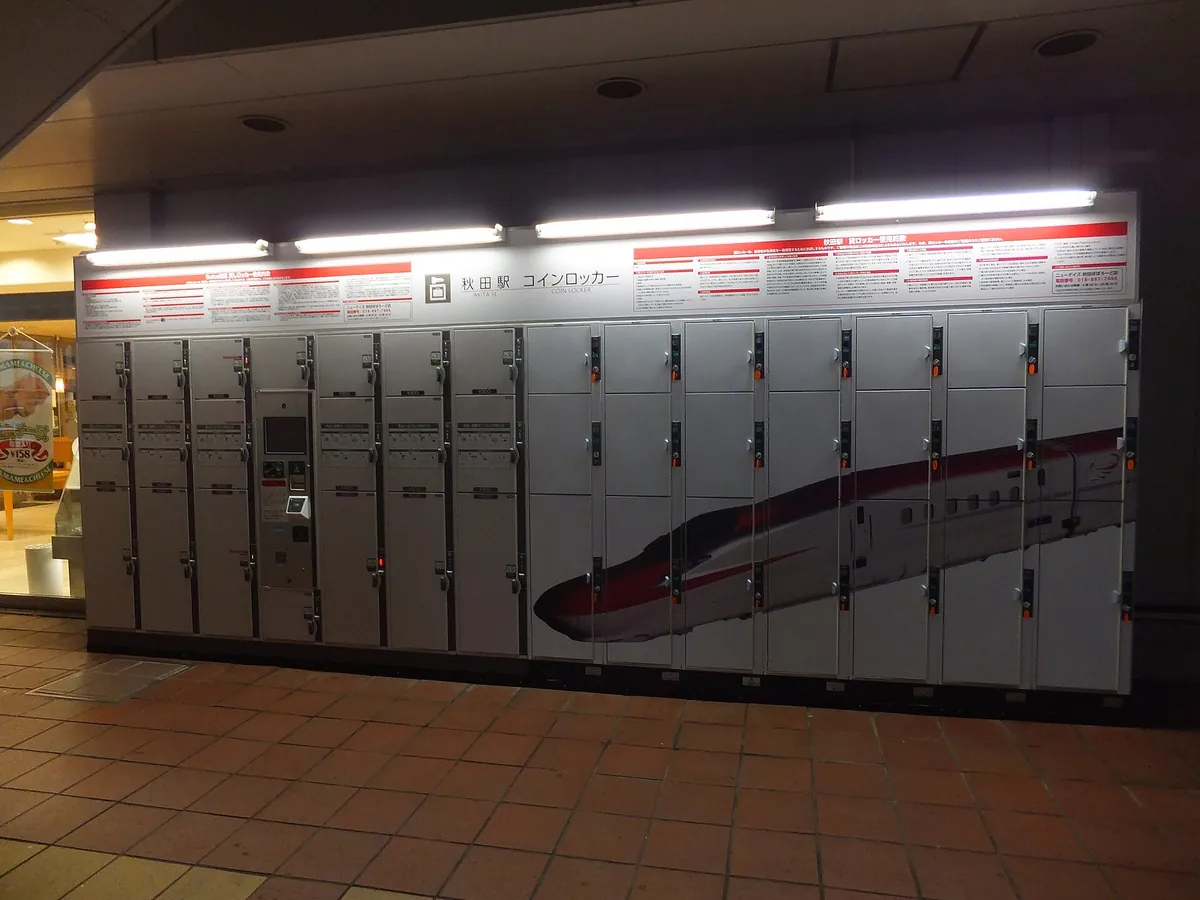
By forwarding your heavy luggage, you are free to move between your morning temple visits and evening neon-lit districts with nothing more than a light day bag. This agility allows you to jump on the Yamanote line or switch to a subway line without worrying about finding an available coin locker.
Coin lockers in major stations are often occupied by 9:00 AM, and relying on them is a gamble that frequently fails first-time visitors.
Step-by-step forwarding procedure
- Check with your hotel: Most reception desks provide the necessary forms and can even schedule the pickup for you during your stay.
- Prepare your delivery details: Have the address and phone number of your next hotel ready, as you will need to input these exactly into the shipping slip.
- Pack a essentials bag: Ensure your medication, chargers, and one change of clothes are in your carry-on, as you will not have access to your checked suitcase until it arrives at your next stop.
- Use the convenience store network: If you are staying in an Airbnb or a hotel without concierge service, most 7-Eleven or FamilyMart locations act as official drop-off points for these services.
If you are arriving at Narita or Haneda Airport, look for the delivery counters in the arrivals hall immediately after customs. You can drop your bags there and have them waiting for you at your hotel by the time you check in later that evening.
This eliminates the need to haul your belongings through the transit system while suffering from jet lag, and it provides a stress-free start to your Tokyo exploration.
FAQ
QIs three days enough to see Tokyo?
Three days is enough to see the major highlights without rushing. You will not see everything, but you will get a solid grasp of the different neighborhood personalities.
QCan I use the Japan Rail Pass for local subways?
No. The Japan Rail Pass only covers JR-operated lines like the Yamanote loop. It does not cover private subways or bus lines, which you will use frequently for cross-town travel.
QWhat is the best season to visit?
Autumn and spring offer the most comfortable walking weather. Summer is incredibly humid, and winter is dry and cold; plan your indoor museum visits accordingly if you travel then.
QAre credit cards widely accepted?
Yes, though smaller establishments and older shrines may still be cash-only. Keep a small amount of yen on hand just in case.
QHow do I navigate the train system?
Use a mapping app like Google Maps for real-time transit instructions. Most platforms have clear signage in English, so stay observant of the station numbers.
Planning three days in a city this large can feel like trying to drink from a fire hose.
Stop worrying about missing the minor sights and focus on locking in your accommodation and one major activity per day, leaving the rest to be discovered on foot.
Keep planning
- ① Install and test your eSIM before take-offAiralo and Ubigi eSIMs activate on arrival, but the install itself needs Wi-Fi. Do it at home and confirm the profile shows up in your phone settings.
- ② Save your first hotel’s address in JapaneseTaxi drivers and station staff read Japanese addresses far faster than romanised ones. Copy it from the booking confirmation into your notes app.
- ③ Set aside cash for day oneMany small restaurants, temples and rural buses are still cash-only. Airport ATMs at 7-Eleven and the post office accept most foreign cards.
Skip these and your first hour in Japan goes on finding Wi-Fi at the station instead of getting to your hotel.
🔍 How to sanity-check any price you read online
Blogs (including this one) go out of date. The official page always wins over a screenshot from two years ago.
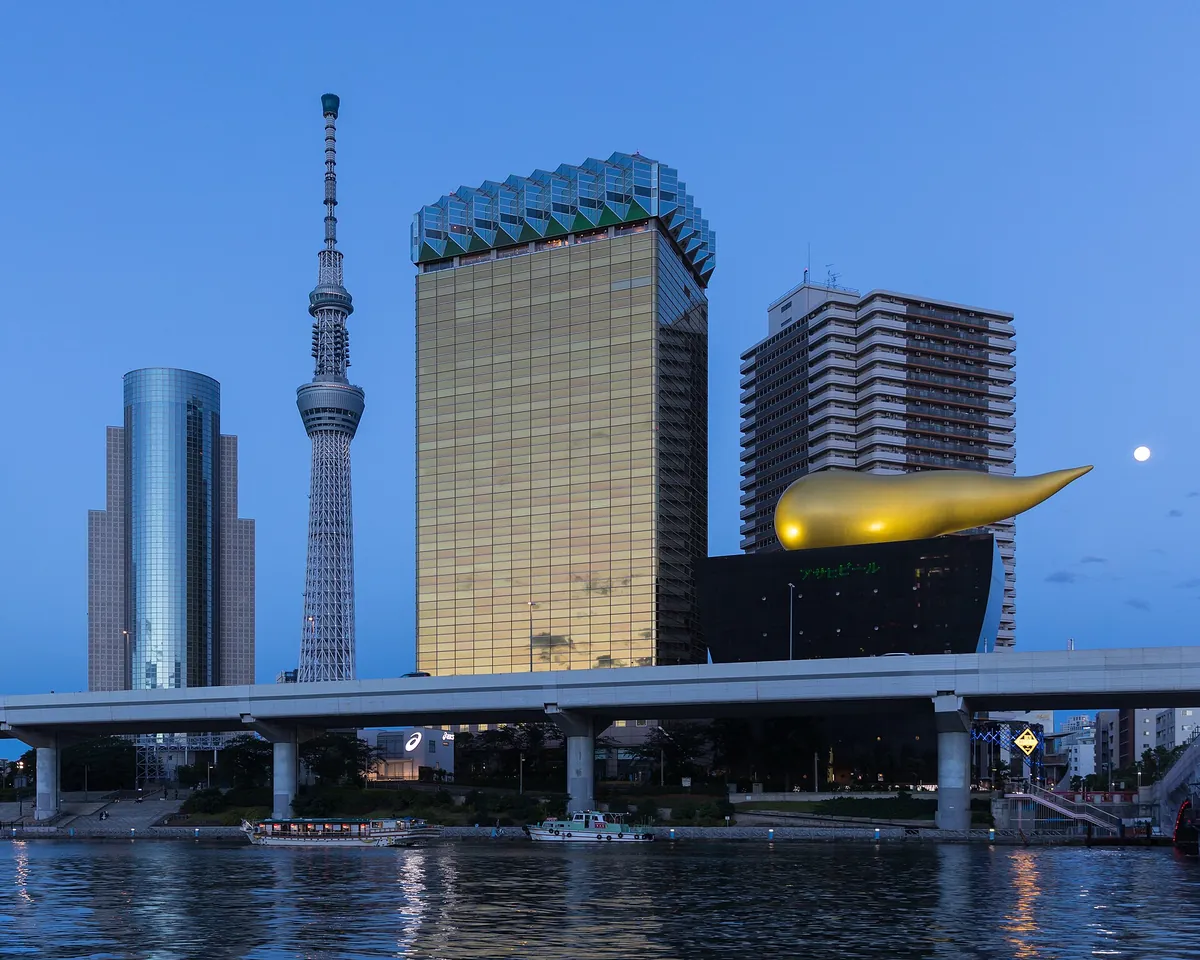
Cover Photo: duncan_su from Taipei, Taiwan, CC BY 2.0, via Wikimedia Commons