
- 5 days total, all nights spent in Tokyo
- Day 1: Modern Shibuya and Shinjuku orientation
- Day 2: Asakusa, Ueno, and Edo history
- Day 3: Kamakura coastal day trip
- Day 4: Nikko mountain and shrine day trip
- Day 5: Meiji Jingu, Harajuku, and final city vibes
I expected to see every famous intersection and skyscraper on my first trip to Tokyo, but I ended up feeling like a cog in an endless, crowded machine.
What I got was a rhythm that prioritized quiet shrines and coastal breezes to balance the neon. This eventually made the city energy feel like a reward rather than an exhausting hurdle.
This 5-day plan is for the couple or small group who wants the highlights without the burnout.
If you are trying to visit Kyoto or Osaka in these same five days, close this window and look for a regional travel guide instead. This is strictly for a Tokyo-based loop.
By using Tokyo as a home base and adding two strategic day trips to Kamakura and Nikko, you gain the variety needed to actually enjoy your stay.
- Time needed
- 5 days
- Typical cost
- ¥60,000–¥90,000 per person
- Base
- Shinjuku or Ueno
- Booking
- Hotels and Nikko trains
- Best season
- October to November
Some links are affiliate links (marked “Partner link”). Prices are ranges checked in 2026; confirm on the official site before you book.
The 5-day route and how to balance the intensity
To avoid spending your entire trip on a subway train, you need to cluster your activities by geography. We treat Tokyo as a command center.
You wake up in the same bed every morning. This means you do not have to worry about luggage or checking out of hotels until you finally head to the airport.
This structure uses the Shinkansen for the Nikko leg and regional lines for Kamakura, keeping travel under two hours for most departures. It works because it forces you to alternate between heavy city stimulation and natural, open-air environments.
- Tokyo City Center
- Kamakura day trip · 1 h by JR Shonan-Shinjuku Line
- Tokyo City Center
- Nikko day trip · 2 h by Tobu Railway
- Tokyo City Center
Logistics and bookings for your Tokyo 5-day trip
Do not wait until the last minute to lock in your logistics. Most people overthink the JR Pass, but for this specific trip, individual tickets or an IC card will save you time and money.
You do not need to buy a rail pass unless you are extending your travel beyond Tokyo.
- Book a base hotel on Booking.com or Agoda
- Download an eSIM from Airalo or Ubigi
- Buy a Suica or Pasmo card for your phone
- Check Klook for any special museum entry times
- Reserve the Limited Express Spacia to Nikko
- Set up a Yamato Transport account for luggage
- Download the Tokyo subway map offline
Day 1: Orientation and the modern city skyline
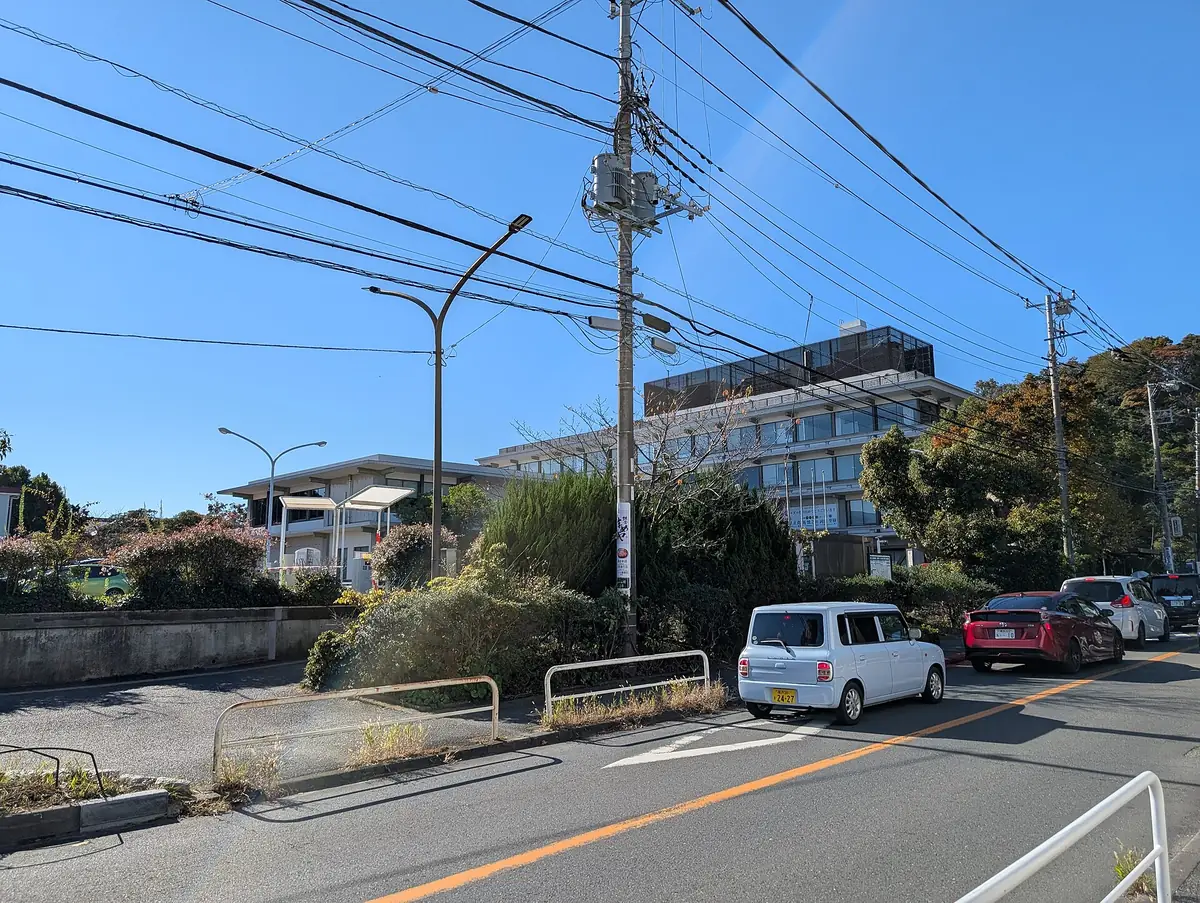
Start your first day in the Shinjuku area to get a feel for the scale of the city. Navigate to the Tokyo Metropolitan Government Building for a free view of the skyline.
The perspective here is better than many paid decks, as it allows you to see the true expanse of the capital.
Afternoon in the neon lights
Head toward Shibuya to see the famous crossing. Avoid the urge to stand in the middle for too long; instead, find a cafe overlooking the intersection.
Walk through the backstreets to find a ramen shop for a quick lunch, expecting to pay around ¥1,200–¥1,800 per person.
Evening in the skyscraper district
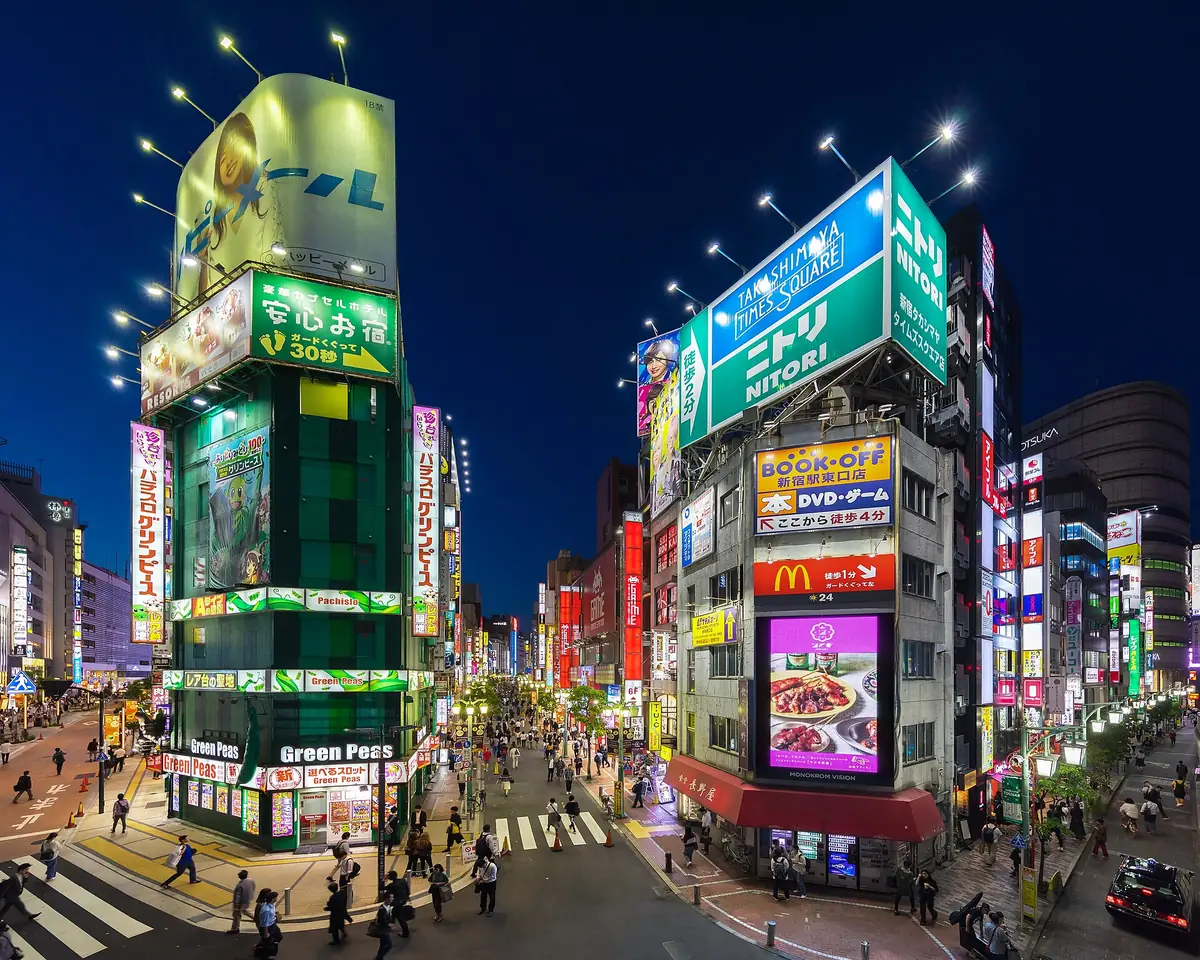
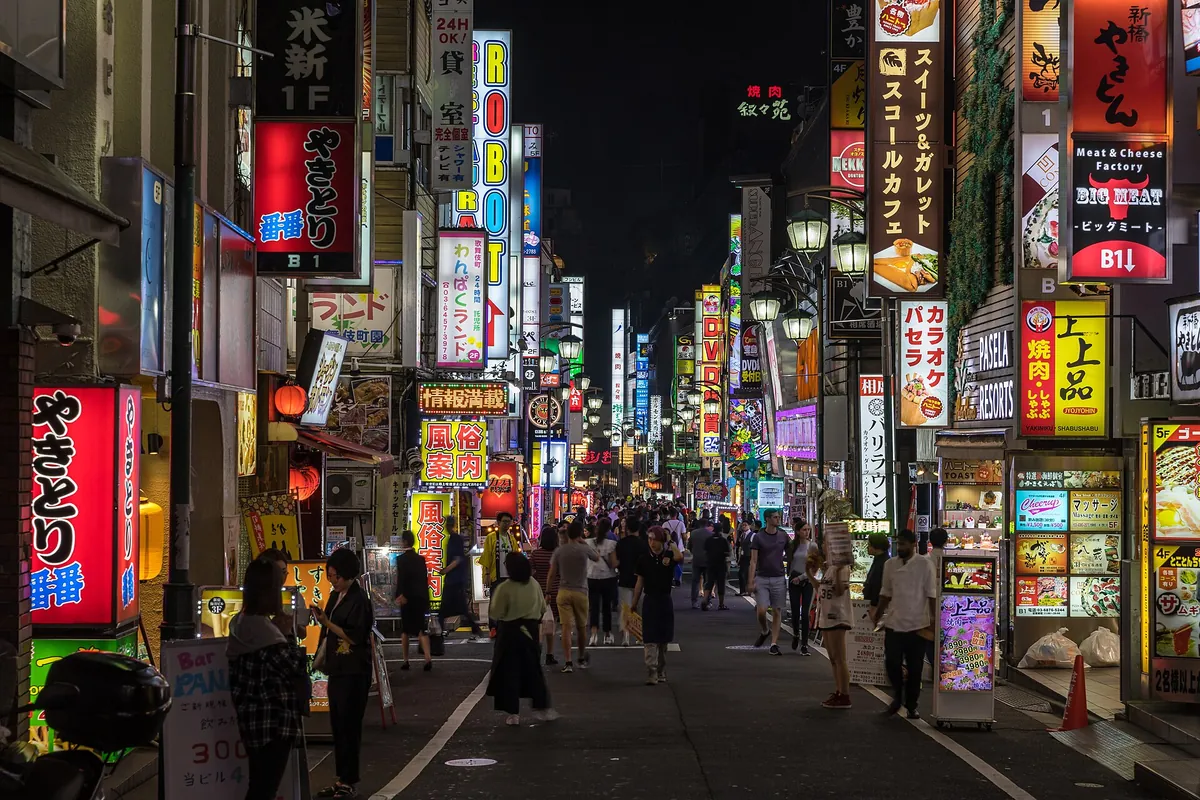
End your night in Shinjuku, specifically near Omoide Yokocho. The narrow alleyways feel like a relic of the past, even if they are heavily frequented by tourists now.
Keep your movements efficient by using the Yamanote Line, which connects these two hubs in under 20 minutes.
Skip the observation decks if it is raining. The clouds will hide the view anyway.
Day 2: Old Edo and the tradition of temple culture
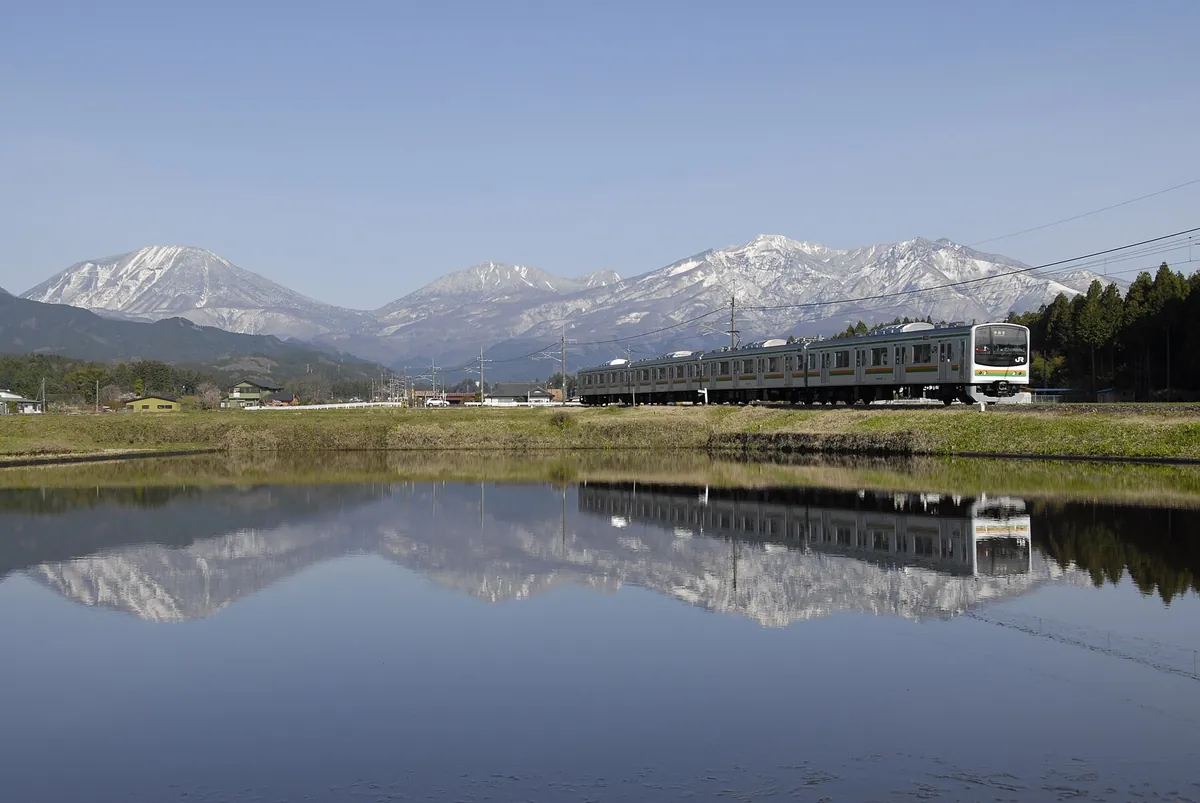
Start your morning in Asakusa to visit Senso-ji, the city’s most iconic temple. Arrive before 9:00 AM to beat the crowds that pack the Nakamise-dori shopping street.
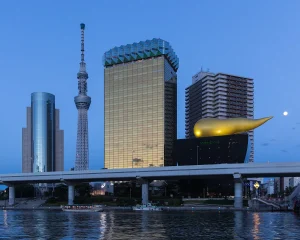
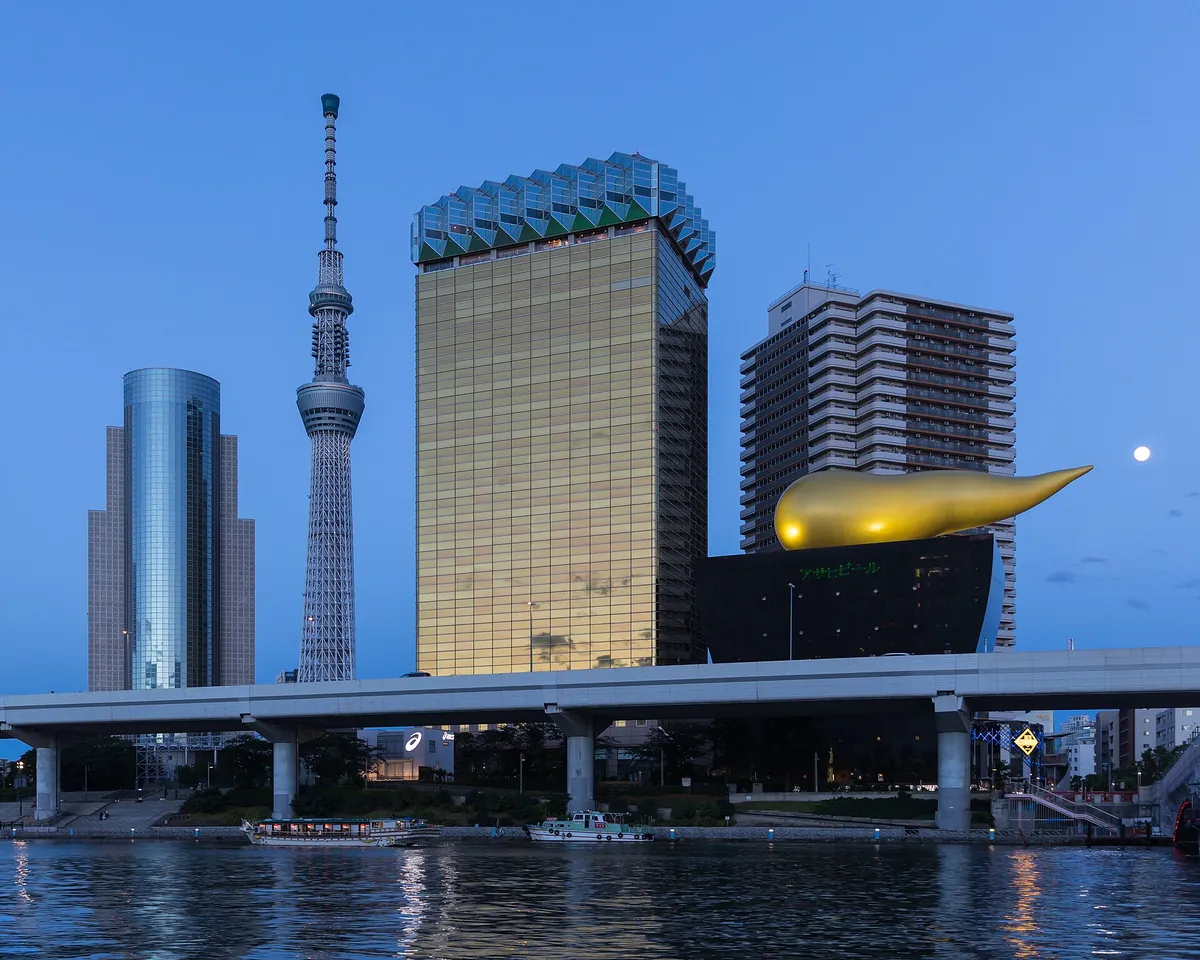
Once you finish at the temple, walk ten minutes to the Sumida River for a calmer view.
Ueno and local park vibes
Take the Ginza Line over to Ueno Park. If you enjoy museums, the Tokyo National Museum is an excellent way to understand the history of the country.
If you prefer to stay outdoors, the park itself offers wide paths and small shrines that are often overlooked by the rushing crowds.
Dinner in the old city
Eat dinner in a traditional izakaya in the Ueno area. You can find set menus for around ¥3,000–¥5,000.
It is a great place to try different types of sake or local beer while sitting among the neighborhood regulars.
Day 3: The coastal escape to Kamakura
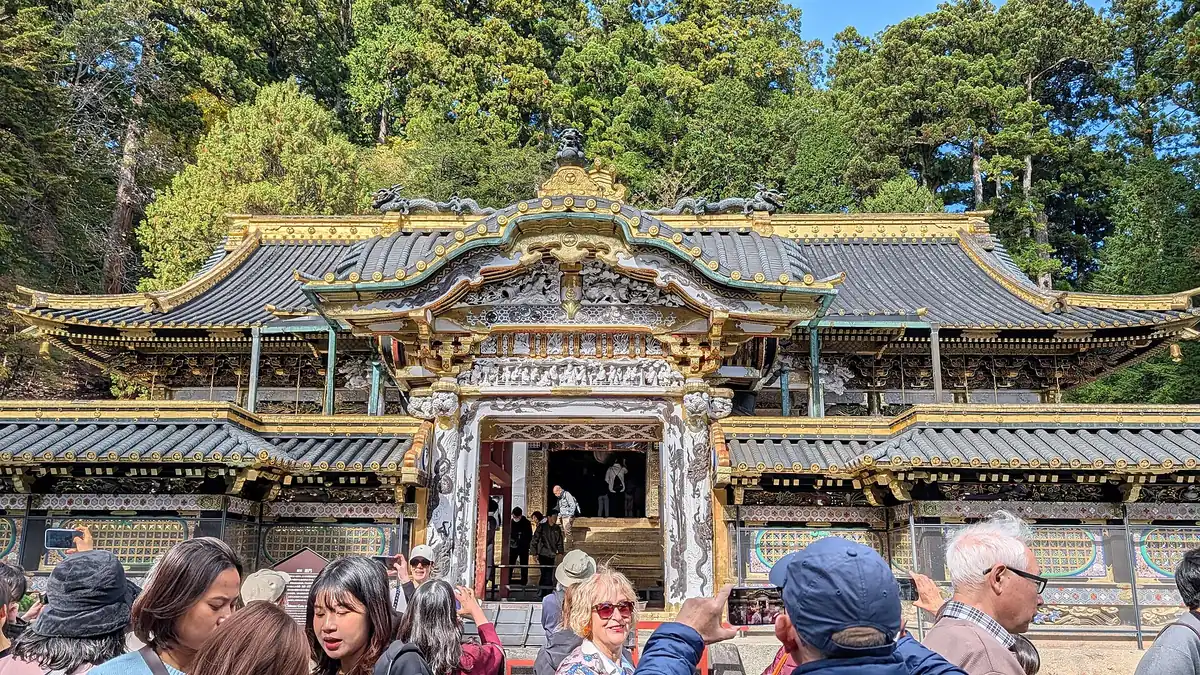
Getting out of the city is the secret to a long-term trip. Take the train south to Kamakura, a coastal town that offers a glimpse into a slower, more deliberate side of Japan.
The Great Buddha at Kotoku-in is your first stop.
Walking the coastline
After visiting the main temples, walk toward the beach area. In the afternoon, take the Enoden train line—a small, vintage-style tram that hugs the oceanfront.
This is the perfect moment to slow down, as the sea air provides a sharp contrast to the concrete density of Tokyo.
Return to the city
Grab a casual lunch of local seafood, typically costing ¥1,500–¥2,500. Return to Tokyo in the late afternoon so you are ready for your next day.
If the weather is poor, skip the beach walk and focus on the interior temple gardens instead.
Where we would book this
Booking.com
Largest inventory in Japan for English-speaking travellers
- Best for
- Hotels, business hotels, ryokan and apartments in every city
- Checked
- September 2026
Official site. Same price for you.
Day 4: Deep history in the mountains of Nikko
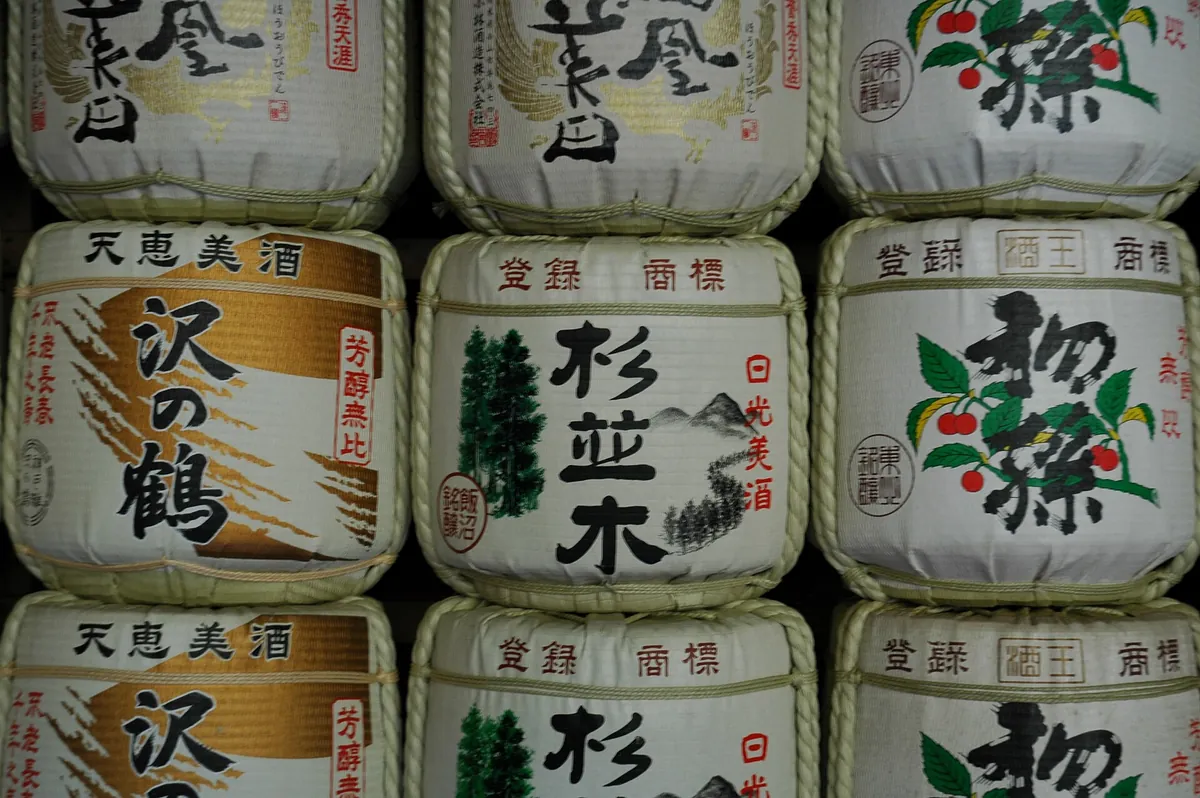
Nikko feels like a different world compared to the flat landscape of Tokyo. Take the Limited Express train from Asakusa station early in the morning to arrive by 10:00 AM.
Start at the Toshogu Shrine complex, but do not stop there.
The Kanmangafuchi Abyss
Most guides keep you in the shrine-hopping loop, which gets crowded by midday. Walk to the Kanmangafuchi Abyss instead.
The row of stone statues along the river is quiet, haunting, and much more impressive than the main gate area. If you go after 3:00 PM, you will likely have the space to yourself.
Mountain food and return
Eat a bowl of yuba (tofu skin) noodles, a local specialty, for roughly ¥1,200–¥2,000. Head back to Tokyo via the same line.
This is a long day, but the crisp mountain air will recharge you for your final night in the city.
Day 5: Shinjuku, Shibuya, and final city vibes
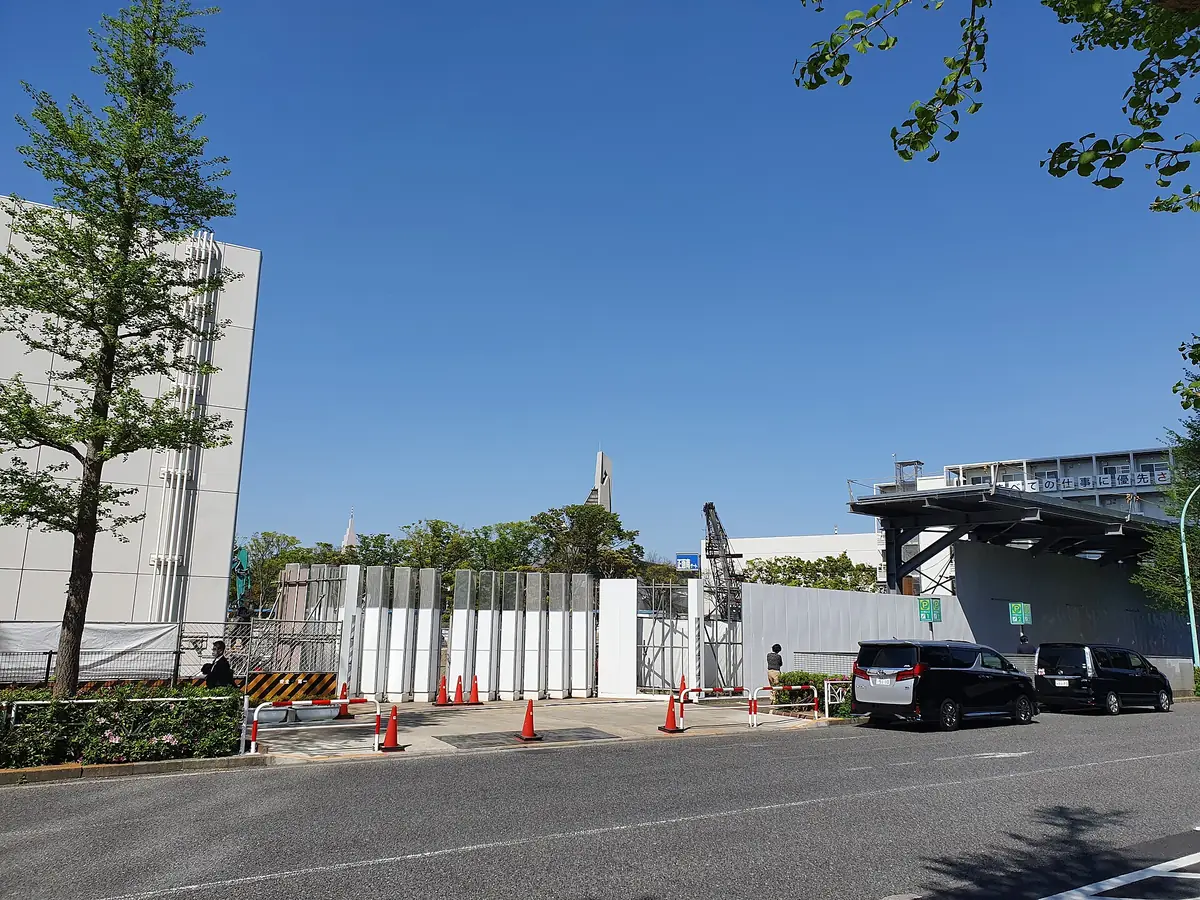
Your last day should be low-stress. Return to the neighborhoods you enjoyed the most, or visit Meiji Jingu to walk through the expansive forest paths.
It is a massive green space right in the middle of the city, perfect for a final, meditative stroll.
Harajuku shopping and snacks
Walk through Takeshita Street just to see the chaos, but quickly duck into the side streets for better thrift stores and cafes.
Spend your remaining yen on small gifts or local snacks. A final dinner in a high-end restaurant or a simple conveyer belt sushi place works, with budgets ranging from ¥2,000 to over ¥10,000.
Prepare for departure
Ensure your transport to the airport is set. If you are flying out of Narita or Haneda, use the Narita Express or the Keikyu Line accordingly.
Do not leave your transit planning for the final morning.
Where to stay to maximize your time
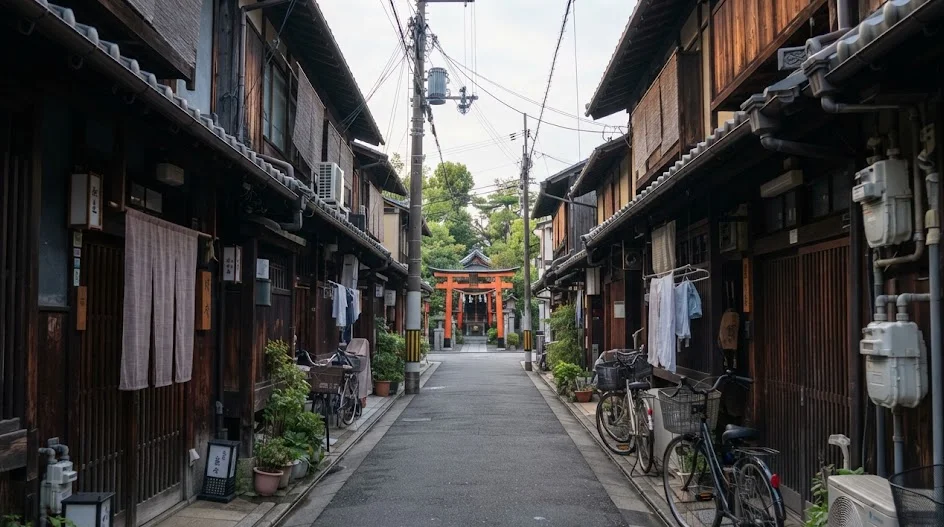
Shinjuku
Base yourself here if you want easy access to everything. Business hotels are plentiful and usually range from ¥15,000 to ¥25,000 per night.
Use a platform like Booking.com to compare options and current availability for your specific dates. Booking in advance is recommended to ensure you secure a room in this high-traffic hub.
Ueno
This is a more relaxed area with great transport links. You can find similar quality business hotels here, often slightly cheaper than in the heart of Shinjuku. Agoda is quite effective for finding discounts in this district.
Partner link.
Estimated costs for this 5-day plan
This is an estimate for a mid-range traveler. Costs change, so check current rates in 2026 before setting your final budget.
| Category | Budget Range |
|---|---|
| Transport | ¥10,000–¥15,000 |
| Hotels | ¥75,000–¥125,000 |
| Activities | ¥5,000–¥10,000 |
Plan your trip: the tools we use
The total estimate is roughly ¥115,000–¥190,000 per person. Note that the JR Pass is generally not worth the cost for this specific Tokyo-based loop. Always add up your individual fares first.
Tips that make this itinerary run smoothly
Use Yamato Transport for your luggage if you have multiple bags. It is a lifesaver. For internet, use an eSIM from Airalo or Ubigi; it keeps your physical SIM slot free if you need your home number for bank codes.
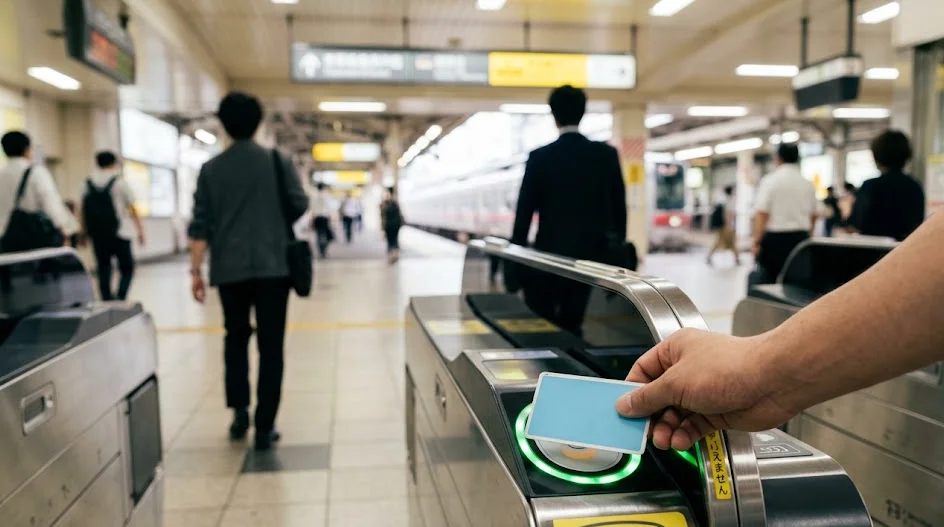
Always carry an IC card (Suica or Pasmo) on your phone. It works for almost every train and bus, and you can use it to pay for drinks at vending machines.
One mistake I made early on was trying to buy paper tickets for every single ride. It wastes time and increases the chance of a navigation error.
 ReaderYuki
Strategic pivots for a weather-disrupted schedule
Tokyo is famously resilient, but a heavy rain day can turn your planned walking tours into a slog of wet shoes and closed viewpoints.
If the forecast turns against you, prioritize indoor-centric logistics to keep your momentum without needing an umbrella for every transit connection.
Start by swapping your outdoor temple days with museum-heavy alternatives. If Day 2 (Asakusa) is forecasted to be a downpour, shift it to a deep dive into the Tokyo National Museum in Ueno or the teamLab Borderless digital art installation in Azabudai Hills.
These venues are entirely climate-controlled and connected via underground walkways, sparing you the street-level humidity.
Indoor alternatives for rainy days
- Explore the massive underground networks connecting Shinjuku or Tokyo Station, which house endless food halls and basement shopping.
- Head to the Sunshine City complex in Ikebukuro to access the aquarium and planetarium without stepping outside.
- Use the Tokyo Metro’s extensive underground malls to travel between central wards while staying dry.
- Book an indoor cooking class or a sushi-making workshop via platforms like Klook or GetYourGuide for a hands-on afternoon.
If your Nikko or Kamakura trip falls on a wash-out day, it is often better to cancel the regional excursion entirely.
The mountain trails of Nikko become treacherous when wet, and the coastal charm of Kamakura loses its luster behind a curtain of gray mist.
Simply stay within the city limits and shift your schedule forward; the flexibility of staying in one hotel for all five nights is your greatest asset here.
Keep your budget for these days fluid, as spontaneous museum entries or extra taxi rides can add up to roughly ¥3,000–¥6,000 per person.
Always check the official sites for venue capacity before heading out, as indoor spots often reach reservation limits during bad weather.
Staying mobile while dry is the difference between a ruined afternoon and a successful pivot. Do not be afraid to abandon your itinerary entirely if the sky opens up; the city’s best cafes are meant for watching the rain while enjoying a quiet cup of coffee.
Managing your luggage flow to stay agile
Luggage is the primary enemy of a tight five-day itinerary. Dragging large suitcases through the Tokyo subway system during peak hours is a recipe for physical exhaustion and social friction.
Using a luggage forwarding service, known as takkyubin, allows you to move freely between the airport and your hotel without being tethered to your gear.
If you arrive at Haneda or Narita early in the morning, do not head straight to your hotel to drop off bags.
Locate the Yamato Transport or JAL ABC counter in the arrivals hall and forward your heavy luggage directly to your accommodation. Most hotels in Tokyo are fully accustomed to receiving these shipments and will hold them at the front desk until you check in that evening.
Essential tips for seamless luggage logistics
- Ask your hotel front desk to help you fill out the shipping form for your return trip to the airport.
- Pack a dedicated day bag with your electronics, chargers, and a change of clothes to avoid needing your main suitcase before check-in.
- Use the luggage storage lockers found in every major station for quick, short-term holding if you arrive between hotels.
- Confirm with your hotel via email that they accept pre-check-in luggage deliveries, as most major chains do, but some smaller boutique hostels may not.
The cost of forwarding a standard suitcase across the city is usually between ¥2,000 and ¥3,000 per bag.
It is a small price to pay to avoid the stress of navigating the Yamanote line stairs with a heavy load. When you land, you can go straight to your first afternoon activity in Shinjuku or Shibuya with nothing but your camera and a day pack.
On your final day, most hotels can arrange for your bags to be shipped to your departing airport.
You drop your luggage at the front desk in the morning, and it waits for you at the airport terminal for your evening flight. This ensures your final 24 hours are spent exploring the city rather than guarding bags in a crowded station locker.
By treating your gear as a separate entity that moves independently, you regain the freedom to navigate Tokyo like a local.
Handling the post-flight fog: What to cut when jet lag hits
Landing at Haneda or Narita after a long-haul flight often leaves your body clock in total disarray.
If you find yourself struggling to stay upright on your first day, do not try to force the full Shinjuku itinerary. Pushing through exhaustion is the fastest way to turn a dream vacation into a frustrating slog of expensive, low-quality meals and missed transit connections.
Prioritize your rest, because a strategic reduction of your schedule ensures you actually enjoy the city on days three and four.
The low-energy triage list
- Cut the Metropolitan Government Building visit; the lines for the elevator can be long, and the view is best when you are actually alert enough to appreciate it.
- Skip the complex navigation of Omoide Yokocho if your legs are tired; the tight, crowded staircases are difficult to manage when you are sleep-deprived.
- Avoid the multi-line subway transfers that require walking between different station operators.
- Postpone your shopping plans; you do not want to carry bags through the city when your primary goal is finding a place to sit.
If you lose your first morning to pure exhaustion, head directly to a quiet park or a hotel-adjacent cafe instead.
Places like the Gyoen National Garden in Shinjuku are perfect for low-stakes exploration where you can sit on a bench and people-watch without needing to navigate a complex set of train transfers. This is not a failure; it is a recalibration.
You can easily roll the Shibuya crossing visit into your final day without feeling like you missed a core piece of the Tokyo experience.
If you are truly wiped out, stick to your immediate neighborhood for food. Use Google Maps to find a local supermarket or a small sit-down cafe.
You can usually find a high-quality meal for between ¥1,000 and ¥2,500 by simply walking two blocks from your accommodation. Do not worry about chasing specific trending restaurants when your priority should be physical recovery.
The city is not going anywhere, and you will have far more stamina for the Nikko mountain trip if you invest in a slow start.
The precise booking sequence to avoid common pitfalls
Many travelers try to build their trip by booking flights and then hoping the rest falls into place, but this often leads to sold-out specialty trains and limited hotel availability.
You need to follow a strict logical sequence to ensure your logistical skeleton remains intact. Do not book your museum tours or city experiences until you have secured the foundational transport and accommodation layers.
Your first step should always be locking in your hotel base, as capacity in Shinjuku and Ueno can fluctuate wildly depending on the season.
Use a platform like Booking.com to compare options and secure your base. Once you have a home base, the next critical move is checking the schedules for the Limited Express trains to Nikko. These are not subway rides; they are reserved-seat trains that can sell out on weekends.
The order of operations for reservations
- Secure your 5-night hotel base to establish your geographic center.
- Check the availability of the Limited Express Spacia or Revaty trains on the Tobu Railway official site.
- Book your digital eSIM via Airalo or Ubigi to ensure immediate connectivity upon landing.
- Reserve specific time-slotted experiences, such as the teamLab exhibits or high-end dining, through platforms like Klook or GetYourGuide.
- Set up your Suica or Pasmo on your phone wallet, as this does not require a reservation but is essential for seamless daily travel.
Avoid buying any rail passes unless you are certain your math makes sense. While the JR Pass is a common topic in forums, for this specific 5-day Tokyo loop, individual tickets and IC card top-ups are almost always the most cost-effective path.
Prices for individual day trips hover between ¥3,000 and ¥6,000. Verify these figures on official railway websites rather than relying on outdated blog posts.
By confirming your individual rail costs, you prevent the common mistake of paying for an expensive pass that never provides enough value. Always maintain a spreadsheet or a simple note on your phone that tracks your booking confirmation numbers.
Many museums and transport lines in Tokyo have moved to digital-only entry systems that require you to present a QR code. Keeping these organized in one folder will save you the panic of digging through your email while standing in a busy station gate.
If you maintain this order, the actual travel days become simple execution rather than frantic attempts to fix broken plans.
FAQ
QIs five days enough for Tokyo?
Five days is perfect for a first trip if you focus on a specific base and keep your itinerary geographically clustered to minimize travel time.
QDo I need the JR Pass?
For a trip based entirely in Tokyo with limited day trips, a JR Pass is almost always more expensive than buying individual tickets or using an IC card.
QAre the trains hard to navigate?
Tokyo’s rail network is dense, but Google Maps provides real-time platform data and clear directions that make navigation straightforward for most visitors.
QWhat if it rains?
Focus on indoor attractions like the Tokyo National Museum, teamLab digital art installations, or the extensive underground malls found at major transit hubs.
QDo I need to carry cash?
While Japan is increasingly digital, carrying ¥10,000–¥20,000 in cash is still wise for small shops, temple entry fees, and traditional eateries that may not accept cards.
I know the sheer volume of travel advice can make your head spin before you even pack a bag.
Stop reading more blogs and lock in your hotel choice, because having a place to return to each night is the only decision that really changes the quality of your trip.
Keep planning
- ① Install and test your eSIM before take-offAiralo and Ubigi eSIMs activate on arrival, but the install itself needs Wi-Fi. Do it at home and confirm the profile shows up in your phone settings.
- ② Save your first hotel’s address in JapaneseTaxi drivers and station staff read Japanese addresses far faster than romanised ones. Copy it from the booking confirmation into your notes app.
- ③ Set aside cash for day oneMany small restaurants, temples and rural buses are still cash-only. Airport ATMs at 7-Eleven and the post office accept most foreign cards.
Skip these and your first hour in Japan goes on finding Wi-Fi at the station instead of getting to your hotel.
🔍 How to sanity-check any price you read online
Blogs (including this one) go out of date. The official page always wins over a screenshot from two years ago.
Cover Photo: Basile Morin, CC BY-SA 4.0, via Wikimedia Commons