- Stay in Namba, not Umeda, to avoid station-navigating burnout.
- Use local subways instead of relying solely on the JR Loop Line.
- Visit Kuromon Market before 10:00 AM to escape the crushing crowds.
- Buy an ICOCA card on your phone to tap through gates with ease.
- Book your airport transfers and city passes via Klook to save time.
Are you ready to face the neon-soaked labyrinth of Osaka? Most visitors arrive in this city feeling like they have dropped into a high-speed video game without a controller.
You do not need to be an expert in Japanese train routes or a master of the local dialect to survive your first three days here. The secret to a stress-free trip is simple: avoid the Umeda terminal trap.
Stay in a business hotel near Namba or Shinsaibashi instead, and you will find yourself in the heart of the food scene without needing to navigate the city’s most confusing railway hub every single morning. This guide is written for first-time visitors who want to avoid the typical arrival panic.
- Time needed
- 3 to 4 days
- Typical cost
- ¥40,000–¥60,000
- Best base
- Namba district
- Booking
- Hotels and Klook
- Data
- Airalo or Ubigi eSIM
- Checked
- January 2026
Some links are affiliate links (marked “Partner link”). Prices are ranges checked in 2026; confirm on the official site before you book.
1. Why first-timers fail at the Umeda terminal
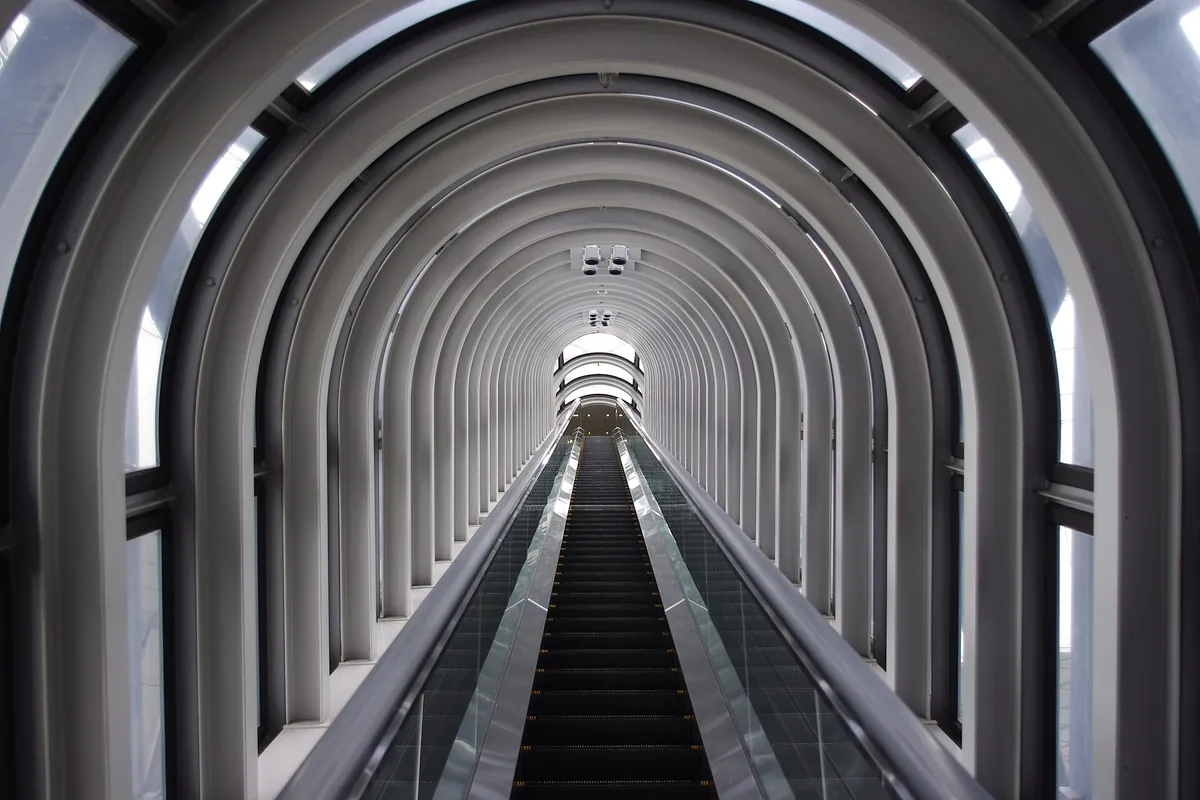
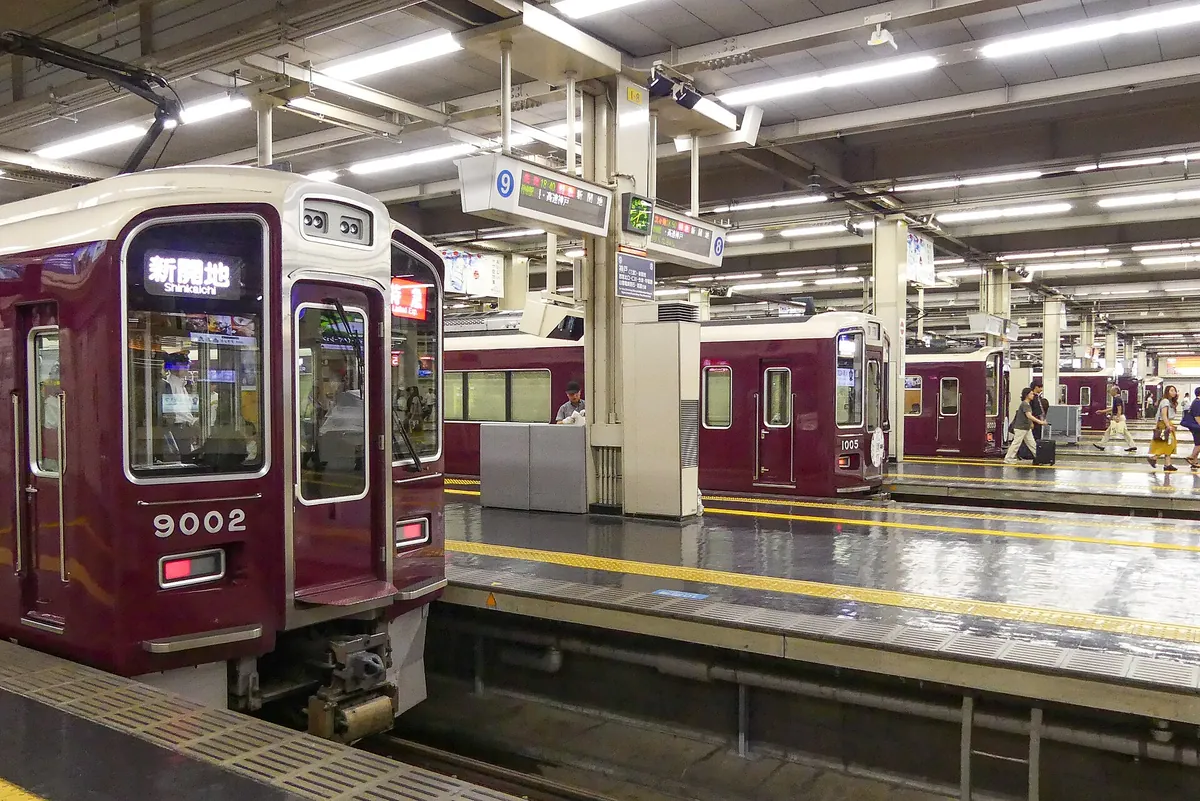
Most first-timers book a hotel near Osaka Station because it looks like the center of everything on a map. In reality, it is a massive, multi-level maze where different train lines operate in separate zones that are barely connected.
Understanding the station layout
You assume that being near the “main” station makes travel easier. You end up walking twenty minutes underground just to switch from a JR line to a private subway line. Instead, choose a business hotel near Namba or Shinsaibashi using Booking.com or Agoda.
- Booking a hotel strictly based on proximity to Umeda.
- Expecting one pass to cover every single train line.
- Planning to rely on taxis to avoid subway confusion.
- Ignoring the cost of luggage lockers at the station.
- Trying to fit Kyoto, Nara, and Osaka into two days.
2. The Osaka pivot: Namba versus Umeda
I once spent an entire hour looking for an exit in the Umeda underground network. It was my second trip to Japan, and I still missed my dinner reservation because I took the wrong stairwell.
Why Namba is the superior choice
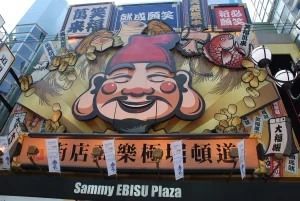
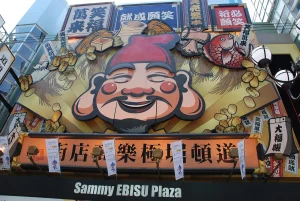
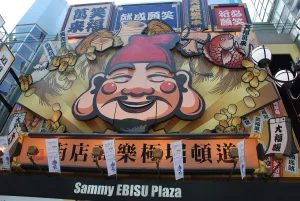
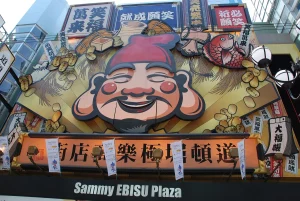
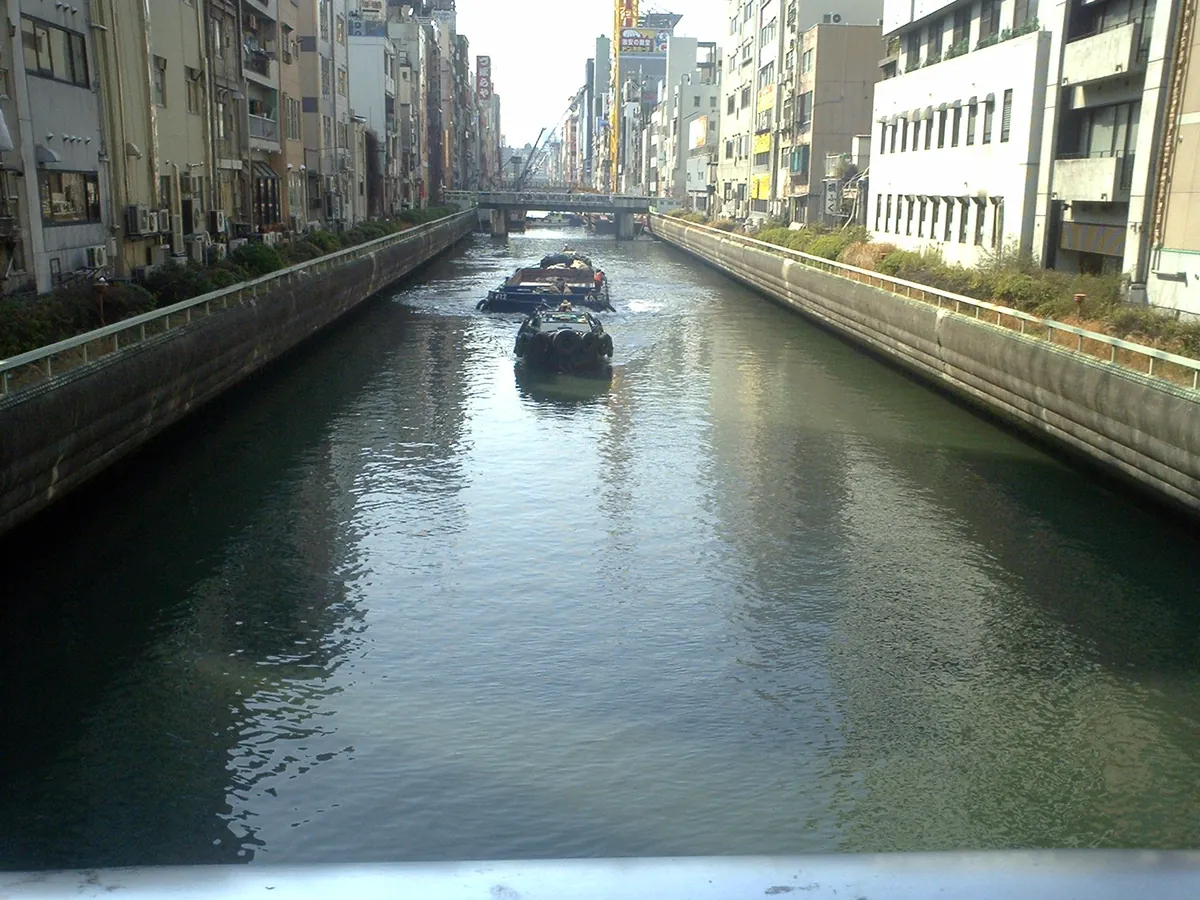
Namba is the cultural heart of Osaka. By staying here, you can walk to the Dotonbori canal and the Kuromon Market, saving yourself from daily transit stress. Search for highly-rated business hotels on Agoda to find a room within your budget.
Comparing your base options
Look at the table below to see the difference between these two major hubs. If you are a first-timer, Namba is almost always the more relaxing choice.
← Swipe to see the full table →
| Feature | Namba | Umeda |
|---|---|---|
| Ease of arrival | Moderate | Difficult |
| Food access | Excellent | Good |
| Local vibe | Friendly | Corporate |
Plan your trip: the tools we use
Our pick: Namba, as it keeps you close to the food and lightens your navigation load.
3. Navigating the three-layer train system
Osaka’s rail network feels like a jigsaw puzzle. You have the JR lines, the municipal subways, and the private lines like Kintetsu or Nankai. Trying to map them all out at once is a recipe for a headache.
Mastering the municipal subway
The municipal subway lines (Midosuji, Nagahori Tsurumi-ryokuchi) are your best friends. They are far more intuitive than the JR Osaka Loop Line for reaching the specific districts where tourists actually spend their time.
Using private rail lines
If you head to Nara or Kobe, you will likely use private lines like Kintetsu or Hanshin. Book your regional passes on Klook to avoid standing in ticket machine lines when you reach the station gate.
What most first-timers do
- Rely on the JR Pass for every single ride.
- Get lost inside the JR Osaka Loop Line stations.
- Wait in long lines to buy individual paper tickets.
What actually works
- Use a digital ICOCA card on your phone.
- Focus on the Midosuji subway line for central stops.
- Use Klook for specific day passes to nearby cities.
4. Mastering the digital ICOCA card
Gone are the days of carrying a pocket full of yen coins for the ticket machines. Most modern travelers use a digital transit card added directly to their smartphone wallet.
Setting up your digital transit
Open your wallet app on your phone and add a transit card like Suica, Pasmo, or ICOCA. You can load it with a credit card via Apple Pay or Google Pay. It saves you roughly 5–10 minutes at every station entrance.
Managing your card balance
Always keep at least ¥2,000 on your card to avoid a frantic search for a recharge machine. If you run out of funds, look for the fare adjustment machines near the exit gates.
Step 1: Download the card
Add an ICOCA to your phone wallet before leaving home.
Step 2: Load with credit
Use a major credit card to top up your balance instantly.
Step 3: Tap and go
Tap your phone at the reader to enter and exit every station.
Where we would book this
Booking.com
Largest inventory in Japan for English-speaking travellers
- Best for
- Hotels, business hotels, ryokan and apartments in every city
- Checked
- September 2026
Official site. Same price for you.
5. Why the 3-day rule matters for your schedule
Osaka is intense. If you try to see every corner in a weekend, you will return home exhausted and confused. I recommend a minimum of three full days to actually enjoy the atmosphere instead of just transiting through it.
Balancing city exploration
Spend your first day exploring the Namba area. On day two, head to the Osaka Castle park in the morning. Use your third day for a quick trip to Nara or a deep dive into the local retro gaming scene in Nipponbashi.
Managing your energy levels
Osaka food is heavy and salty. Build in a “nap hour” around 3:00 PM each day. It keeps you refreshed for the evening neon lights.
6. Food etiquette and the standing bar culture
Many of the best spots in Osaka are tiny standing bars. These places are efficient and welcoming, but they have their own rhythm that differs from a sit-down dinner back home.
Standing bar etiquette
Order a drink first, then choose your snacks. Standing bars are designed for a quick round of food and drink before moving to the next spot. Keep your elbows tucked in to respect the limited space.
Market dining rules
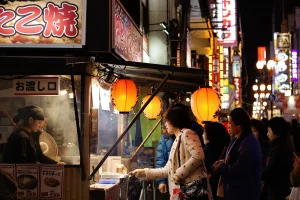
If you grab a skewer at Kuromon Market, eat it standing near the stall. Do not walk through the crowd while holding a dripping snack. It is considered poor manners and you will likely bump into someone.
7. Avoiding the Dotonbori crush
Dotonbori is famous for a reason, but that reason is precisely why it is unbearable after dark. The narrow walkways become a sea of people that can turn a five-minute stroll into a thirty-minute slog.
The morning scout strategy
Visit Dotonbori at 9:00 AM. The giant mechanical crabs and neon signs are just as bright, but you can actually see the river. You can take your photos without a hundred strangers in the frame.
Timing your market visits
Show up at Kuromon Market right when shops open. By noon, the aisles are so crowded that you cannot even stop to look at the menu. Going early allows you to chat with vendors and enjoy your meal in peace.
If you need reliable data for your maps, use an eSIM from Airalo or Ubigi. It is far cheaper than roaming and sets up in minutes before you land.
8. Lockers and luggage forwarding costs
Dragging a suitcase through an Osaka train station is the fastest way to lose your patience. The floor is often uneven, and the crowds will not move for your heavy luggage.
Finding storage space
Station lockers often fill up by 10:00 AM. Do not bank on finding a large one in a major terminal. If you arrive early, you might get lucky, but have a backup plan for a luggage storage service.
Forwarding your luggage
Forward your heavy bags from the airport or your hotel to your next destination. It costs roughly ¥2,000–¥3,000 per bag. It is a small price to pay to avoid the stress of navigating the subway with a suitcase.
9. My personal arrival method
When I arrive in Osaka, I head straight to my base in Namba. I do not look at the main Osaka Station map. I focus on finding the Midosuji line entrance and nothing else.
The habit that saves the trip
My rule of thumb is to “book once, adjust twice.” I book my hotel and my initial airport transfer via Klook long before I leave. Then, I keep my daily itinerary flexible so I can skip a spot if I feel overwhelmed. This simple habit keeps the stress levels low when things inevitably go sideways.
10. Pre-arrival tech: The digital survival kit
Most travelers land at Kansai International Airport and immediately panic because their home SIM does not connect or their map apps are sluggish. You should never wait until you are standing on the train platform to figure out your connectivity.
Setting up your digital infrastructure at home is the difference between a smooth arrival and standing in a long line at a help desk.
Secure your data before you fly
You need a reliable connection to use Google Maps, which is the only way to track Osaka’s multi-layered train departures. Purchase an eSIM from Airalo or Ubigi at least two days before your departure.
These providers allow you to activate your plan the moment you touch down without swapping physical plastic chips that are easy to lose.
The essential app stack
Do not rely on your phone’s browser for transit schedules. Download the Google Maps app and ensure you have offline maps of the Kansai region saved, just in case you experience a dead zone underground.
If you have an iPhone, add your ICOCA or Suica to your Apple Wallet immediately so you can tap your device to pay for your train ticket the second you reach the station gate.
- Download Google Maps and set your home and hotel locations.
- Install an eSIM profile from Airalo or Ubigi; check the official site for device compatibility.
- Use a translation app like DeepL or Google Translate for basic signage interpretation.
- Register for a Klook account to store all your digital vouchers in one spot.
My personal approach is to keep all travel-related confirmation emails in a dedicated folder on my phone. Whether it is a hotel booking from Booking.com or a voucher for a regional rail pass, having an offline version ready saves you if the terminal Wi-Fi decides to drop right when you need to show your ticket.
11. Handling cash and ATMs like a local
While Japan is becoming increasingly digital, Osaka is still a city of small, independent vendors who strictly prefer cash. You will inevitably find a ramen shop or a vintage arcade in Nipponbashi that does not accept cards, and arriving without any yen in your pocket will force you to hunt for an ATM in a hurry.
Where to find the right machines
Avoid the generic bank ATMs on the street that may reject your international debit card. Instead, head straight for 7-Eleven or Lawson convenience stores.
Their in-store machines, known as 7-Bank or Lawson Bank ATMs, are the gold standard for international travelers and are reliable for foreign bank cards.
Managing your first 20,000 yen
When you arrive, withdraw roughly 20,000 yen to cover your initial meals, small locker fees, and arcade games. Keep this cash in a separate pocket from your daily spending money.
It is far too easy to lose track of smaller notes when you are constantly paying for 500-yen snacks, and having a buffer ensures you are not making daily trips to the ATM.
Transaction fee tips
Be aware that some international banks charge flat fees per withdrawal. It is smarter to pull out a larger lump sum at once rather than making four smaller trips throughout the week.
Check your home bank app for foreign transaction fees before you leave. Remember that currency exchange booths in the airport usually offer worse rates than withdrawing directly from a store ATM.
Always decline the “dynamic currency conversion” option on the machine screen. This ensures you get the best rate from your own bank.
← Swipe to see the full table →
| Location | Ease of Use | Reliability |
|---|---|---|
| Convenience Store | High | High |
| Major Bank Branches | Moderate | Variable |
| Airport Kiosks | Moderate | High |

FAQ
QIs it easy to use English in Osaka?
Most tourist areas have English signage, but having a translation app ready is highly recommended for smaller shops.
QDo I need the JR Pass?
Usually no; a digital ICOCA card is far more flexible for the local subway and private lines that dominate Osaka.
QShould I tip the servers?
No, tipping is not practiced in Japan and may cause confusion or be politely refused at restaurants.
QHow is the Wi-Fi coverage?
Public Wi-Fi is hit-or-miss, which is why an eSIM is essential for navigating the complex rail system.
QAre credit cards widely accepted?
Major stores take cards, but smaller ramen shops and markets remain cash-only, so always carry yen.
 ReaderYuki
Planning your first few days in Osaka can feel overwhelming when you look at the transit maps.
Stop trying to memorize every station and just commit to one comfortable base, then figure out the rest once you are on the ground.
Keep planning
- ① Install and test your eSIM before take-offAiralo and Ubigi eSIMs activate on arrival, but the install itself needs Wi-Fi. Do it at home and confirm the profile shows up in your phone settings.
- ② Save your first hotel’s address in JapaneseTaxi drivers and station staff read Japanese addresses far faster than romanised ones. Copy it from the booking confirmation into your notes app.
- ③ Set aside cash for day oneMany small restaurants, temples and rural buses are still cash-only. Airport ATMs at 7-Eleven and the post office accept most foreign cards.
Skip these and your first hour in Japan goes on finding Wi-Fi at the station instead of getting to your hotel.
🔍 How to sanity-check any price you read online
Blogs (including this one) go out of date. The official page always wins over a screenshot from two years ago.