
- Stay in Ueno or Gotanda to escape the madness of major hubs.
- Use a digital Suica or Pasmo on your phone for all trains.
- Limit yourself to two distinct neighborhoods per day.
- Book high-end dinners weeks ahead to avoid hours of waiting.
- Avoid Tokyo Station and Shinjuku for daily transfers.
Some links are affiliate links (marked “Partner link”). Prices are ranges checked in 2026; confirm on the official site before you book.
I expected Tokyo to be a puzzle I could solve with a map. What I got was a city that required an entirely different approach to geography and movement to avoid total burnout.
If you are only doing Tokyo, close this and read our dedicated Tokyo-only guide. For those attempting a 7-10 day trip, the secret to success is treating the city like a cluster of independent villages rather than a singular, overwhelming metropolis.
- You worry about getting lost in station tunnels.
- You feel the need to see ten sights in one day.
- You think you need a complex rail pass for the city.
- You have never used a Japanese IC card.
- You find the scale of Shinjuku station terrifying.
- Time needed
- 7–10 days
- Typical cost
- ¥10,000–15,000/day
- Best base
- Ueno or Gotanda
- Booking
- Required for dinner
- Data
- Ubigi or Airalo
| Item | Budget (Yen) |
|---|---|
| Daily transit | ¥800–1,500 |
| Train fare per ride | ¥200–400 |
| Lunch set | ¥3,000–5,000 |
Plan your trip: the tools we use
1. Why the Shinjuku and Shibuya cluster ruins your first 3 days
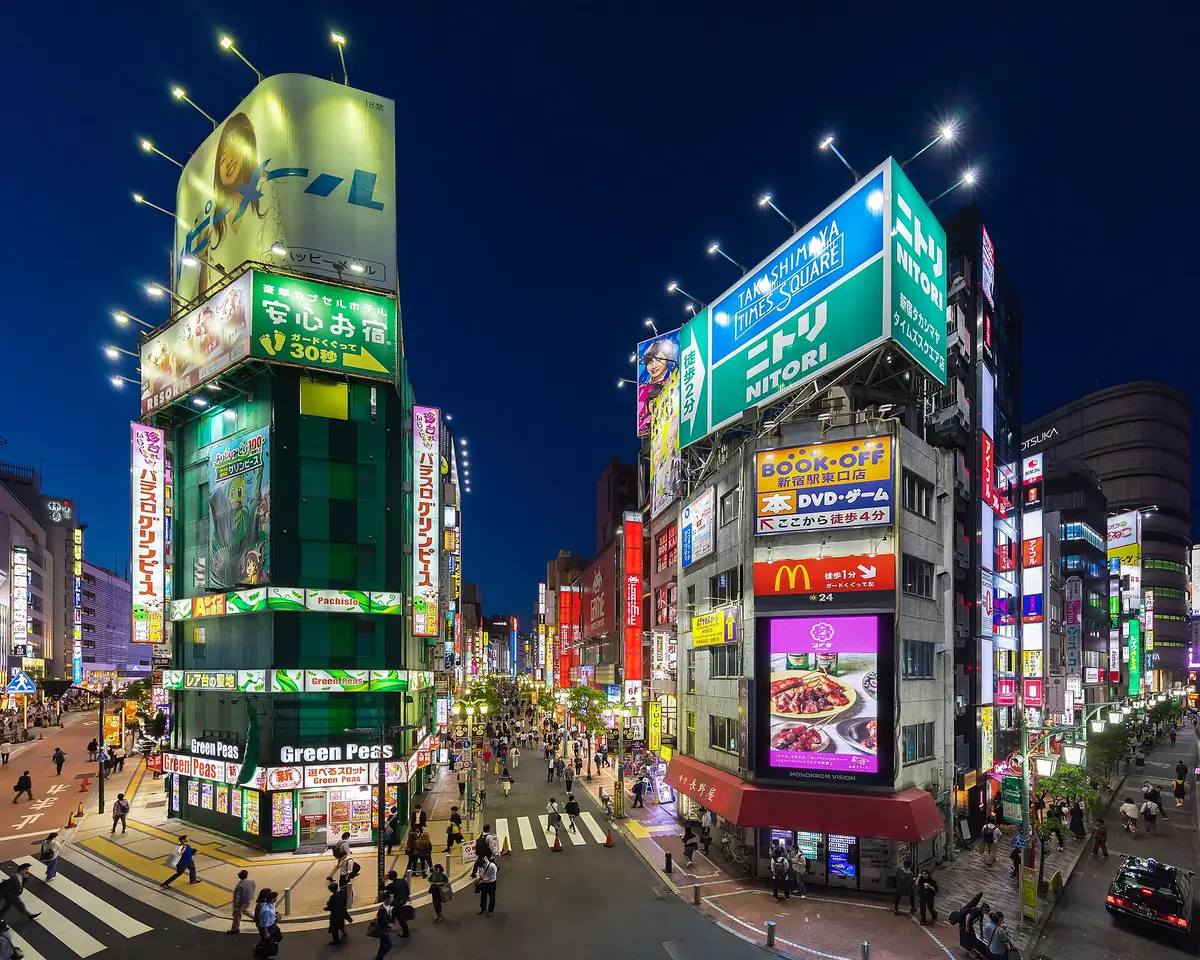
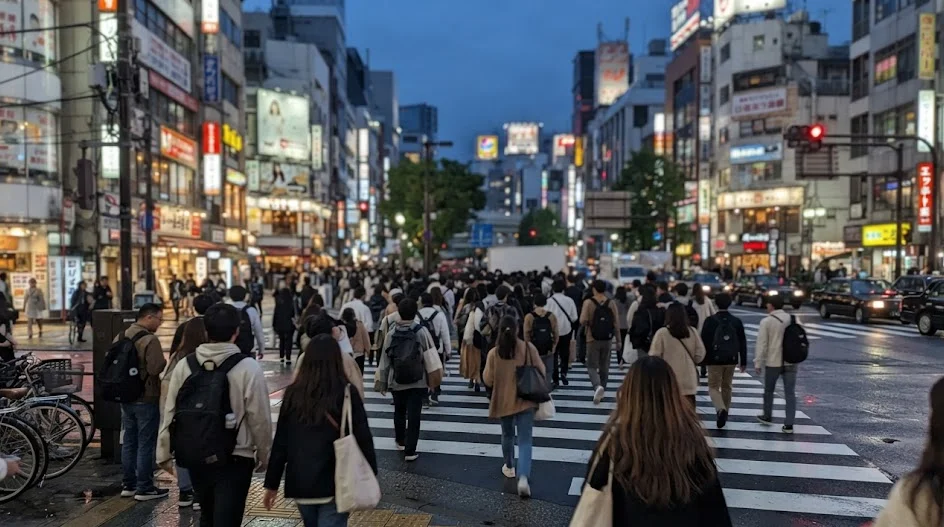
Most travelers insist on staying in Shinjuku or Shibuya because they appear in every guidebook. These are the busiest hubs on earth and will leave you exhausted before your first morning coffee.
1. The mistake of living in the transit center
Living in Shinjuku sounds convenient, but the sheer volume of humanity makes every departure a struggle. You will waste thirty minutes just finding the right platform exit.
2. Choosing a calmer home base
Opt for quieter districts like Ueno or Gotanda. These areas are located directly on the Yamanote line and provide immediate, low-stress access to the rest of the city without the crushing crowds.
Stay near the Yamanote loop to simplify your life.
3. Managing your morning departure
When you stay in a neighborhood like Ueno, you can walk to your local station in three minutes. You will reach your first destination without navigating through thousands of commuting salarymen.
2. Money and transit cards: The 1 card rule
Do not try to optimize your travel by buying individual subway tickets. This is a common trap that wastes time and causes unnecessary anxiety at turnstiles.
4. Using digital Suica or Pasmo
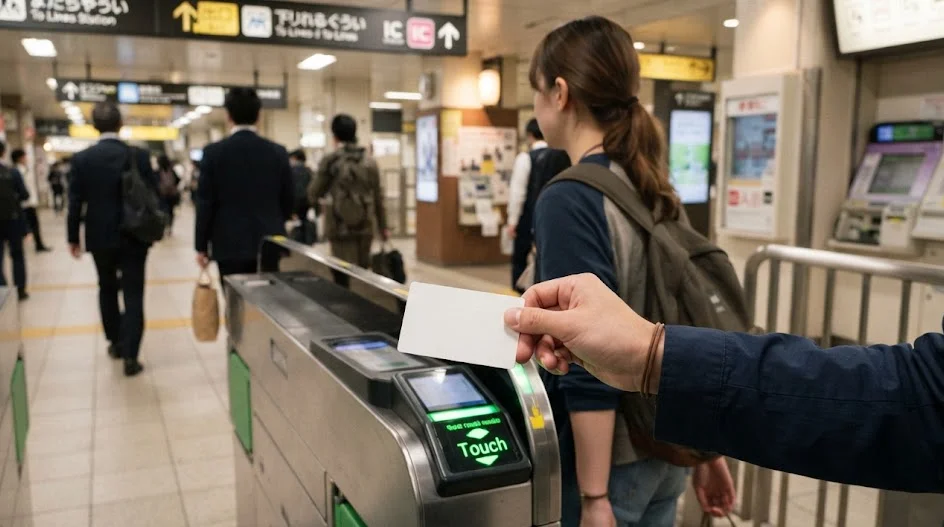
Add a digital Suica or Pasmo card to your smartphone wallet via the settings menu. You can tap your phone at any gate, on any bus, and even at convenience stores across the country.
Top it up with a credit card directly on your device.
5. Ignoring the subway vs JR distinction
Forget the difference between private subways and JR lines for a moment. Just use your card; the system automatically calculates the fare, which usually ranges from ¥200–400 per ride.
6. Estimating your daily transport spend
Expect to spend roughly ¥800–1,500 on local transit per day. If you exceed this, you are likely rushing too much, which leads to the very fatigue you want to avoid.
3. Avoiding the big station panic
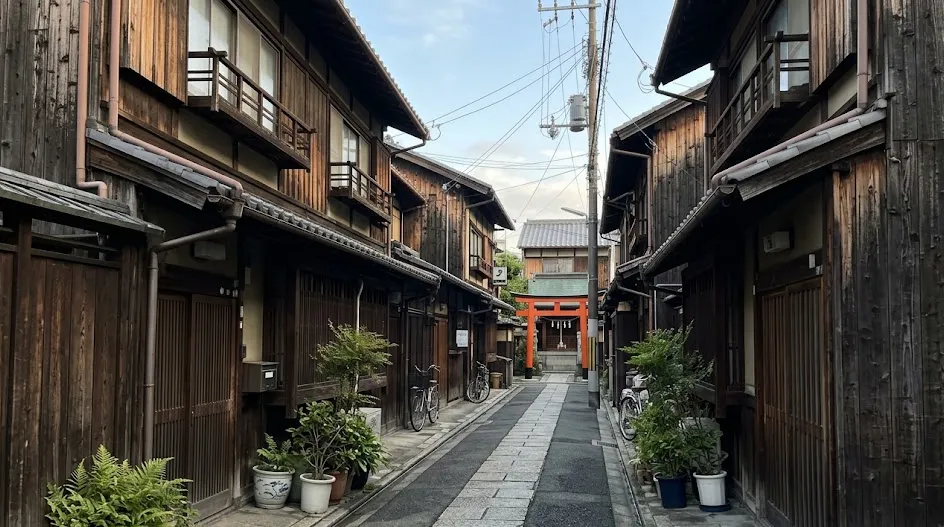
Tokyo Station and Shinjuku Station are not just train stops; they are labyrinthine cities beneath the earth. Entering them without a plan is a recipe for a frustrated afternoon.
7. Designing your route to avoid major hubs
When planning your day, ensure your route does not require a transfer at a major hub. Use smaller stations on the Yamanote line to enter or exit your day of sightseeing.
8. Recognizing the signs of tunnel fatigue
If you find yourself walking for ten minutes through an underground shopping mall, you have already taken a wrong turn. Head back to the street level and look for the colored train line signs.
The street is always easier to navigate.
9. Using luggage forwarding services
Do not haul your suitcases through these stations. Use the Yamato transport service from your hotel or the airport to send your bags directly to your next stop for roughly ¥2,000–3,000.
4. Booking your first 10 days of accommodation
You should book your rooms at least three months in advance. Tokyo hotels fill up quickly, and late booking results in high prices for subpar locations.
10. The business hotel advantage
Look for Japanese business hotel chains on Booking.com or Agoda. These rooms are compact but provide everything you need: reliable Wi-Fi, private bathrooms, and pristine laundry facilities.
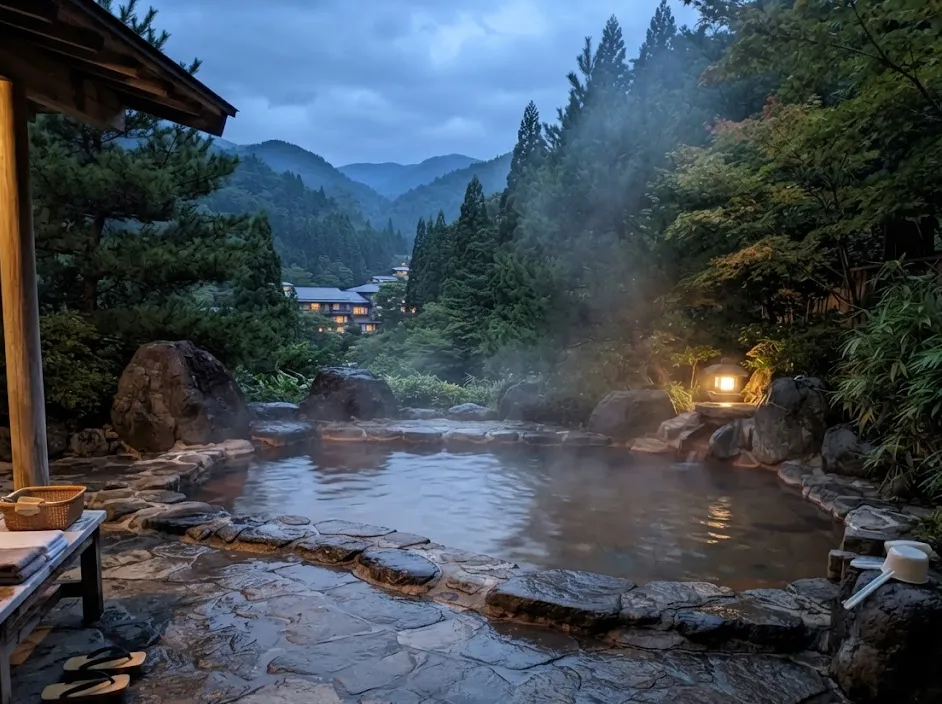
They are clean, efficient, and well-located.
11. Avoiding expensive international brands
Skip the large international hotels that cost triple the price. You are better off using the savings on high-quality dinners or a flight upgrade to get to Japan.
What most first-timers do
- Book central Shibuya hotels
- Try to see 4 sights daily
- Buy paper tickets
- Change hotels frequently
What actually works
- Book Ueno or Gotanda
- See 2 districts a day
- Use digital Suica
- Stick to one base
Where we would book this
Booking.com
Largest inventory in Japan for English-speaking travellers
- Best for
- Hotels, business hotels, ryokan and apartments in every city
- Checked
- September 2026
Official site. Same price for you.
5. Dinner reservations and where to book them
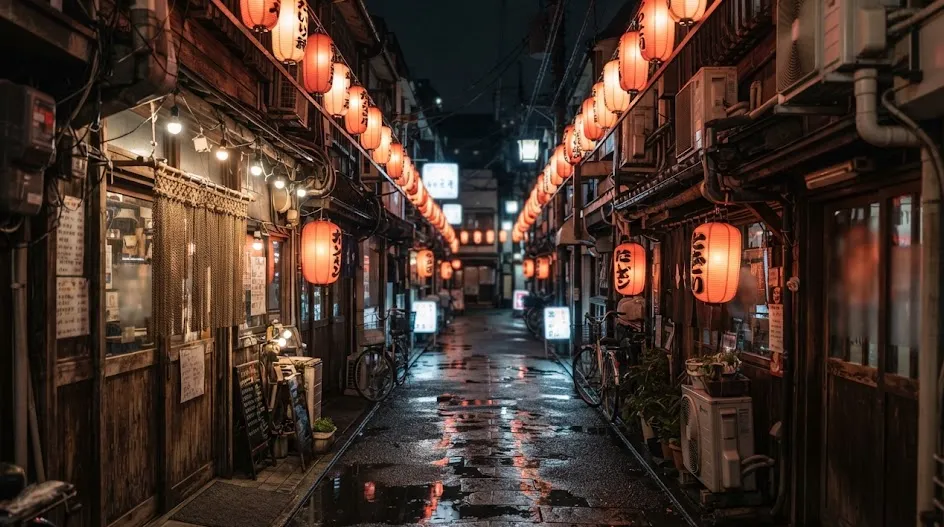
Tokyo is a city that rewards those who plan their meals. If you try to walk into a famous sushi spot or izakaya at 7 PM, you will likely spend your night queuing on the sidewalk.
12. The need for advance planning
Use platforms like Klook or the restaurant’s official website to secure your spots for dinner. Popular places open reservations weeks or months in advance, and they disappear within minutes.
Check the official site for opening times.
13. Flexibility with your lunch options
Eat your main meal at lunch when prices are often lower. Many high-end restaurants offer lunch sets that are much more affordable than the dinner menu, frequently around ¥3,000–5,000.
14. Finding local spots without a reservation
If you have no bookings, look for restaurants located on the upper floors of office buildings. These are often filled with locals and rarely have the massive lines found at street-level tourist spots.
6. Mapping your trip by ward to save sanity
Treating Tokyo as one massive place to explore is why many visitors end up on a train for three hours a day. Focus on one or two wards and master those before moving on.
15. The two-district rule
Limit yourself to two distinct neighborhoods per day, such as Asakusa and Ueno. This leaves you enough time to sit at a cafe or explore a park without feeling the pressure to rush.
16. Visualizing the city in sectors
Divide the city into sectors based on the train line. Spend your Monday on the west side and Tuesday on the east side to minimize travel time and energy expenditure.
Consistency saves you hours of transit.
17. Why skipping sights matters
If you have ten items on your list, cut three immediately. You will enjoy a lingering stroll through a temple far more than a frantic dash between three different museums.
7. Understanding etiquette without the anxiety
Most etiquette advice online focuses on obscure rules that nobody will actually mind if you break. Focus on the few things that keep the city flowing smoothly.
18. Keeping quiet on the trains
Silence is expected. Keep your phone on vibrate, do not speak on calls, and keep your voice low when talking to your partner or friends.
19. Managing your escalator stance
In Tokyo, stand on the left side of the escalator. Let people walk past you on the right side so you don’t block the path for commuters.
Follow the flow of the people around you.
20. Navigating turnstiles correctly
Have your Suica card ready before you reach the gate. Keep your movement steady, and never stop abruptly in the middle of a high-traffic area to check your map.
8. 3 steps to your first 7-day Tokyo loop
Step 1: Step 1: The booking phase
Secure your accommodation in Ueno or Gotanda via Booking.com four months out.
Step 2: Step 2: The digital setup
Set up your Suica or Pasmo on your phone and get an eSIM from Ubigi or Airalo.
Step 3: Step 3: The arrival plan
Use a single, simple route from the airport to your hotel and avoid station hubs.
9. The pre-trip checklist to finish in one evening
Most travelers leave their preparation for the flight, leading to a frantic arrival. You can finalize your logistics in one hour from your sofa if you focus on the essentials that prevent friction.
Step 1: Digital identity and connectivity
First, secure your data connection by purchasing an eSIM through Ubigi or Airalo. Do this while you are still at home so your phone connects to a local network the moment you land, preventing expensive roaming charges.
Your phone is your lifeline. If you cannot access Google Maps or your digital transit card, you are effectively stranded in a city that expects you to be self-sufficient.
Step 2: Securing your reservations
Do not wait until you are hungry to look for food. If there are two specific restaurants you are dying to try, book them now via Klook or the restaurant’s own reservation portal. If you cannot find a booking, assume it is full and move on.
- Download the Google Translate app and add the Japanese language pack for offline use.
- Save your hotel address in both English and Japanese script in your phone notes.
- Check that your credit card has no foreign transaction fees.
Step 3: Packing the right gear
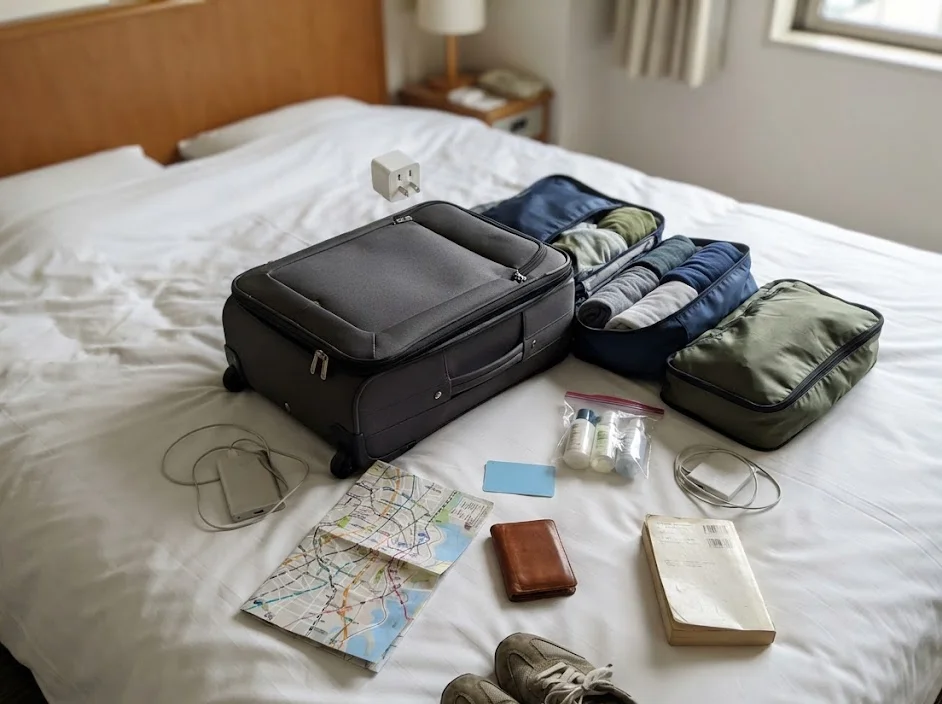
Pack lightweight luggage for your trip. You will encounter stairs at many stations, and dragging a heavy, oversized suitcase through Tokyo’s narrow streets will ruin your mood instantly.
Carry a small coin purse. Even in a high-tech city, you will accumulate heavy amounts of yen coins from cash transactions, and they will become a burden if you keep them loose in your pocket.
My personal approach
I organize my entire trip in a single Google My Maps layer. I pin only two spots per day, color-coded by the district. If I am not near a pin by 2 PM, I delete the remaining pins for that day. This keeps my mental load low and allows for spontaneous discoveries instead of chasing an imaginary schedule.
10. Money on arrival: ATMs and the first 20,000 yen
People often panic about currency exchange rates at airports, but the reality is much simpler. You do not need to walk into a bank or visit a currency exchange booth to get your initial cash.
How to handle cash upon landing
Your first move should be to withdraw yen from a Seven-Eleven convenience store ATM. These machines are ubiquitous, accept almost every international debit card, and offer the most competitive exchange rates compared to airport kiosks.
Take out at least 20,000 yen immediately to cover your first few days. While Japan is becoming more card-friendly, small ramen shops, independent shrines, and local vending machines still prefer cash.
Where to store and use your cash
Never carry your entire travel budget on your person. Keep your extra yen securely locked in your hotel room safe and only carry what you expect to spend that day. You do not want to be a walking target, even in a city as safe as Tokyo.
- Withdraw in multiples of 10,000 yen for better bill denominations.
- Use the 1,000 yen bills first to avoid being stuck with a 10,000 yen note at a small shop.
- Check the official site of your home bank for international ATM fee policies before you depart.
Avoiding common money pitfalls
Avoid dynamic currency conversion prompts at ATMs. When the machine asks if you want to be charged in your home currency or Japanese yen, always select Japanese yen. Accepting your home currency allows the machine to apply its own, often terrible, exchange rate.
 ReaderYuki
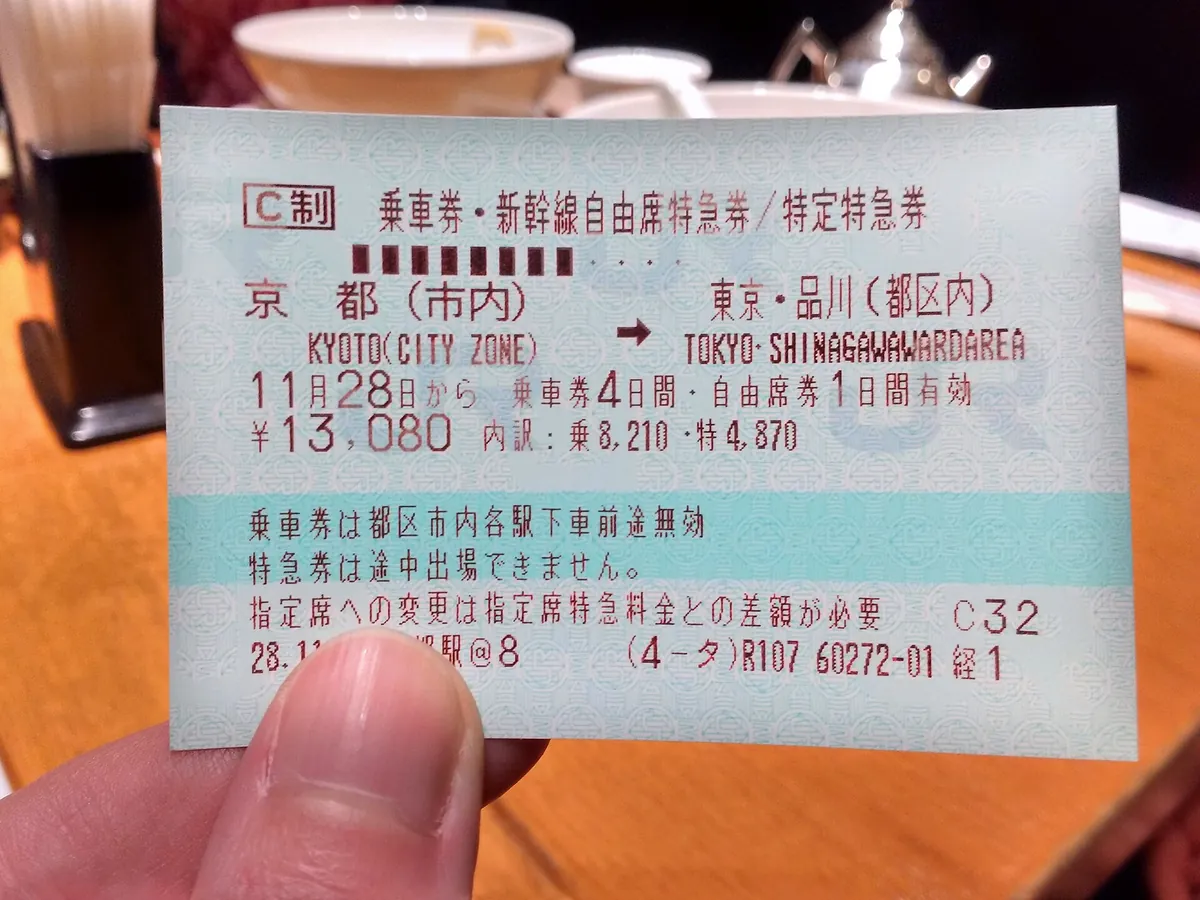
Also, ignore the hype about the JR Pass as a way to save money. For most Tokyo-only or regional itineraries, it is far more expensive than simply paying as you go with your Suica card.
It is a legacy tool that rarely offers value for the modern traveler. Confirm your actual travel costs on a calculator tool before committing to any pass.
My personal approach
I treat my 20,000 yen buffer as a “freedom fund.” If I am tired and decide to skip a train in favor of a short taxi ride, I use this cash without guilt. Being able to pivot comfortably is the ultimate luxury in a city as dense as Tokyo.
11. Final verdict: What you should actually skip
I also spent way too much time in crowded observation decks.
21. Skipping crowded observation decks
Skip the major paid observation decks with massive lines. There are plenty of free alternatives, such as the Tokyo Metropolitan Government Building in Shinjuku, which offers similar views.
22. Ignoring the “must-see” lists
Ignore any list that tells you to see everything. If a spot looks crowded and boring, walk away and find a quiet shrine nearby. You are here to experience the city, not tick boxes.
The best memories happen in the quiet moments.
FAQ
QIs Ueno a good place for families?
Yes, Ueno is very family-friendly, offering large parks, museums, and a zoo, all while being significantly quieter than the western hubs.
QDo I need cash for everything?
No, but you must carry some. While trains and convenience stores take cards, small ramen shops and older shrines often require yen.
QIs it hard to find English menus?
Not at all. Most major spots have English menus, and digital translation apps can easily handle smaller local establishments.
QShould I buy a physical IC card?
If your phone supports a digital Suica or Pasmo, do that instead. It is easier to top up and you will not have to worry about losing a plastic card.
QHow do I handle station luggage?
Use the Yamato Transport service. It is cheap and removes the stress of navigating crowded stairs with heavy bags.
QIs tipping required in restaurants?
Never tip in Japan. It is not part of the culture and may even confuse or offend the staff if you leave extra money on the table.
You probably feel overwhelmed by the sheer size of the city, but it is manageable once you stop trying to see everything at once.
Stop re-reading blogs for the perfect itinerary and lock in the two or three decisions that matter, then adjust the rest of your days as you go.
Keep planning
- ① Install and test your eSIM before take-offAiralo and Ubigi eSIMs activate on arrival, but the install itself needs Wi-Fi. Do it at home and confirm the profile shows up in your phone settings.
- ② Save your first hotel’s address in JapaneseTaxi drivers and station staff read Japanese addresses far faster than romanised ones. Copy it from the booking confirmation into your notes app.
- ③ Set aside cash for day oneMany small restaurants, temples and rural buses are still cash-only. Airport ATMs at 7-Eleven and the post office accept most foreign cards.
Skip these and your first hour in Japan goes on finding Wi-Fi at the station instead of getting to your hotel.
🔍 How to sanity-check any price you read online
Blogs (including this one) go out of date. The official page always wins over a screenshot from two years ago.
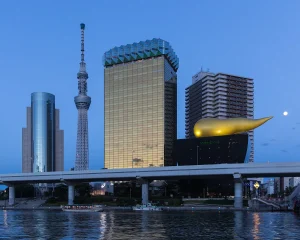
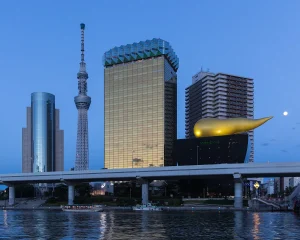
Cover Photo: duncan_su from Taipei, Taiwan, CC BY 2.0, via Wikimedia Commons