- Visit at 7:00 AM for the freshest selection of food.
- Stick to onigiri, Famichiki, and egg sandwiches for reliability.
- Check labels for the allergen icons if you have dietary restrictions.
- Always carry small change for quick store transactions.
- Primary Chains
- 7-Eleven, Lawson, FamilyMart
- Budget Range
- ¥150 – ¥700 per item
- Best Shopping Time
- 7:00 AM
- Payment Methods
- Cash, IC Cards, Credit Cards
“I just want to grab something for the train without feeling like I’m playing a guessing game with a mystery meat sandwich.” I heard a traveler say this near the ticket gates of Umeda Station, and it perfectly sums up the anxiety of stepping into a Japanese convenience store for the first time.
To navigate the konbini like a pro, rely on the Holy Trinity of items—the onigiri, the Famichiki, and the egg sandwich. Hit the shops at 7:00 AM for the best selection, not late at night when the shelves are nearly empty.
We may earn a commission if you book through the links in this article, at no extra cost to you. Prices are ranges as of 2026 — check the official sites before you book.
- You feel paralyzed by the sheer number of options.
- You struggle to identify common ingredients in labels.
- You worry about accidentally being rude while eating.
- You think late-night shopping is the best time for fresh food.
- You avoid stores because you do not know how to pay.
Why a tactical konbini strategy saves your travel day
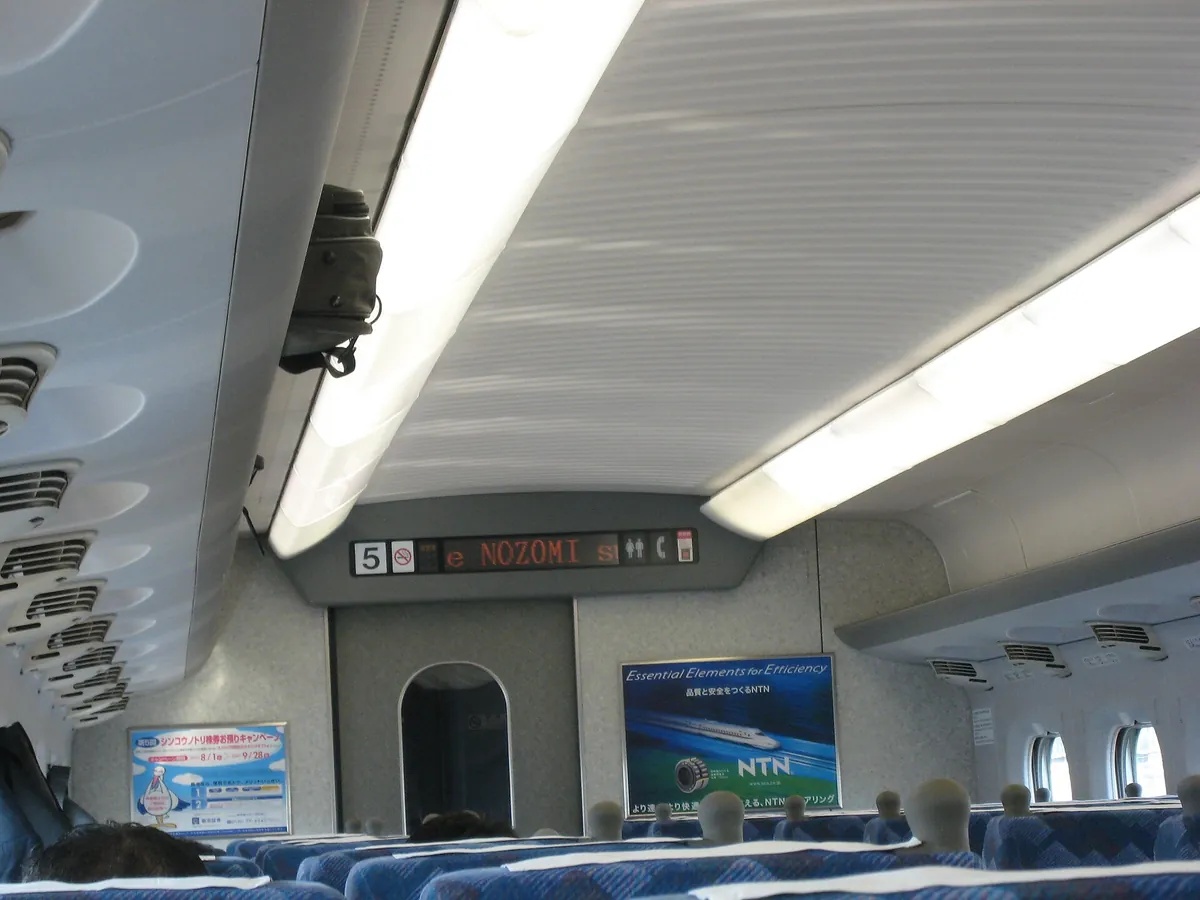
Most travelers treat the konbini as a last resort, but I use it as a primary tool to keep my sightseeing schedule on track. When you are in Osaka or Tokyo, time is your most limited resource.
Stopping for a sit-down meal can easily cost two hours of your day. By grabbing a high-quality meal at a store, I turn a sixty-minute lunch wait into a five-minute transaction. This gives me more time to explore landmarks like the Osaka Castle or Dotonbori.
Logistics beyond the snack aisle
If you are only doing Tokyo, close this and read the Tokyo-only plan. For everyone else, remember that these stores are not just for cheap snacks; they are logistics hubs.
From printing documents via Klook vouchers to picking up a pocket Wi-Fi rented through Ubigi or Airalo, the convenience store is where your Japan logistics happen.
Choosing between the major chains: 7-Eleven, Lawson, and FamilyMart
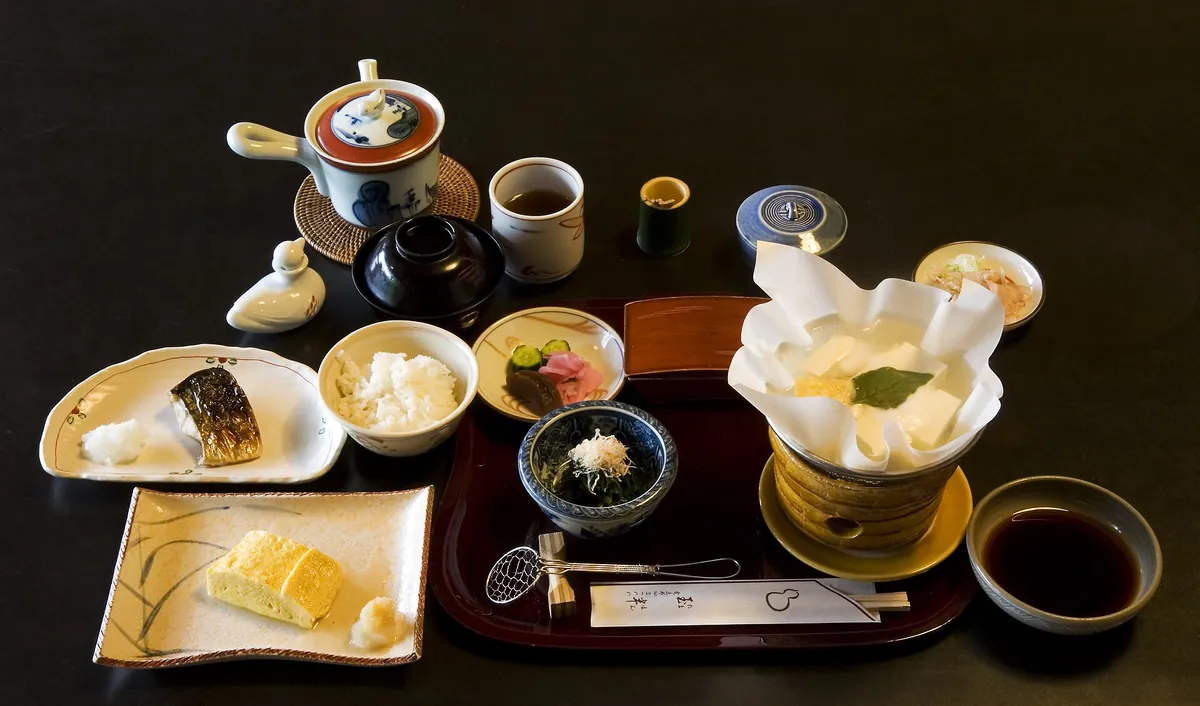
While 7-Eleven, Lawson, and FamilyMart share 90% of their functionality, they have distinct culinary strengths. I usually pick my store based on what I am craving that day, rather than just location convenience.
← Swipe to see the full table →
| Chain | Common Item Price Range |
|---|---|
| 7-Eleven | ¥150 – ¥600 |
| Lawson | ¥200 – ¥700 |
| FamilyMart | ¥150 – ¥650 |
Plan your trip: the tools we use
1. 7-Eleven for the reliable basics
7-Eleven is widely considered the king of private-label quality. Their own brand, Seven Premium, consistently ranks higher than others in taste tests, especially for their rice balls and cold noodle dishes.
If I need a quick lunch between temples in Kyoto, I head here first for a consistent, high-quality experience.
2. Lawson for the dessert enthusiasts
Lawson is where I go when I need a treat. Their Uchi Cafe brand is miles ahead of other chains in terms of variety and quality.
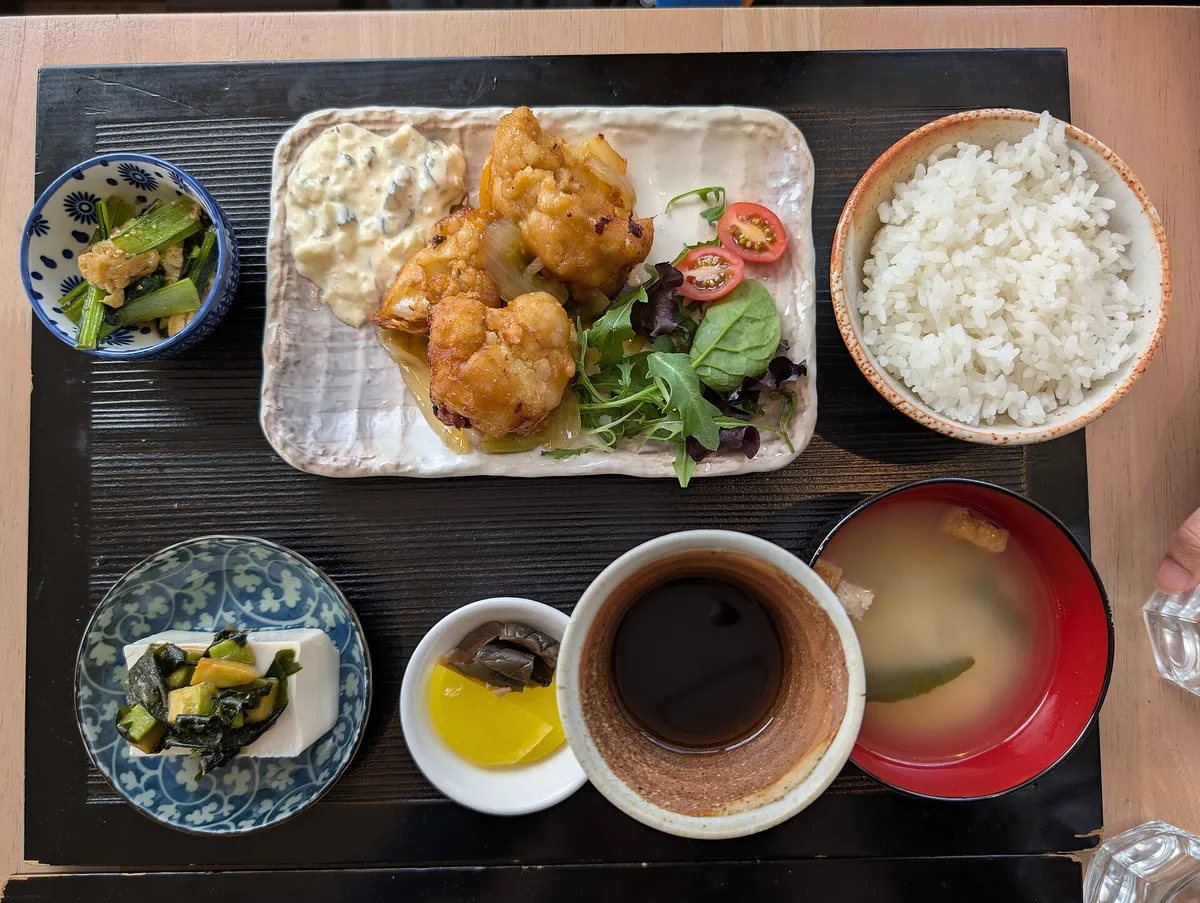
If you want a cream puff or a roll cake that tastes like a bakery product but costs roughly ¥200–350, look for the blue sign. It is a dangerous addiction, but one that makes a long day of walking much better.
3. FamilyMart for the hot food counter
FamilyMart has mastered the art of the fried chicken game. Their Famichiki is a cultural institution for a reason—it is salty, juicy, and perfect for when you need a calorie boost before a big hike.
I always check the counter to see if there are any seasonal limited-edition flavors. These typically rotate every few months.
Navigating the shelves and the freshness trap
The biggest mistake I see tourists make is assuming that a “convenience store” is a 24-hour replenishing machine. In reality, the stock follows a strict delivery schedule.
If you roll in at 11:00 PM, you will likely find nothing but a few lonely bags of chips and some questionable bento boxes.
The 7:00 AM freshness rule
Early morning is the golden hour. I have found that visiting just after 7:00 AM gives me access to the full range of fresh sandwiches, salads, and bento boxes before they are picked over by local office workers.
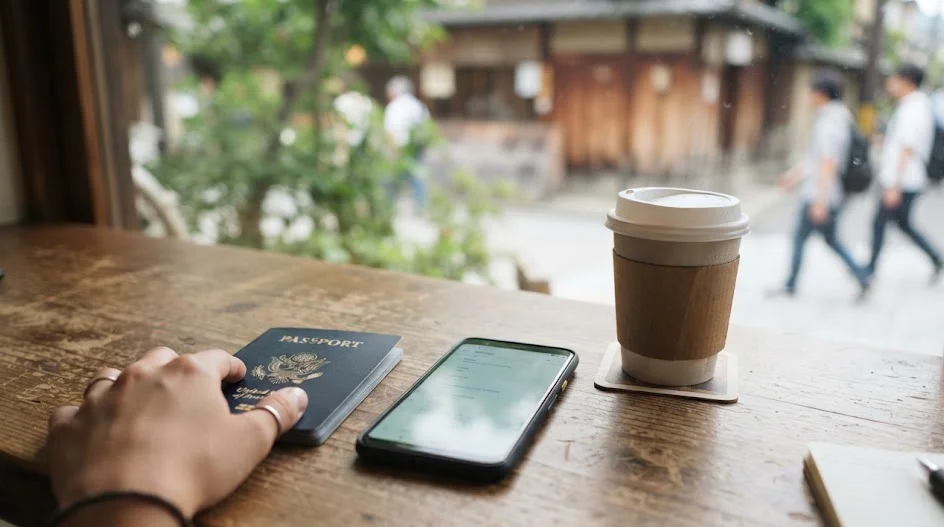
If you wait until the evening, you are playing the leftovers game.
Decoding labels for allergens
Reading labels can be intimidating, but modern stores have improved this. Look for standardized icons on the back of packaging for common allergens like wheat, eggs, or milk.
If you are ever unsure, I use the Google Translate camera feature on my phone to scan the ingredients list. It is rarely perfect, but it gives me a good enough idea to avoid ingredients I cannot eat.
What most first-timers do
- Buying food late at night
- Ignoring the hot food counter
- Trying to ask staff for ingredients
- Buying only bottled water
What actually works
- Shopping before 8:00 AM
- Getting the fried chicken
- Using the Translate app
- Trying local tea varieties
The 5 essentials you must try on your first day
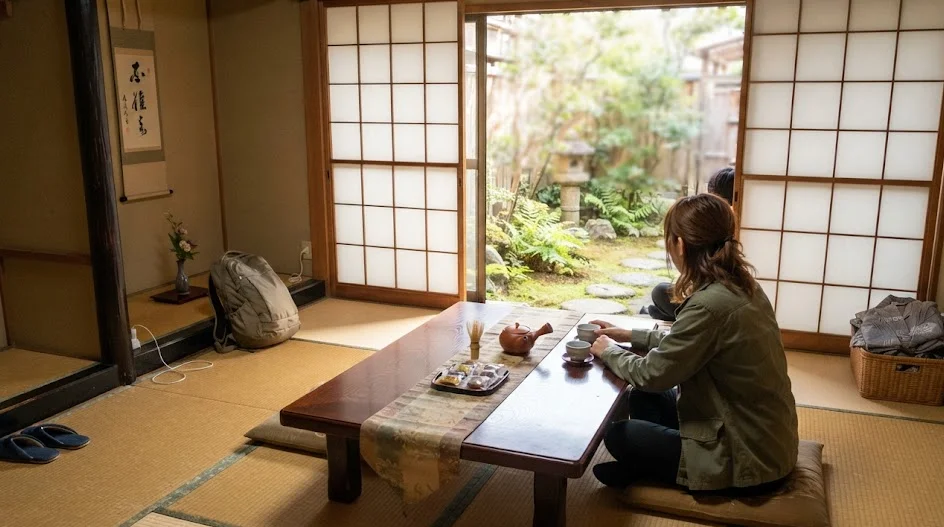
Do not overthink your first purchase. Stick to these classics to understand the standard of quality in Japan. You can expect to spend roughly ¥500–1,000 for a solid meal.
- Onigiri: Start with a salted salmon or tuna mayo rice ball.
- Famichiki: The fried chicken from FamilyMart is a rite of passage.
- Tamago Sando: The Japanese egg salad sandwich is incredibly fluffy.
- Hot Green Tea: Grab a bottle from the warmer section to stay cozy.
- Pudding: Try the standard custard pudding from the dairy aisle.
Planning your visit?
The etiquette of eating: Where you can and cannot eat
Etiquette in Japan often confuses visitors. While you might see locals walking and eating in some countries, it is generally discouraged in Japan.
I prefer to eat inside the store if there is a small counter, or I take my items back to my accommodation.
Is it okay to eat on the train?
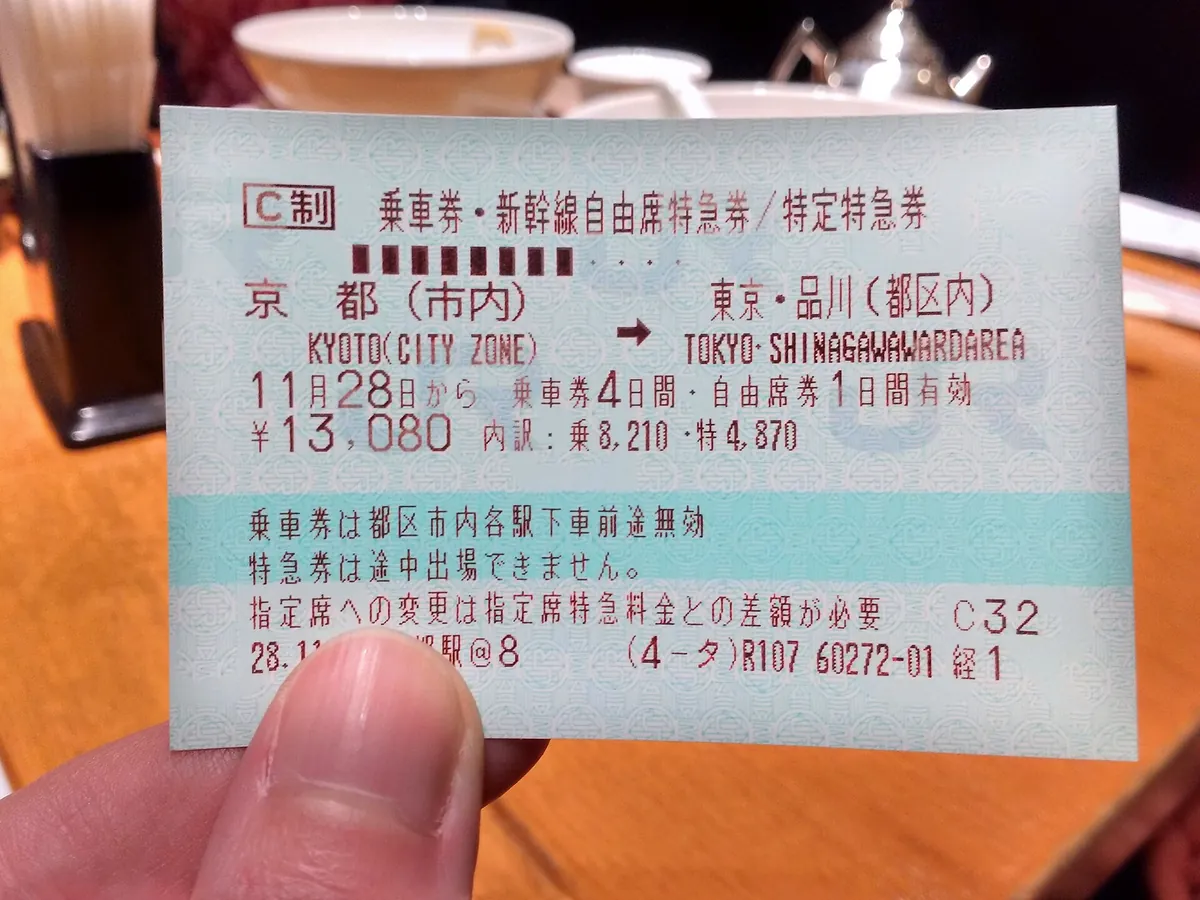
On local commuter trains, eating is a definite no-go. However, on long-distance trains like the Shinkansen, eating an “ekiben” (train bento) is part of the fun.
If you are booking your Shinkansen through Klook, prepare for a long ride by grabbing a high-quality bento at the station store before you board.
Essential services for every first-timer
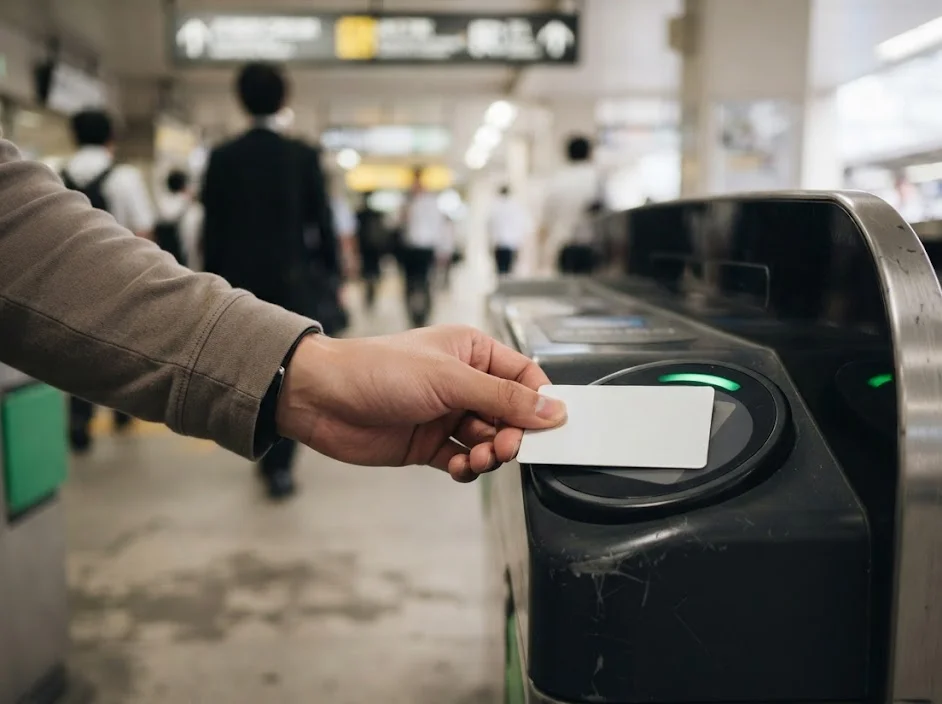
These stores are far more than food. I use them for everything from receiving luggage forwarded by Yamato to printing documents.
If you have trouble finding a print shop, the multi-function printers in most convenience stores have English menus and accept files from cloud storage. It saved my trip once when I forgot to print my JR Pass exchange order.
Step 1: Check the printer kiosk
Download the chain’s specific app to upload your documents beforehand.
Step 2: Follow the screen prompts
Select your language to English and follow the instructions to print.
Step 3: Pay and go
Insert your coins into the machine; usually, it costs about ¥10–20 per page.
How to handle money and digital payments
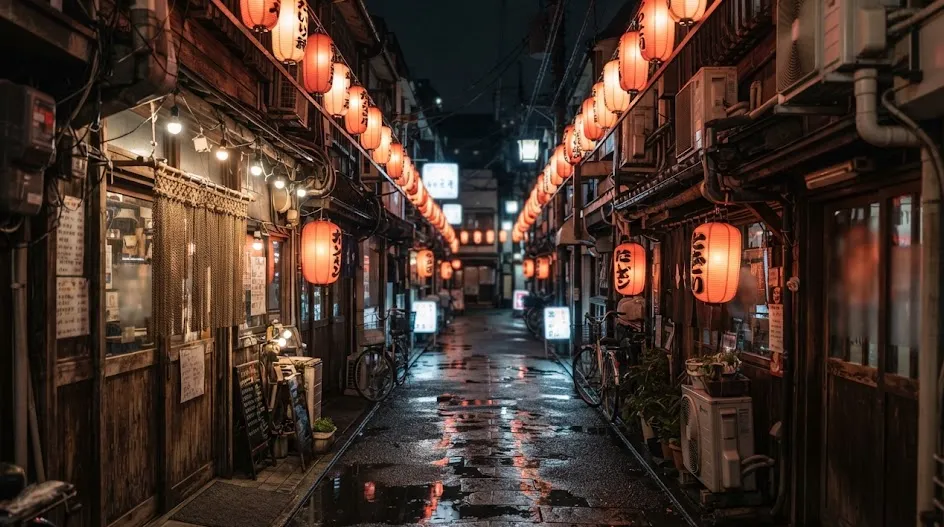
While Japan has become much more card-friendly, I still keep roughly ¥10,000 in cash on me at all times.
The store ATMs are reliable and generally accept international debit cards. If you need to withdraw, look for the ATMs in 7-Eleven, which are famous for their compatibility with foreign banking systems.
My personal approach: What I buy for a long bullet train ride
My go-to Shinkansen kit never changes. I aim for a balance of protein and hydration to avoid feeling sluggish upon arrival.
I usually grab two onigiri, a small package of nuts, and a bottle of roasted barley tea. This prevents me from having to pay premium prices for train dining car items, which are often limited in stock and higher in price.
Using a travel adapter purchased from Amazon makes charging my devices during the ride easier if I am using a regional pass or a JR Pass. Always verify if the pass pays off by adding up individual fares first.
Common konbini mistakes to avoid in 2026
The most common mistake is assuming the “heated” section is just for drinks. Many stores keep hot canned soups and even steamed buns in these sections.
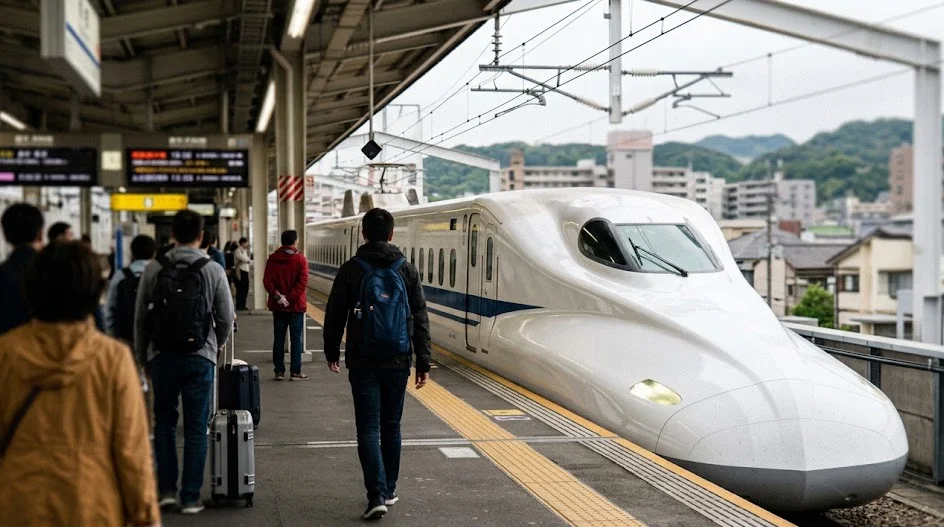
Another error is throwing away your receipt too early. Sometimes you need it to access the store’s trash bin or to prove you paid for a specific service.
If you are staying at a business hotel, sometimes they provide breakfast, so do not over-buy the night before.
Digital logistics and pre-trip preparation
You can solve much of your travel friction before you even board your flight by integrating your phone with Japanese infrastructure.
I see travelers wasting time at airport kiosks trying to set up data plans or physical transport passes. A few minutes at home on Amazon or Klook would have cleared the hurdle instantly.
Choosing the right connectivity
The most important step is choosing your data provider before touchdown. If you rely on hotel Wi-Fi, you will be lost the moment you step outside to find a station.
I recommend setting up an eSim through Airalo or Ubigi specifically for the duration of your trip. These apps allow you to purchase a data package that activates the moment your plane lands in Japan, giving you immediate access to navigation and translation tools.
Digital wallets for speed
Beyond data, your digital wallet is your greatest ally for convenience store runs. By adding a Suica or Pasmo card to your phone’s digital wallet, you remove the need to fumble with coins during a checkout line.
This is especially useful during rush hour when behind you is a line of tired salarymen who do not have the patience for a tourist counting out ten-yen coins.
- Download the Suica/Pasmo app to your digital wallet before leaving home.
- Purchase your data eSim through providers like Airalo or Ubigi to ensure connectivity.
- Keep your passport handy, as you may need it if you are picking up physical tickets or a rail pass.
- Use Klook to book regional transit passes that can be redeemed at station machines.
Hardware and accessories
When it comes to hardware, avoid over-packing. Many visitors bring bulky portable batteries, but I find that most Japanese convenience stores now sell high-quality, pre-charged power banks that are reasonably priced.
They are usually in the range of ¥2,000–3,500. Check the official site of the convenience chain if you are worried about compatibility, but generally, these units provide enough power to get you through a heavy day of photo taking and navigation.
Offline accommodation data
Finally, confirm your accommodation details are accessible offline. Use apps like Booking.com or Agoda to save your reservation address in Japanese.
Showing a store clerk or a taxi driver the address in the local language is far more effective than trying to explain it in broken English, and it makes your late-night navigation significantly less stressful.
Mastering the art of Japanese cash management
A common misconception is that Japan has completely moved past cash, but for the konbini-hopping traveler, physical yen is still your safety net.
While credit cards are widely accepted at the register, there are scenarios—such as using older ticket machines, vending machines, or rural shops—where card payments are simply not an option.
 Reader
 Yuki
Recommended cash strategy
I suggest arriving with at least ¥20,000 in local currency. You can exchange this at the airport or use an ATM upon arrival.
My personal approach is to use the 7-Eleven ATMs because they have the most reliable interface for international debit cards. Always check with your specific bank before you leave to ensure they do not charge excessive international withdrawal fees.
Once you have your cash, your next task is to manage it without creating a burden. Japanese shops use coins for values up to ¥500, and you will find your wallet filling up with these very quickly.
If you leave your change to collect at the bottom of your bag, you are doing yourself a disservice. Use the small change for vending machines or for the low-cost snacks at the convenience store register.
How to organize your daily cash flow
- Keep your high-value bills in a secure wallet away from your main pocket.
- Use a dedicated coin purse to prevent coins from weighing down your trousers.
- Aim to spend your ¥1, ¥5, and ¥10 coins whenever you are at a convenience store to clear space.
- Only withdraw what you think you need for 3–4 days to avoid carrying large sums of cash.
If you find yourself with too many coins at the end of your trip, do not just toss them. Many convenience stores have donation boxes at the register, or you can use your remaining coins to buy a final snack for your flight home.
Carrying excessive weight in your pockets is a rookie mistake that makes you stand out as a tourist and slows down your movement through crowded transit hubs.
If your budget is tight, track your daily spending using a simple notes app. By the end of your trip, you will likely realize that your store runs were a large portion of your daily budget.
These expenses often fall into a range of ¥1,500–3,000 per day if you are being careful. Tracking this early allows you to pivot your spending toward more significant experiences, like a nice sit-down dinner, if you find you have been over-relying on store snacks.
FAQ
QAre these stores truly open 24 hours?
Most are, but not all. In rural areas or quiet residential zones, some close overnight. Do not rely on them at 3:00 AM if you are in a remote village.
QIs the food actually healthy?
It is processed, but quality is high. There are plenty of fresh salads and steamed chicken options if you look past the deep-fried counter.
QCan I use my credit card everywhere?
Almost everywhere, yes. Contactless payment is standard now, but having a Suica or Pasmo card on your phone makes it even faster.
QDo store clerks speak English?
Many clerks have basic English skills, especially in major cities. Keep your requests simple or use a translation app if you have a specific question.
QAre there restrooms in the stores?
Most convenience stores provide restrooms for customers. It is polite to buy a small item, like a drink, before asking to use the facility.
The prospect of navigating a foreign shop with different labels can feel stressful when you are tired from travel.
It is better to lock in a few reliable store choices and menu items that work for you, then adjust your preferences as you get more comfortable on the ground.
Keep planning
- ① Install and test your eSIM before take-offAiralo and Ubigi eSIMs activate on arrival, but the install itself needs Wi-Fi. Do it at home and confirm the profile shows up in your phone settings.
- ② Save your first hotel’s address in JapaneseTaxi drivers and station staff read Japanese addresses far faster than romanised ones. Copy it from the booking confirmation into your notes app.
- ③ Set aside cash for day oneMany small restaurants, temples and rural buses are still cash-only. Airport ATMs at 7-Eleven and the post office accept most foreign cards.
Skip these and your first hour in Japan goes on finding Wi-Fi at the station instead of getting to your hotel.
🔍 How to sanity-check any price you read online
Blogs (including this one) go out of date. The official page always wins over a screenshot from two years ago.