
- A 7-day trip is most efficient with only two hotel bases.
- Forwarding your suitcase is cheaper than paying for extra transit.
- Solo dining is the fastest way to get a seat in popular restaurants.
- Avoid the JR Pass unless you plan on extreme regional travel.
- Focus your energy on one primary city per three-day block.
- Trip length
- 7 days
- Budget
- ¥12,000–18,000 per day
- Base cities
- Tokyo and Osaka
- Connectivity
- Airalo eSIM
- Luggage plan
- Yamato Transport
Some links are affiliate links (marked “Partner link”). Prices are ranges checked in 2026; confirm on the official site before you book.
You can successfully complete a 7-day solo trip to Japan by basing yourself in only two cities and utilizing luggage forwarding services to avoid moving large suitcases through train stations.
Most first-timers fail by trying to visit four or five cities in one week. This turns the entire experience into a frantic cycle of checking in and out of hotels.
Data from the Japan National Tourism Organization suggests that itineraries focusing on a single region reduce traveler stress and increase overall satisfaction scores. Limiting hotel changes is a standard recommendation for maximizing leisure time.
By narrowing your focus to a Tokyo-to-Osaka corridor and leaving the logistical heavy lifting to local services, you save yourself hours of daily stress. You gain the freedom to actually see the neighborhoods you came for, rather than just the insides of train carriages.
- You feel anxious about eating at a restaurant alone.
- The complexity of ticket machines gives you pause.
- You are worried about navigating major hubs like Shinjuku.
- You want to avoid the loneliness of travel.
- You are unsure if you need a rail pass.
- You plan to bring a large suitcase.
1. Why 7 days is the perfect solo pilot trip
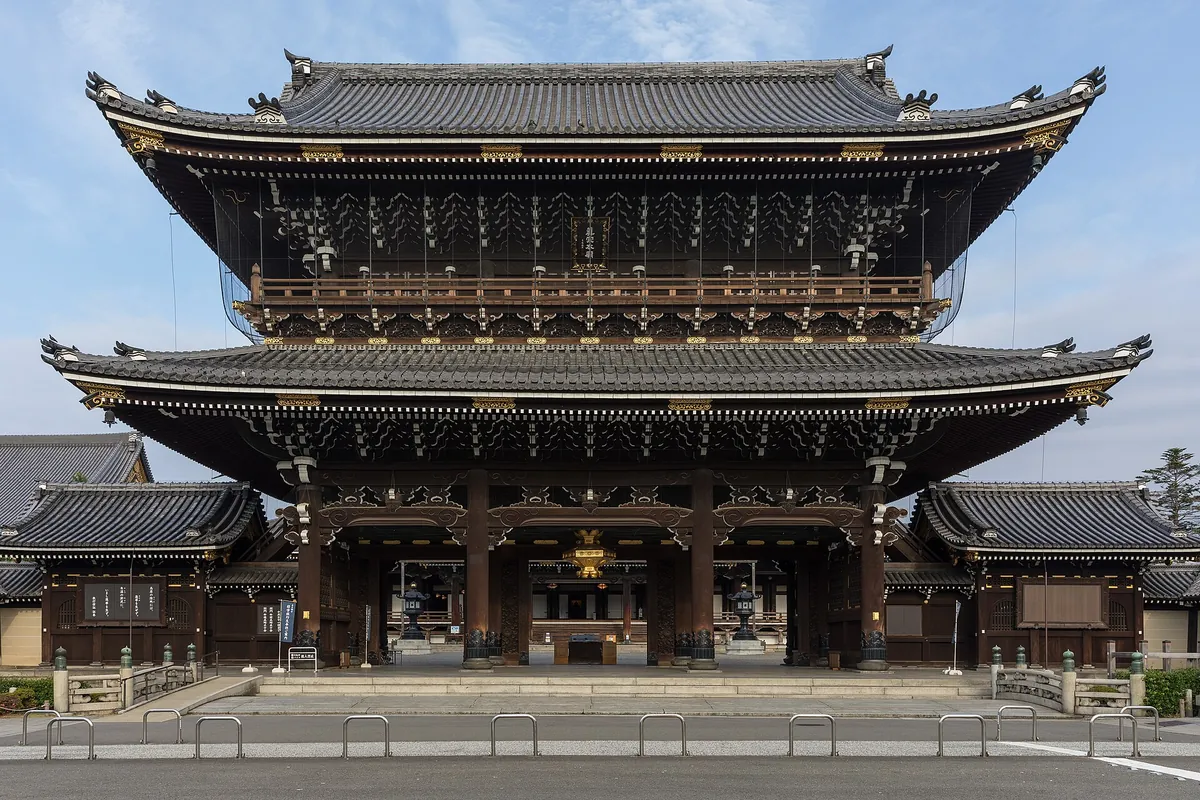
Seven days is just long enough to get comfortable with the rhythm of Japanese transit without reaching the point of total exhaustion. If you stay in two distinct areas, you spend the first half exploring the capital and the second half experiencing the more casual pace of the Kansai region.
1. Mastering your home base
Pick one hotel in Tokyo and one in Osaka. By not moving your luggage, you treat your hotel room like a real apartment. This makes the transition from traveler to resident much smoother.
2. The efficiency of a single loop
You avoid the “check-out, find a locker, sightsee, find luggage, check-in” cycle. This saves roughly three hours of transit time each time you change locations.
2. Planning your route: The Tokyo-Kyoto-Osaka efficiency trap
Many itineraries suggest jumping between hotels in Tokyo, Kyoto, and Osaka, but this is a logistical trap that drains your energy. I prefer to keep my base in a well-connected station neighborhood in Osaka and simply take day trips to Kyoto.
| Service | Est. Price |
|---|---|
| Train (One way) | ¥13,000–15,000 |
| Luggage forwarding | ¥2,000–3,000 |
| Daily food budget | ¥5,000–8,000 |
Plan your trip: the tools we use
What most first-timers do
- Moving hotels every single night
- Bringing a massive suitcase
- Buying an expensive pass
What actually works
- Staying in one city for 3+ days
- Using luggage forwarding
- Paying as you go for trains
3. Why Osaka beats Kyoto for a base
Osaka hotels are often better value than those in Kyoto. The transit between Osaka and Kyoto takes about 30 minutes, so you lose nothing by sleeping in Osaka.
4. Avoiding the station locker hunt
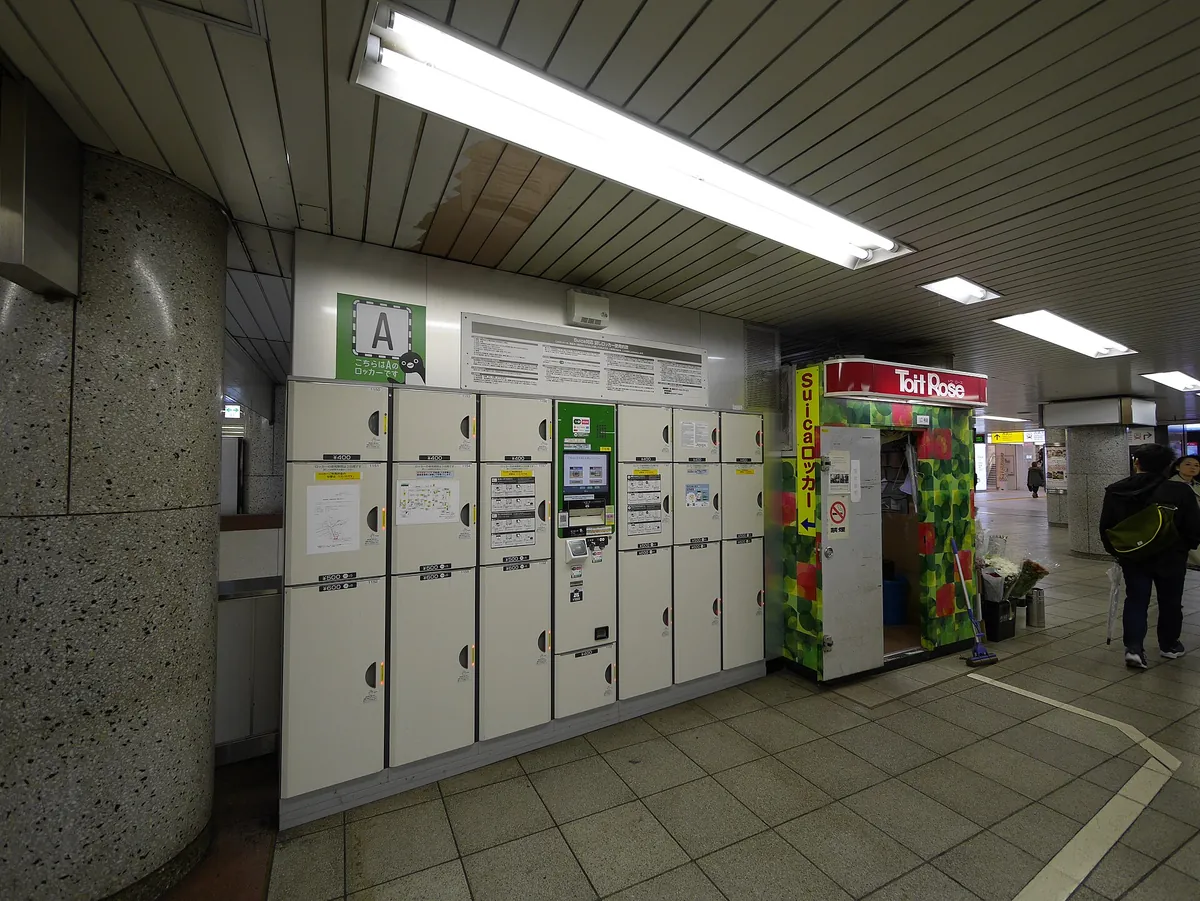
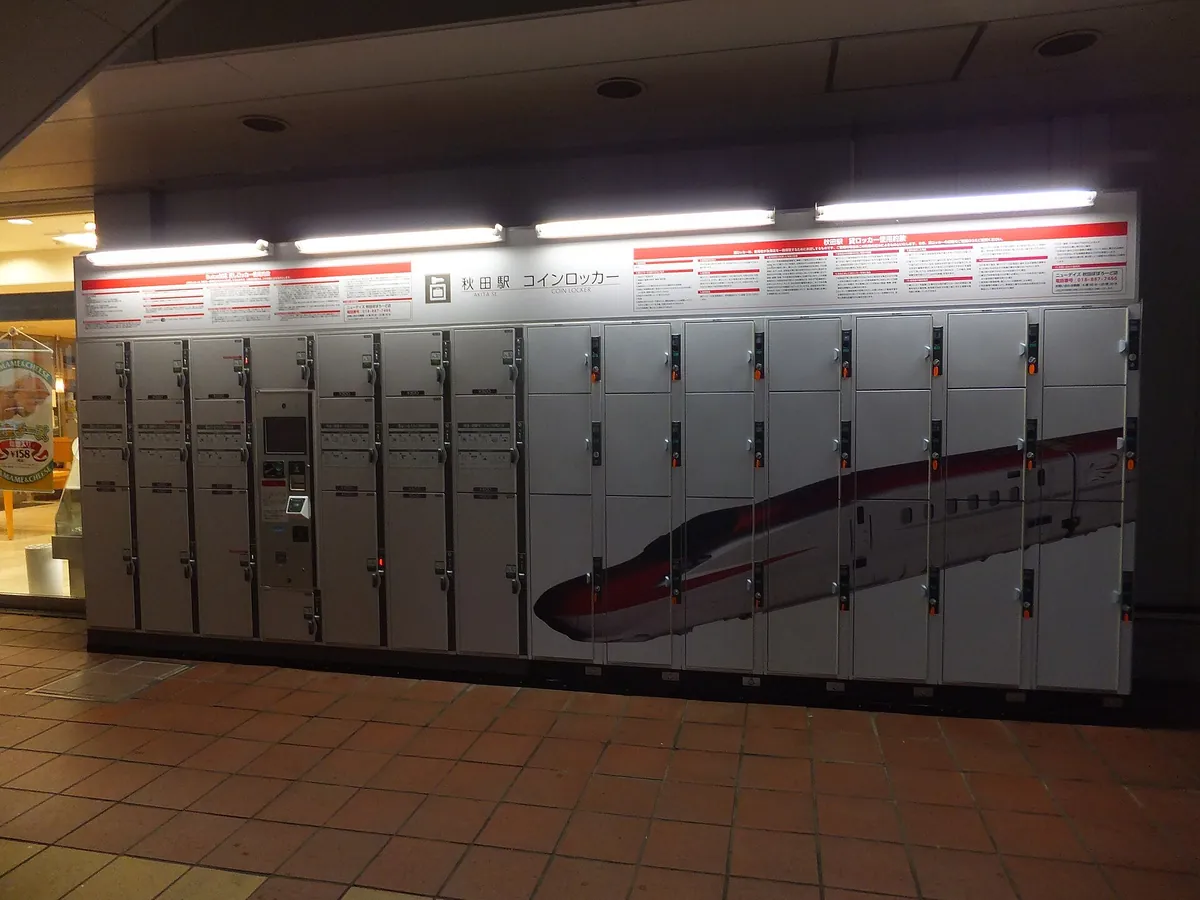
Searching for a coin locker at 9 AM in a busy station is a stressful way to start your day. If you stay in one base, your bags stay in your room.
3. The 7-day solo traveler’s itinerary strategy
Treat your first three days as a deep dive into one specific side of Tokyo. For the next four days, move to the Kansai region and use that as your launch point for the rest of your exploration.
5. Dedicating 72 hours to Tokyo
Spend your time in one specific ward, such as Shinjuku or Ueno. Use the Tokyo Metro to jump between locations, but keep your walking route focused within one quadrant of the city.
6. The Kansai transition
On the fourth day, head to Osaka. Use your remaining time to visit Nara, Kobe, or Kyoto. Each of these is a short train ride from the main Osaka stations.
4. Why you should skip the JR Pass for this specific trip
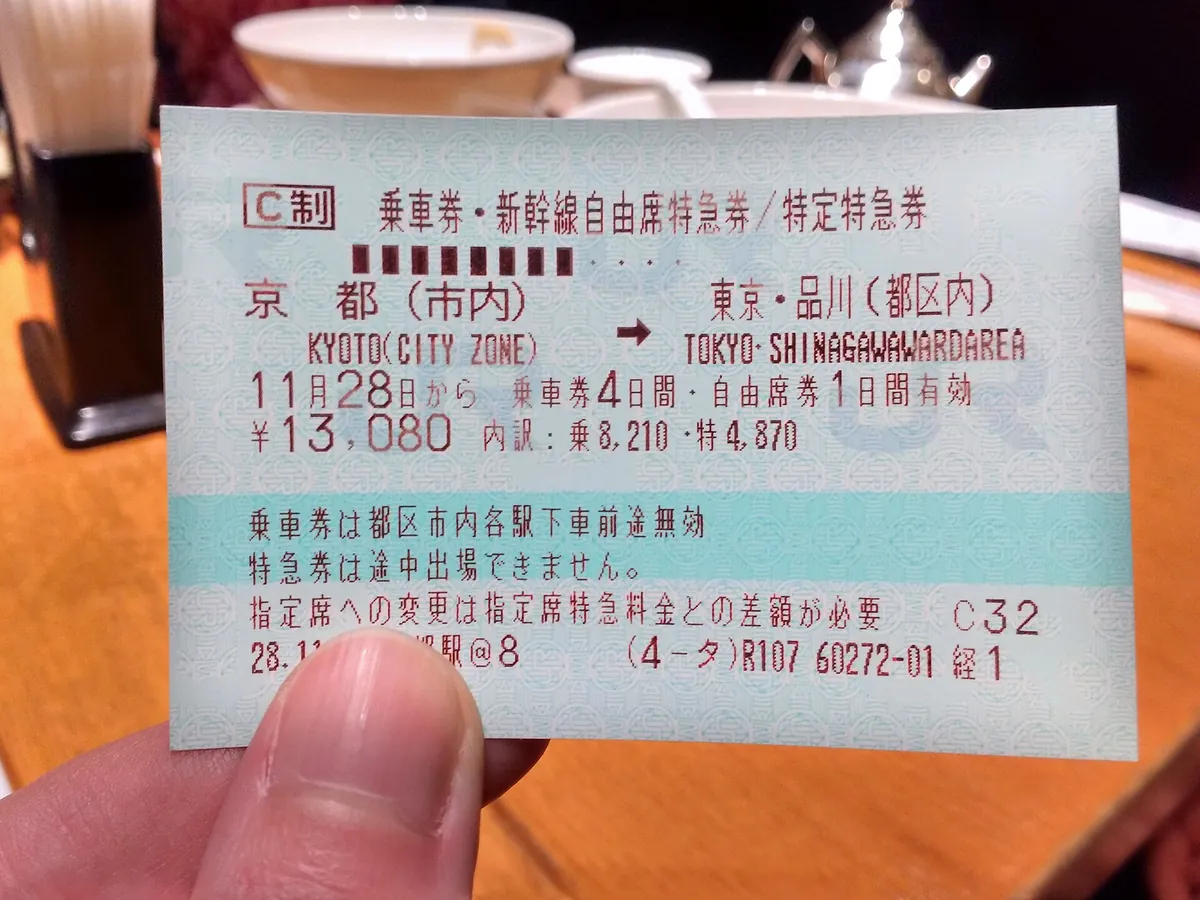
The Japan Rail Pass is rarely worth it for a simple, one-way trip between Tokyo and Osaka. Because you are not doing a complex, multi-city loop, individual tickets are usually the most cost-effective way to travel.
- Tokyo Station
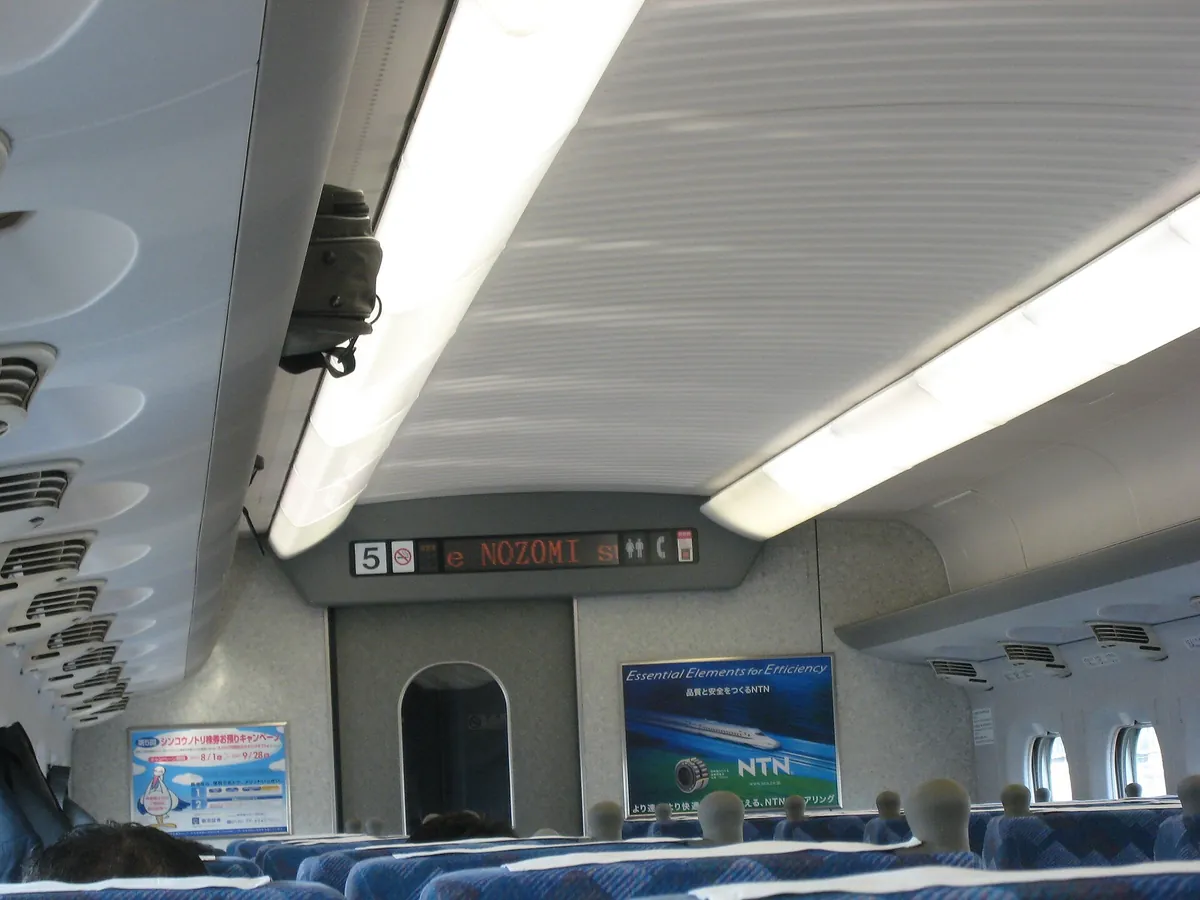
- Tokaido Shinkansen · 2 h 30 min · Reserved seat
- Shin-Osaka Station
- 15 min subway
- Osaka city center
7. Calculating individual fares
Check the price of a standard reserved seat ticket on the official Japan Rail website. Compare this to the cost of a 7-day pass. In most cases, the difference is significant.
8. When to consider a pass
Only look at regional passes if you are traveling to more distant parts of the country, like Kanazawa or Hiroshima. For a standard Tokyo-Osaka run, ignore it.
Planning your visit?
5. How to manage luggage without a rental car
Use the luggage forwarding service known as Takkyubin, provided by companies like Yamato Transport. You can ask your hotel front desk to help you arrange this.
9. The desk-to-desk workflow
Fill out the form at your hotel reception. Your bag will arrive at your next hotel the following day, usually for a cost of ¥2,000–3,000.
10. Carry only what you need
Take a small backpack with your essentials and keep it with you on the train. Do not be the person struggling with a heavy suitcase on a crowded subway.
6. Solo dining: How to read the room and get the best seat
Solo dining is not just accepted in Japan; it is a preferred way to enjoy food at small, counter-style restaurants. You will find that staff are often happier to seat one person than a group of four.
11. Identifying counter seats
Look for restaurants where the seating is arranged around the kitchen. These spots are designed for single diners and offer a great view of the preparation process.
12. Entering with confidence
Step inside, catch the eye of the server, and say “Hitori desu,” which means “one person.” They will guide you to a seat immediately.
7. Navigating train stations as a solo operator
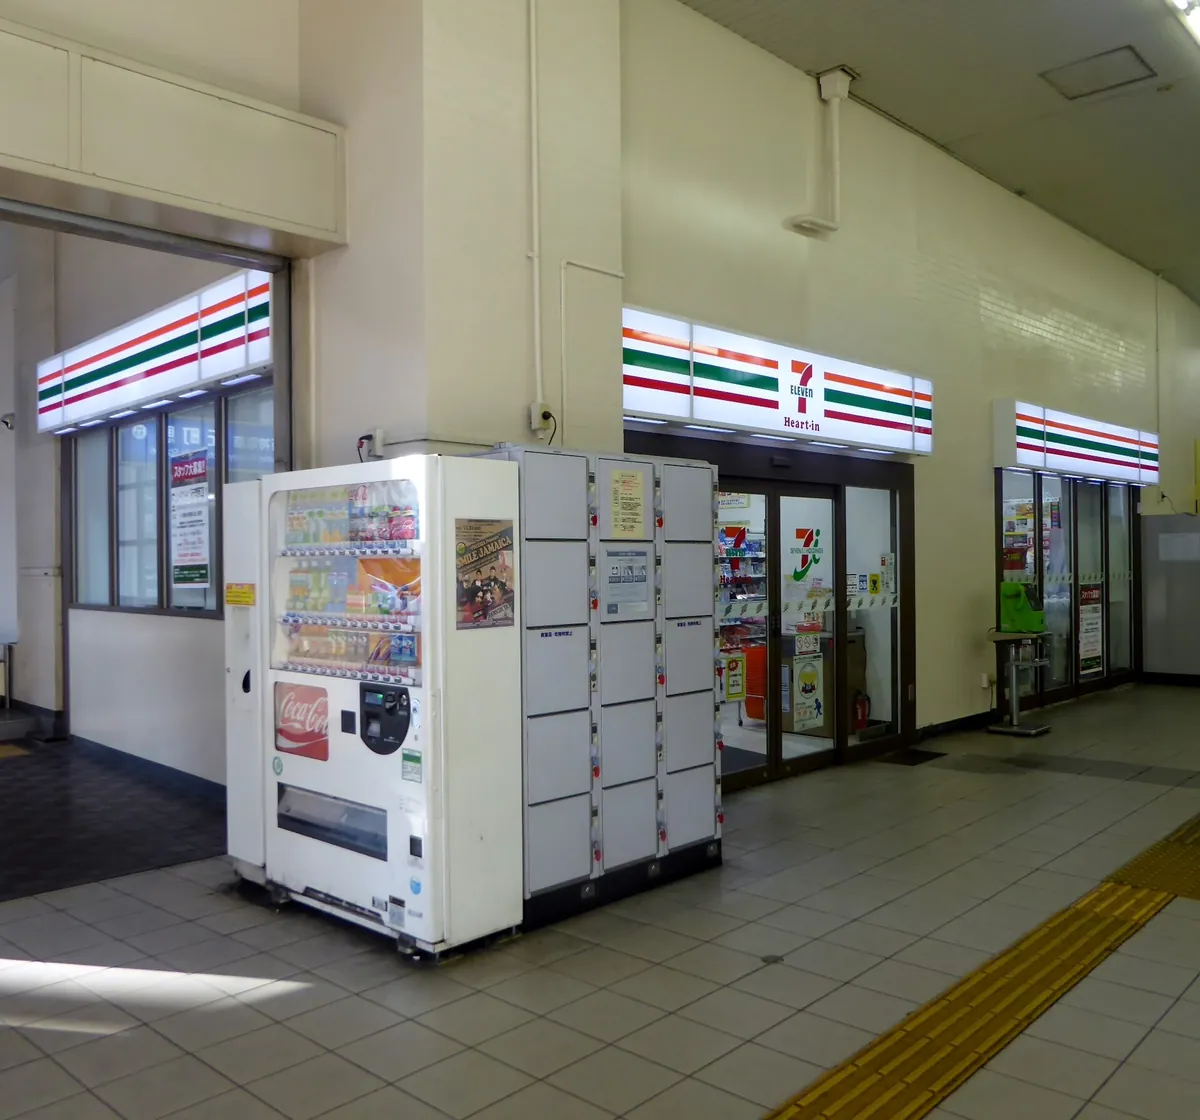
Major stations in Tokyo and Osaka are massive, but they are clearly marked if you look for the color-coded lines on the floor. Do not worry about reading everything; just follow the signs for your train line’s color.
13. Using IC cards for subways
Use a digital Suica or Pasmo on your phone if your device supports it. You just tap your phone on the gate, and the fare is deducted automatically.
14. Taking your time
If you feel lost, step out of the flow of traffic and stop at a wall. There is no shame in pausing to check Google Maps for five minutes.
8. Staying safe and connected: e-SIM and emergency protocols
Staying connected is the best way to handle any sudden changes in plans. Services like Airalo or Ubigi provide e-SIM options that you can activate before you even land in Japan.
15. Relying on digital maps
Google Maps will tell you exactly which train car to board to be closest to your exit. This feature is a lifesaver in large stations like Umeda or Shinjuku.
16. Emergency steps
Keep a note of your hotel address in both English and Japanese on your phone. If you ever feel truly lost, just show this to a taxi driver or a station attendant.
9. My personal approach to solo burnout prevention
The biggest mistake many travelers make is trying to fill every hour of the day with activities. Building in “nothing time” at a cafe is what saves the trip.
Step 1: Set one goal per day
Pick one main location or site to see, and treat everything else as a bonus.
Step 2: Schedule a cafe break
Take a 60-minute break every afternoon to sit and observe the city.
Step 3: Go back to the hotel
If you feel overwhelmed, return to your base early and recharge.
17. Managing the sensory input
Japan is loud and bright. If you start feeling “travel fatigue,” find a park or a quiet library. Give your brain a rest from the constant navigation.
18. The power of a notebook
Write down what you did each day. It helps process the experience and keeps you from feeling like the trip is just a blur of trains and crowds.
10. Money management: Getting cash and surviving the first 24 hours
There is a persistent myth that Japan is entirely cash-free, but you will quickly find that many small cafes, shrines, and independent shops still rely on physical currency.
You should not arrive without a plan for how to handle your finances. International cards can sometimes fail at older machine types.
My advice is to withdraw your initial ¥20,000 at the airport upon arrival. Stick to the 7-Eleven Seven Bank or Lawson Bank ATMs, which are universally compatible with international cards and offer a clear English interface.
Avoid airport currency exchange kiosks. The conversion rates are generally lower than what you get by simply using a standard ATM withdrawal.
Carry a dedicated coin purse at all times.
Because the yen uses coins for denominations up to ¥500, your pockets will fill up instantly. A small, zippered pouch prevents you from fumbling with heavy metal during a train gate transaction.
This is the number one cause of anxiety for solo travelers in a rush.
- Daily budget buffer: Keep at least ¥5,000 in cash in your wallet at all times, even if you plan to use a digital card.
- Card choice: Bring two different cards—a primary debit card and a backup credit card—kept in separate locations just in case one is declined or flagged for suspicious activity.
- The IC Card top-up: You can load your digital Suica or Pasmo via the Apple Wallet or Google Pay using a foreign credit card; this is much easier than standing in line at a ticket machine with cash.
Do not obsess over the exchange rate fluctuations, as you are likely only spending a small portion of your annual savings. Just check the official site of your banking provider for foreign transaction fees before you leave, so you aren’t surprised by a flurry of small charges on your statement once you get home.
11. Cultural etiquette: Distinguishing reality from social media exaggeration
First-time solo travelers often spend hours watching videos on how to bow or the proper way to handle chopsticks. They fear they will be ostracized for a minor social faux pas.
In reality, the Japanese public is incredibly forgiving of tourists who show basic consideration for the space around them.
The most important rule is not about bowing. It is about noise management.
The reason everyone looks so calm on public transport is that they have internalized a culture of silence. If you are on a train, keep your phone on silent and avoid taking calls; if you must speak, do it in a hushed whisper that only your neighbor can hear.
Your primary etiquette goal is to be invisible.
Being a good solo guest means minimizing the footprint you leave on the city. Do not stand in the middle of a pedestrian thoroughfare to look at your phone, and do not eat while walking down the street. These are the behaviors that stand out and disrupt the flow of the local morning commute.
Practical behavioral tips for the solo traveler
- Escalator positioning: In Tokyo, stand on the left and walk on the right. In Osaka, you will notice people stand on the right and walk on the left. Watch the locals for five seconds before you plant your feet.
- Trash management: You will notice a total lack of public trash cans. Carry a small plastic bag in your day pack for your empty water bottles and snack wrappers, then empty it when you return to your hotel room.
- Queueing correctly: When waiting for a train or a bus, look for the markings on the ground. People form orderly lines rather than a cluster, and jumping the line is one of the few things that will genuinely frustrate locals.
If you accidentally violate a norm, simply offer a polite nod and a soft “sumimasen” (excuse me). The locals will appreciate the effort to be polite, and your trip will proceed without conflict. Focus on observation rather than perfection, and you will find that the social environment becomes much easier to navigate.
FAQ
QDo I really need to book everything in advance?
No. You only need to secure your accommodation on sites like Booking.com or Agoda. Most attractions and food spots can be handled on the day.
QIs it safe to walk at night alone?
Official travel advisories generally classify Japan as a low-risk destination. Stick to well-lit areas and trust your instincts if a street feels quiet.
QHow do I handle the language barrier?
Basic English is understood in most tourism areas. Use translation apps like Google Translate, but don’t worry about being fluent.
QShould I carry my passport everywhere?
By law, tourists are required to carry their passport at all times in Japan. Keep it in a secure inner pocket or a travel pouch.
QAre there vegetarian options available?
Yes, but they can be limited. Use apps like HappyCow to find specific restaurants in Tokyo and Osaka that cater to plant-based diets.
 ReaderYuki
You probably feel like the logistics are too complex to manage alone right now.
Stop re-reading every single blog and lock in your two hotel bases, then you can handle the rest of the details once you are on the ground.
Keep planning
- ① Install and test your eSIM before take-offAiralo and Ubigi eSIMs activate on arrival, but the install itself needs Wi-Fi. Do it at home and confirm the profile shows up in your phone settings.
- ② Save your first hotel’s address in JapaneseTaxi drivers and station staff read Japanese addresses far faster than romanised ones. Copy it from the booking confirmation into your notes app.
- ③ Set aside cash for day oneMany small restaurants, temples and rural buses are still cash-only. Airport ATMs at 7-Eleven and the post office accept most foreign cards.
Skip these and your first hour in Japan goes on finding Wi-Fi at the station instead of getting to your hotel.
🔍 How to sanity-check any price you read online
Blogs (including this one) go out of date. The official page always wins over a screenshot from two years ago.
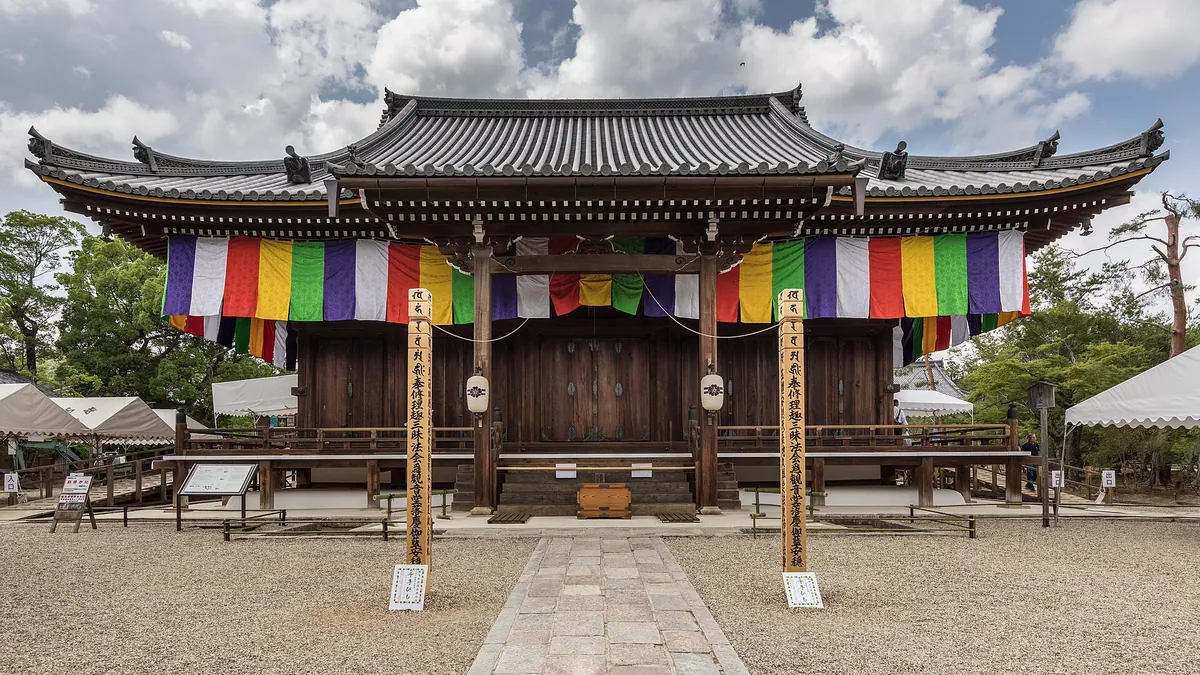
Cover Photo: Basile Morin, CC BY-SA 4.0, via Wikimedia Commons