- Route: Tokyo (4 nights), Kyoto/Osaka (3 nights).
- Best for: First-timers wanting deep exploration, not travel fatigue.
- Transport: Shinkansen point-to-point tickets (no rail pass).
- Budget: Mid-range, roughly ¥180,000–280,000 per person.
- Connectivity: Ubigi or Airalo eSIM for data.
- Trip Duration
- 7 days
- Base Cities
- Tokyo, Kyoto (with Osaka side-trip)
- Ideal Budget
- ¥180,000–280,000
- Connectivity
- eSIM recommended
“I am terrified that I will spend six of my seven days in Japan just waiting for trains and checking into different hotels.”
That fear is entirely valid for a first-timer attempting the classic loop. By sticking to two primary base cities—Tokyo and Kyoto—you remove the exhaustion of moving your luggage every morning and actually gain time to explore. Sound familiar?
We may earn a commission if you book through the links in this article, at no extra cost to you. Prices are ranges as of 2026 — check the official sites before you book.
The 7-day loop: why two bases beat three
The biggest mistake most travelers make is trying to wedge Tokyo, Kyoto, and Osaka into a single week. You end up spending more time in hotel lobbies than in actual temples or sushi bars.
My strategy relies on two hubs, with Osaka serving as a natural evening extension of your Kyoto stay.
By keeping your bags in one place for three or four nights at a time, you gain a sense of belonging in your neighborhood. You learn where the best morning coffee is, where the local konbini clerk recognizes your face, and how to navigate the nearest station without checking a map every thirty seconds.
Step 1: Tokyo base
Stay in areas like Shinjuku or Ueno for direct access to major transit lines.
Step 2: The transit jump
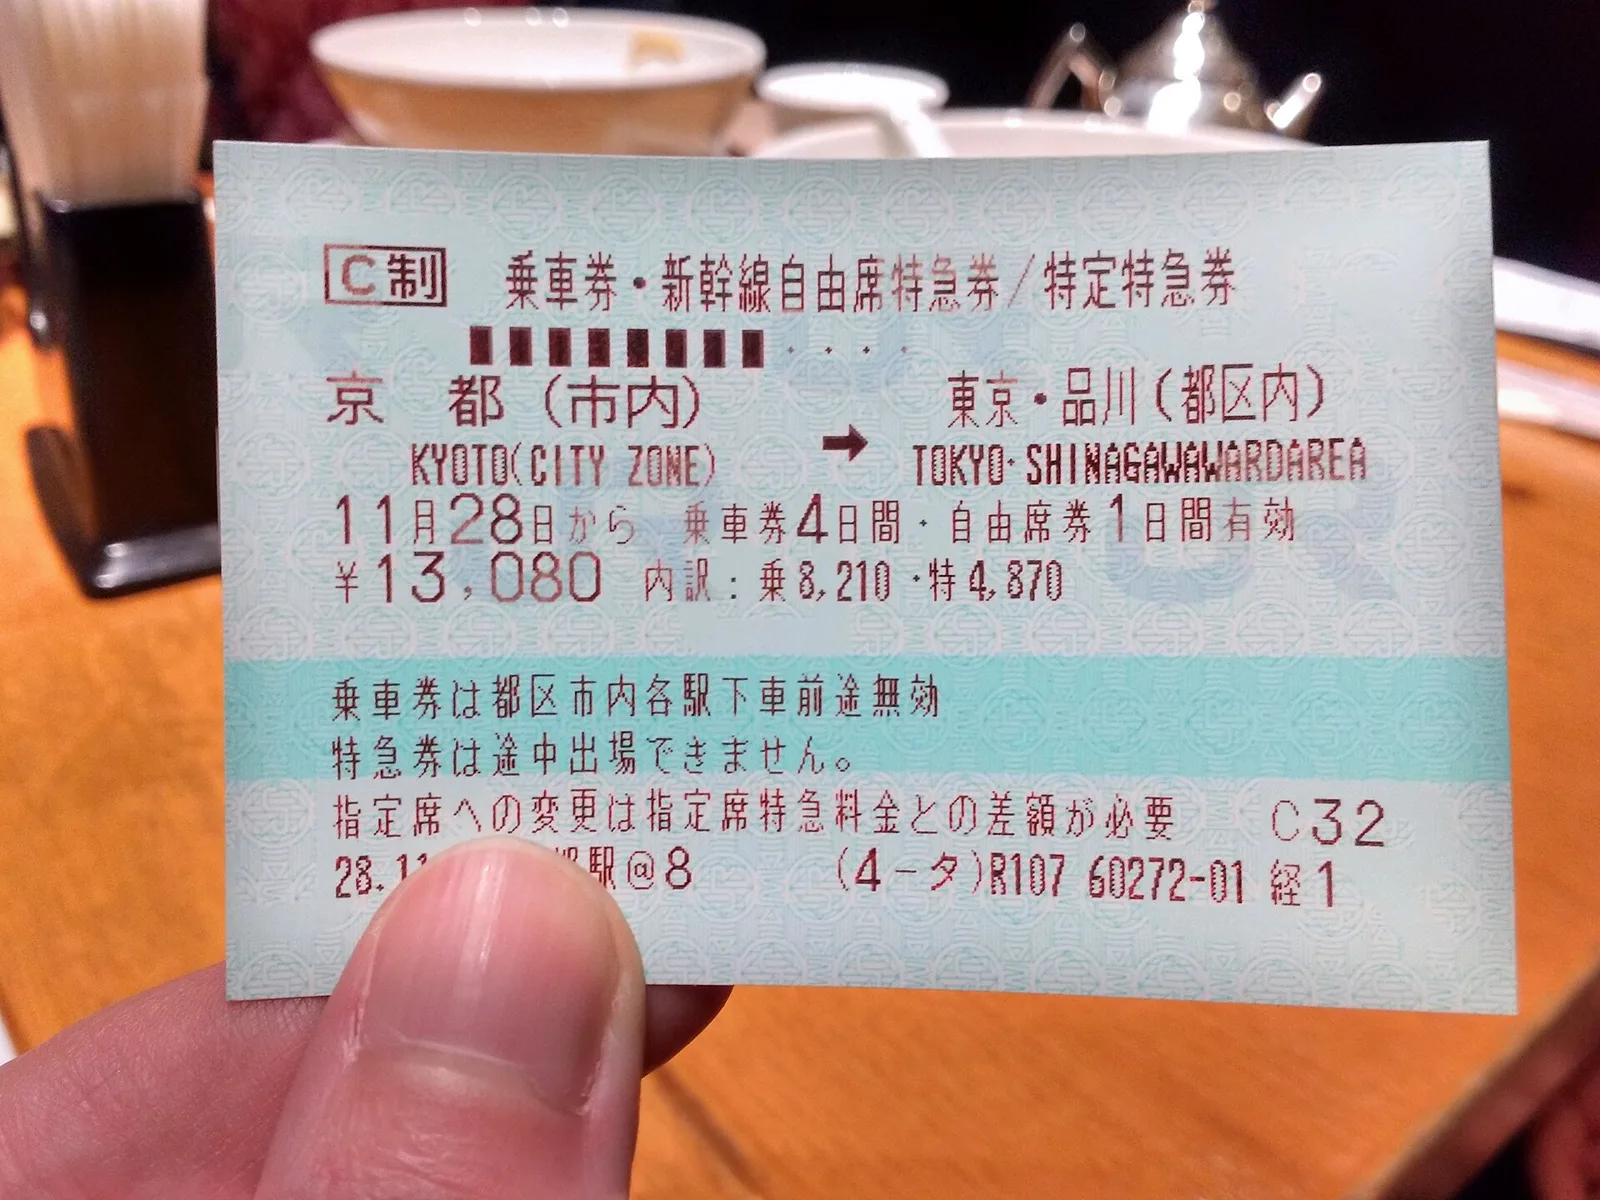
Take the Shinkansen to Kyoto station on the morning of day four; it is a clean, reliable, and scenic ride.
Step 3: Kyoto base
Stay near the station or in Gion to maximize your time between morning temple visits and evening meals.
Essential bookings for your 7-day Japan itinerary
Planning is about minimizing friction. I prioritize booking trains and accommodation long before I leave home, especially during peak sakura or autumn foliage seasons. Use platforms like Booking.com or Agoda to secure your base hotels early, as central spots near major stations sell out rapidly.
- Reserve your Shinkansen tickets on the official site or via Klook.
- Book your Tokyo and Kyoto hotels on Booking.com.
- Purchase an eSIM from Ubigi or Airalo for seamless data.
- Check if you need a Suica or Pasmo card on your phone wallet.
- Pre-book any must-see museum or observation deck tickets.
- Confirm your flight arrival and departure airports.
Day 1: Arrival and finding your footing in Tokyo
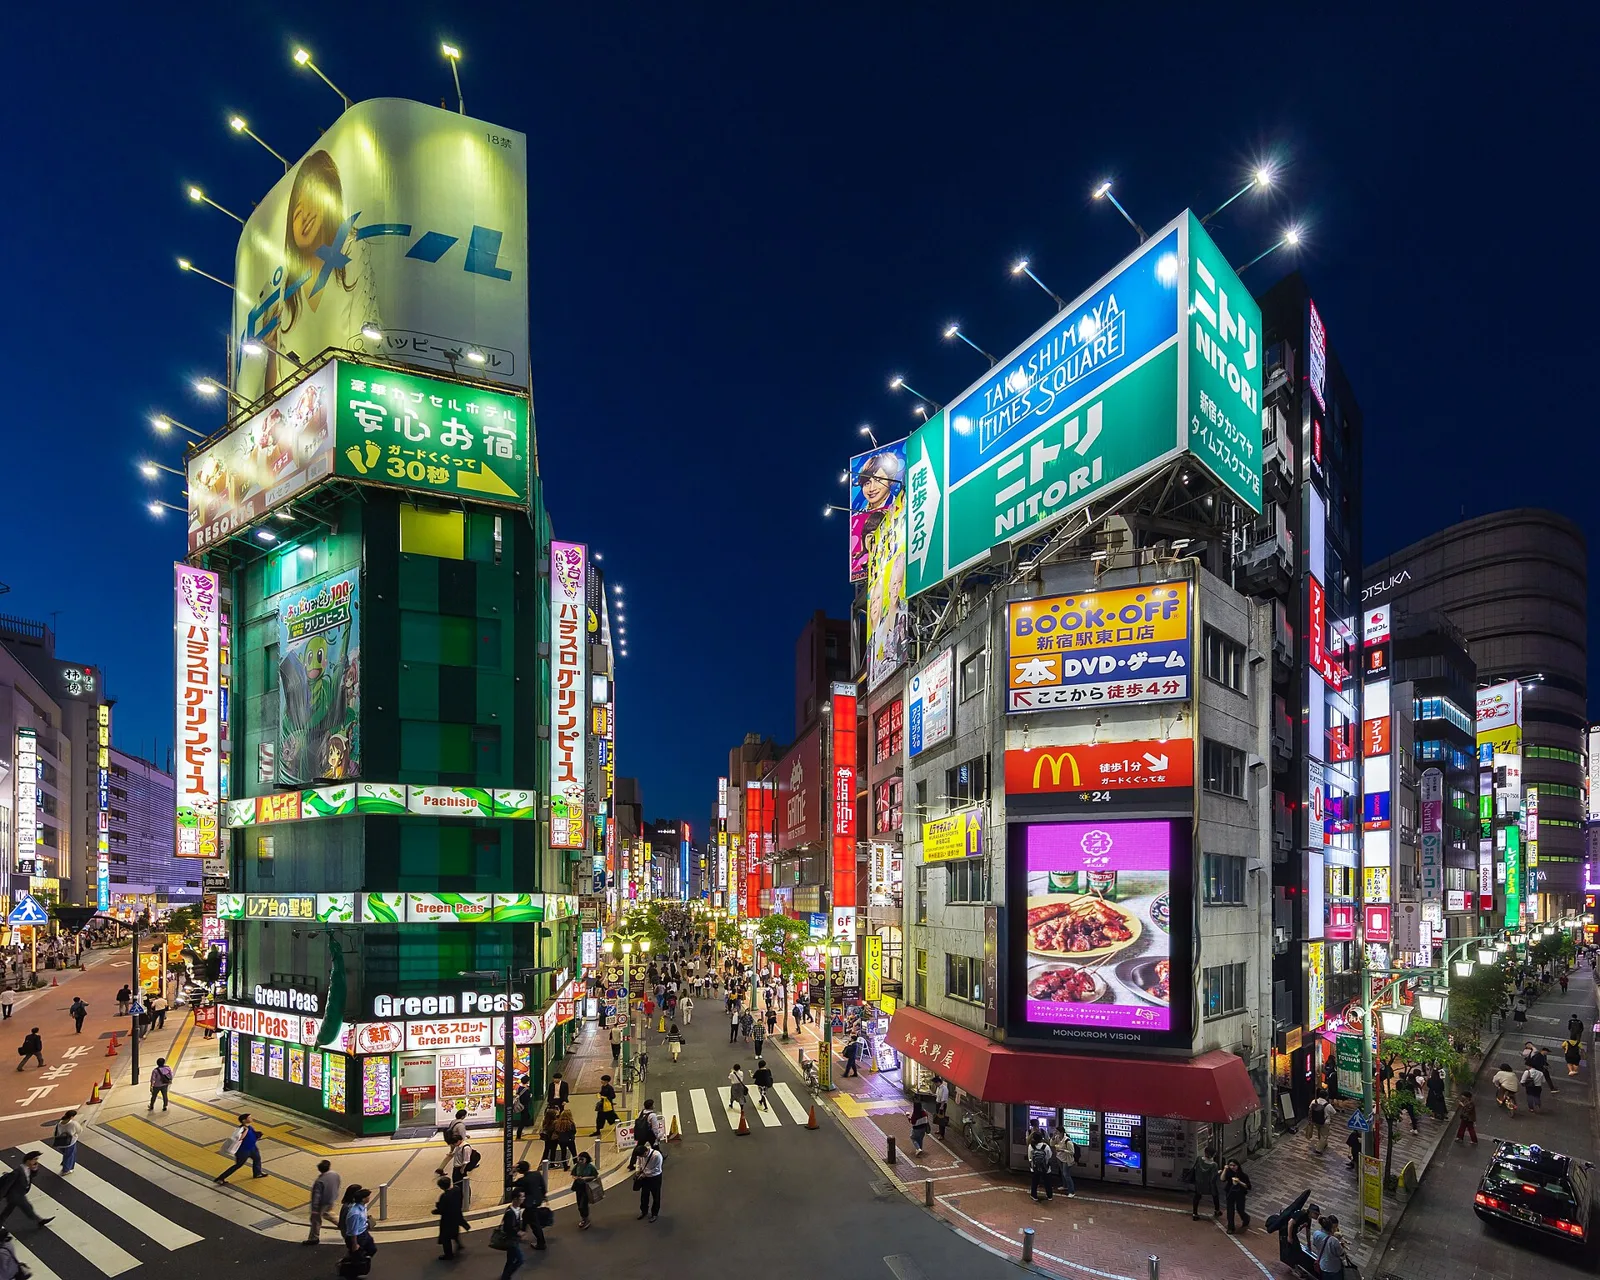
After landing at Haneda or Narita, head straight to your hotel to drop your bags. If you are exhausted, keep it simple. Spend your first evening in Shinjuku, wandering the narrow alleys of Omoide Yokocho to find a plate of yakitori.
Evening in the city
Walk through the neon-lit streets and find a small izakaya. Dinner will usually cost between ¥2,500 and ¥4,000. Avoid the urge to stay out too late; your body clock will thank you for getting to bed by 10:00 PM.
Day 2: Tokyo’s ancient and modern extremes
Start your morning at Senso-ji Temple in Asakusa before the crowds arrive. It is a stunning contrast to the modern skyscrapers you will see later. Spend your afternoon in the Ueno district, exploring the park or the various museums.
Afternoon transition
Take the Ginza line to Ginza for a look at the high-end shops. Grab a bowl of ramen for lunch for around ¥1,000–1,500. It is a simple, satisfying meal that gives you energy for a long walk.
Day 3: The pulse of the city
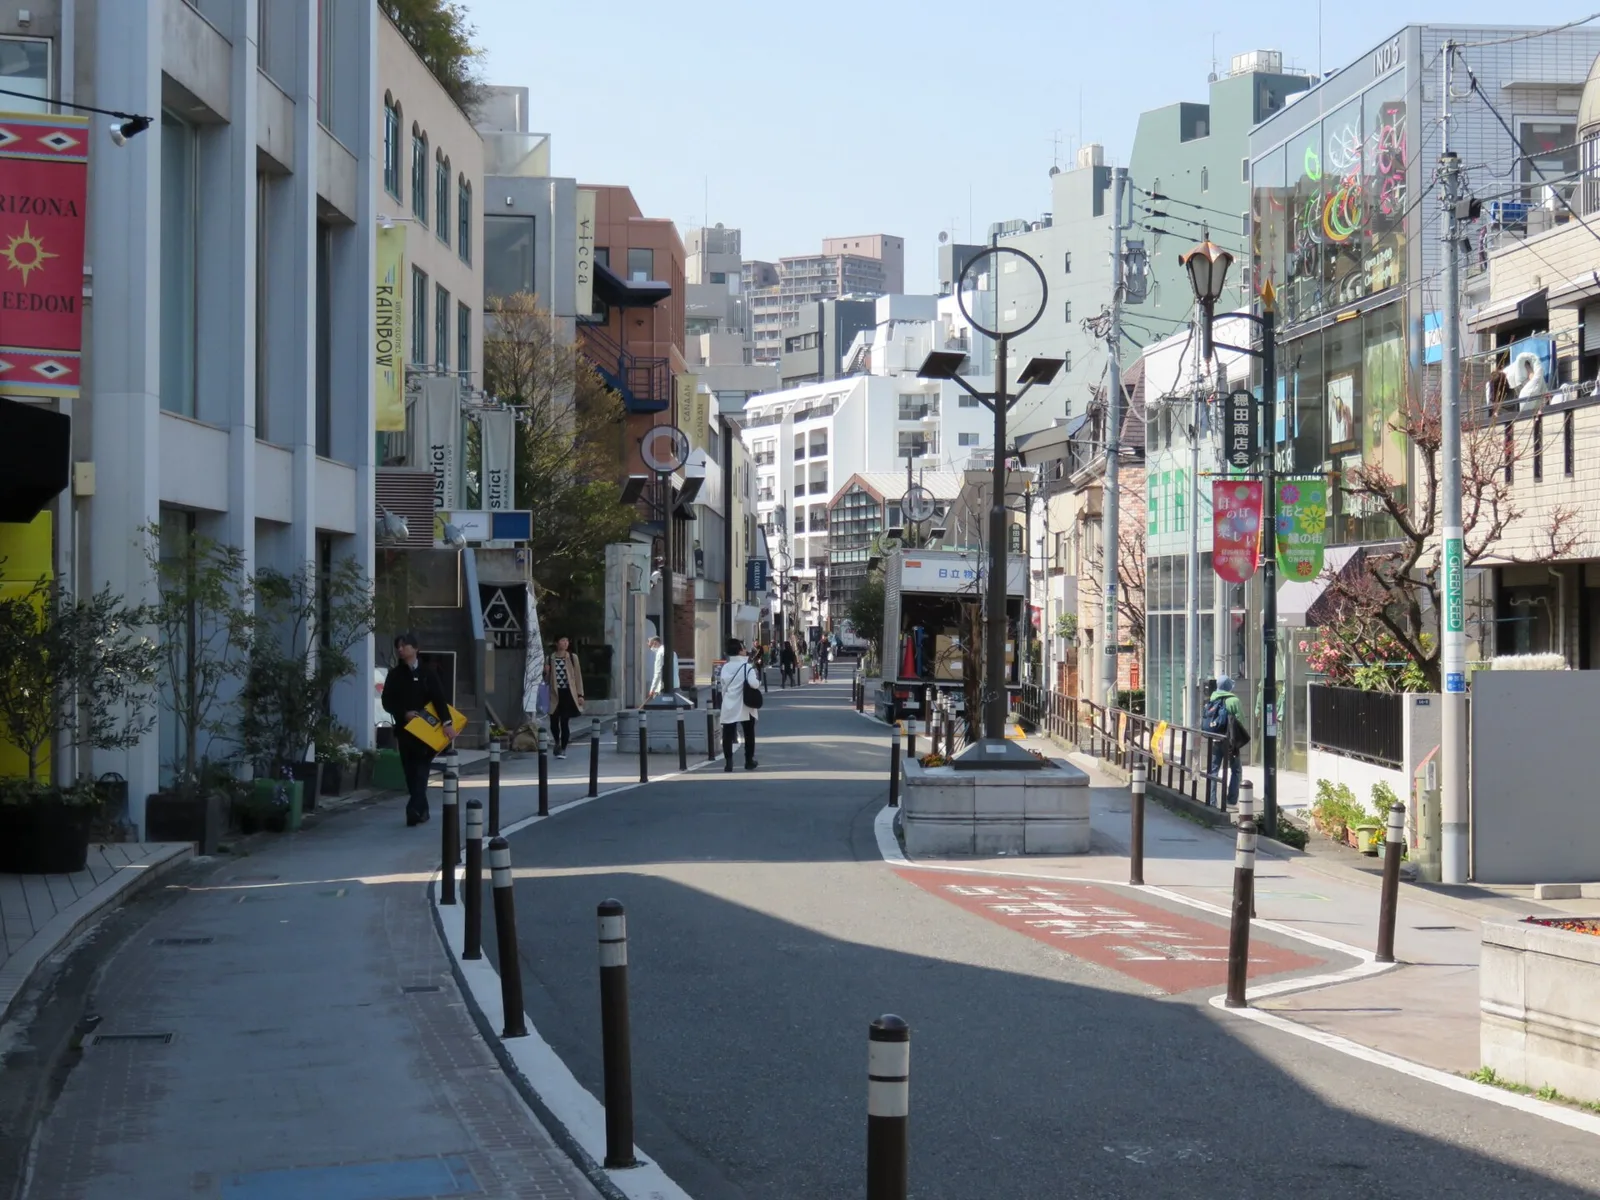
Devote this day to the Shibuya Crossing and Harajuku. Watching the intersection from an upstairs cafe is worth the price of a coffee. Afterward, walk through the quiet Meiji Jingu forest to escape the city noise.
Evening reflection
Head back to your base neighborhood for a quiet dinner. If it rains, visit one of the many department store food halls in Shibuya. They have high-quality bento boxes that you can take back to your room.
Day 4: The bullet train to Kyoto
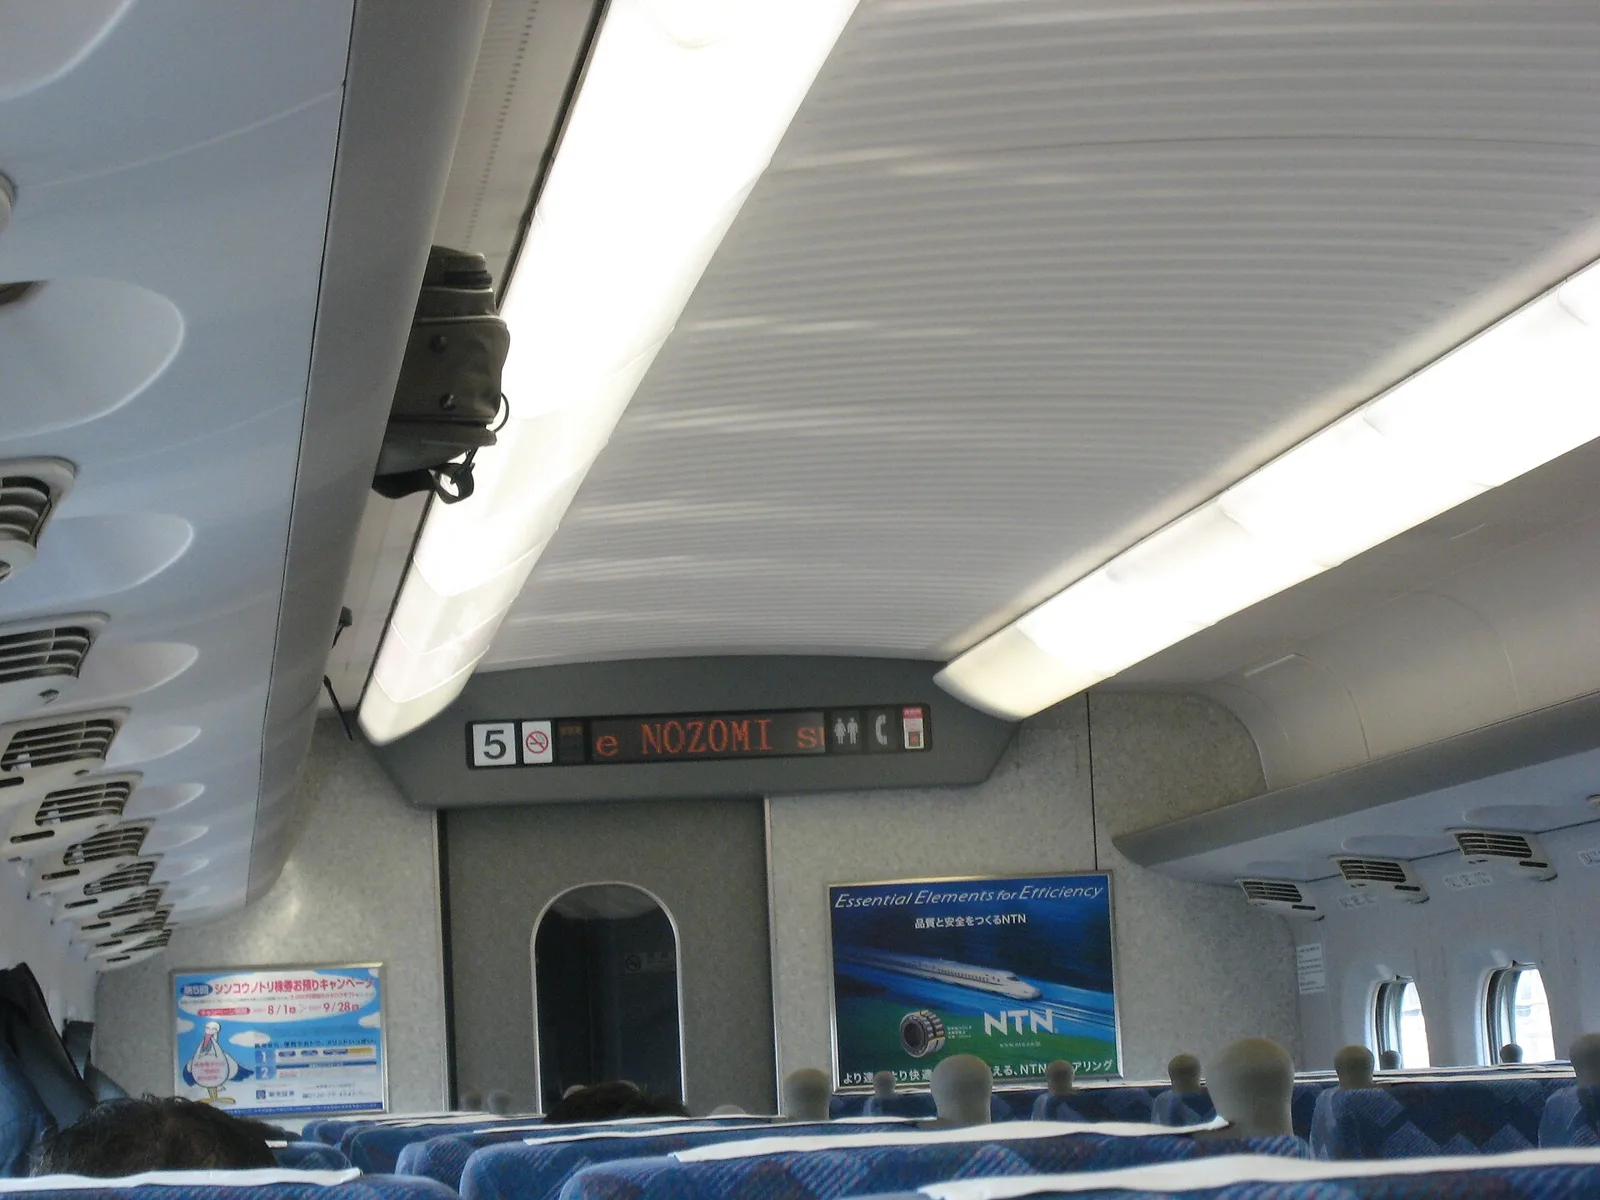
Check out early and head to Tokyo or Shinagawa station for your Shinkansen. The trip takes about two hours and fifteen minutes. Keep your luggage compact, as the overhead racks on the train have limits.
Arrival in the west
Drop your bags at your Kyoto hotel and head straight to Nishiki Market. The food here is incredible, and you can spend an hour snacking on skewers and pickled vegetables for under ¥3,000.
Where we would book this
Booking.com
Largest inventory in Japan for English-speaking travellers
- Best for
- Hotels, business hotels, ryokan and apartments in every city
- Checked
- September 2026
Official site. Same price for you.
Days 5-6: Kyoto’s temples and Osaka’s kitchen
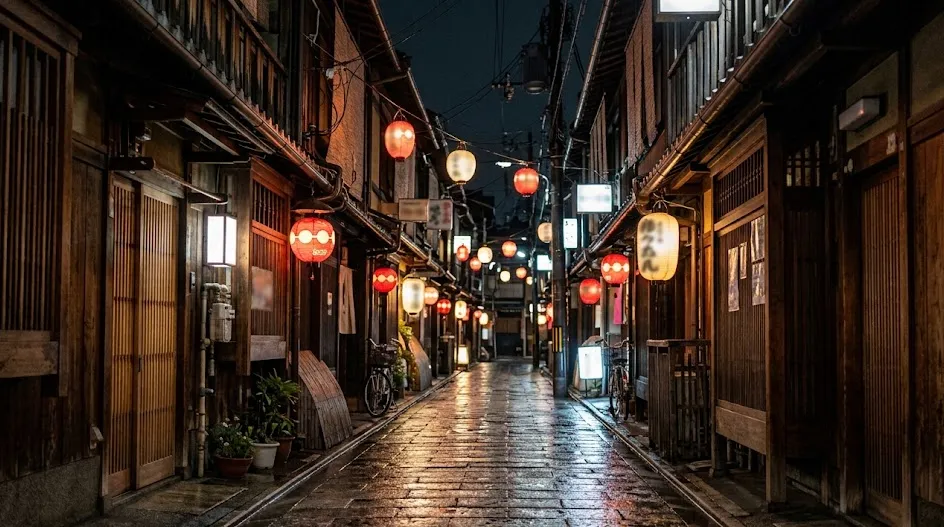
On day five, wake up before dawn to visit Fushimi Inari-taisha. Seeing the red gates without a thousand other people is a different experience. Spend the afternoon wandering through the streets of Gion, hoping to catch a glimpse of the traditional architecture.
The Osaka night
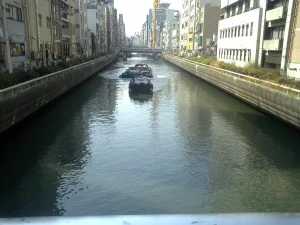
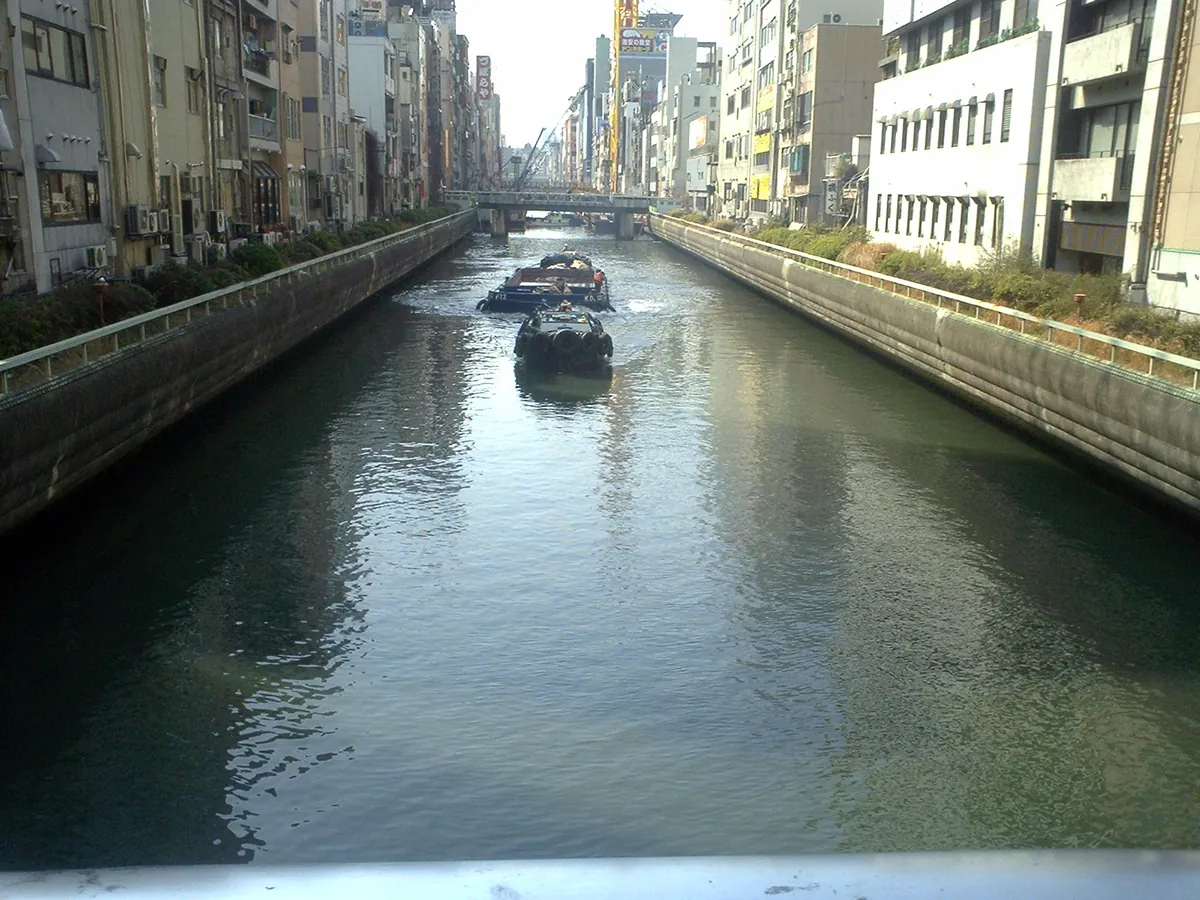
Day six is your day for a side trip to Osaka. It is only 30 minutes away by local train. Spend the evening in Dotonbori eating takoyaki and watching the neon signs reflect in the river. Budget roughly ¥3,000–5,000 for a feast of local street food.
Day 7: The final walk and departure
Spend your final morning visiting a smaller, quieter temple like Kennin-ji. It is often less crowded and offers a peaceful end to your trip. Pick up souvenirs at the station before heading to your flight departure point.
The trip home
If you are flying out of Osaka’s Kansai airport, ensure you leave plenty of time for transit. Double-check your train times on Google Maps or a dedicated app. Always arrive at the airport at least three hours before an international flight.
Recommended neighborhoods for your two-city stay
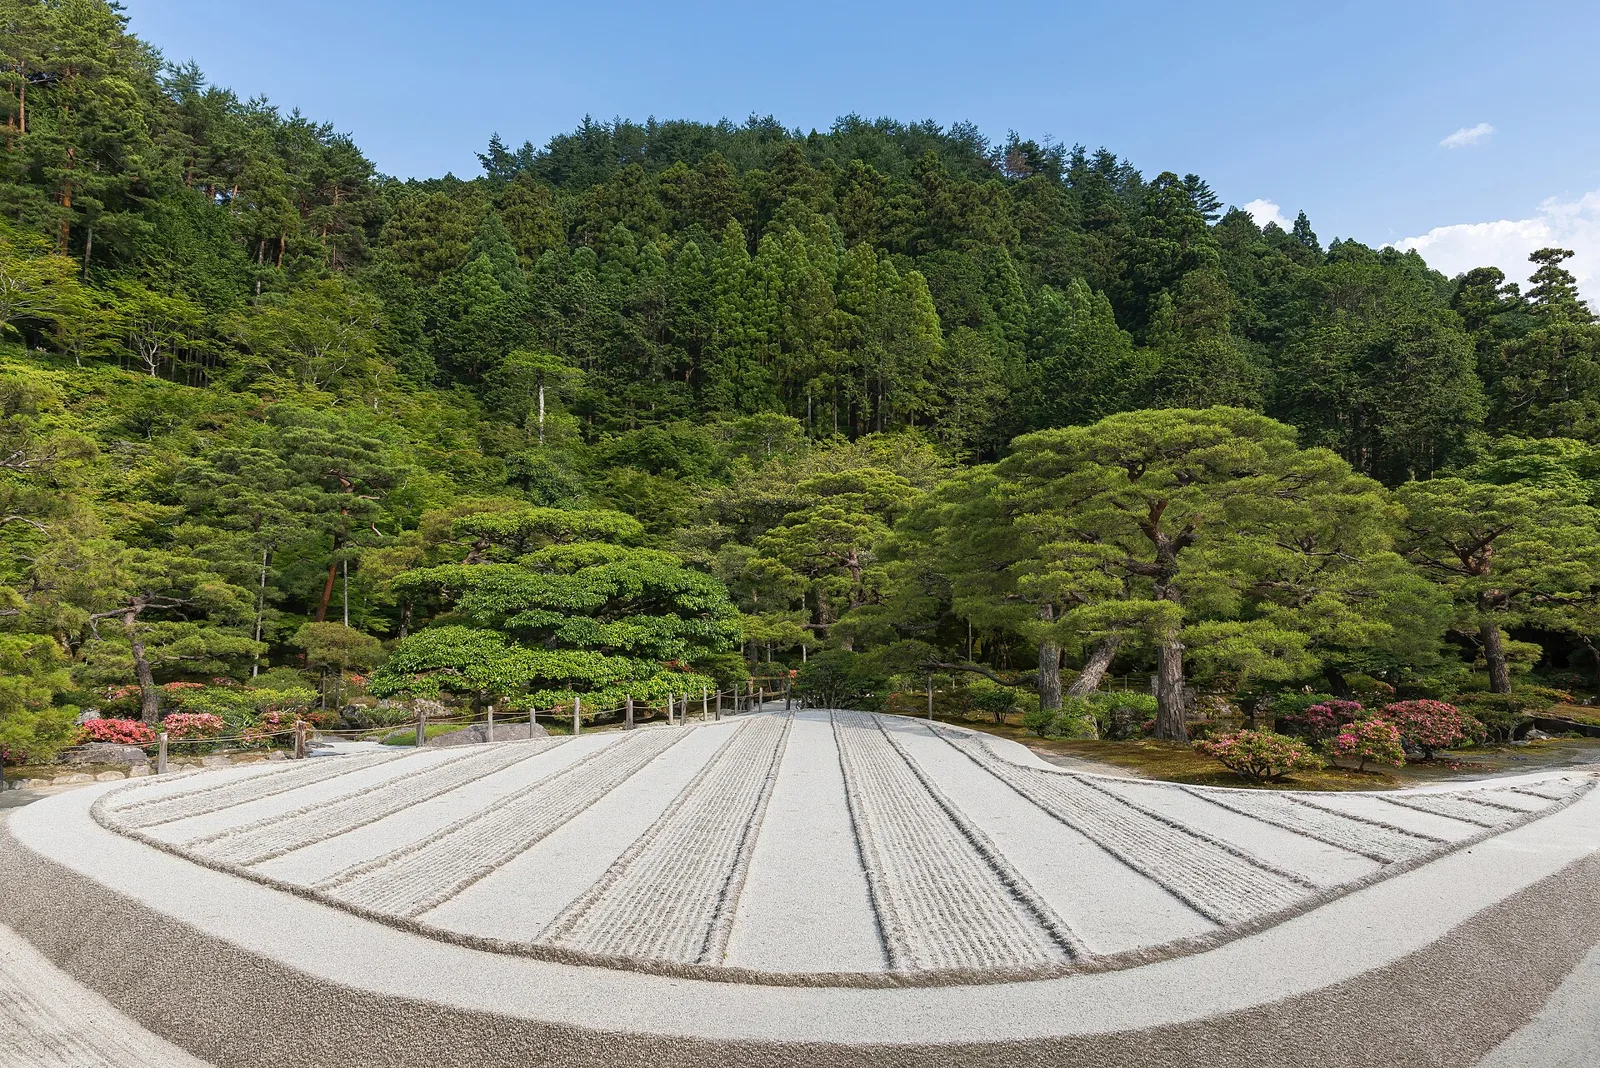
In Tokyo, stay near the Yamanote Line, specifically in Shinjuku or Ueno. You can find business hotels on Booking.com for ¥12,000–20,000 a night. They are small but efficient, usually featuring a desk and a compact bathroom.
In Kyoto, base yourself near the main train station for maximum convenience. Prices are similar to Tokyo, ranging from ¥13,000 to ¥25,000 per night. If you prefer a ryokan experience, expect to pay more, but it is worth it for the traditional breakfast and bathing.
Partner link.
Estimated costs for a 7-day Japanese vacation
Japan does not have to be expensive if you eat at local shops and use public transit. This table provides a rough estimate for a mid-range traveler.
← Swipe to see the full table →
| Category | Estimated Cost (per person) |
|---|---|
| Accommodation | ¥90,000–150,000 |
| Transport | ¥25,000–35,000 |
| Food & Activities | ¥60,000–90,000 |
Plan your trip: the tools we use
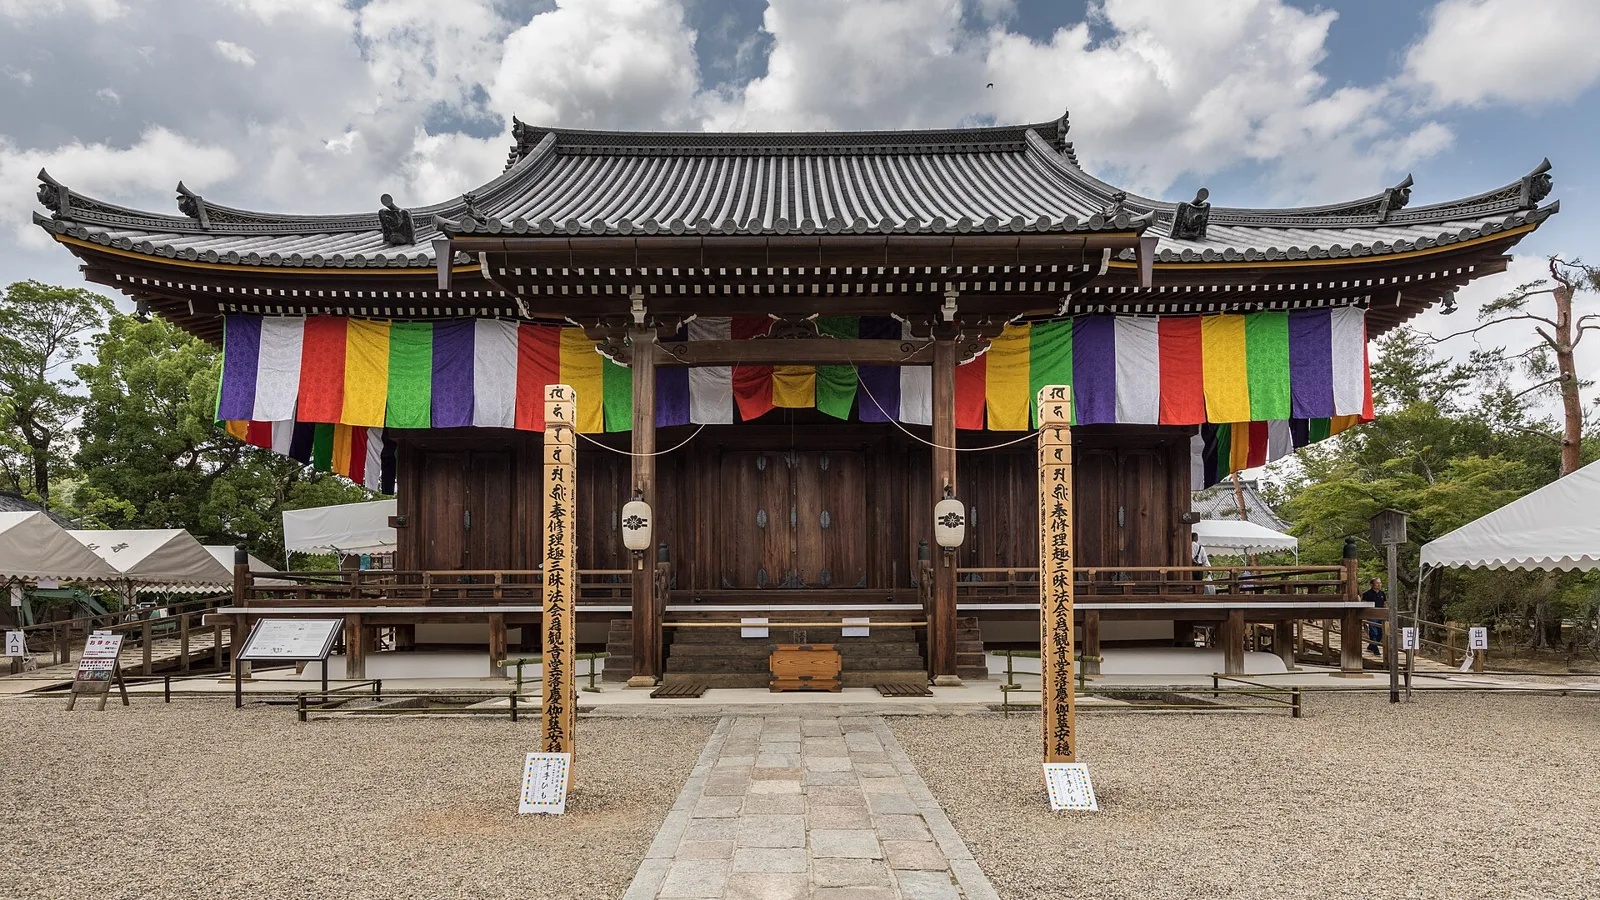
The JR Pass is rarely cost-effective for this specific route. Always check the individual ticket prices on the official Shinkansen booking site before you make a final decision.
Tips that make this 7-day Japan itinerary run smoothly
Luggage forwarding is a life-saver. Use the Yamato transport service at your hotel front desk to send your larger bags from Tokyo to Kyoto for a reasonable fee. It takes about 24 hours, so pack a small overnight bag for the journey.
Never leave home without a data connection. An eSIM from Airalo or Ubigi will keep you connected to maps and train schedules. I once forgot to activate mine and spent an hour lost in a station basement; don’t make that mistake.
What most first-timers do
- Trying to see three or four cities
- Buying an expensive JR Pass blindly
- Dragging suitcases on crowded trains
What actually works
- Stick to two base cities only
- Buy point-to-point train tickets
- Use luggage forwarding services
A tactical day-trip swap for deeper regional flavor
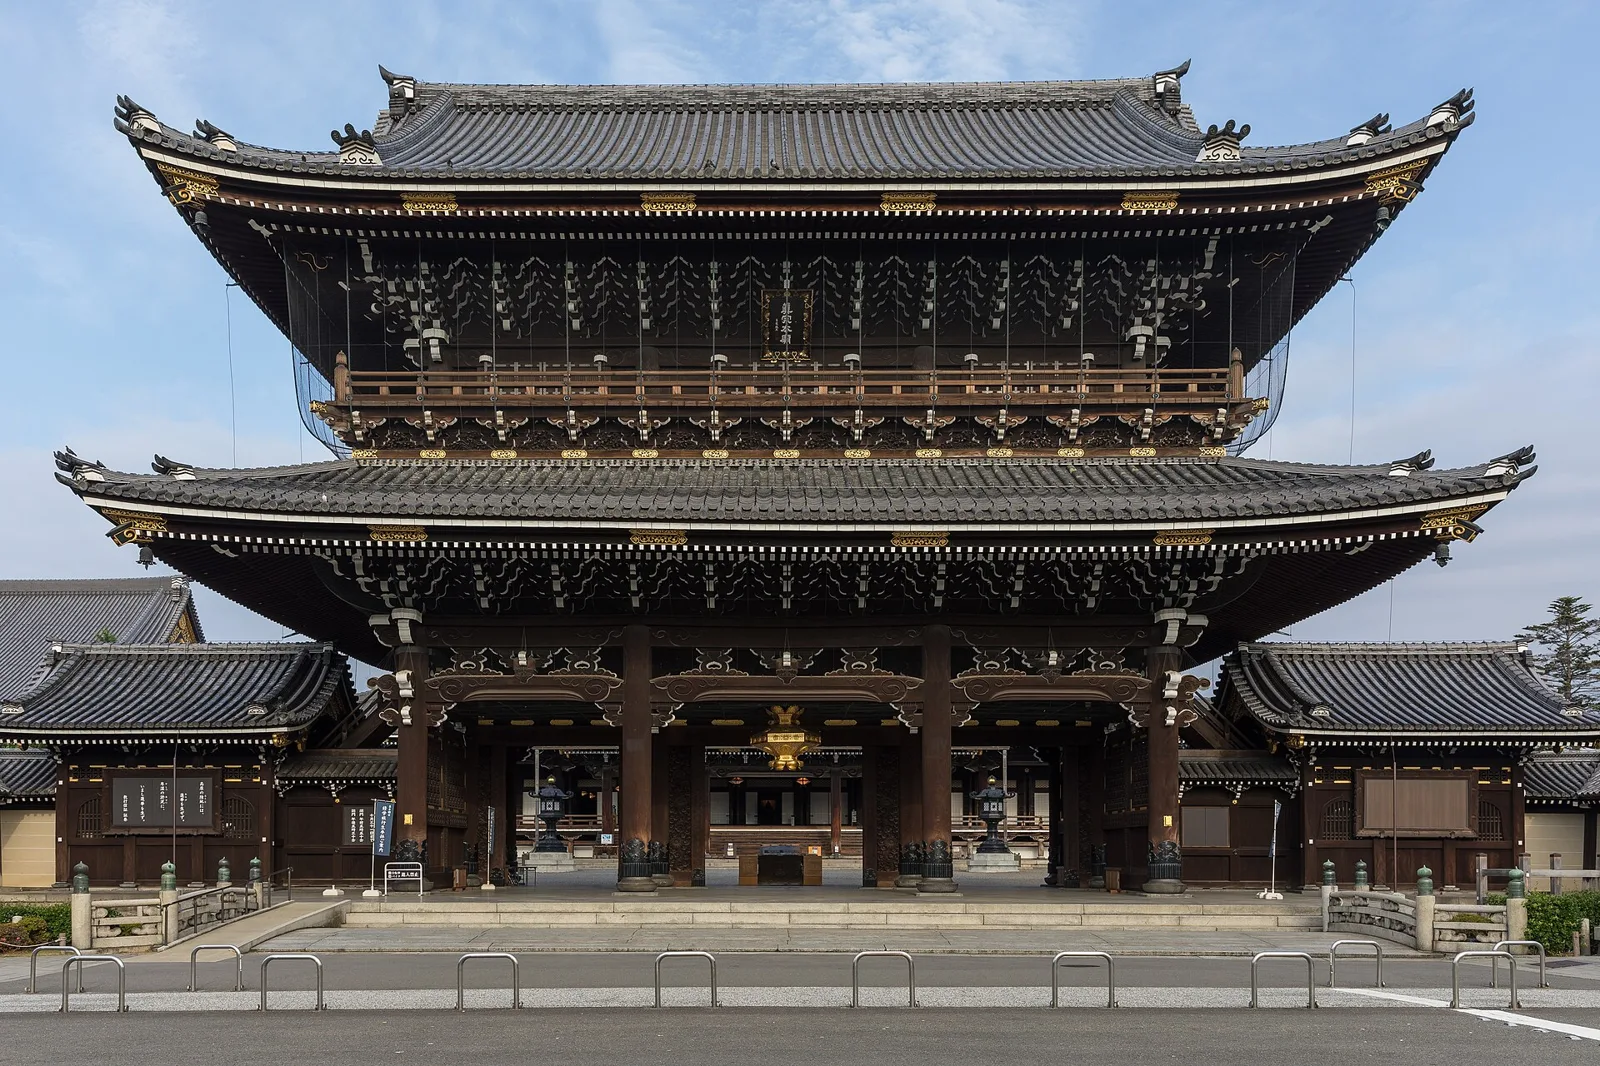
If you find that the urban intensity of Osaka or the crowded corridors of Kyoto temples become overwhelming, you should consider swapping one of your base days for a quieter, more atmospheric excursion.
The beauty of basing yourself in Kyoto is the accessibility of smaller, neighboring towns that offer a slower pace of life while still providing rich cultural rewards.
For a complete change of scenery, head to Uji, located just 20 minutes from central Kyoto by local train. Uji is the historic heart of Japanese tea culture and feels worlds apart from the frantic pace of Tokyo or the neon glare of Dotonbori.
You can spend your morning walking along the Uji River. Afterward, visit Byodo-in, a stunning temple featured on the ten-yen coin. The town is filled with traditional tea houses where you can participate in a matcha ceremony for roughly 2,000 to 3,500 yen per person.
Alternatively, if you prefer coastal views and history, take the train to Kamakura while you are still based in Tokyo.
Known as the smaller, seaside sibling to Kyoto, it offers a massive bronze Buddha statue. It also features dozens of smaller, forest-nestled temples that are rarely as packed as those in the city center.
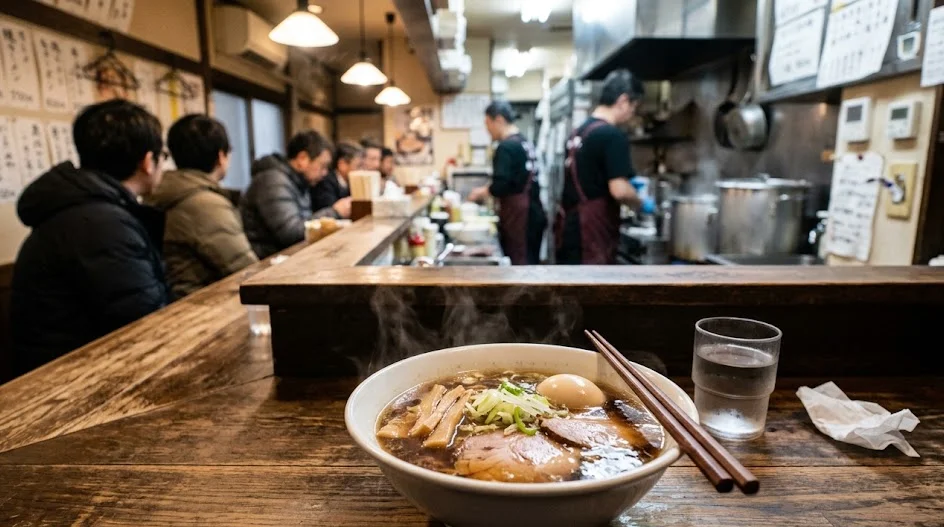
Hiking the trails between these shrines allows you to stretch your legs after a few days of urban walking. Finish the afternoon at the beach with a local craft beer or a fresh seafood bowl for around 1,500 to 2,500 yen.
How to decide on a swap
- Choose Uji if you want a calm, meditative environment centered on food and history.
- Choose Kamakura if you need a break from the metropolis and want a mix of hiking and ocean air.
- Check the weather forecast two days prior to your intended trip to ensure your choice aligns with the conditions.
- Always verify train frequency on Google Maps, as local lines can vary significantly during weekends and public holidays.
You do not need to book these day trips months in advance, but having a rough idea of the train route before you leave your hotel saves valuable time. Do not overthink the itinerary—sometimes the best day is the one where you simply follow a smaller street to see where it leads.
Navigating the inevitable jet lag and fatigue
Even the most prepared traveler can find their stamina compromised by the 14-hour time difference or the sheer physical demands of a week in Japan.
If you wake up on day two or three feeling like your brain is operating in a fog, do not force yourself to stick to the original plan at the expense of your health. It is far better to have one “slow day” where you prioritize recovery over sightseeing.
Pushing through exhaustion usually leads to a miserable experience. For your slow day, look for low-impact, indoor experiences that still offer local immersion without requiring hours of standing in queues. A major department store like Takashimaya or Daimaru is a goldmine for an exhausted traveler.
These buildings feature expansive, air-conditioned food halls on the basement levels where you can curate a high-quality, inexpensive meal. Spend an hour in the stationery or kitchenware section browsing unique Japanese crafts; it is an excellent way to see local design without the need for intense navigation.
If you lose an entire morning to fatigue, cut the most crowded activity from your list and shift the rest of your day accordingly. You will not miss much by skipping one temple or a secondary observation deck.
Instead, find a quiet public park, buy a warm drink from a vending machine, and take an hour to just sit and observe the local rhythm. This approach keeps your trip sustainable for the full seven days rather than burning out by day four.
Strategies for a low-energy day
- Visit a local sento, or public bath, to soak your sore muscles for around 500 to 1,000 yen.
- Stay within your immediate neighborhood rather than crossing town, saving transit time for rest.
- Seek out a quiet library or a bookstore like Tsutaya to enjoy a coffee in a calm setting.
- Focus on a single, high-quality dinner rather than trying to hit multiple sightseeing points.
Remember that you are on vacation, not on a mandatory sprint. If you end up skipping an item on your list to grab an extra hour of sleep or a leisurely breakfast, you have not failed your trip; you have optimized it for your actual needs.
Flexibility is the skill that matters, and sometimes, the best memory from a week in Japan is the quiet, unexpected moment in a local park rather than a check-box at a tourist landmark.
Decoding Japan’s tipping, trash, and social etiquette
One of the biggest anxieties for first-time travelers is accidental social friction. You do not need to memorize complex rules of behavior, but understanding a few local norms will prevent you from feeling like an outsider in public spaces.
The most important rule in Japan is the absence of tipping. Do not leave money on the table at restaurants, in taxis, or at your hotel. Service is included in the price, and trying to tip can lead to confusion or embarrassment for staff who have to track you down to return your change.
Trash disposal is equally specific. You will rarely find public garbage cans on the street, as the expectation is that you carry your waste back to your hotel or throw it away at the convenience store where you bought the item. Carry a small plastic bag in your day pack for your trash until you find a bin.
Public transit etiquette is another area where you can signal your respect for the local environment. Avoid talking on your mobile phone while on trains or buses, and set your device to silent mode or manners mode.
Keeping your voice at a low volume when speaking with travel companions ensures that the commute remains a quiet experience for everyone around you.
Simple rules for common situations
- Eating while walking is generally frowned upon; if you buy street food, stay near the stall to finish it.
- Escalators in Tokyo typically have users stand on the left, but in Osaka, the preference is to stand on the right.
- When entering a ryokan or a temple area, always look for a sign indicating where to remove your outdoor shoes.
- When using a Suica or Pasmo digital card, tap your phone firmly against the center of the reader to avoid a delay in the gate closing.
Navigating these social nuances is much easier than it seems. Observe how the people around you behave, follow the flow of the crowd, and maintain a polite demeanor. If you do make a mistake, a simple apology or a slight bow is more than enough to smooth over any minor misunderstanding.
Do not let the fear of etiquette errors stop you from engaging with shopkeepers or locals. A polite smile goes a long way. If you are unsure about a specific situation, simply watch what the person in front of you is doing and copy their lead to blend into the daily rhythm of the city.
Managing your luggage and transit logistics
Moving across the country is the primary source of stress for most travelers. The secret to a seamless experience is leveraging the Takuhaibin luggage delivery service instead of hauling heavy suitcases onto the bullet train.
This service allows you to send your large bags from your Tokyo hotel directly to your next accommodation in Kyoto. You can arrange this at the front desk of your hotel one day before your departure.
The cost typically ranges from 2,000 to 3,500 yen per suitcase, and it is a small price to pay for the freedom of boarding the Shinkansen with only a light day pack.
Always check the official site of providers like Yamato Transport to verify pickup windows and size limitations. If you prefer to keep your luggage with you, be prepared for the realities of the rail system.
While the Shinkansen has overhead racks, they are designed for standard carry-on suitcases. If you have a large checked-bag size suitcase, you must reserve a seat with an extra luggage area in the back of the car.
Book these through the SmartEX website or via Klook well in advance, as they sell out during holiday periods.
Luggage transit strategies
- Ship your heavy luggage to Kyoto the day before you check out of Tokyo so it is waiting for you upon arrival.
- Keep a change of clothes, your electronics, and your passport in your backpack to avoid needing your main suitcase for 24 hours.
- Use the coin lockers at stations to store smaller bags if you have a few hours between hotel check-out and train departure.
- Avoid traveling during morning or evening rush hours, roughly 8:00 AM to 9:30 AM and 5:00 PM to 7:00 PM, to save space on local trains.
Station navigation is the other half of the puzzle. Major hubs like Shinjuku or Kyoto Station are massive, multi-level complexes that can feel overwhelming.
Do not rely on your internal compass; follow the overhead signage, which is almost always color-coded by line or destination. If you get lost, look for a station attendant or a police box, known as a Koban, to ask for directions.
By delegating the heavy lifting to the local delivery services and planning your transit times to avoid the peak crush, you remove the biggest logistical hurdle from your trip.
You gain back hours of energy that would otherwise be spent wrestling with baggage on stairs and crowded platforms, allowing you to focus on the arrival experience instead of the transit struggle.
Mastering the art of seasonal transitions
One factor that frequently blindsides travelers on a seven-day loop is how drastically the atmosphere changes between the northern urbanity of Tokyo and the historical basin of Kyoto.
While Tokyo feels like a relentless machine of steel and neon, Kyoto is a micro-climate where humidity and temperature can hover differently.
Packing for your week requires a modular strategy that accommodates both the heavy walking requirements and the shifting indoor-outdoor temperatures you will face. Even if you are traveling in the mild shoulder seasons, you will experience a high level of physical output.
You are essentially walking three to five miles every single day, often on hard concrete. Choosing the right footwear is not just about fashion; it is a vital component of your daily endurance.
Leave the new, stiff leather shoes at home and opt for broken-in sneakers that offer significant arch support. If you arrive in summer, the heat can be punishing, making moisture-wicking fabrics your best friend; check the local weather forecasts on Japan Meteorological Agency sites to prepare accordingly.
If you find yourself arriving during the rainy season or an unexpected storm, do not panic. Japanese infrastructure is designed to handle downpours with grace.
Every convenience store sells sturdy, clear umbrellas for roughly 500 to 800 yen. These are surprisingly resilient and allow you to keep your itinerary moving even when the sky opens up.
Many of the major shrines and museums in Kyoto have long, covered walkways, making them perfect targets for wet-weather adjustment days.
Seasonal packing essentials
- Lightweight, breathable layers that can be shed in seconds when moving between trains and city streets.
- A portable power bank with at least 10,000mAh to keep your maps and translation apps running through long transit days.
- A small, lightweight dry bag or waterproof pouch for your electronics if you visit during the monsoon or typhoon window.
- A minimalist day pack that fits under a bus or train seat; avoid the oversized hiking backpacks that block narrow aisles.
- One set of smart-casual attire for nice dinners in Ginza or Gion, as Japanese nightlife often leans toward a polished aesthetic.
Remember that storage is limited everywhere. If your suitcase exceeds the dimensions of a standard carry-on, you will be forced to struggle on public transit.
If you must bring extra gear, stick to the luggage forwarding services mentioned previously to keep your hands free. Being unencumbered is the single greatest luxury you can afford yourself.
Finding rhythm in the city’s food culture
The biggest mistake travelers make is defaulting to famous restaurant chains found on Instagram or TikTok. While these places are reliable, they often involve standing in line for two hours, which is a massive drain on your limited 168-hour trip.
Instead, prioritize the floor-by-floor dining model found in Japan’s massive department stores. Buildings like Isetan, Daimaru, or Takashimaya house entire floors dedicated to high-end regional cuisine, often featuring menus that rotate based on local harvest cycles.
Beyond the department store towers, you should actively seek out the basement food halls, known as depachika. These are sprawling labyrinths of prepared food, ranging from sushi sets to wagyu beef bento boxes.
They are perfect for when you are too tired to sit in a formal restaurant but want something higher quality than a standard convenience store sandwich. A high-quality dinner here will set you back 1,500 to 3,000 yen; check the official store websites for operating hours, as these areas often close by 8:00 PM.
If you want a more authentic experience, look for restaurants located above or below ground level in buildings near major transit hubs. In Japan, prime real estate isn’t always at street level.
Many of the most respected, family-run ramen shops or tonkatsu houses operate on the third or fourth floor of nondescript office buildings. If you see a small, glowing lantern or a simple wooden sign near an elevator bank, you have likely found a local favorite that doesn’t rely on tourist foot traffic.
Dining strategies for limited time
- Utilize Google Maps to filter by “top rated” but verify the results against the number of local reviews rather than just the score.
- Download the Tablelog app to see the true local consensus on restaurant quality; ratings above 3.5 are considered exceptional.
- Avoid the “lunch rush” window by eating between 11:00 AM and 11:30 AM, or wait until after 1:30 PM to avoid the queue.
- Look for set menus (teishoku) which provide a balanced meal of rice, soup, protein, and pickles at a fixed, predictable price point.
- Check if the restaurant requires a reservation via platforms like Klook or dedicated booking portals; many high-end sushi bars now strictly enforce pre-booking.
 Reader
 Yuki
FAQ
QIs 7 days really enough time?
It is, provided you accept you cannot see everything. You will see the highlights and get a feel for the culture without the exhaustion of a longer, more chaotic trip.
QCan I add Nara to this route?
Yes, add it as a half-day trip from your Kyoto base. It is only 45 minutes away by local train and easily done in a single afternoon.
QWhat is the best time to visit?
Late autumn and spring are beautiful, but they are also very busy. Consider mid-November or early April for the best balance of weather and scenery.
QDo I need to book local trains?
No, you can simply tap in using your IC card for local trains in Tokyo, Kyoto, and Osaka. Save your pre-booking efforts for the Shinkansen long-distance lines only.
QWhat if I don’t speak Japanese?
That is perfectly fine. Major stations and tourist sites are well-marked in English, and translation apps like Google Translate can bridge any communication gap.
It feels like a high-stakes puzzle when you are trying to balance time and distance. Only have four days or just one week?
Stop re-reading endless blogs and lock in your base city bookings so you can stop worrying and start looking forward to the food.
Keep planning
- ① Install and test your eSIM before take-offAiralo and Ubigi eSIMs activate on arrival, but the install itself needs Wi-Fi. Do it at home and confirm the profile shows up in your phone settings.
- ② Save your first hotel’s address in JapaneseTaxi drivers and station staff read Japanese addresses far faster than romanised ones. Copy it from the booking confirmation into your notes app.
- ③ Set aside cash for day oneMany small restaurants, temples and rural buses are still cash-only. Airport ATMs at 7-Eleven and the post office accept most foreign cards.
Skip these and your first hour in Japan goes on finding Wi-Fi at the station instead of getting to your hotel.
🔍 How to sanity-check any price you read online
Blogs (including this one) go out of date. The official page always wins over a screenshot from two years ago.
Cover Photo: duncan_su from Taipei, Taiwan, CC BY 2.0, via Wikimedia Commons