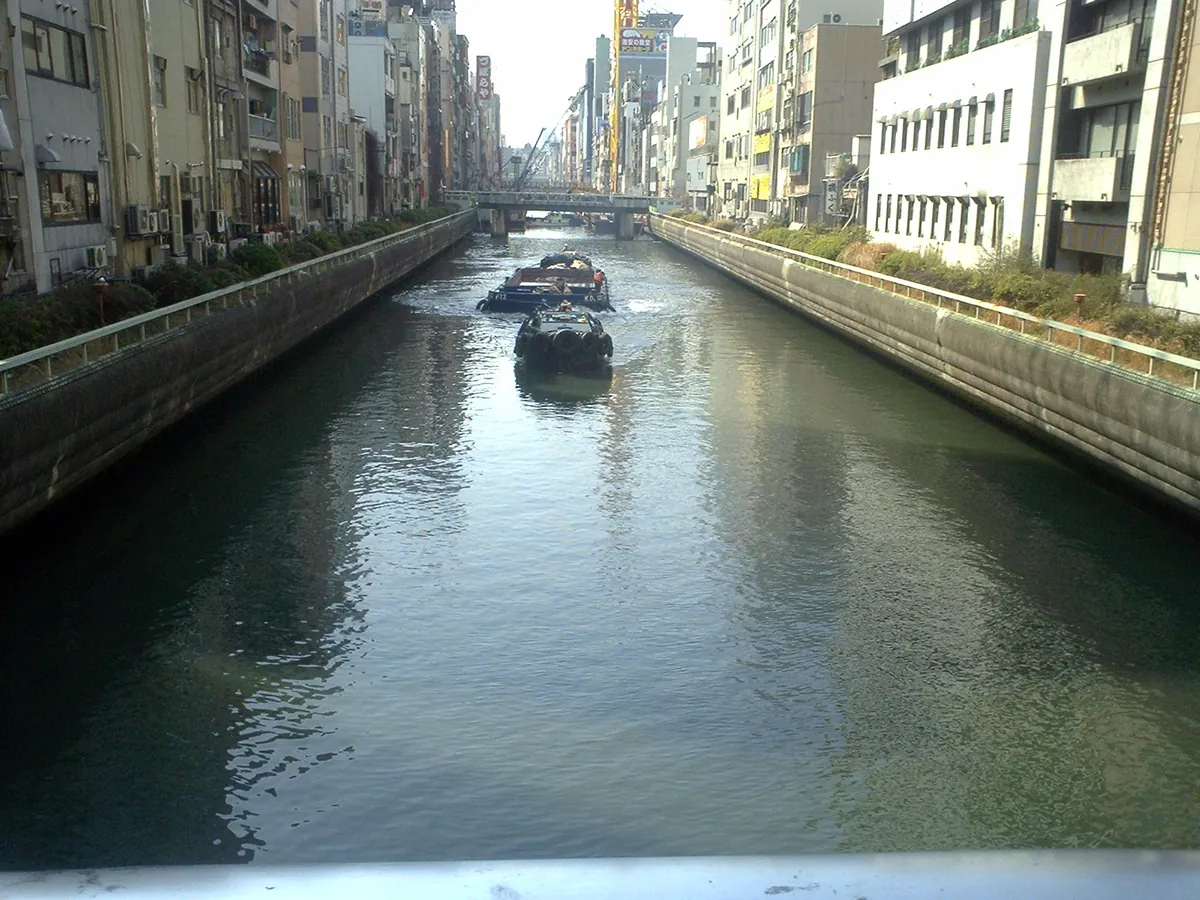

- Tokyo 6 nights, Osaka 8 nights (Day trips to Kyoto/Nara)
- Best for: Low-stress, slow-drip travel on a mid-range budget
- Estimated cost: ¥350,000–¥500,000 per person (excluding flights)
- Essential tools: Suica or Pasmo on your phone, Airalo eSIM
- Strategy: Only two hotel check-ins for the entire 14 days
- Trip Duration
- 14 days
- Main Bases
- Tokyo (6 nights) & Osaka (8 nights)
- Avg. Daily Budget
- ¥25,000–¥35,000
- Best Season
- May or October
We may earn a commission if you book through the links in this article, at no extra cost to you. Prices are ranges as of 2026 — check the official sites before you book.
Fourteen days is the perfect window to see Japan without turning your trip into a permanent state of transit anxiety. If you are only doing Tokyo, close this and read the Tokyo-only plan.
By centering your stay in just two major hubs, you eliminate the daily luggage drag that ruins most vacations. You will spend your time in temples and izakayas, not on platforms searching for your next hotel.
The two-base strategy: Why moving less means seeing more
Most itineraries have you changing hotels every two nights. This creates a cycle of checking out, hunting for coin lockers at train stations, and waiting until 3:00 PM to check back in elsewhere.
Our strategy is simple. You stay for six nights in a central Tokyo neighborhood and eight nights in an Osaka district. From Osaka, the rest of the Kansai region is just a short commuter train ride away.
Moving your base just once saves you roughly ten hours of logistical labor over two weeks. That is time you can spend sleeping in, eating a second breakfast, or walking through a garden without a suitcase.
Step 1: Arrival in Tokyo
Check into your first base for 6 nights. Use this time to adjust to the time zone and explore the capital.
Step 2: The Transit Shift
Take the Shinkansen to Osaka on day 7. This is your only major travel day of the entire trip.
Step 3: Kansai Exploration
Base yourself in Osaka for the final 8 nights. Use the regional rail network for daily trips to Kyoto and Nara.
14-day itinerary: Booking your Tokyo and Osaka stays
Preparation is not about scheduling every minute. It is about removing the friction points that cause lines and stress.
- Reserve your Shinkansen seats via the SmartEX app
- Download a mobile Suica or Pasmo to your digital wallet
- Order an Airalo or Ubigi eSIM for consistent data
- Book your two main hotel bases on Booking.com or Agoda
- Set up a Yamato Transport account for easy luggage forwarding
- Buy tickets for high-demand sites like Ghibli Museum on Klook
Do not attempt to plan every hour. Lock in your transit and your beds, then leave your afternoons open for whatever neighbourhood catches your eye.
Days 1–6: Tokyo immersion
Days 1–3: Adapting and exploring
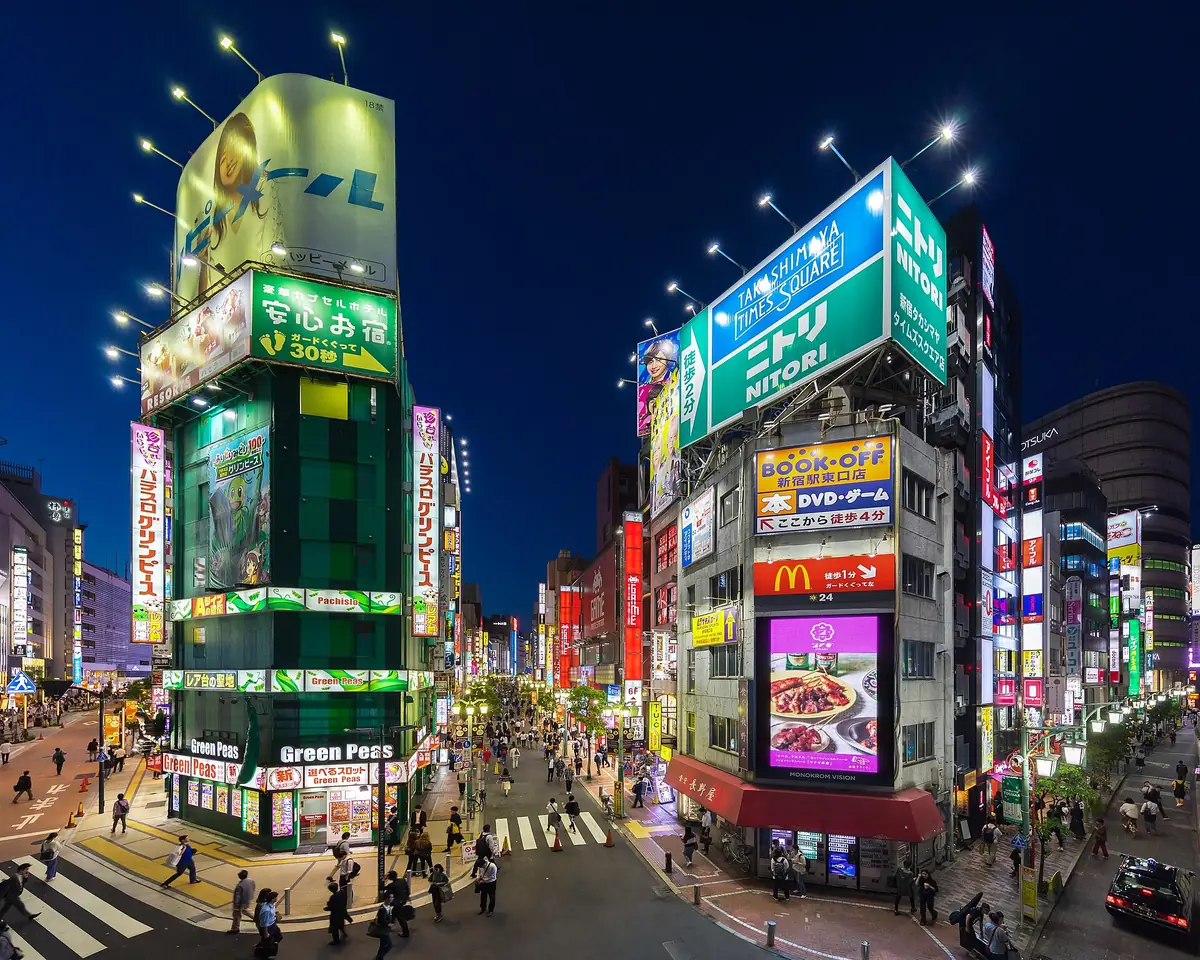
Land at Haneda or Narita and take the train to your Tokyo hotel. We recommend a business hotel in Shinjuku or Ueno, which typically range from ¥15,000–¥25,000 per night depending on the season.
Spend your first afternoon walking without a goal. Go to a convenience store for a rice ball and a tea, then find a local shrine. It is the best way to let the jet lag fade.
Days 4–6: Deeper dives
Use your middle days to visit specific districts. We like to spend one morning in Yanaka Ginza for an older, quieter Tokyo feel. Aim to visit in the morning around 10:00 AM before the street food stalls get too busy.
If it rains, head to the massive department stores in Ginza or Ikebukuro. You can spend an entire afternoon in a stationery shop or a basement food hall (depachika) without ever stepping into the weather.
Day 7: The transition day to Osaka
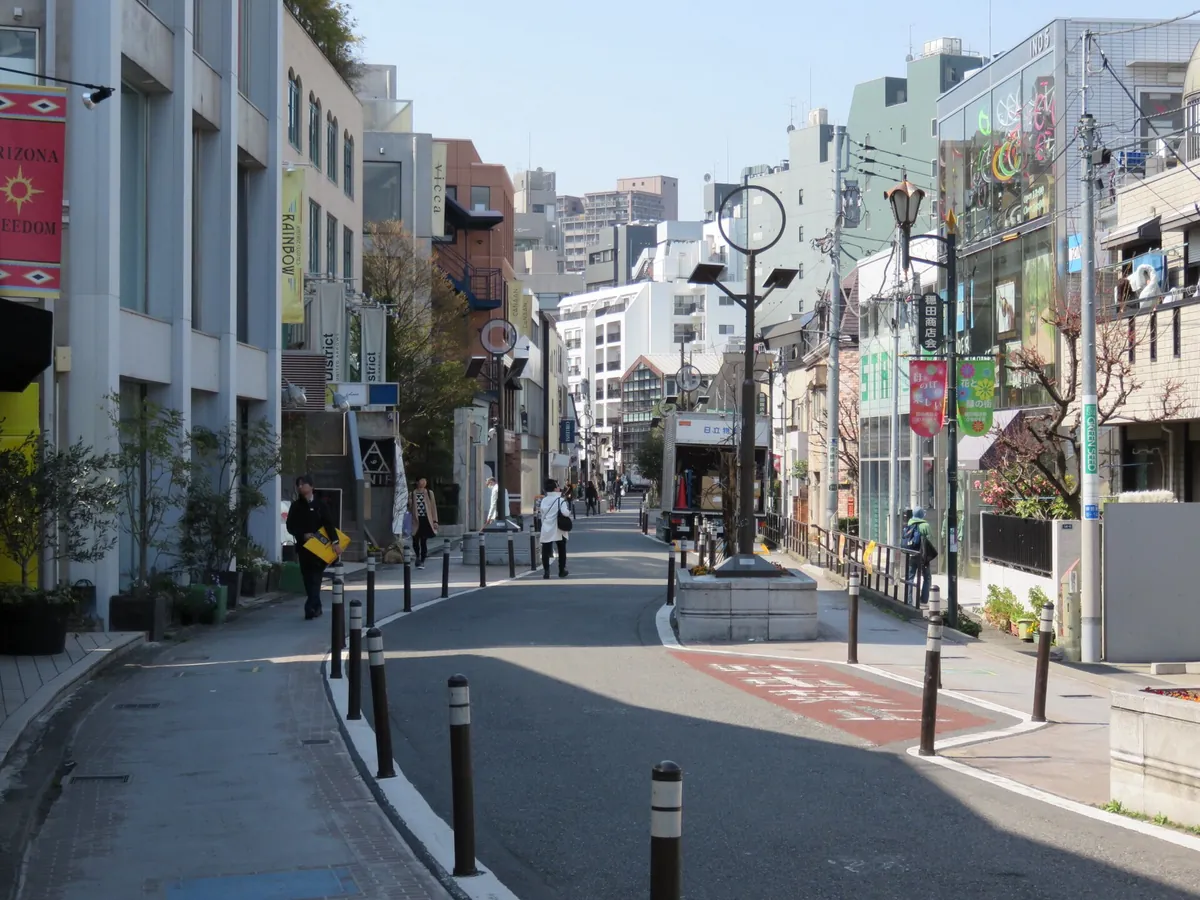
Check out of your Tokyo hotel and head to Tokyo Station or Shinagawa Station. You will board the Shinkansen heading toward Shin-Osaka.
If you have large suitcases, use the Yamato Transport luggage forwarding service to send them directly to your Osaka hotel. You can arrange this at your hotel front desk for roughly ¥2,500–¥3,500 per bag.
Traveling hands-free makes the transit day manageable. When you arrive in Osaka, you can walk straight to your dinner spot instead of heading to the hotel first.
Days 8–14: Osaka, Kyoto, and Nara
Days 8–10: The Kansai heartbeat
Osaka is loud, messy, and wonderful. Spend your evenings in Dotonbori, eating takoyaki that costs around ¥600–¥900 for a generous portion. It is best to go after 8:00 PM to see the neon lights at their brightest.
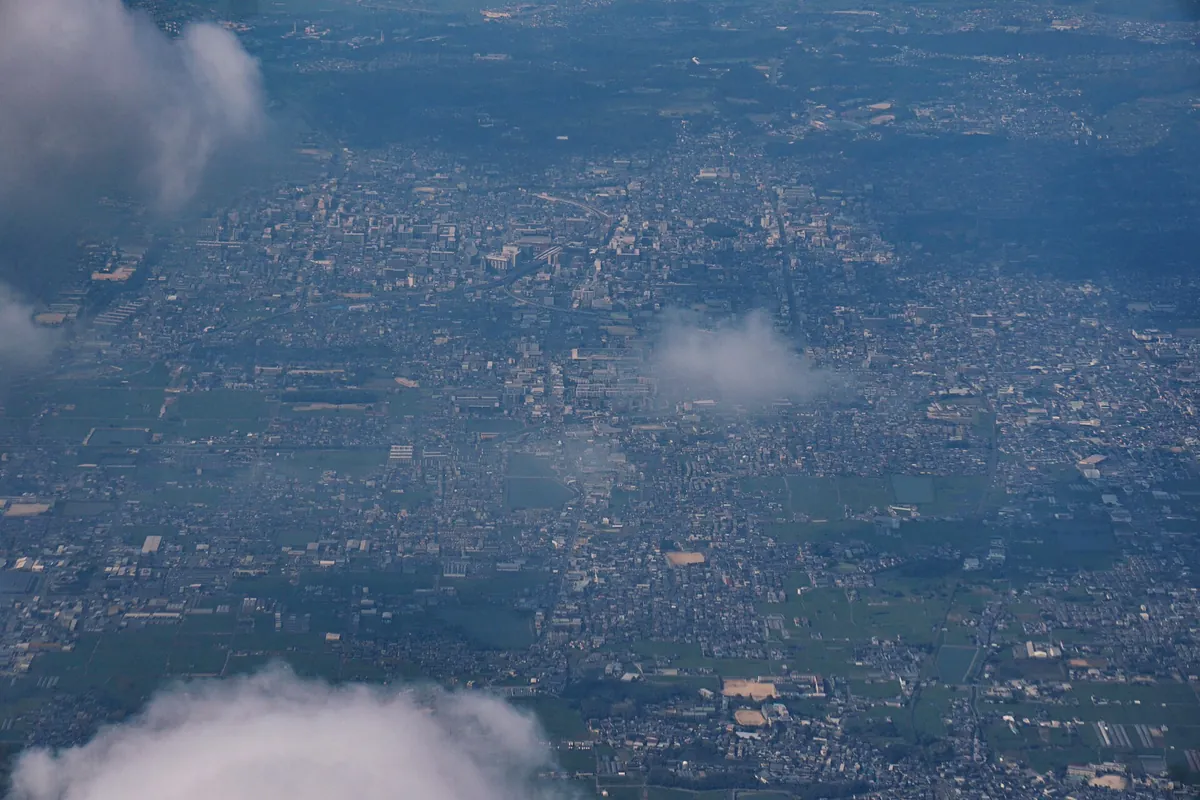
Use your days to visit Osaka Castle or the Umeda Sky Building. If you are tired, simply visit a local public bath (sento) for a few hundred yen. It is the best reset for your legs.
Days 11–12: Kyoto without the stress
Kyoto is a 30-minute train ride from Osaka. Many people try to stay in Kyoto but the crowds are overwhelming; staying in Osaka allows you to escape the tourist density in the evening.
Take the Keihan line early, arriving at Fushimi Inari by 7:30 AM. You will beat the tour buses and find a quiet path up the mountain. Always carry an IC card loaded with cash to pay for local buses and trains.
Days 13–14: Nara and final souvenirs
Nara is an easy trip from Osaka, often done in half a day. Feed the deer and walk through the park, but do not feel obligated to see every single temple.
Spend your final day in the Shinsekai district of Osaka. Eat kushikatsu for lunch and pick up your remaining souvenirs at Don Quijote. Pack light, as you will be heading to Kansai International Airport for your flight out.
Where we would book this
Booking.com
Largest inventory in Japan for English-speaking travellers
- Best for
- Hotels, business hotels, ryokan and apartments in every city
- Checked
- September 2026
Official site. Same price for you.
Recommended hotels in Tokyo and Osaka
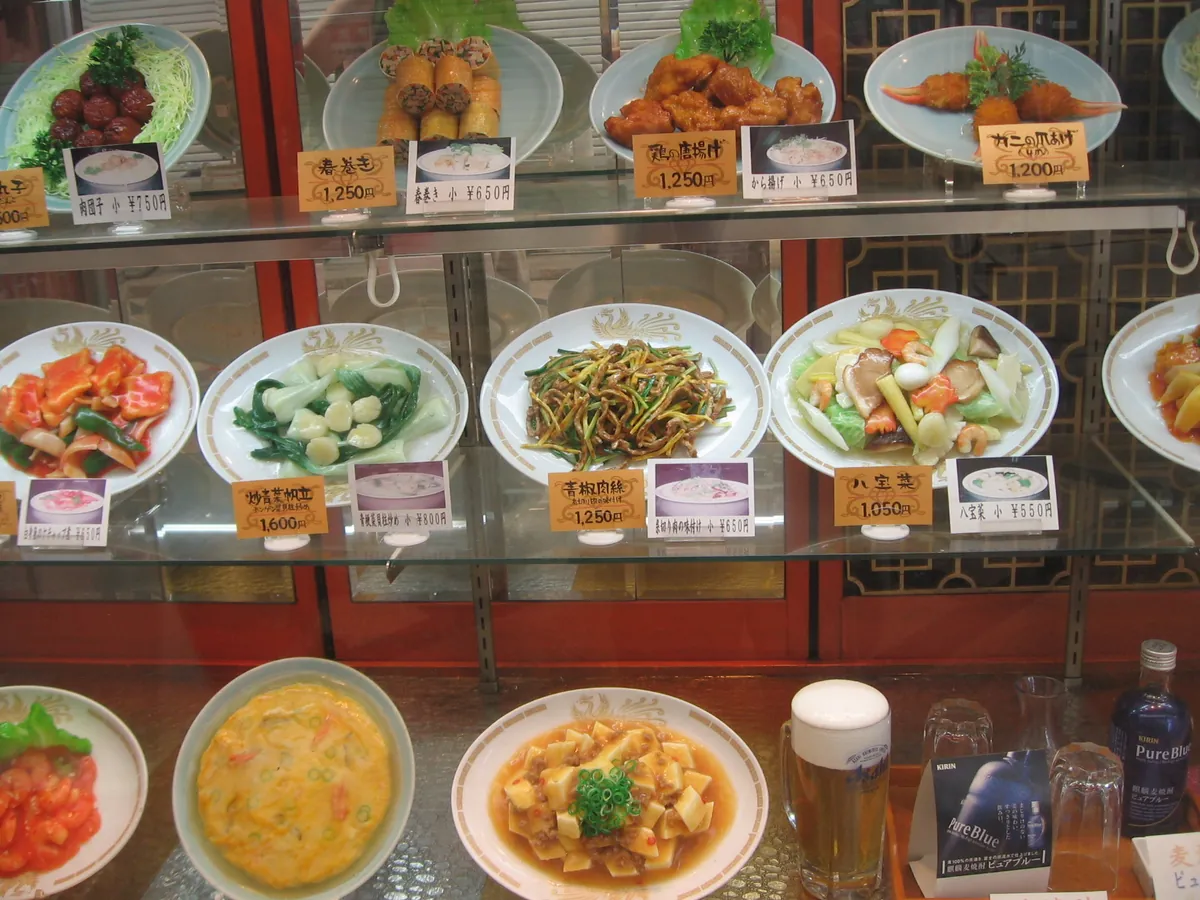
Tokyo (Shinjuku or Ueno)
Shinjuku offers unmatched connectivity, while Ueno provides a direct link to the airport via the Skyliner. Look for business hotels on Booking.com which offer small but efficient rooms for ¥15,000–¥25,000 a night.
Osaka (Namba or Umeda)
Namba puts you steps away from the food scene, while Umeda is better for regional train connections. Agoda often has competitive rates for these areas during off-peak times. Expect to pay ¥12,000–¥22,000 a night.
Partner link.
Estimated 14-day trip budget
This is a mid-range budget estimate for 2026. Note that currency fluctuations make exact numbers impossible, so treat these as a rough guide for your planning.
| Category | Range (Yen) |
|---|---|
| Hotels (14 nights) | ¥210,000–¥350,000 |
| Food & Drink | ¥70,000–¥100,000 |
| Transport | ¥40,000–¥60,000 |
Plan your trip: the tools we use
The JR Pass may or may not pay off for this route; add up the individual legs using a fare calculator online. For this specific Tokyo-to-Osaka loop, buying individual tickets usually works out cheaper.
Essential logistical tips for your 14-day journey
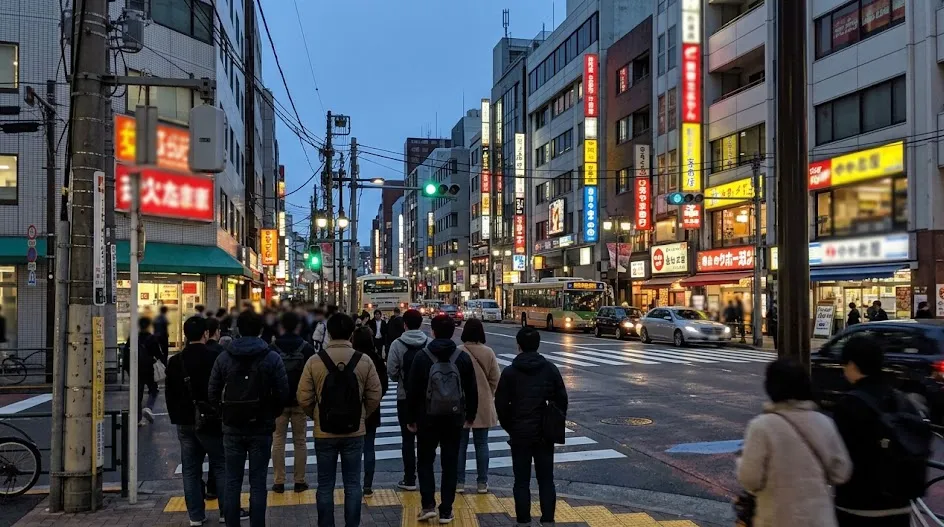
What most first-timers do
- Change hotels every 2 days
- Carry large bags on trains
- Try to see 4 cities in 14 days
- Buy a JR Pass without checking math
What actually works
- Stick to only two home bases
- Use luggage forwarding services
- Pick one region per week
- Use individual tickets or IC card
Ever since, I have used the Yamato luggage forwarding service for every single trip.
 ReaderYuki
Strategic order: The booking sequence to avoid travel fatigue
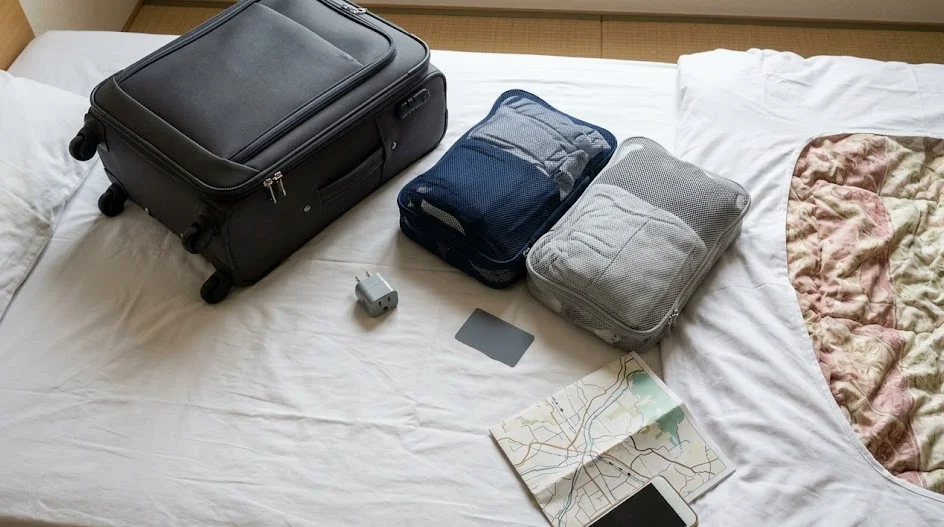
Most travelers make the mistake of booking their flights first and their transport last. If you want a stress-free trip, you must prioritize the logistical skeleton of your 14-day route before securing your local accommodation.
Start by identifying your inbound and outbound airports. While Haneda is closer to Tokyo center, Narita is well-connected via the Skyliner or Narita Express.
Once your flights are set, lock in your Shinkansen tickets through the SmartEX app exactly 30 days before travel. This removes the risk of being stuck in a non-reserved seat during peak seasons.
After your inter-city transit is secured, book your base hotels. I recommend booking these at least 3 months in advance to secure the best rates on platforms like Booking.com or Agoda.
If you book too late, you may end up at a hotel far from the train stations, which adds unnecessary stress to your arrival and departure days.
The optimal booking timeline
- 4 months out: Book international flights to secure the best arrival times.
- 3 months out: Secure your primary base hotels in Tokyo and Osaka.
- 1 month out: Purchase Shinkansen tickets via the official app.
- 2 weeks out: Book high-demand activities like Ghibli Museum on Klook.
- 1 week out: Configure your eSIM via Airalo or Ubigi to ensure immediate connectivity.
Prioritize hotels that offer luggage forwarding services. A hotel front desk that knows how to handle Takkyubin (luggage shipping) is worth an extra ¥2,000 per night.
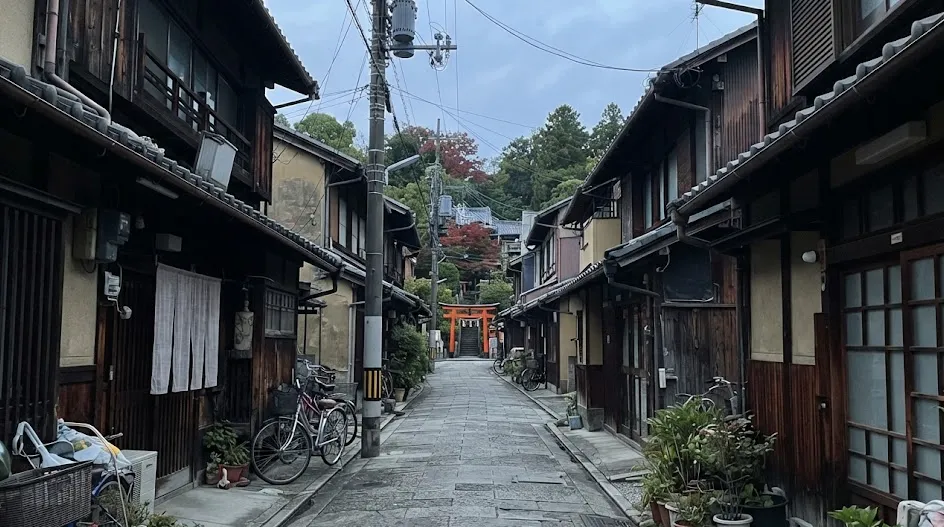
You can check current service rates at the official Yamato Transport website, but expect to pay roughly ¥2,500–¥3,500 per suitcase for cross-region delivery.
Never leave your local transport bookings to chance. If you plan to visit popular attractions in Kyoto, buy those entry vouchers on GetYourGuide or Klook ahead of time.
Digital vouchers allow you to walk past the ticket windows, saving you valuable time on a short 14-day trip. If a site requires a reservation, do not assume you can walk up and buy a ticket on the day.
Finally, confirm your hotel’s late check-in policy. If your flight lands late, email the front desk to ensure your room is held. Most Japanese business hotels are strict about arrival times, and they may cancel your reservation if you do not arrive by 10:00 PM without prior notification.
Rainy day pivots: How to keep moving when the weather turns
Japan is prone to sudden rain, particularly during the humid summer months and the transition seasons. When the weather forecast looks bleak, do not abandon your plans—simply pivot to indoor-centric districts that protect you from the elements.
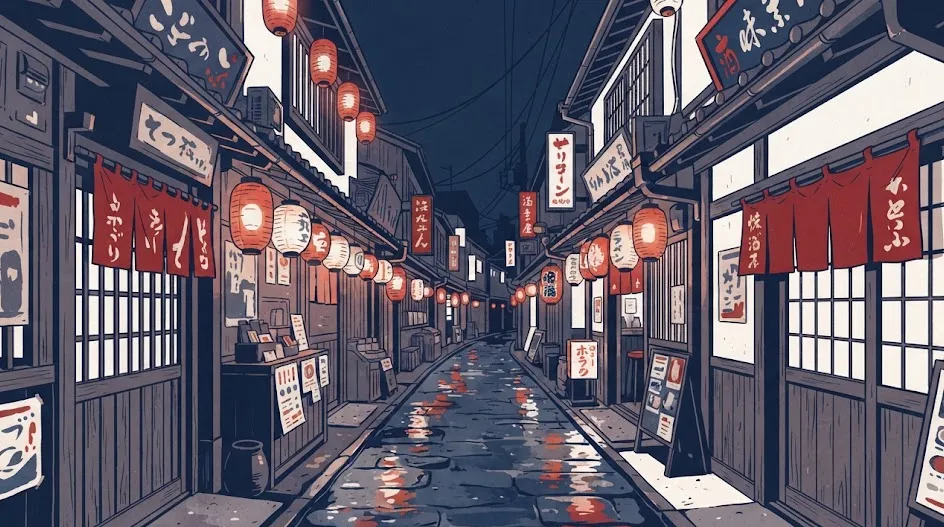
Tokyo’s underground network is a city in itself. Areas like Shinjuku, Tokyo Station, and Shibuya have sprawling basement levels that connect department stores, restaurants, and train platforms.
You can spend an entire day moving between these hubs without ever needing an umbrella. Visit the basement food halls, known as depachika, for high-quality meals that cost between ¥1,000–¥3,000.
If you are in Osaka during a downpour, head straight for the covered shopping arcades. The Shinsaibashi-suji and Tenjinbashi-suji arcades stretch for kilometers, providing a dry roof over hundreds of shops, cafes, and arcades.
It is the perfect environment for slow-drip exploration when the outdoor temples feel less inviting.
Indoor alternatives for your itinerary
- Tokyo: Explore the massive stationery and hobby floors at Tokyu Hands or Loft.
- Tokyo: Visit the teamLab Borderless digital museum for an immersive, climate-controlled experience.
- Osaka: Spend your time in the Umeda underground shopping maze, which links all major rail stations.
- Osaka: Visit a public bathhouse, or sento, to warm up and dry off while experiencing local culture.
Rain is also a great excuse to invest in a Japanese department store experience. High-end stores like Isetan or Daimaru often feature galleries, rooftop gardens under glass, and specialized tea rooms. You will find that these environments are quiet, clean, and offer a comfortable break from the pace of sightseeing.
Do not be afraid to duck into a kissaten, or traditional coffee shop, for an hour. These spots are the heartbeat of the Japanese social scene and are usually tucked away on the upper floors of older buildings.
A coffee and a toast set will rarely cost more than ¥800–¥1,200. These are the moments that define a trip; sitting by a window watching the rain fall on a quiet street is often more memorable than the major tourist sites.
Lastly, keep a small, sturdy umbrella in your day bag at all times. If you forget yours, any convenience store—7-Eleven, Lawson, or FamilyMart—sells durable clear umbrellas for roughly ¥600–¥1,000. They are a staple of the local lifestyle, and you will see everyone else using them the moment the first drop falls.
The Art of the Micro-Adjustment: Recovering from Travel Delays
Even with the most precise planning, the reality of long-haul travel often involves unexpected turbulence, missed connections, or a severe case of jet lag that keeps you tethered to your bed for an extra six hours.
If you find yourself losing half a day to fatigue, the worst decision you can make is to try to cram your original schedule into a shorter timeframe.
The itinerary survival rule is to categorize your plans into anchor events and flexible filler. An anchor event is a hard-booked tour, a Shinkansen ticket, or a reservation at a specific restaurant that charges a cancellation fee.
These are non-negotiable. Everything else is filler that can be deferred to a later day or replaced with a nearby alternative.
If you lose your first morning in Tokyo to exhaustion, do not force a trip to the Ghibli Museum or a distant skyscraper. Instead, shift your focus to the immediate vicinity of your hotel.
Most business hotels are situated within five minutes of a park or a high-traffic temple. Spend your limited energy on a low-stakes walk where you can sit on a bench, watch the neighborhood rhythm, and hydrate.
Prioritizing energy over attractions
- If you miss a morning in Tokyo, skip the crowded Tsukiji Outer Market and choose a nearby neighborhood convenience store for a quick breakfast.
- Replace high-intensity walking tours with a ride on the Yamanote line; it loops the city and allows you to see the landscape without physical strain.
- Use the late afternoon to visit a local sento or an onsen facility, which helps soothe sore muscles from long flights.
- Move any non-essential shopping to the final day in Osaka when you are more likely to have excess space in your luggage.
When the schedule slips, lean into the slower pace rather than fighting it. Many travelers find that the unplanned hours spent in a neighborhood park or a local bookstore end up being their favorite memories.
You do not need to visit every landmark to understand the city. A quiet afternoon with a coffee in a Shinjuku alley provides more insight into local life than a rushed two-hour visit to a crowded landmark.
Always verify the cancellation policies for your activities via Klook or GetYourGuide well before you board your flight. If you realize at 8:00 AM that you are not capable of a full day, check if you can move your entry time to the following day.
Flexibility is your most valuable asset when dealing with the realities of international travel.
Beyond the Main Hubs: Curating Your Own Half-Day Escapes
While the two-base strategy keeps your logistics simple, the Kansai region is packed with smaller towns that offer a reprieve from the density of Kyoto. If you feel the itch for a change of pace, you can easily turn your eighth or ninth day into a bespoke excursion without changing your accommodation.
These side trips require nothing more than a local rail ticket purchased at the station gates.
Consider heading to Uji, located just a short train ride from Kyoto. It is the center of Japan’s green tea culture, and you can walk along the river to reach Byodo-in Temple, which is featured on the ten-yen coin.
The environment here is significantly calmer than the temples in central Kyoto, making it an ideal destination for an afternoon of quiet reflection and high-quality matcha sweets.
Another excellent option is the town of Minoo, located north of Osaka. It is home to a steady, scenic hike that leads to a waterfall.
The path is paved and accessible, taking about forty-five minutes to reach the main drop. It is a fantastic way to stretch your legs after spending time in the neon-heavy, concrete-dense districts of Namba or Umeda.
Side trip logistics for Kansai
- Minoo Park: Take the Hankyu line from Umeda station; the trip takes roughly 30 minutes and costs about ¥300–¥500 one way.
- Uji: Accessible via the Keihan or JR lines from Osaka or Kyoto; plan for a 45-minute transit time.
- Mount Koya: For a full-day commitment, take the Nankai line from Namba; it is a pilgrimage site that offers a totally different atmosphere.
- Kobe: Located 20 minutes from Osaka, this port city is perfect for an evening of steak and waterfront views.
These side trips are best executed using your IC card, which you can top up at any station. There is no need for complex rail passes for these short hops; simply tap in and out of the gates.
Check the official transit route maps via Google Maps or the Japan Transit by Jorudan app to ensure you have the correct departure platform.
Keep your itinerary fluid by reserving these half-day escapes for the middle of your Osaka stay. If the weather is excellent, prioritize the outdoor hikes in Minoo.
If the air is humid or rainy, prioritize the indoor tea ceremonies in Uji or a museum day in Kobe. By maintaining this level of optionality, you ensure that your trip remains responsive to your mood rather than locked into a rigid, predetermined path.
The reality of dining: Navigating the reservation and walk-in balance
One of the biggest anxieties for a traveler in Japan is the fear of being turned away from restaurants. While social media suggests you need reservations for every meal, the reality is more nuanced for a 14-day trip.
If you try to book every lunch and dinner weeks in advance, you strip away the spontaneity that makes a trip to Japan memorable.
Use a balanced dining strategy: book your must-have dinners for your first two nights to ensure you have a comfortable start, then leave the rest of your meals to chance. High-end sushi or kaiseki experiences generally require booking via hotel concierges or platforms like Tablelog or Omakase.
However, the vast majority of neighborhood izakayas, ramen shops, and casual diners in Osaka and Tokyo are designed for walk-ins.
If you find yourself in a popular area like Dotonbori or Shinjuku and every place looks full, look up instead of down. Many of the best restaurants in Japan are located on the second, third, or fourth floors of narrow buildings.
Street-level spots are always the first to fill up, while businesses on higher floors often have tables available even on busy Friday nights.
Tools for finding a table on the fly
- Google Maps: Check the “Popular Times” graph to avoid peak windows.
- Tablelog: The local standard for rankings; use the web browser translation.
- Tabelog app: Useful for localized searches if you have a local SIM card.
- Instagram: Search location tags for trending spots, but confirm hours on official sites.
For casual dining, expect to spend ¥1,500–¥3,000 per person for a satisfying meal. If you are budget-conscious, rely on the high-quality sets offered at department store restaurants or local chain restaurants like Ootoya or Matsuya.
These spots are efficient, transparent about pricing, and welcoming to solo travelers or groups alike. Never feel pressured to hunt for a Michelin-star meal every night; the most authentic experiences are often found in the smoky, crowded alleyways where the menu is written on a hand-drawn chalkboard.
If you encounter a line, evaluate it against the environment. A line of locals waiting for a bowl of noodles is usually a sign of quality, but a line of tourists at a high-visibility shop is often just a social media trend.
If the queue looks longer than twenty minutes, find a secondary option nearby. The density of restaurants in Japan is so high that you are rarely more than a two-minute walk from another high-quality meal.
Beyond the tourist gaze: Engaging with local neighborhood life
When you have a full 14 days, you have the rare luxury of stopping the clock on the “sightseeing” treadmill. Many itineraries fail because they treat the country like a series of checkpoints rather than a living environment.
To get the most out of your two-base strategy, you need to transition from a tourist to an observer. Dedicate at least one full afternoon in each city to a neighborhood immersion day where no entry tickets or train transfers are involved.
Choose a residential area within a twenty-minute train ride of your base. In Tokyo, this could be the neighborhoods around Kichijoji or Koenji. In Osaka, look at the area surrounding Nakazakicho.
These places are not “sights” in the traditional sense, but they provide the rhythm of daily Japanese life. You will see families walking to school, office workers grabbing coffee, and elderly residents managing small garden plots.
Low-impact ways to experience local rhythms
- Visit a local supermarket like Life or Summit to see regional food products.
- Spend an hour in a local park watching the community engagement.
- Browse a large bookstore like Kinokuniya to observe the magazine and stationery culture.
- Stop into a local coin laundry or neighborhood bakery for a quiet fifteen-minute break.
Budget for a few “unproductive” hours in your daily spending. You might spend ¥500–¥1,000 on a cup of coffee or a pastry, but these quiet moments will stay with you long after the memory of a crowded temple fades.
By removing the pressure to “see it all,” you allow your brain to process the sensory input of the cities, which is often the most exhausting part of international travel.
Do not be afraid of the language barrier in these quiet areas. Most shopkeepers in residential districts are patient and appreciative of polite customers.
Use basic phrases, maintain a friendly demeanor, and you will find that a smile goes further than a translation app. These segments of your trip are your safety valves; they provide the mental rest necessary to keep your energy high for the big-ticket items like Fushimi Inari or Shibuya Crossing later in the week.
Prioritize your comfort and curiosity over the checklists found in generic guidebooks.
FAQ
QIs two weeks enough time for Japan?
Two weeks is the perfect amount of time to get a meaningful look at the country. Do not try to pack in Hokkaido, Kyushu, and the Golden Route all at once.
QCan I add Hiroshima to this route?
You could add Hiroshima as a 2-day excursion from Osaka. Take the Shinkansen early and stay one night, then head back to your Osaka base.
QWhen is the best season to go?
Autumn and spring are popular, but mid-June or late October offer better deals and fewer crowds. Pick a time that fits your budget rather than chasing the cherry blossoms.
QDo I need an IC card if I have a Japan Rail Pass?
Yes, the JR Pass only covers long-distance trains and some local JR lines. You will still need a Suica or Pasmo for subways, buses, and private rail lines.
QAre business hotels in Japan small?
Yes, they are compact and efficient, usually designed for one or two travelers. They prioritize location and cleanliness over extra living space.
QWhat if my flight arrives late at night?
Notify your hotel in advance. If you cannot make it by their check-in cutoff, you may need to book a hotel near the airport for the first night.
Planning this trip can feel like trying to solve a puzzle with too many pieces.
Stop searching for the perfect itinerary, lock in your two base hotels, and allow yourself the grace to figure out the rest once you are on the ground.
Keep planning
- ① Install and test your eSIM before take-offAiralo and Ubigi eSIMs activate on arrival, but the install itself needs Wi-Fi. Do it at home and confirm the profile shows up in your phone settings.
- ② Save your first hotel’s address in JapaneseTaxi drivers and station staff read Japanese addresses far faster than romanised ones. Copy it from the booking confirmation into your notes app.
- ③ Set aside cash for day oneMany small restaurants, temples and rural buses are still cash-only. Airport ATMs at 7-Eleven and the post office accept most foreign cards.
Skip these and your first hour in Japan goes on finding Wi-Fi at the station instead of getting to your hotel.
🔍 How to sanity-check any price you read online
Blogs (including this one) go out of date. The official page always wins over a screenshot from two years ago.