
- 10 days: 4 in Tokyo, 4 in Kyoto, 2 in Osaka
- Best for: First-timers seeking a slower pace
- Mid-range budget: ¥250,000–¥350,000 per person
- Transit: Point-to-point tickets, no regional pass
- Focus: Walkable clusters, minimal hotel changes
- Trip Duration
- 10 Days
- Major Hubs
- Tokyo, Kyoto, Osaka
- Primary Transit
- Shinkansen & Local Subway
- Typical Daily Spend
- ¥25,000–¥35,000
A “10-day Japan itinerary” is essentially an endurance test between your schedule and the local transit authority. By planting your luggage in just three cities and treating local neighborhoods as self-contained worlds, you stop being a passenger and start being a visitor.
I have spent enough time sitting on the Shinkansen to know that you should prioritize depth over the number of shrines checked. If you fly into Tokyo and out of Osaka, you save a half-day of backtracking.
Only have four days in Tokyo? This route keeps you moving forward, ensuring you reach your flight home without feeling like you spent the entire week inside a train station.
We may earn a commission if you book through the links in this article, at no extra cost to you. Prices are ranges as of 2026 — check the official sites before you book.
The logic of the three-city anchor method
Many travelers pack their bags every two days, turning a vacation into a logistical chore of checkout times and locker searches. My method relies on three anchors: Tokyo for the city pulse, Kyoto for the traditional history, and Osaka for the food culture.
By staying in each place for several nights, you gain the freedom to have a lazy morning with a local coffee before starting your day. You avoid the “transit fatigue” that ruins the second half of most trips.
Instead of waking up and heading to a station, you wake up and head to a neighborhood cafe or a park. It is a subtle shift that changes how you experience the rhythm of the city.
What most first-timers do
- Switch hotels every two days
- Rush to see ten shrines in a day
- Buy a JR Pass for a simple route
What actually works
- Stay in just three hubs total
- Limit to two main sites daily
- Buy point-to-point tickets as needed
Comparison: Estimated Travel Costs
← Swipe to see the full table →
| Item | Budget Range |
|---|---|
| Local Subway | ¥500–¥1,000 |
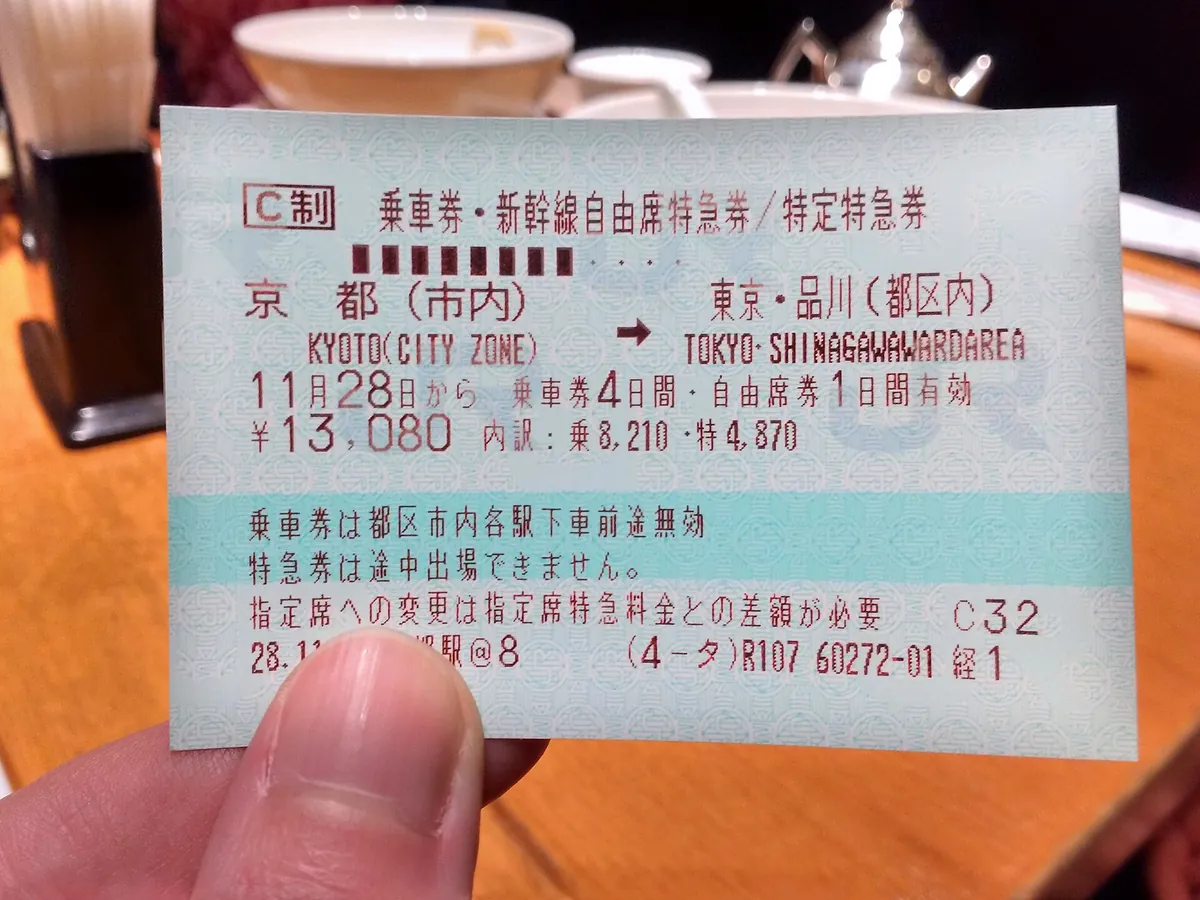
| Shinkansen | ¥14,000–¥16,000 |
| Airport Express | ¥1,000–¥3,000 |
Plan your trip: the tools we use
Essential bookings for your 10-day trip
You do not need to plan every minute, but you do need to secure the foundations. If you fail to book your arrival transport or your base accommodation in advance, you lose time scrambling for availability when you could be relaxing.
- eSIM for connectivity (Airalo or Ubigi)
- Hotel bookings in three distinct hubs (Booking.com)
- Arrival train ticket (Klook or official site)
- One or two high-demand site tickets (GetYourGuide)
- Yamato Transport account setup for luggage
- IC card on your phone for local subways
Tokyo (Days 1–4): mastering the sprawl
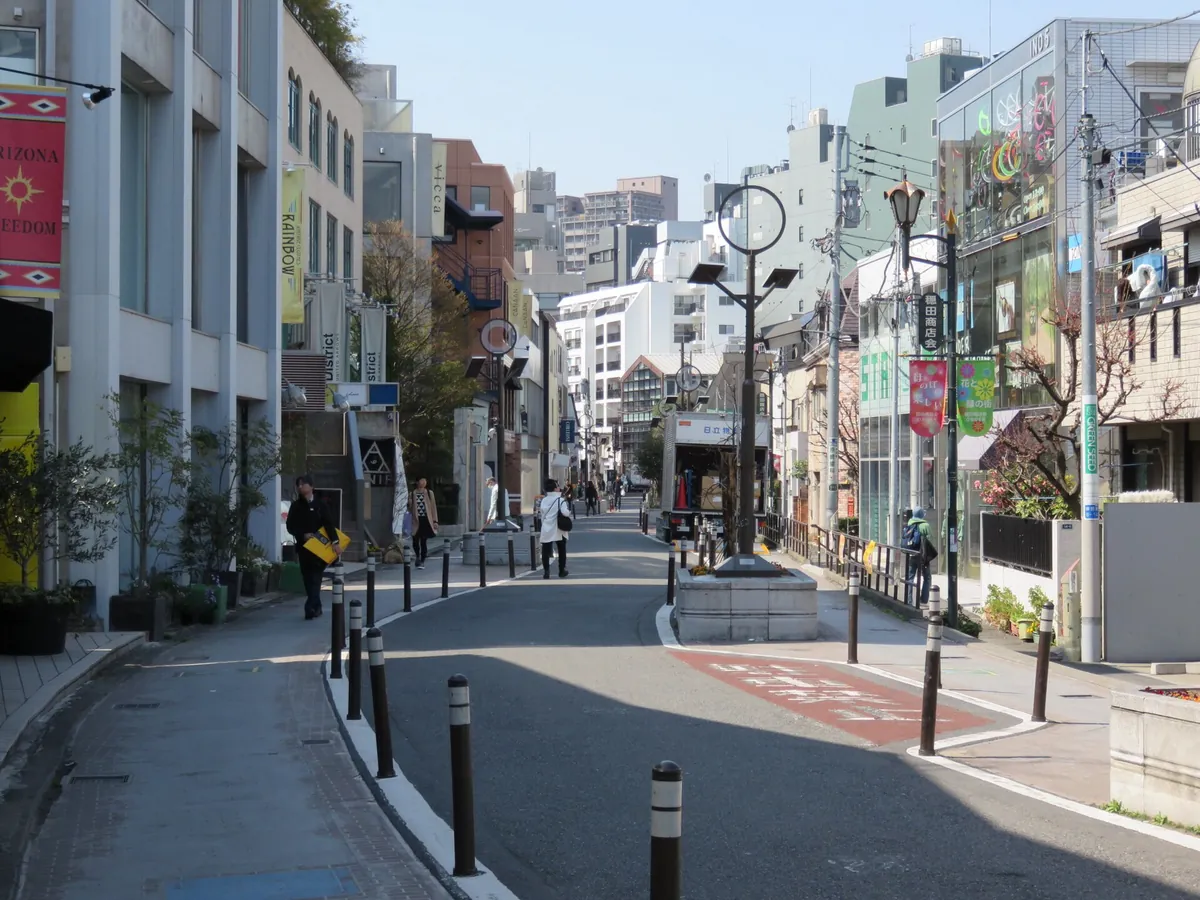
Tokyo is not one city; it is a collection of villages connected by a train line. Stick to one area per day to keep your travel time under 30 minutes. Use your IC card for all subway transfers and keep your phone charged for navigation.
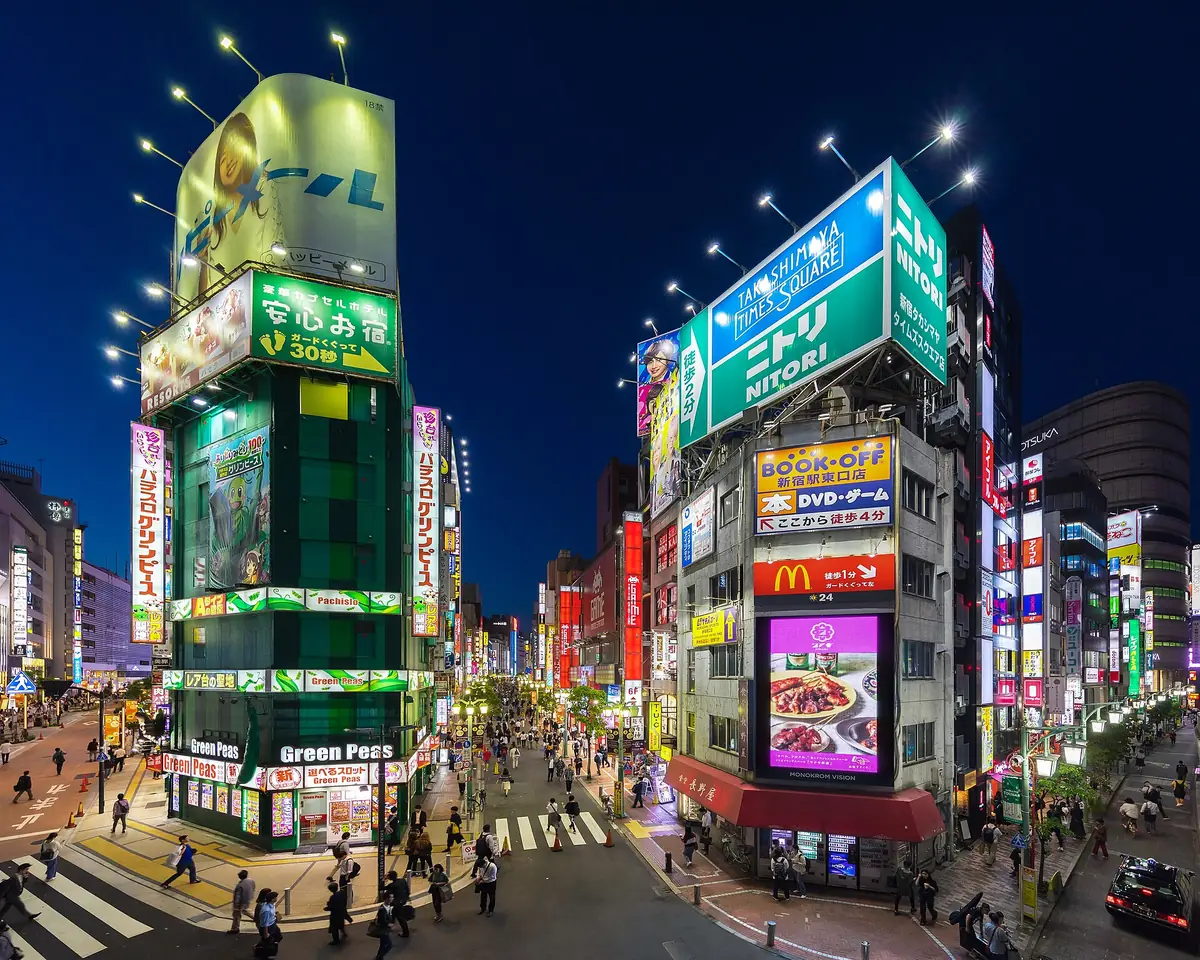
Day 1: Arrival and Shinjuku neon
Land at Haneda or Narita and take the express train to your base in Shinjuku or Shibuya. Check into your hotel and walk through the local alleys to get your bearings.
Grab a bowl of ramen for ¥1,200–¥1,800 and sleep early to beat the jet lag.
Day 2: The eastern traditional side
Start your morning at Senso-ji in Asakusa around 8:00 AM to avoid the massive crowds. Wander the side streets of Yanaka afterward for a quieter, residential atmosphere.
Eat lunch at a local teahouse for ¥1,500 and return to the center by late afternoon.
Day 3: Shibuya, Harajuku, and parks
Walk through Meiji Jingu to start the day in the forest, then head to Harajuku for a crepe. Spend your evening watching the Shibuya Crossing chaos from a nearby cafe.
If you are tired, skip the observation decks and just people-watch from the ground.
Day 4: A slow start in a new neighborhood
Explore the quieter side of Tokyo, such as the galleries in Roppongi or the park in Ueno. Spend your money on a nice dinner in a quiet corner of Ebisu, ranging from ¥4,000 to ¥8,000.
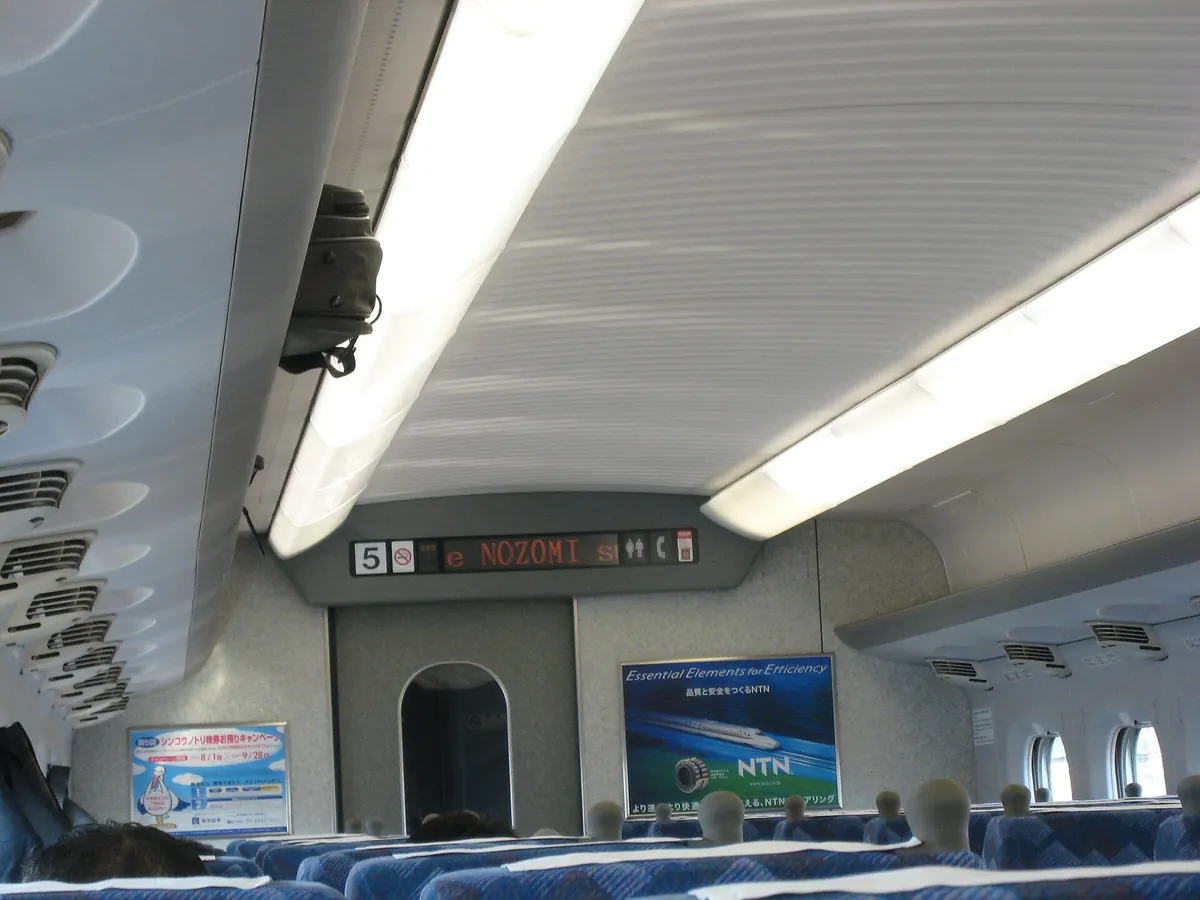
Prepare your bag for the move to Kyoto the next morning.
Transition: The Shinkansen experience
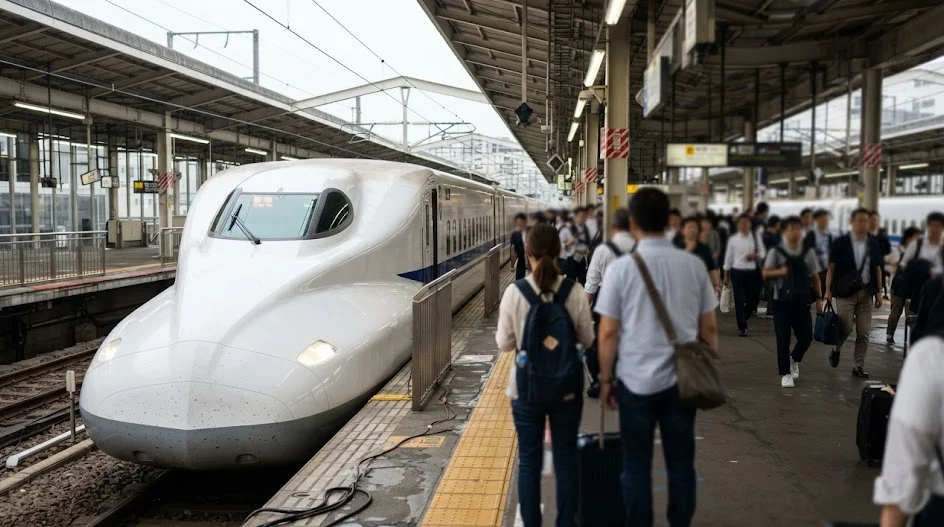
Taking the train from Tokyo to Kyoto is the one time you will feel like a long-distance traveler. Book an “E-ticket” on the official SmartEX site or via Klook to secure a seat. Try to get a window seat on the right side of the train for a chance to see Mount Fuji.
Keep your heavy bags in your hotel and consider using the Yamato luggage forwarding service to send your main suitcase to your next hotel. Traveling with only a backpack makes the Shinkansen a joy instead of a burden.
You arrive at Kyoto station feeling light and ready to explore.
Where we would book this
Booking.com
Largest inventory in Japan for English-speaking travellers
- Best for
- Hotels, business hotels, ryokan and apartments in every city
- Checked
- September 2026
Official site. Same price for you.
Kyoto (Days 5–8): temples and quiet gardens
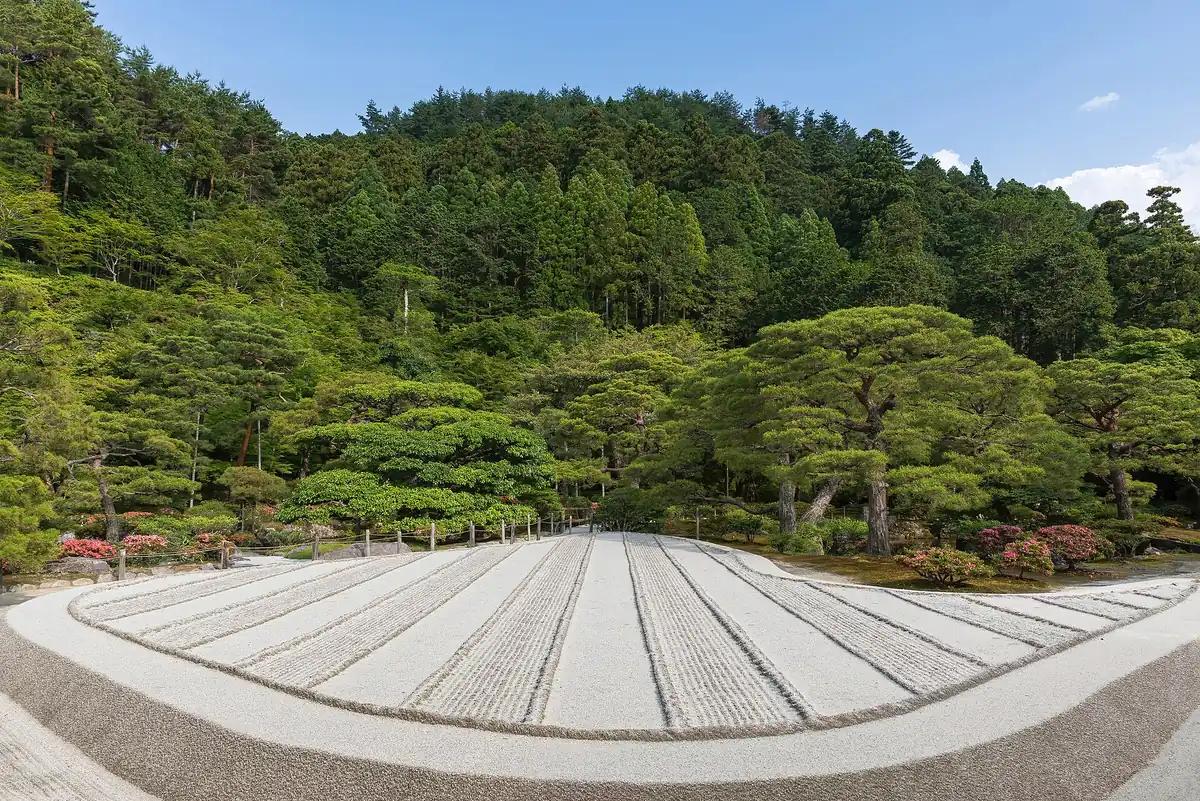
Kyoto is the heart of the trip, but it can be overwhelming if you let the crowds dictate your speed. Use the bus or subway sparingly and focus on one zone per day. Kyoto is best experienced when you walk the small streets between the big sites.
Day 5: Southern Kyoto and Fushimi Inari
Arrive at the shrine by 7:00 AM if you want to climb the mountain before the groups show up. Take the Keihan line to reach the Gion area for a sunset walk near the river.
Dinner in Pontocho is pricey, ranging from ¥5,000 to ¥10,000, so check menus in advance.
Day 6: Northern temples and a quiet afternoon
Visit Kinkaku-ji early, then immediately pivot to the less-visited Daitoku-ji temple complex to escape the noise. Spend the afternoon sitting in a quiet garden with a cup of matcha.
If it rains, find a cozy bookstore in the city center and enjoy the quiet.
Day 7: Arashiyama and the river
Arashiyama is beautiful but busy; walk the Bamboo Grove at dawn or not at all. Head further up the valley to Otagi Nenbutsu-ji to see the stone statues without the tourists.
Return to central Kyoto by late afternoon for a simple udon dinner.
Day 8: Higashiyama exploration
Spend this day on foot walking from Kiyomizu-dera down through the preserved streets of Sannenzaka. You don’t need a map here; just follow the alleys.
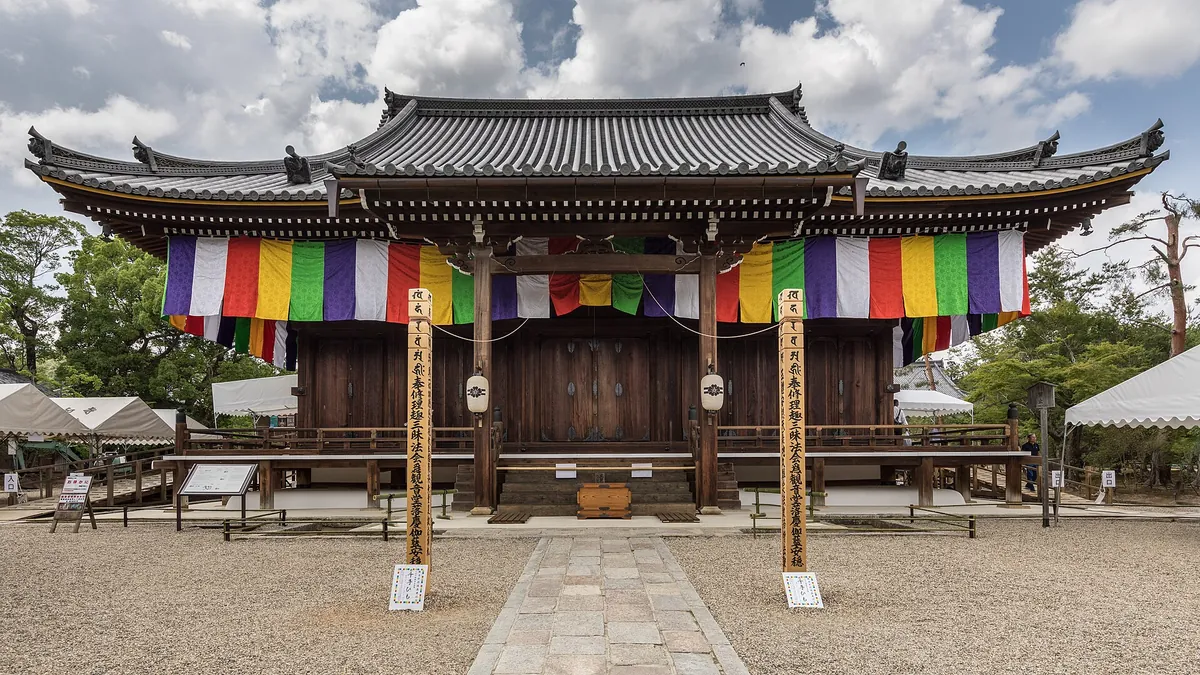
Stop for sweets whenever you see a line of locals, usually costing under ¥800.
Day 9–10: Osaka bites and the flight home
Osaka is just a 30-minute train ride from Kyoto. Use these final two days to eat well and finish your shopping without the pressure of sightseeing. It is the perfect low-stress end to a busy trip.
Day 9: Dotonbori and local food
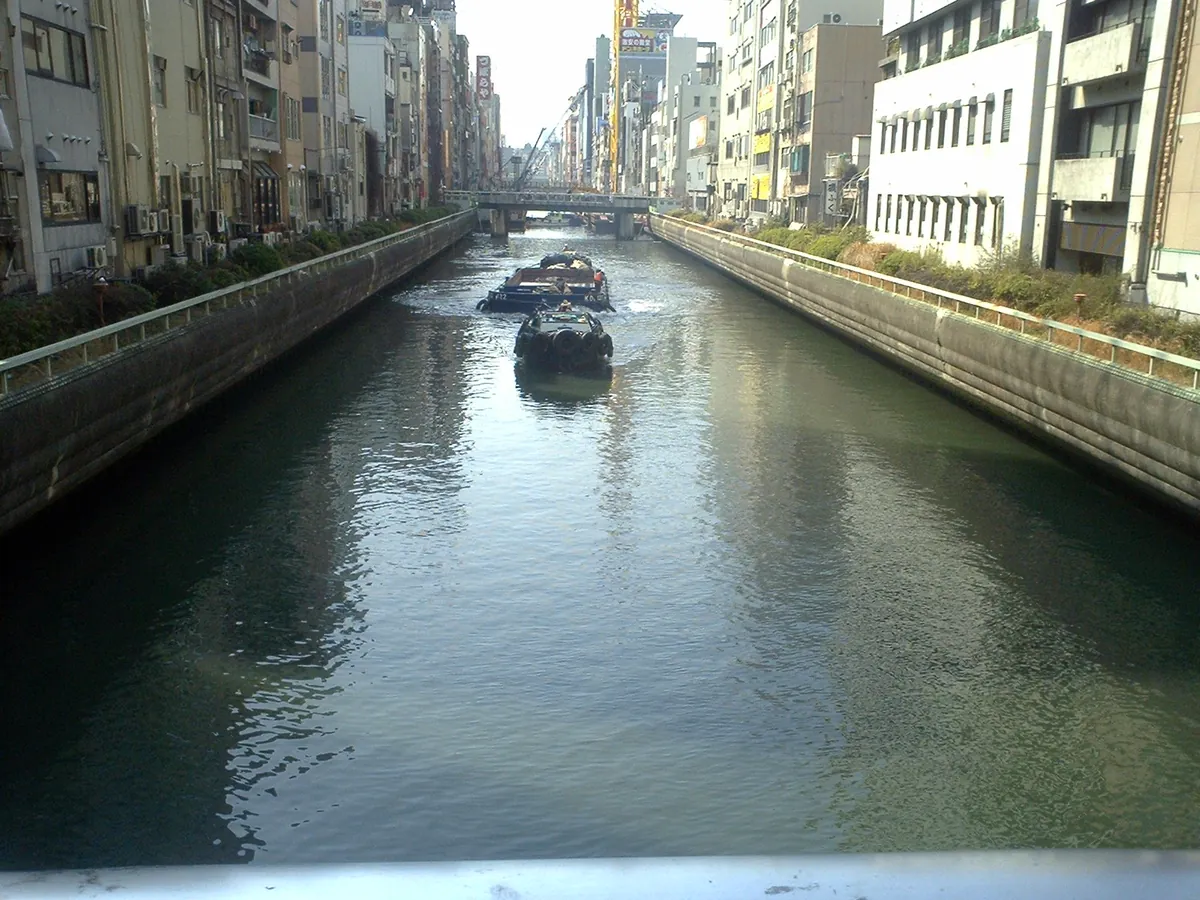
Spend your time in Namba exploring the food stalls. Try takoyaki for ¥600–¥1,000 and okonomiyaki for ¥1,500. Don’t worry about specific landmarks; just wander around and enjoy the energy of the people under the signs.
Day 10: Final purchases and departure
Grab a final coffee in the Umeda area or visit the Osaka Castle park for one last walk. Take the Haruka Express train to Kansai International Airport. Do not try to pack too much into this morning; simple is better.
Recommended accommodation hubs
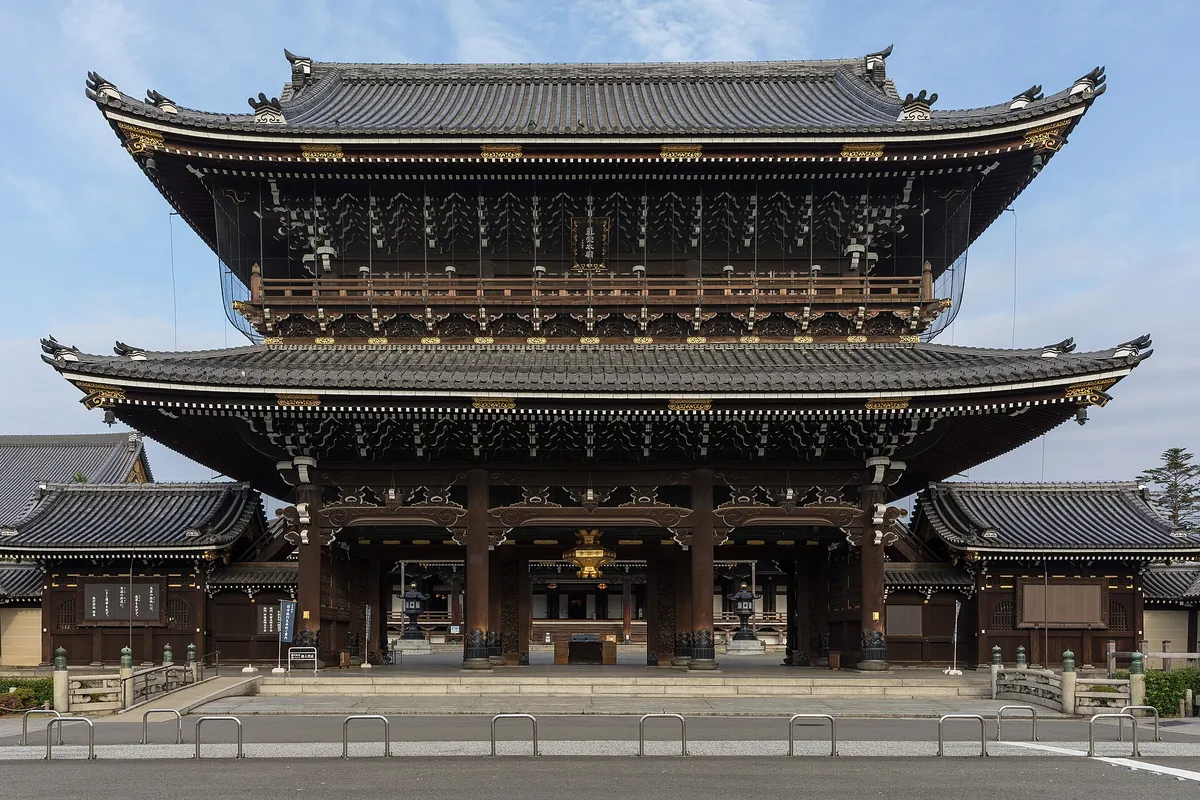
In Tokyo, look for business hotels near the Yamanote loop line, specifically around Shinjuku or Kanda. These offer efficiency and cleanliness for ¥12,000–¥20,000 a night via Booking.com. In Kyoto, try to stay near the Sanjo or Karasuma areas to be within walking distance of the subway.
For Osaka, the Namba district puts you in the middle of everything, making late-night food runs easy. Ryokan stays can be expensive, often ranging from ¥30,000 to ¥60,000, but a one-night splurge is worth it. Always check Agoda for last-minute deals if your dates are flexible.
Partner link.
Estimated 10-day budget breakdown
Prices fluctuate based on the season, but for a 10-day trip, expect to spend within the following ranges. Note that individual Shinkansen tickets are often a practical choice for this route compared to regional passes.
← Swipe to see the full table →
| Category | Budget | Mid-Range |
|---|---|---|
| Transport | ¥30,000 | ¥50,000 |
| Accommodation | ¥120,000 | ¥250,000 |
| Food | ¥60,000 | ¥100,000 |
| Total Estimate | ¥210,000 | ¥400,000 |
Efficient 10-day planning strategies
Luggage forwarding is the secret to a stress-free trip. Ask your hotel front desk to help you send your main suitcase from Tokyo to Kyoto; it usually arrives the next day and costs roughly ¥2,000–¥3,000. It is much better than dragging a bag through a crowded station.
Get a digital eSIM like Airalo or Ubigi before you leave home. Having data the moment you land makes finding your train much easier. Finally, carry a small coin purse; Japan is still a cash-heavy country for smaller vendors and shrine donations.
Strategic Day-Trip Swaps: Extending Your Reach
While sticking to three core hubs is the key to sanity, you may find yourself with a surplus of energy or a specific interest that demands a change of pace. Swapping a standard city day for a short excursion is the easiest way to tailor this itinerary without adding the stress of moving hotels.
These trips are designed as out-and-back journeys, meaning you are back in your base hotel for dinner.
Nara is the most accessible swap for a Kyoto day. If the crowds at Fushimi Inari or the bamboo groves become too intense, take the Kintetsu line from Kyoto station. It takes about 40 minutes and drops you much closer to the deer park and Todai-ji than the JR line does.
You can see the main sites in four hours, allowing you to return to Kyoto for a refined evening meal.
If you find the Tokyo sprawl exhausting, swap your Day 4 city exploration for a trip to Kamakura. It offers a total change of scenery with coastal views and the famous Great Buddha statue.
The local train ride from Shinjuku is roughly an hour, providing a glimpse into the suburban landscape that you miss when staying strictly within the Yamanote loop. It is a breath of fresh air that resets your perspective.
For those basing themselves in Osaka on day 9, consider a quick hop over to Kobe instead of staying in the Namba district. It is only 20 minutes away by train and offers a more relaxed, waterfront vibe with high-end beef dining and hillside ropeways.
These swaps are effortless because your heavy luggage remains locked away in your home-base hotel locker or room.
- Nara: 40 minutes from Kyoto; best for deer encounters and massive wooden temples.
- Kamakura: 60 minutes from Tokyo; best for seaside walking and mountain trails.
- Kobe: 20 minutes from Osaka; best for harbor views and high-quality wagyu lunches.
- Uji: 30 minutes from Kyoto; best for serious green tea enthusiasts and temple history.
Always verify the train platform numbers on the morning of your trip using a local navigation app. Remember that regional passes are rarely worth the cost for a single day trip; just tap your IC card or buy a standard ticket at the station kiosk.
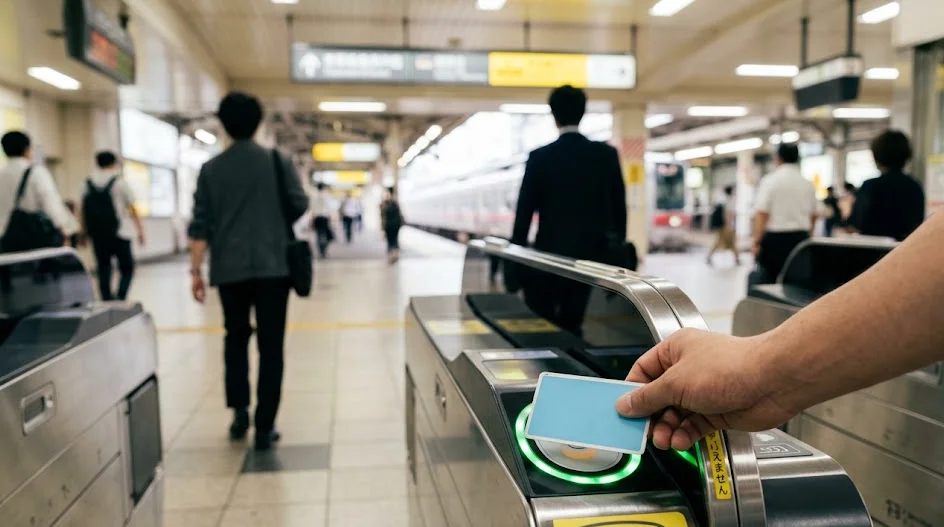
These diversions keep your itinerary fluid and responsive to how you actually feel once you arrive.
The Art of the Pre-Trip Booking Sequence
Most travelers make the mistake of booking flights first and everything else last, leading to a scramble for overpriced or poorly located rooms. To keep this 10-day plan affordable, you must secure your assets in a specific order.
Sound familiar? If you do not follow a sequence, you risk spending your first three days in Japan dealing with logistics rather than enjoying the atmosphere.
Book your international flights first, as those determine your arrival and departure points. Once your dates are set, immediate attention must turn to your accommodation.
In popular districts like Shinjuku, Kyoto station, or Namba, the best value hotels sell out four to six months in advance. Use sites like Booking.com or Agoda to filter by distance from major train stations, as proximity to the tracks will save you hours of transit time.
Once your hotels are locked, look into high-demand activity tickets. Experiences like the Ghibli Museum in Tokyo or specific dinner reservations at top-tier restaurants require booking windows that open weeks or months in advance.
Use platforms like Klook or GetYourGuide to secure these spots early. If you wait until you arrive, you will likely find that the popular slots are fully committed.
Finally, handle your internal transit logistics only after your flights and hotels are confirmed. Do not be tempted by the JR Pass unless you are doing significant cross-country travel; for this specific 10-day route, point-to-point tickets are often a straightforward choice.
You can buy these via the official SmartEX app or at a kiosk once you arrive in the country. This sequence keeps your costs predictable and prevents the last-minute stress of searching for a bed or a seat.
- Flights: Secure these 6+ months out to lock your travel footprint.
- Accommodations: Book your three hubs immediately after flights to get the best price-to-location ratio.
- Niche Tickets: Use GetYourGuide or official museum sites to snap up high-demand cultural spots.
- Transit: Leave Shinkansen tickets for last; they are rarely sold out except during major holidays like Golden Week or New Year.
- Connectivity: Purchase your eSIM from Airalo or Ubigi two weeks before departure.
Following this structure prevents the feeling of being “priced out” of a good location. By the time you reach the stage of checking transit costs, you will have already cleared the largest hurdles of your trip.
The logic is simple: protect the fixed costs first, then fill in the moving parts.
Navigating the Japan Seasonal Climate Shift
Weather in Japan is rarely a neutral backdrop; it is an active participant in your itinerary. Because you are visiting three distinct urban clusters, you will notice that the humidity levels and temperature swings differ significantly between Tokyo and the southern basins of Kyoto and Osaka.
If you travel during the rainy season in June or the typhoon window in September, you need a rain-ready contingency plan. Do not let a downpour cancel your day; instead, pivot to the “underground” versions of these cities that are designed for all-weather transit.
In Tokyo, the vast network of underground malls beneath Tokyo Station and Shinjuku Station can occupy an entire afternoon. These areas are filled with high-quality department store basements, known as depachika, where you can find food that rivals top-tier restaurants for ¥1,500–¥3,000.
Check the official site for mall floor maps to see how far you can travel without ever touching the sidewalk.
Kyoto is more challenging during heavy rain because the charm is in the outdoor temples, but museums are your best defense. The Kyoto National Museum and the International Manga Museum are excellent indoor alternatives that keep you dry while providing cultural context.
Use your IC card to jump between subway stations rather than relying on the city buses, which become sluggish and crowded during storms.
Indoor strategies for rainy days
- Tokyo: Explore the massive underground labyrinths of the Shinjuku and Tokyo Station hubs.
- Kyoto: Pivot to the International Manga Museum or the Kyoto National Museum for a dry, climate-controlled experience.
- Osaka: Spend your time in the Shinsaibashi-suji covered arcade, where you can walk for kilometers without seeing a drop of rain.
- Shopping: Visit major department stores like Takashimaya or Daimaru; they offer tax-free shopping and extensive food halls in a single vertical space.
For those traveling in the height of summer, prioritize your activity schedule for the earliest hours of the morning. By 11:00 AM, the heat index in Kyoto can reach levels that make outdoor walking dangerous.
Revisit your plans to ensure that your most demanding walking days, such as the Higashiyama trail or Arashiyama, happen at sunrise.
Always keep a lightweight, high-quality umbrella in your day bag. You can purchase these at any convenience store like 7-Eleven or Lawson for ¥500–¥1,000, and they are sturdier than the ones found in most Western cities.
Do not view the rain as a disruption; view it as a reason to slow down and appreciate the quiet, mist-covered atmosphere of the shrines.
Dining Strategies for the Efficient Traveler
 ReaderYuki
Food in Japan is a tier-based system that can either drain your budget or provide the best value of your entire trip.
Many first-timers gravitate toward English-menu tourist traps, but the best meals are often found in “ticket machine” restaurants or counter-seating shops where the menu is limited to three or four items.
Using a targeted dining approach allows you to eat well without the stress of reservations. If you see a line of locals at a shop with a vending machine out front, that is your signal to join.
These machines take your cash or IC card and print a ticket; you simply hand that to the staff and sit down. You can expect a filling meal for ¥800–¥1,500.
Lunch is your secret weapon for high-end dining. Many Michelin-recognized or high-end sushi and tempura restaurants in Tokyo and Osaka offer lunch sets for a fraction of their dinner prices.
A set that costs ¥15,000 at night might only be ¥4,000 for the exact same quality during the lunch hour. Check the official site or Google Maps for business lunch hours, as these deals are often limited to 11:30 AM – 2:00 PM.
Where to find the best value
- Department store food halls: High-quality bento boxes for ¥1,000–¥2,000 to eat in your hotel or a park.
- Station-front noodle shops: Quick, standing-room-only stalls for a hot bowl of ramen or soba under ¥900.
- Family restaurants: Chains like Gusto or Royal Host offer a reliable, consistent menu with English touch-screen tablets for ¥1,000–¥2,000.
- Convenience stores: An underrated source for high-quality sandwiches, rice balls, and coffee when you need a light, fast breakfast.
Reservations for high-end dining are only necessary if you have a specific restaurant in mind. If you are open to exploration, you will never go hungry; there are enough restaurants in the Namba district of Osaka alone to fill a year of dinners.
Avoid the temptation to plan every meal; instead, pick one “splurge” meal per city and leave the rest to serendipity.
If you have specific dietary requirements, use apps like HappyCow or browse local restaurant reviews on Tablelog to check for listings. Always carry a small amount of cash, as some smaller, older shops in the traditional districts of Kyoto still do not accept cards or digital payments.
Keeping ¥10,000 in your pocket ensures you are never caught off guard when the bill arrives.
FAQ
QDo I really need a JR Pass?
For this specific route, almost certainly not. Point-to-point tickets offer more flexibility for your schedule.
QHow do I handle luggage on the Shinkansen?
Use the Yamato Transport “Takkyubin” service to send your bags between hotels. It is affordable and saves you from crowding the aisles.
QAre credit cards widely accepted?
They are increasingly common in cities, but always carry some cash for small temples, independent shops, and ticket machines.
QWhat is the best way to get around cities?
Load an IC card (Suica or Pasmo) onto your phone’s digital wallet. It works for all subways, buses, and even many vending machines.
QIs English spoken in most restaurants?
In major tourist areas, yes. In local spots, expect basic gestures; pointing at pictures or using a translation app works perfectly.
The anxiety of planning the “perfect” route is usually the main thing that creates burnout before you even board the plane.
Stop re-reading endless blogs and lock in your three home bases, then leave the small stuff for when you land.
Keep planning
- ① Install and test your eSIM before take-offAiralo and Ubigi eSIMs activate on arrival, but the install itself needs Wi-Fi. Do it at home and confirm the profile shows up in your phone settings.
- ② Save your first hotel’s address in JapaneseTaxi drivers and station staff read Japanese addresses far faster than romanised ones. Copy it from the booking confirmation into your notes app.
- ③ Set aside cash for day oneMany small restaurants, temples and rural buses are still cash-only. Airport ATMs at 7-Eleven and the post office accept most foreign cards.
Skip these and your first hour in Japan goes on finding Wi-Fi at the station instead of getting to your hotel.
🔍 How to sanity-check any price you read online
Blogs (including this one) go out of date. The official page always wins over a screenshot from two years ago.
Cover Photo: duncan_su from Taipei, Taiwan, CC BY 2.0, via Wikimedia Commons